

 Deutsch
 Español
 Français
 Hrvatski
 Italiano
 Polski
 Português (BR)
RFI Example: Setup
Overview
This article explains all the setup steps for the example RFI introduced in RFI Example: Overview.
It covers the configuration of all the fields, additional settings and required permissions, assuming that you know how the related features work. Find more detailed explanations in the linked HelpCenter articles under each step.
Once completed, you can use this RFI form to create and process RFI tickets, as described in RFI Example: Workflow in Practice.
1. Prepare User Roles
You can create new roles as suggested here or adjust the existing roles of involved users if required.
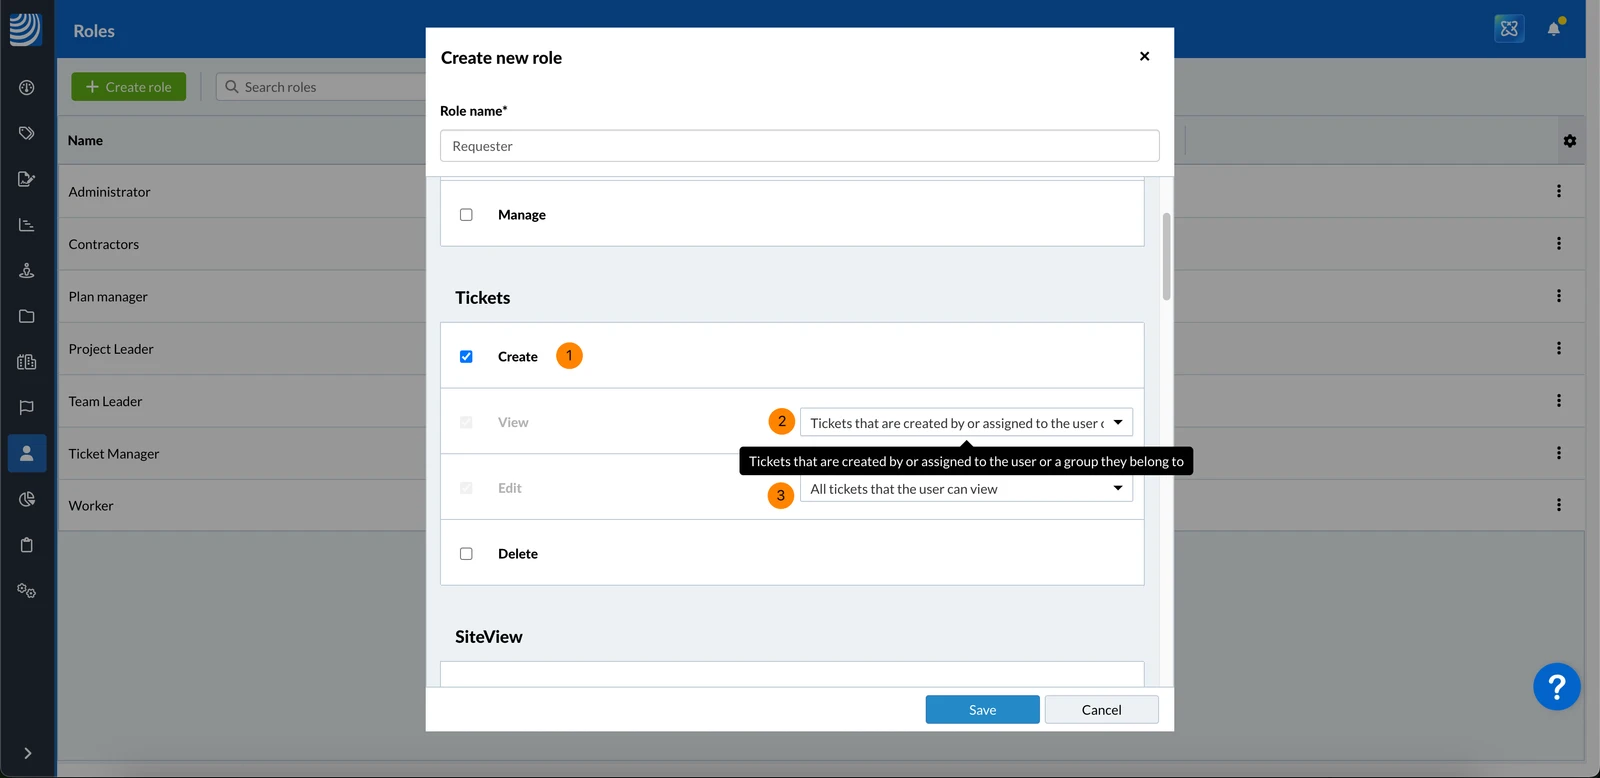
Role: Requester
Requesters need a role with the following ticket permissions:
- Create: checked
- View: Tickets that are created by or assigned to the user or a group they belong to
- Edit: All tickets that the user can view
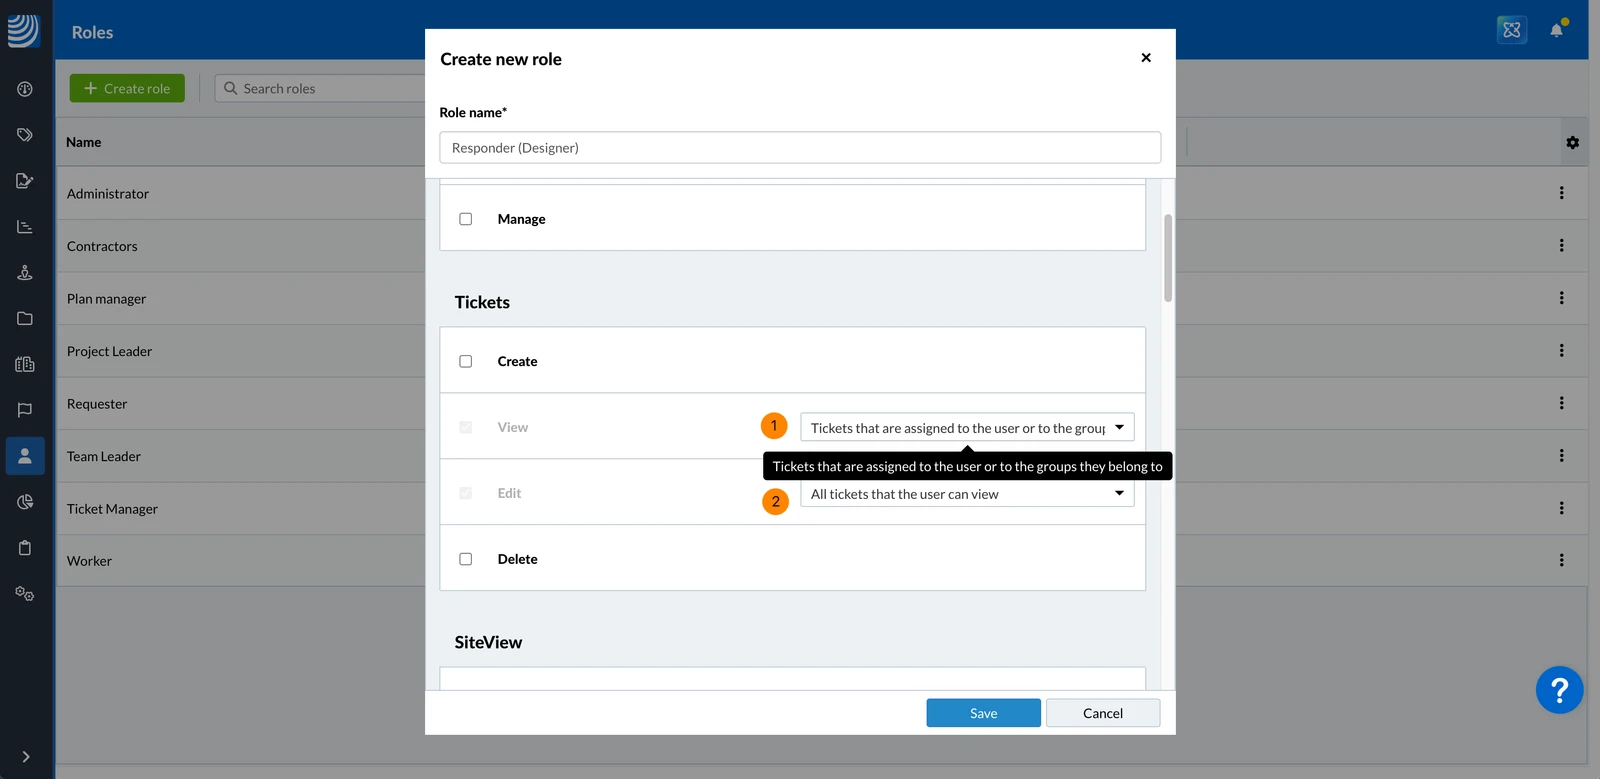
Roles: Responder (Designer) + (Investor)
Responder (Designer) + Responder (Investor) need the same ticket permissions, but separate roles to manage different field edit permissions:
- View: Tickets that are assigned to the user or a group they belong to
- Edit: All tickets that the user can view
Role: RFI Coordinator
The RFI Coordinator doesn't need a specific role, because the coordinator is assumed to have full permissions.
Here we use the Coordinator role only for field permissions in the next step, but we also suggest that the coordinator has full view and edit permission for all fields.
2. Prepare User Groups
Create User Groups
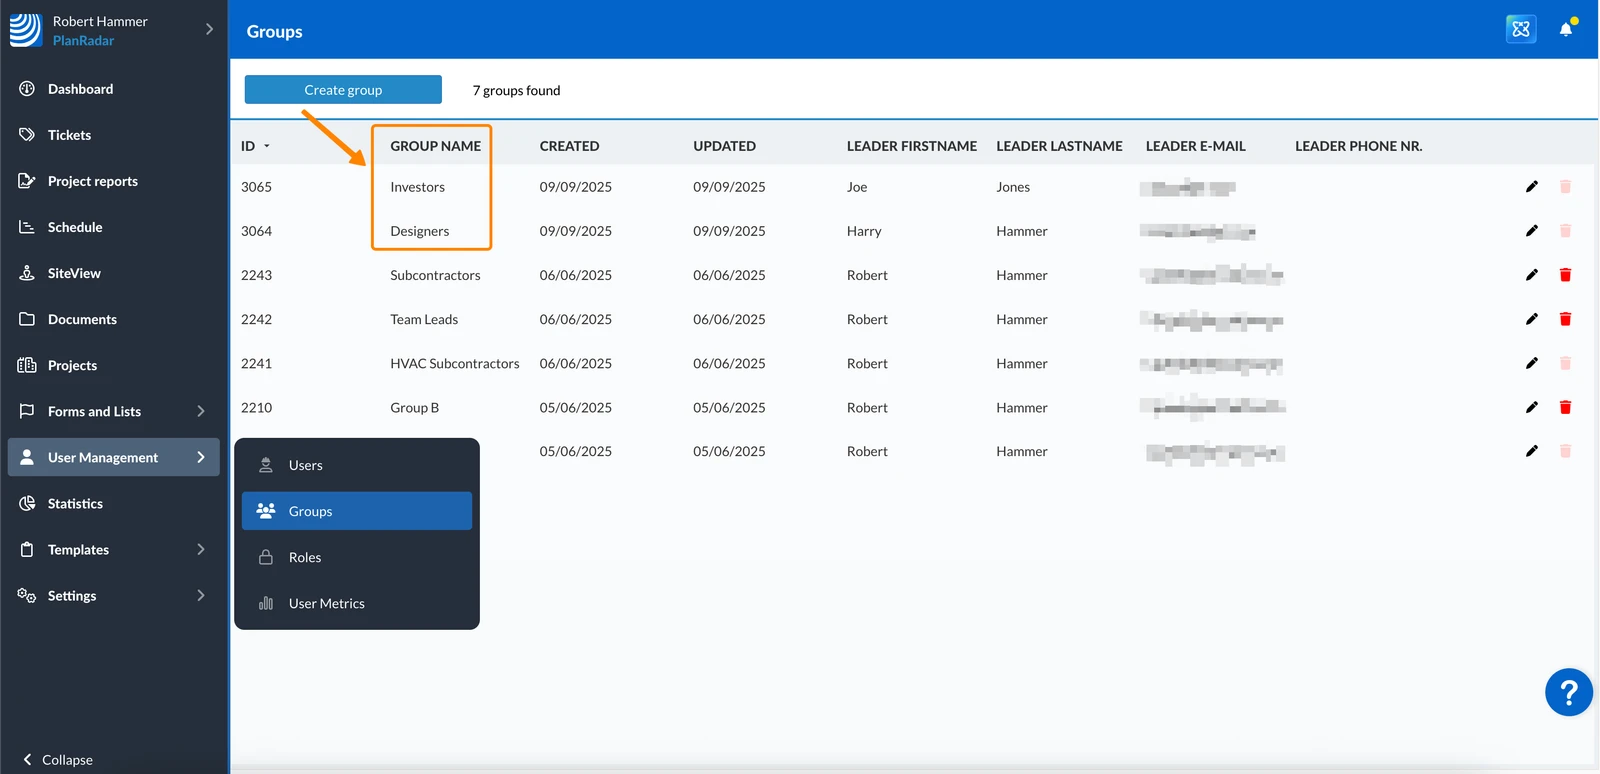
Create two user groups to be able to ask a team of responders to reply to RFIs.
Name the groups and add the responsible users:
- Designers
- Investors
Add User Groups to Projects
Add the groups to any project where you want to use RFI tickets.
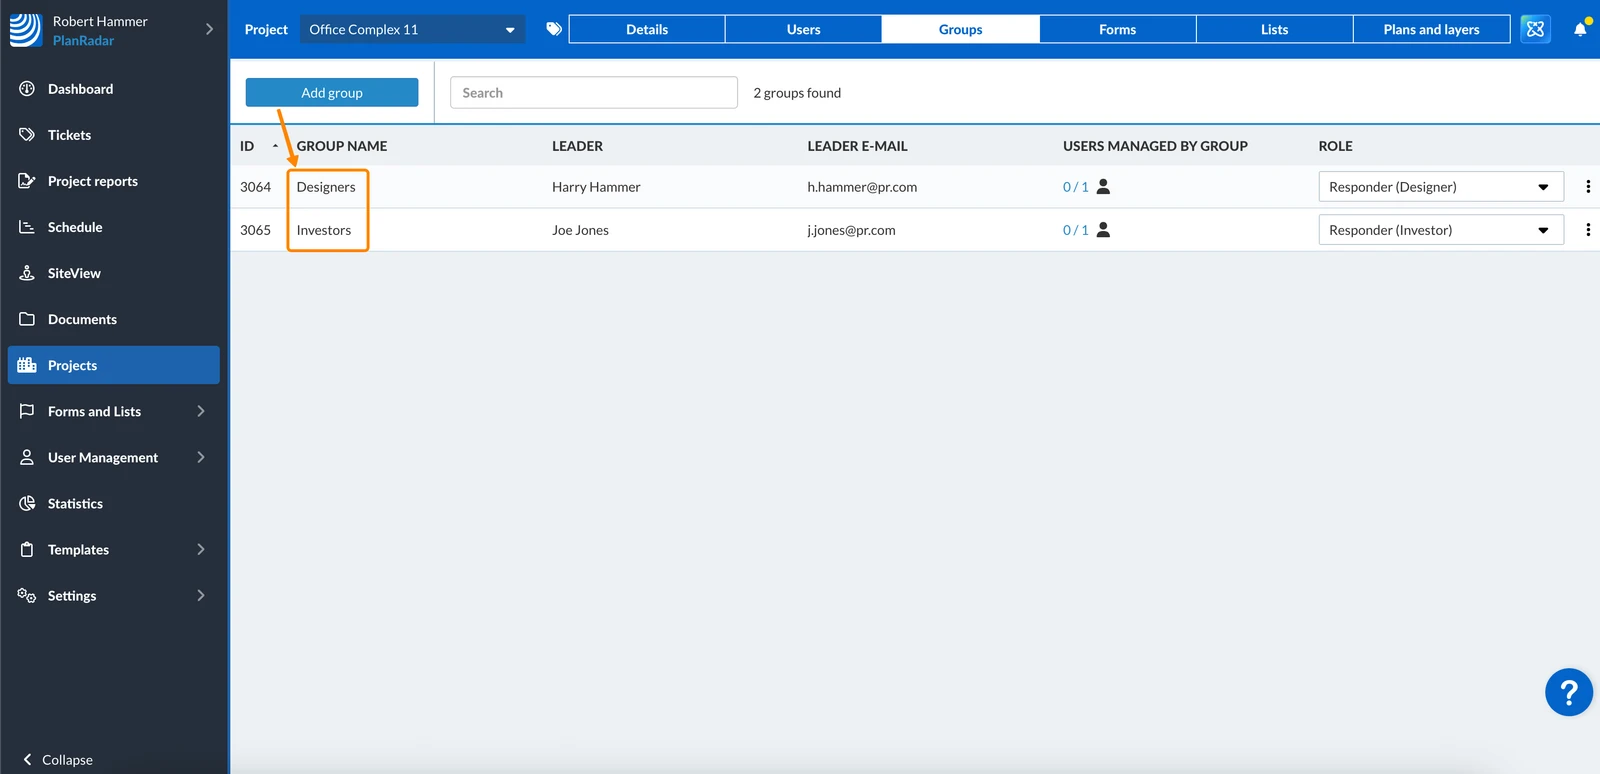
Read more in Manage Groups of a Project.
3. Create a List
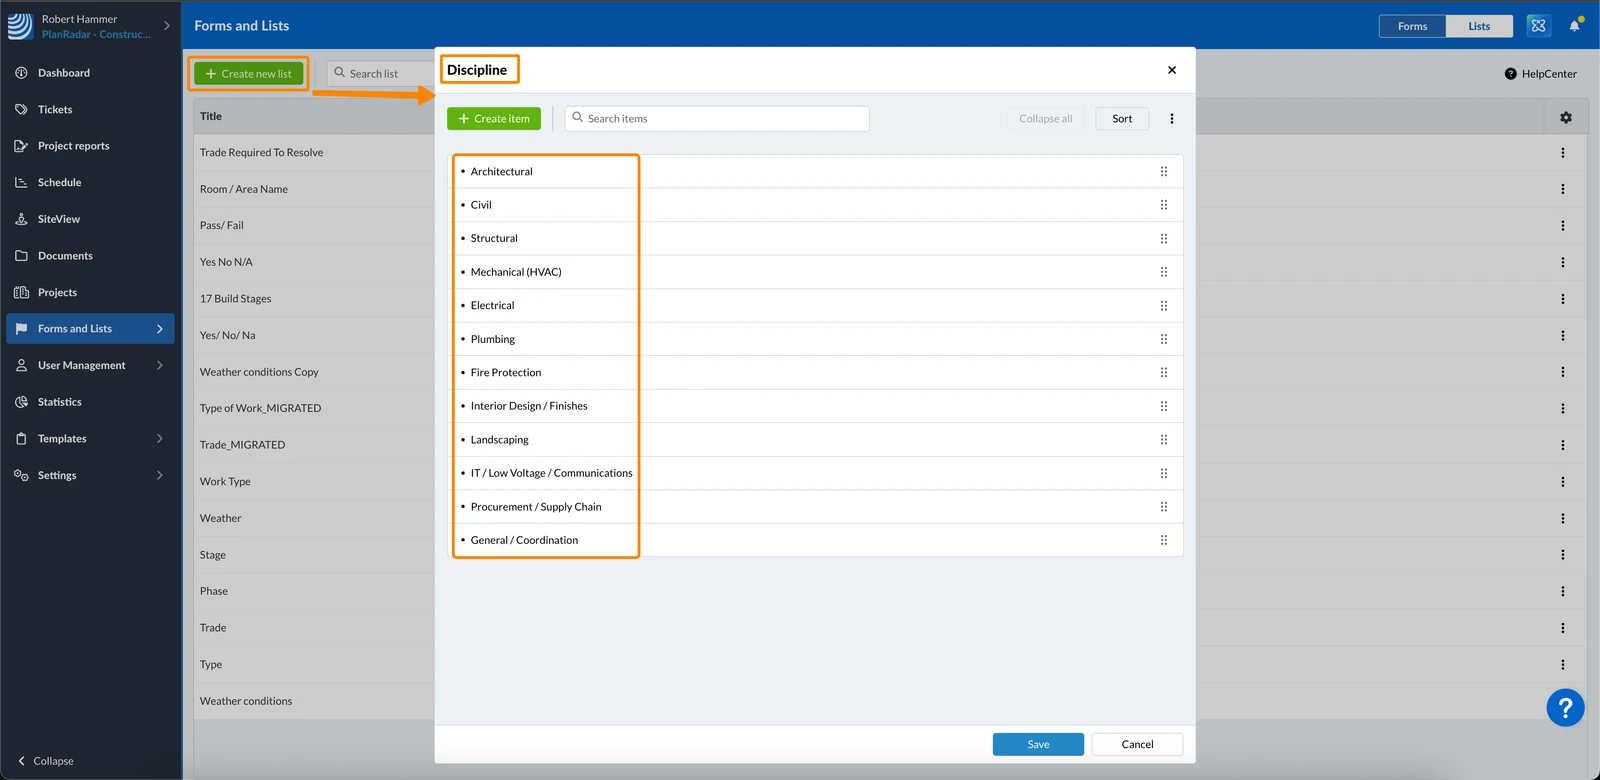
Create a list for the 'Discipline' list field with values for each discipline e.g. Architechtural, Electric, Plumbing.
4. Create the Form
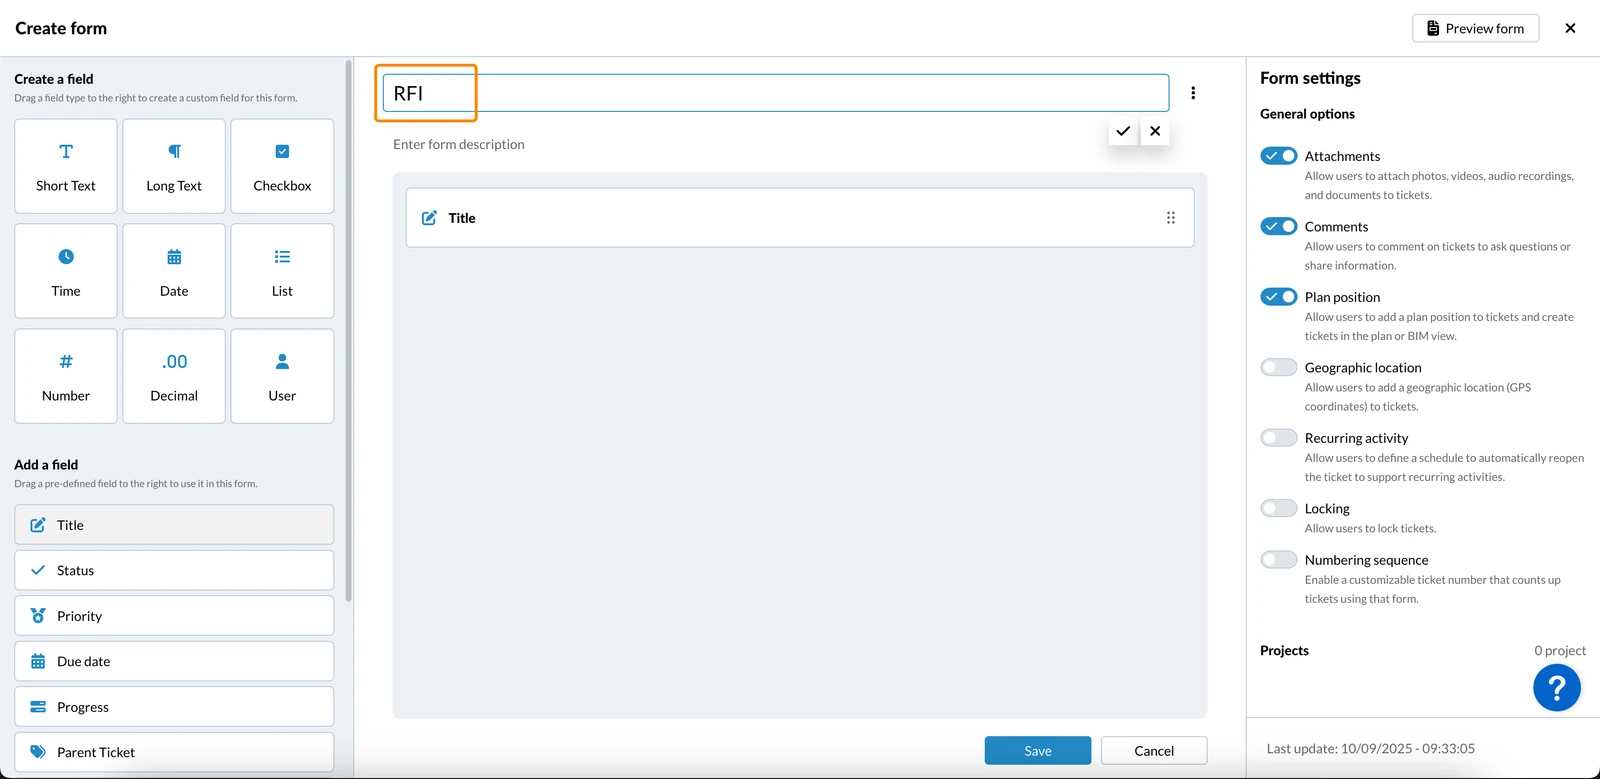
Create a new form in your PlanRadar account with the name 'RFI'.
5. Configure Form Options
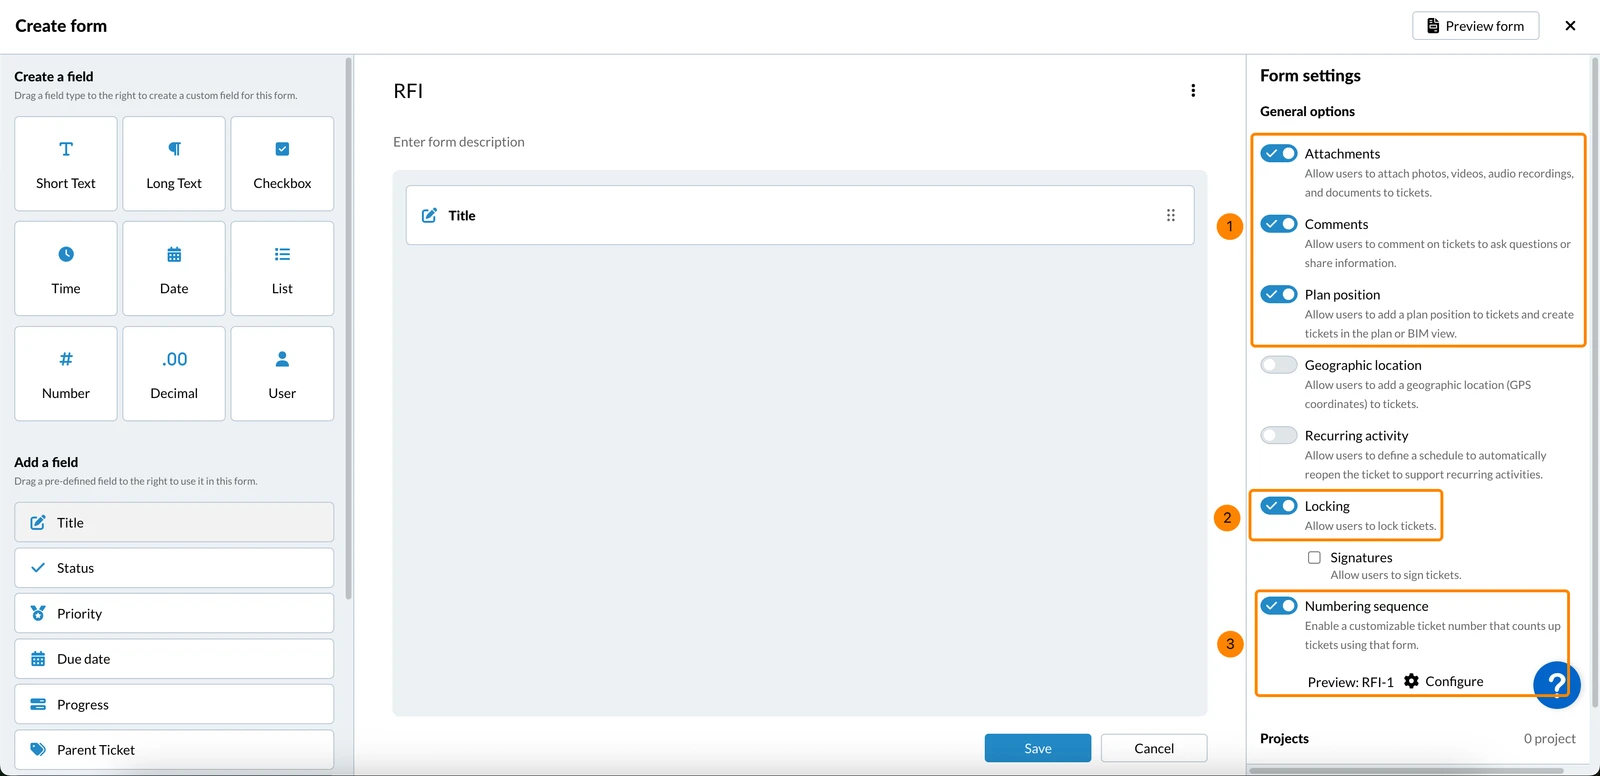
- Keep the default form options for Attachments, Comments and Plan position enabled.
- Enable the Locking form option to allow the ticket to get locked once the RFI is done, to prevent editing of any field values.
- Enable the Numbering sequence form option with 'RFI' as prefix to automatically get a number for each RFI ticket e.g. RFI-1, RFI-2.
6. Add Fields & Field Groups
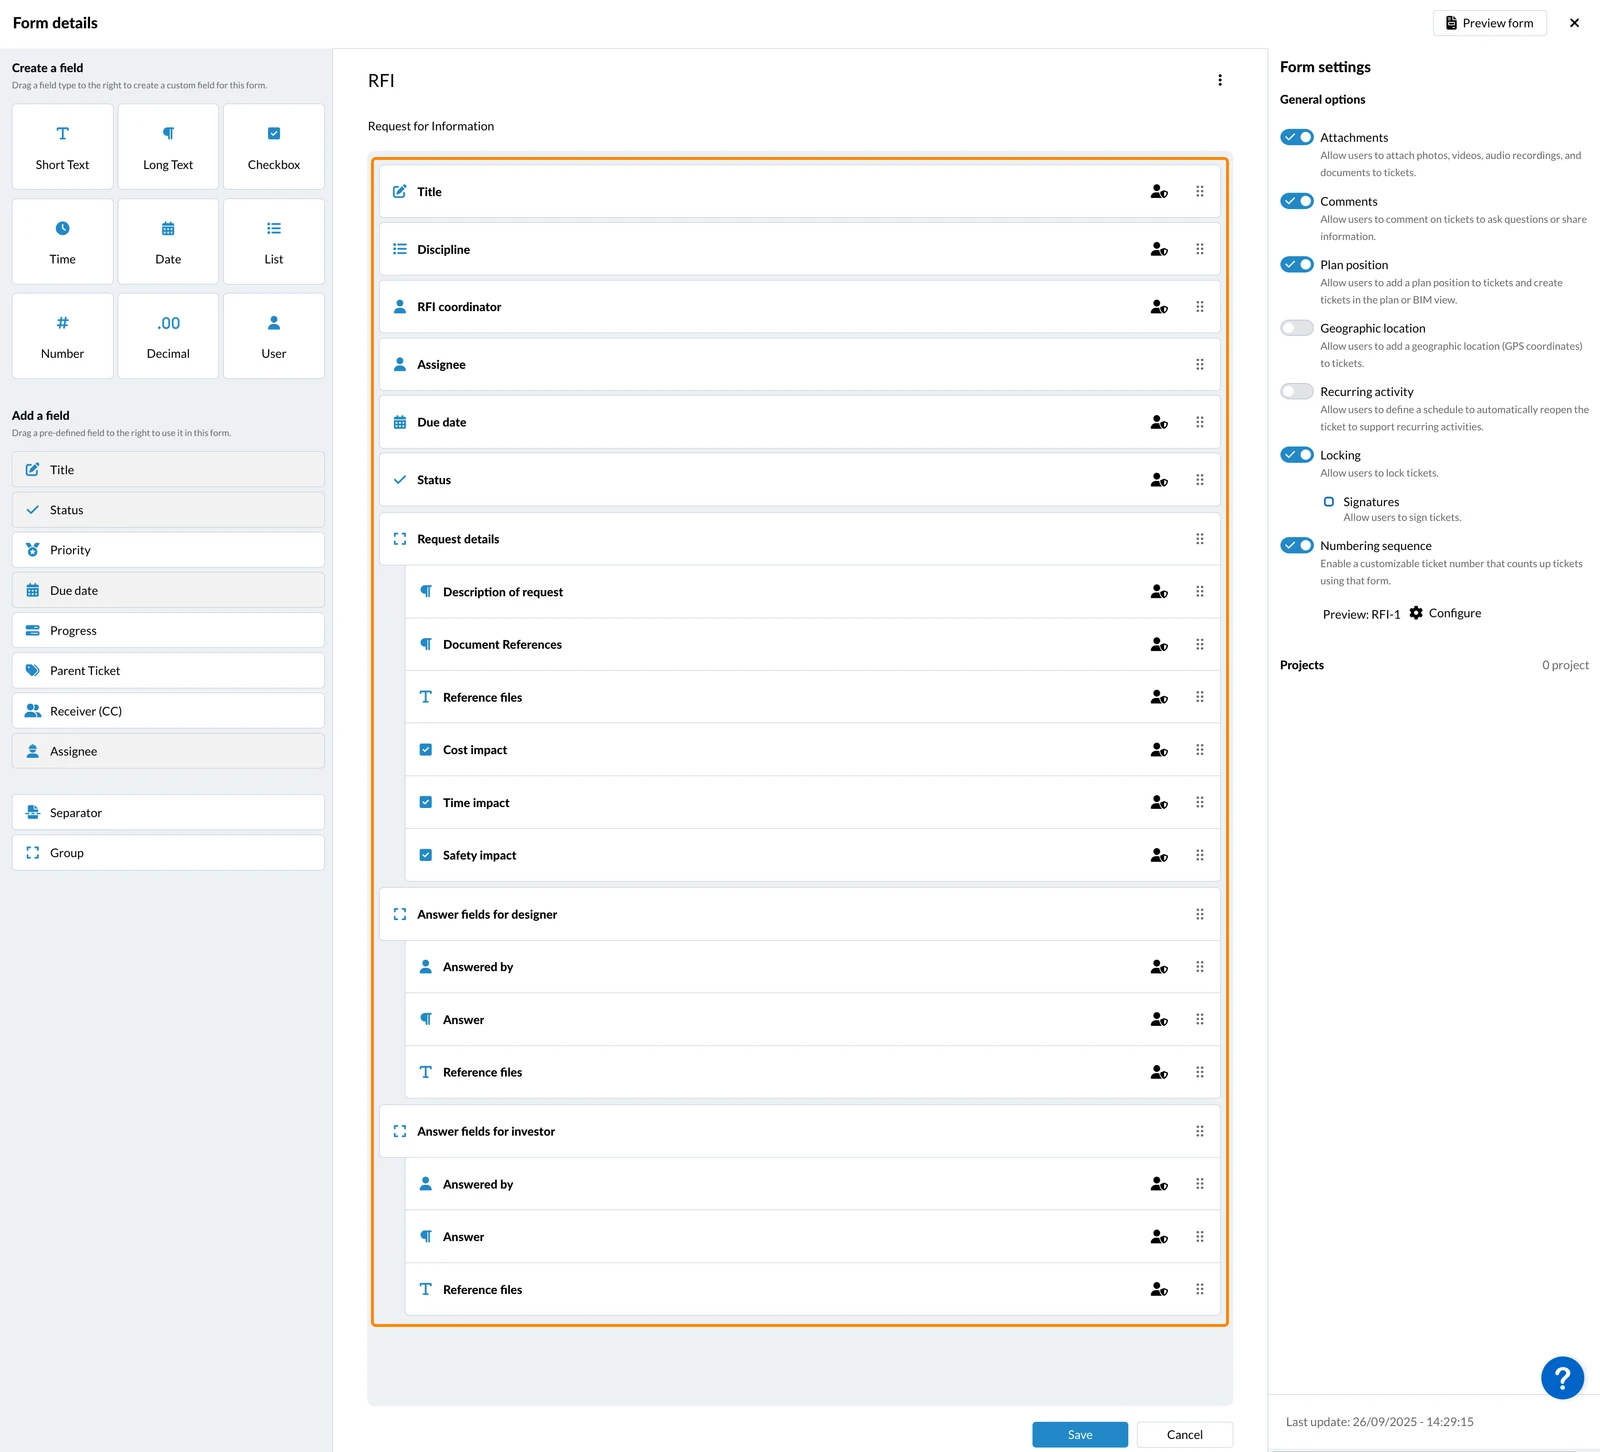
Add all the predefined fields, custom fields and groups as listed in the following table:
| Field name | Field type |
| Title | Default |
| Discipline | List (select prepared default list 'Discipline') Optional: Allow multi-selection |
| RFI Coordinator | User |
| Assignee | Default |
| Due date | Default |
| Status | Default |
| Request details | Group |
| Description of request | Long text |
| Document references | Long text |
| Reference files | Attachment |
| Cost impact | Checkbox |
| Time impact | Checkbox |
| Safety impact | Checkbox |
| Answer fields for designer | Group |
| Answered by | User |
| Answer | Long text |
| Reference files | Attachment |
| Answer fields for investor | Group |
| Answered by | User |
| Answer | Long text |
| Reference files | Attachment |
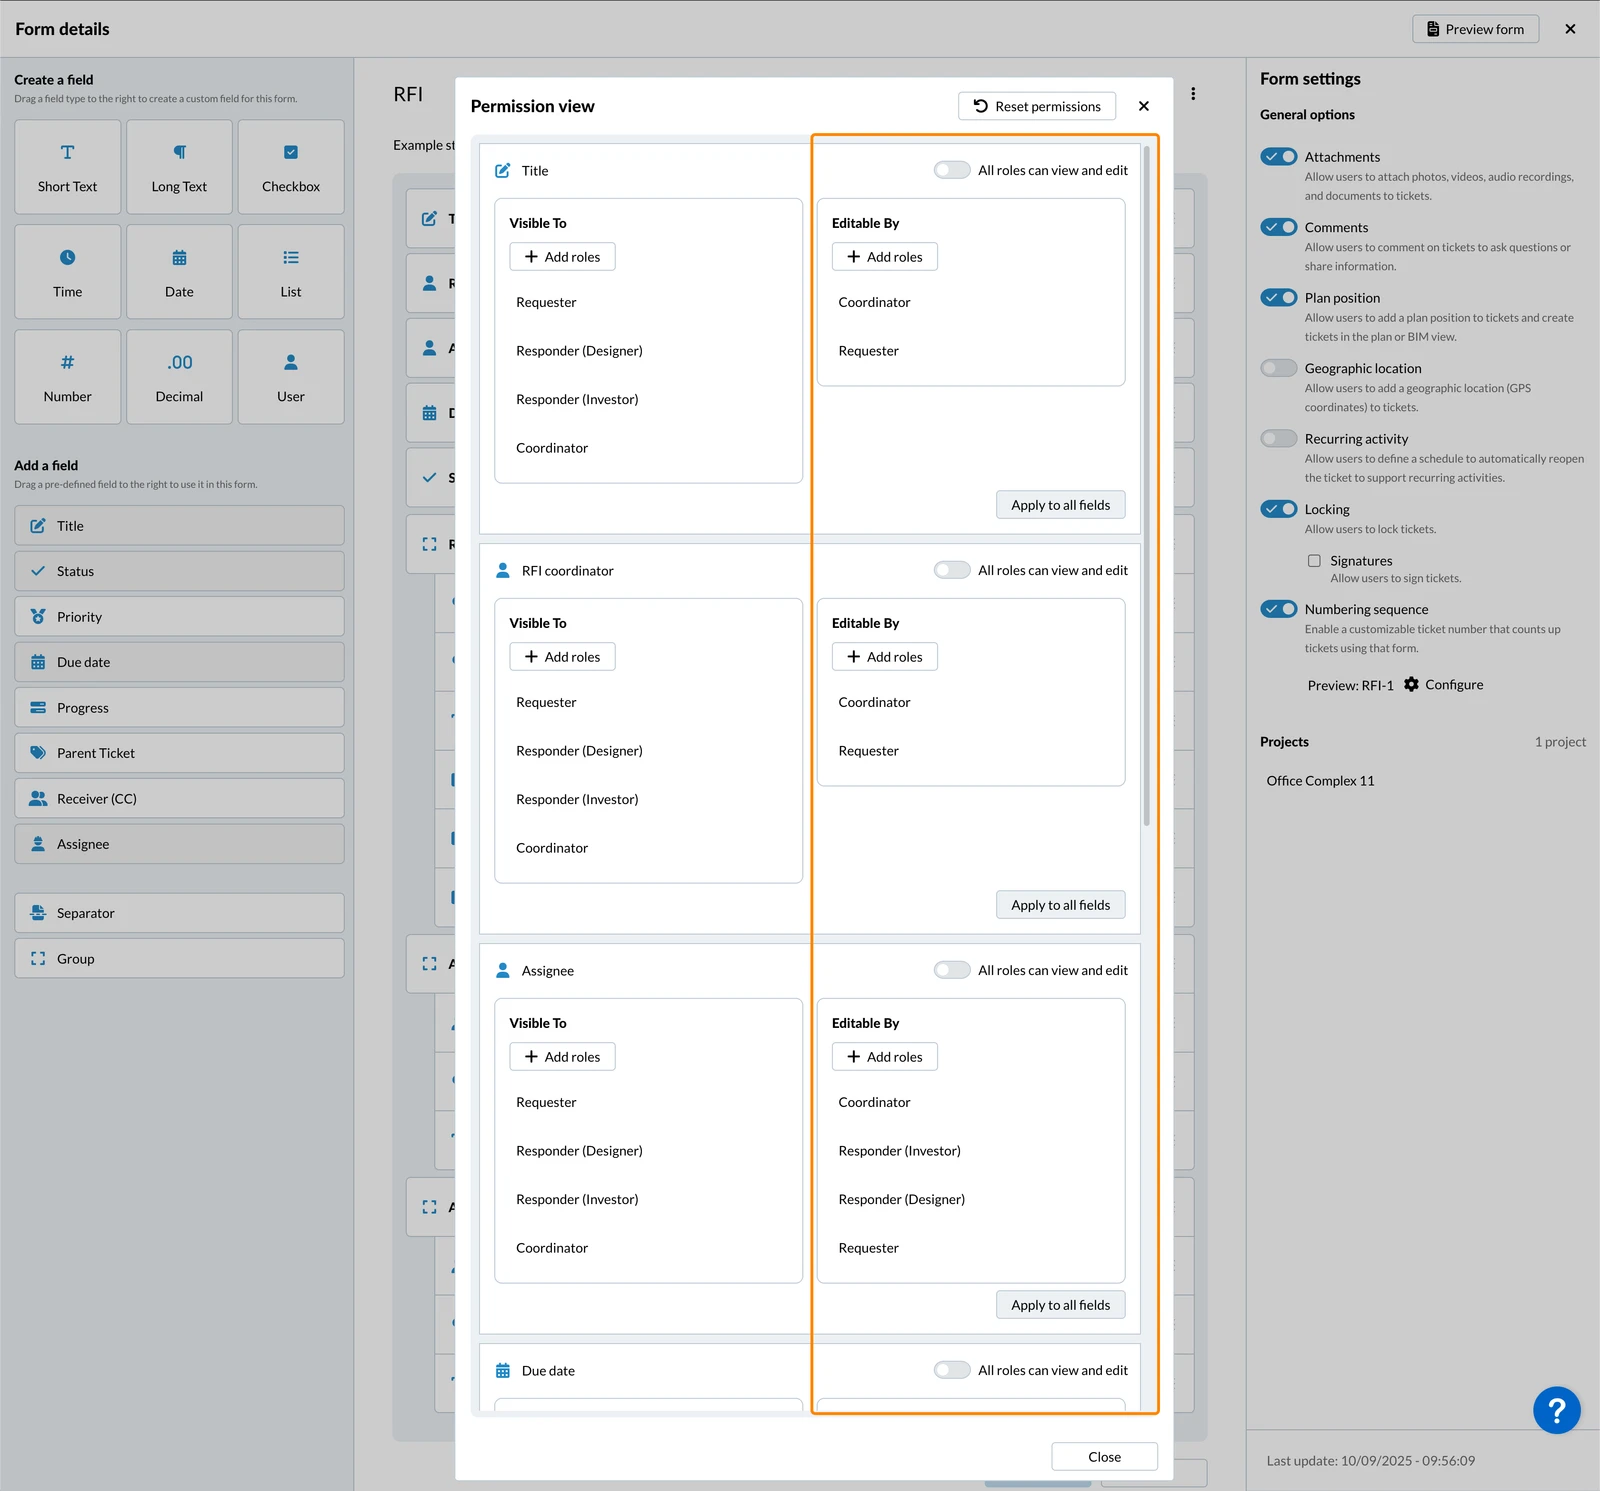
7. Configure Field Permissions
Configure all field view and edit permissions as follows.
All involved roles have view permission for all fields.
Limited editing permissions just prevent users from filling in fields that are not in their responsibility and to make it easier for them to see which fields they should fill in.
| Field name | Edited by |
| Title | Requester |
| Discipline | Requester |
| RFI Coordinator | Requester |
| Assignee | All |
| Due date | Coordinator |
| Status | Coordinator |
| Request details | Requester |
| Description of request | Requester |
| Document references | Requester |
| Reference files | Requester |
| Cost impact | Requester |
| Time impact | Requester |
| Safety impact | Requester |
| Answer fields for designer | Responder (designer) |
| Answered by | Responder (designer) |
| Answer | Responder (designer) |
| Reference files | Responder (designer) |
| Answer fields for investor | Responder (investor) |
| Answered by | Responder (investor) |
| Answer | Responder (investor) |
| Reference files | Responder (investor) |
The Coordinator has edit permission for all fields, but should not edit the request or answer fields.
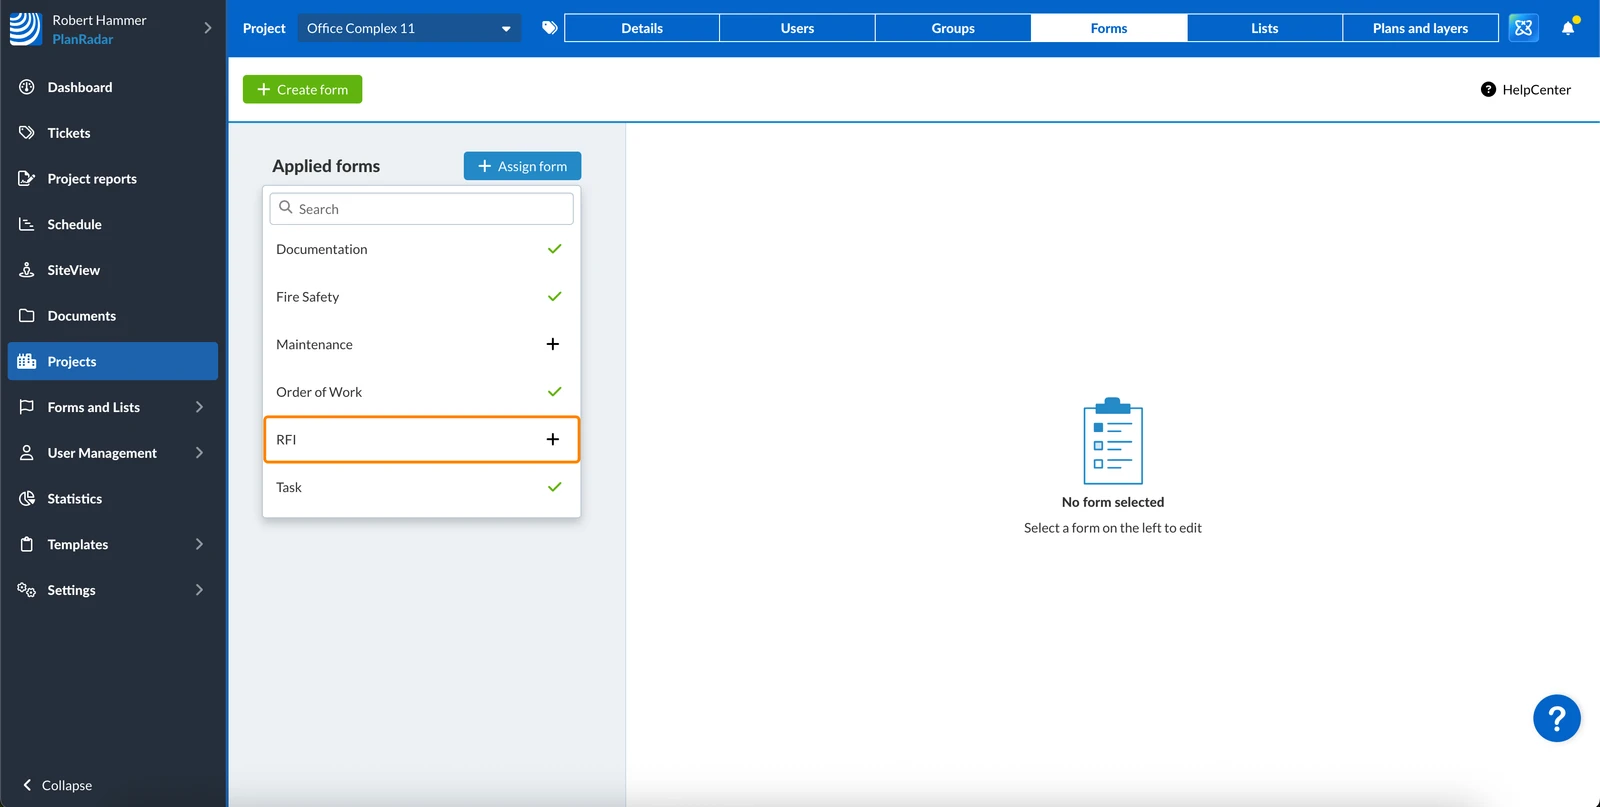
8. Add the Form to Projects
Add the RFI form to any project where you want to use it for RFI tickets.
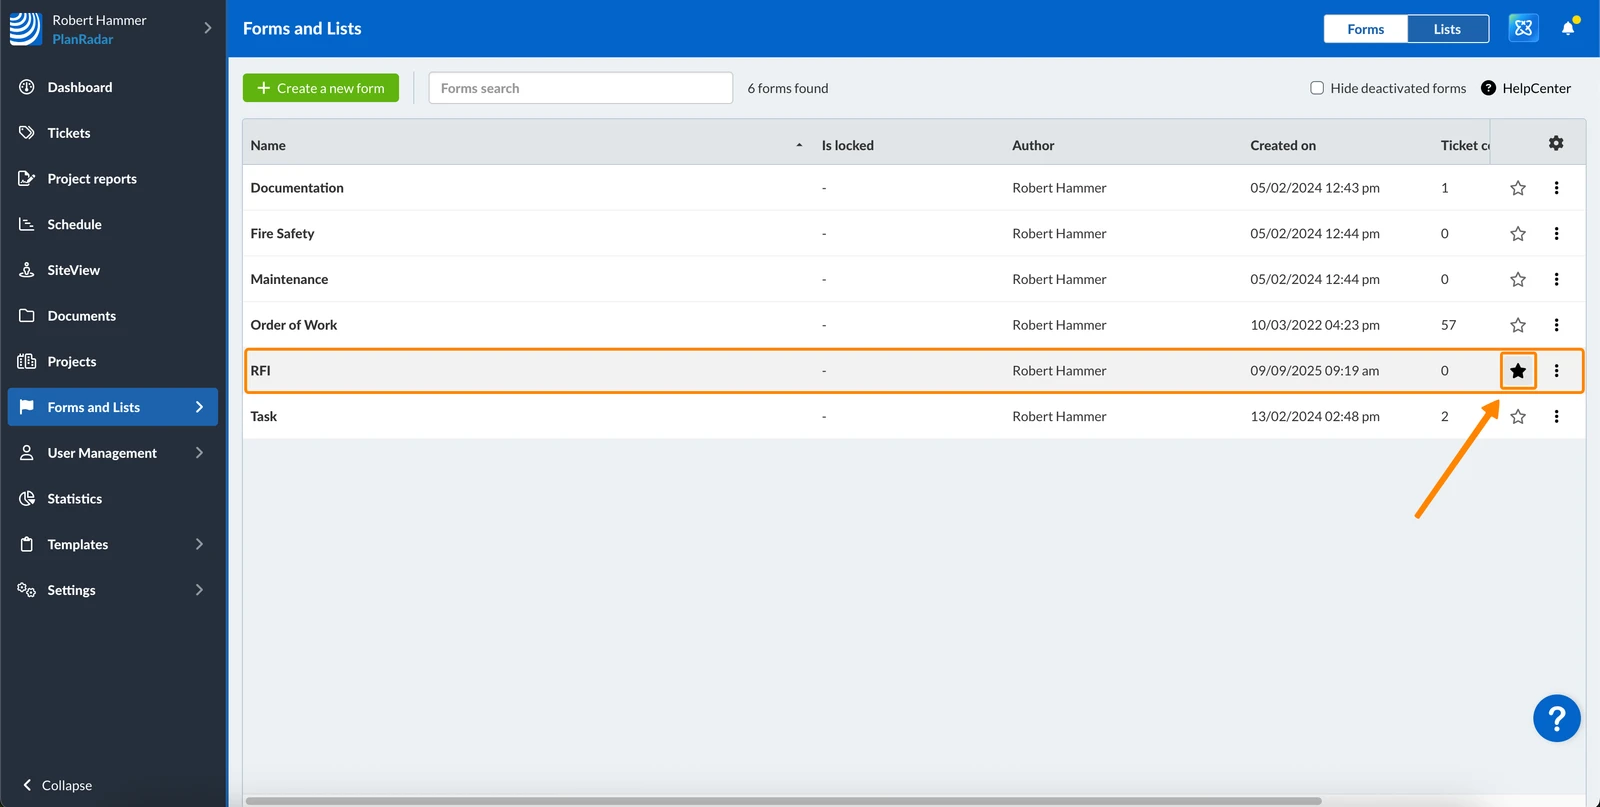
9. (Optional:) Add the Form to Favorites
This step is optional but recommended, as it lets users quickly filter for the RFI form.
Add the RFI form to your PlanRadar account's favorite forms.
Updated February 13, 2026