

 Deutsch
 Español
 Français
 Hrvatski
 Italiano
 Polski
 Português (BR)
Import Tickets
Overview
Import tickets from an Excel file to save time when creating new tickets.
Access & Permissions
Prepare the Import File
To be able to map attributes, the import file should have the following criteria:
- Only XLSX and CSV files are supported.
- Each import can only be made of a single ticket form at a time. If you want to import tickets for different forms, you need a file/import for each form.
- Each row in the file represents a ticket and each column represents a ticket form field.
- Tickets must always be associated with a layer. Therefore, you need a column for the layer.
Import Tickets
To import tickets:
-
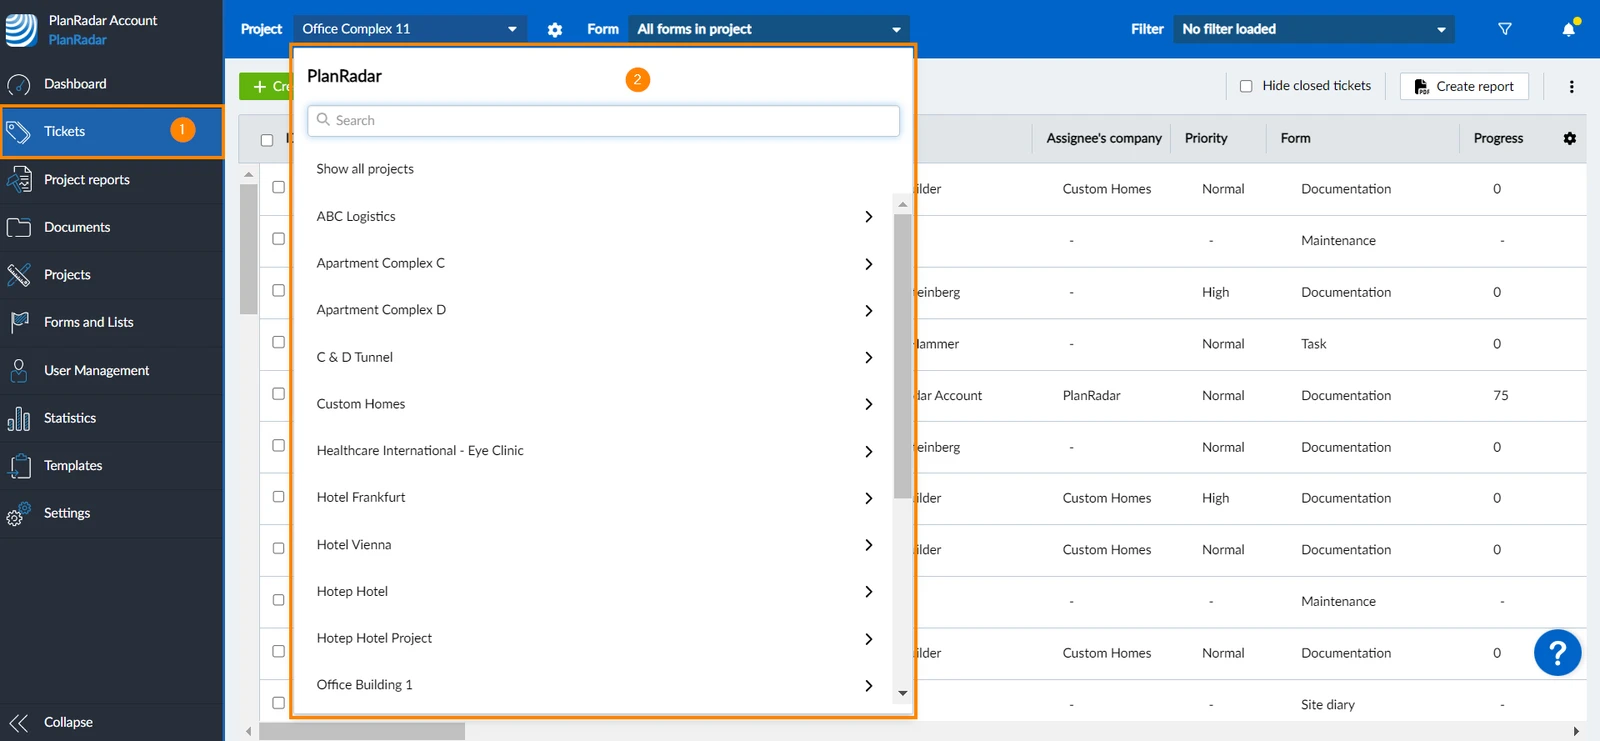
Click Tickets
-
Select the project you want to import tickets to from the project drop-down
-
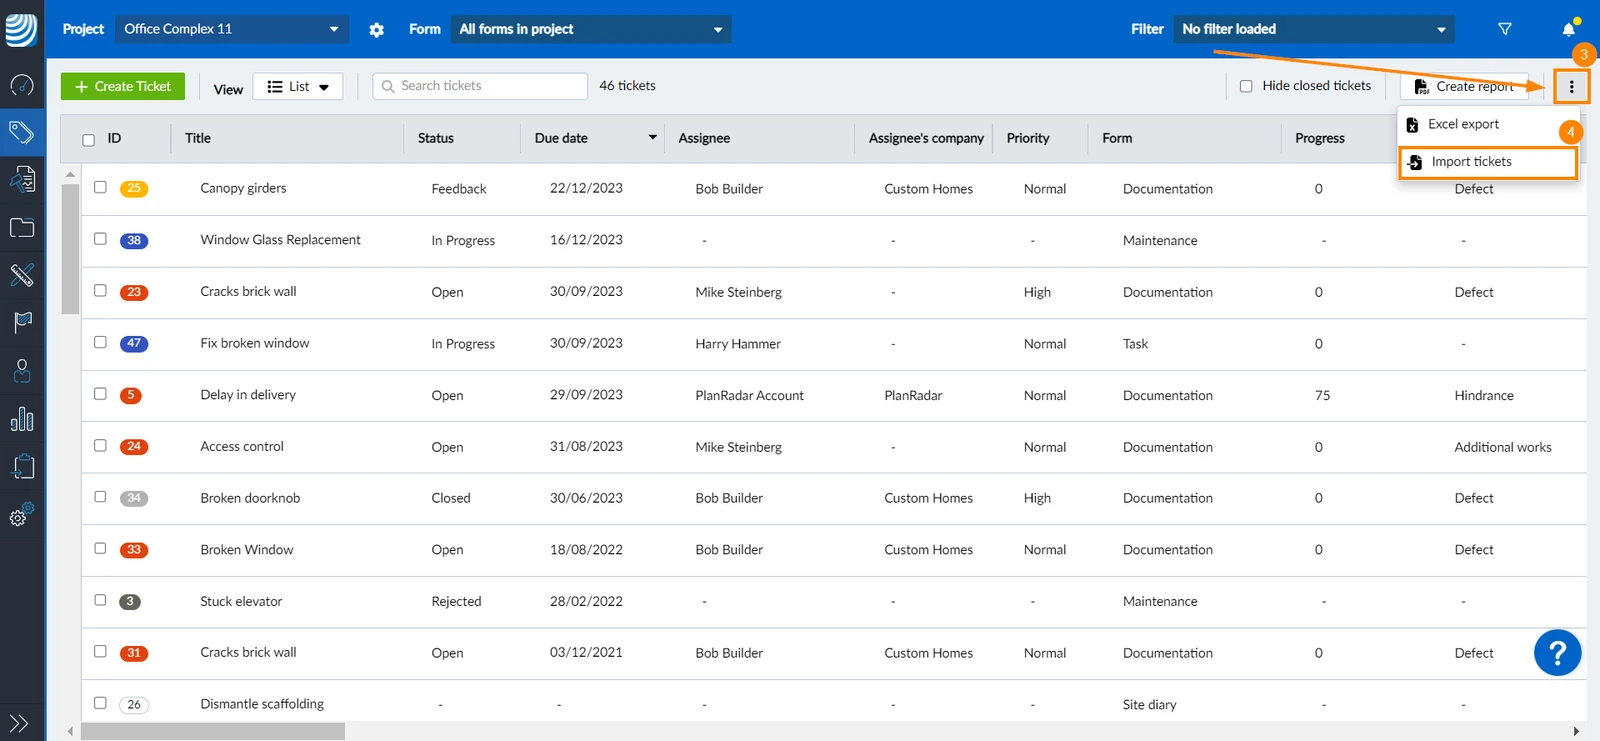
Click the more menu
-
Click Import tickets
-
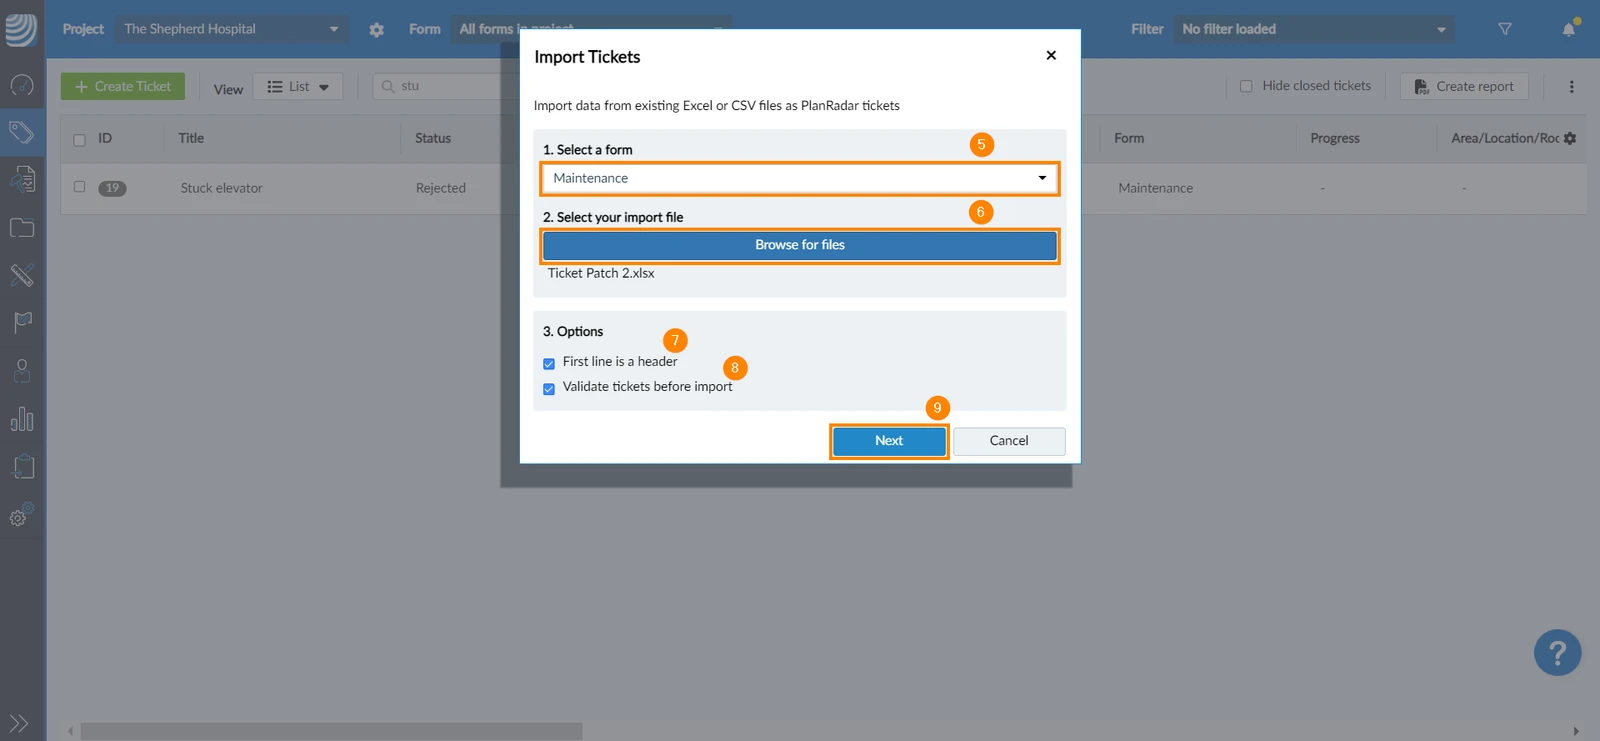
Select a ticket form for the imported tickets from the drop-down
-
Click Browse for files to upload the ticket file from your device
-
Select the First line is a header checkbox if the first horizontal line in your file includes titles; if not, leave the checkbox unchecked
-
Select the Validate tickets before import checkbox to check tickets that can't be imported due to errors.
-
Click Next
-
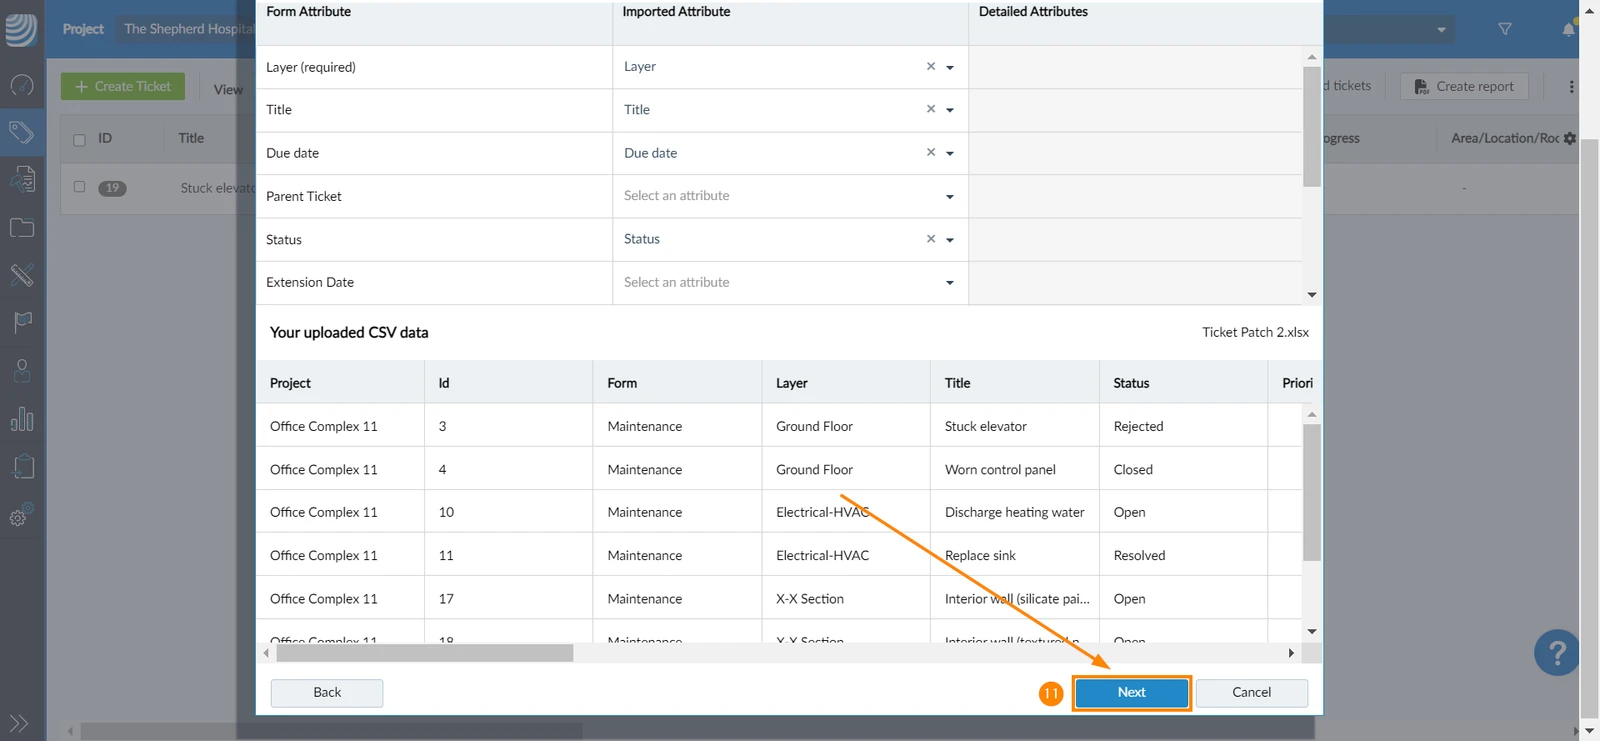
Map the attributes from the XLSX or CSV file to the attributes of the ticket form you selected
-
Click Next
-
The tickets will get imported
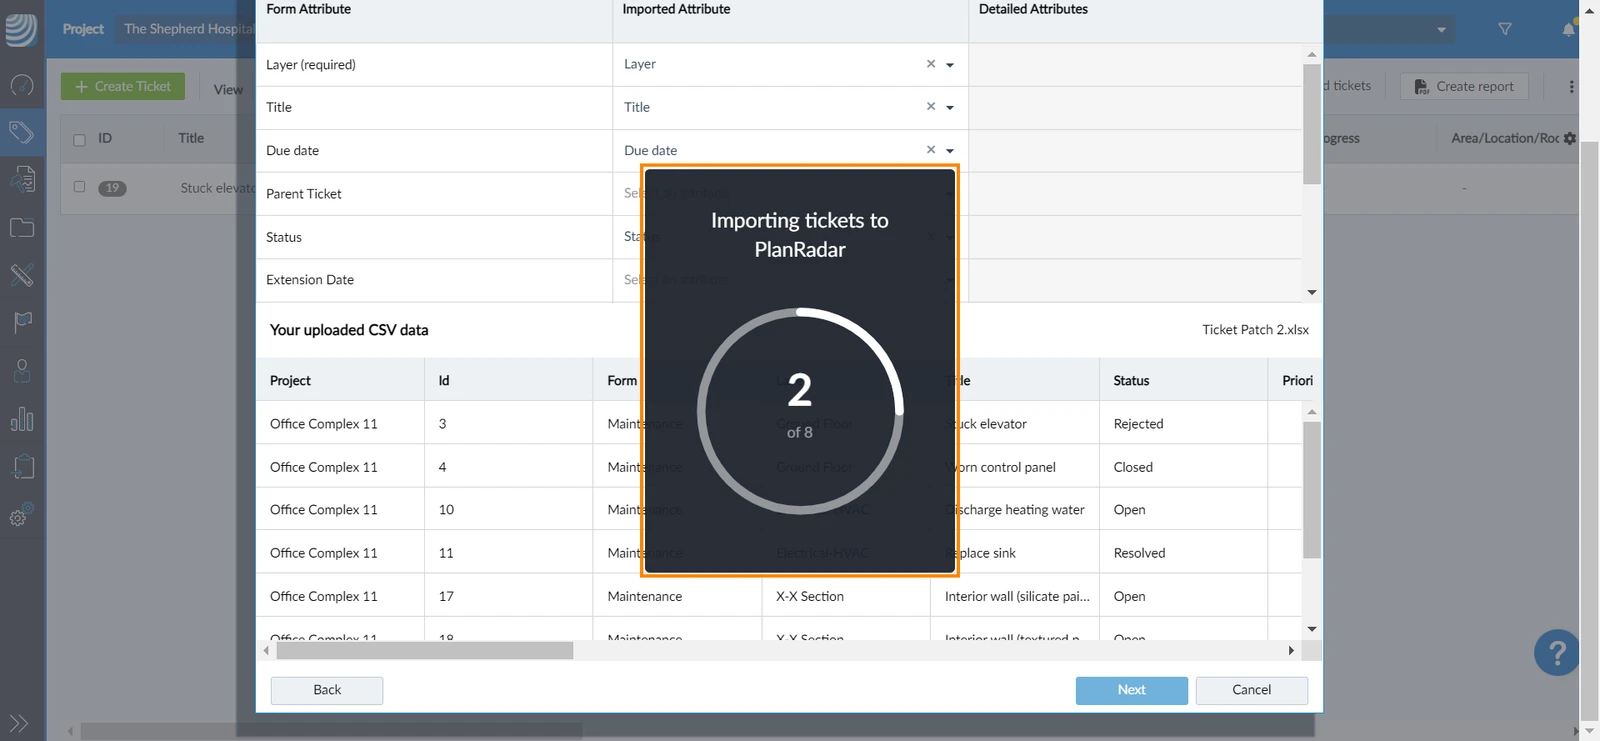
Map Columns to Form Fields
Mapping attributes allows you to place the content of each column in your file in its correct form field in the ticket.
In the attribute mapping window, the top part has a table for the mapping while the bottom part shows the table in the file you've uploaded:
- The Form Attribute column lists all the fields of the previously selected form.
- The Imported Attribute column allows mapping your file to the form fields.
- The Detailed Attributes are only required for user fields (e.g. author, uploaded by, etc.)
- Your uploaded CSV data are there to help you find the right columns by showing their rows, in case you didn't use a header column with matching names for the form fields.
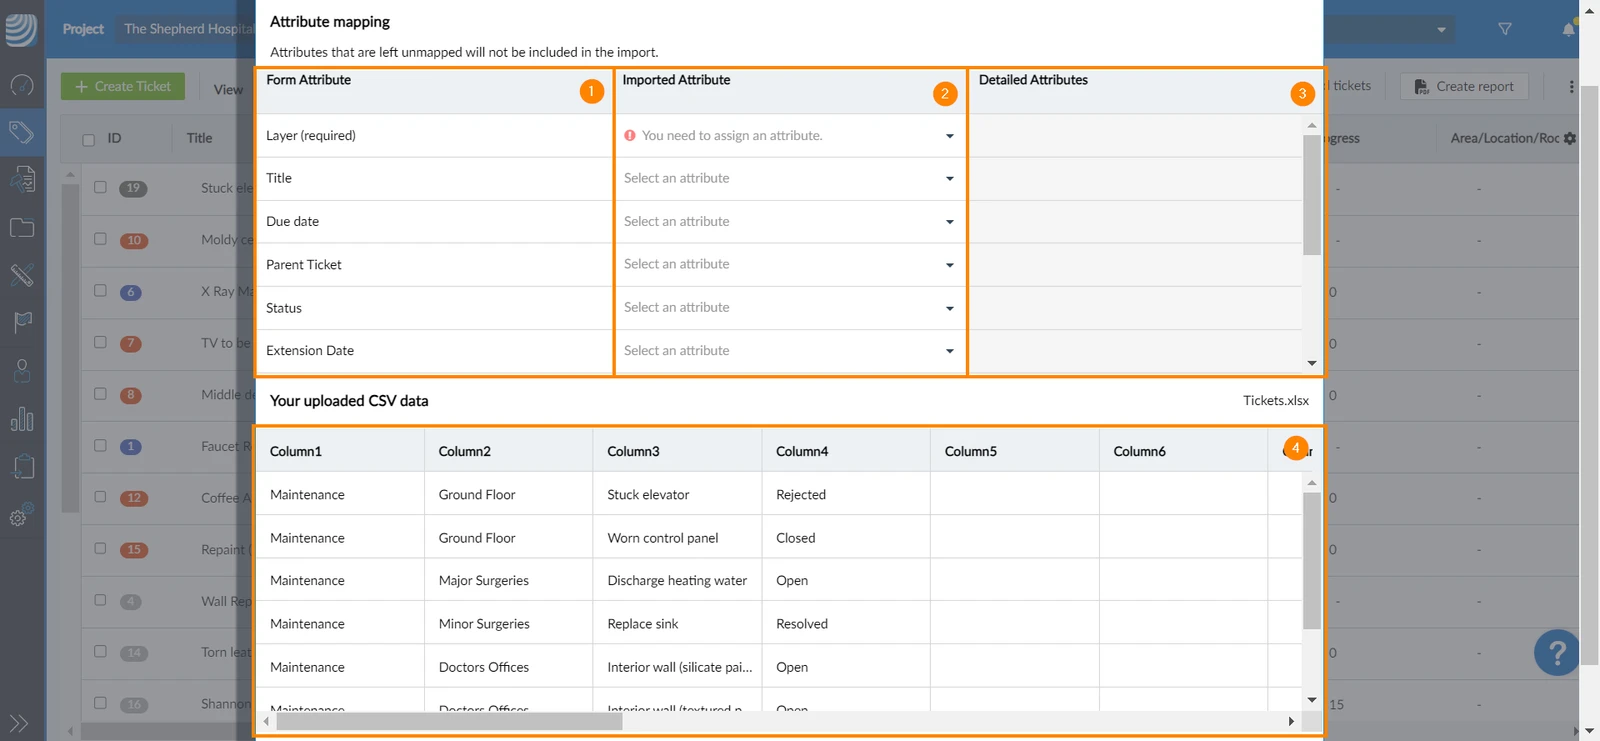
To map attributes:
-
Enter the value or select from the drop-down menu in the Imported Attribute column the column equivalent to the field of the Form Attribute
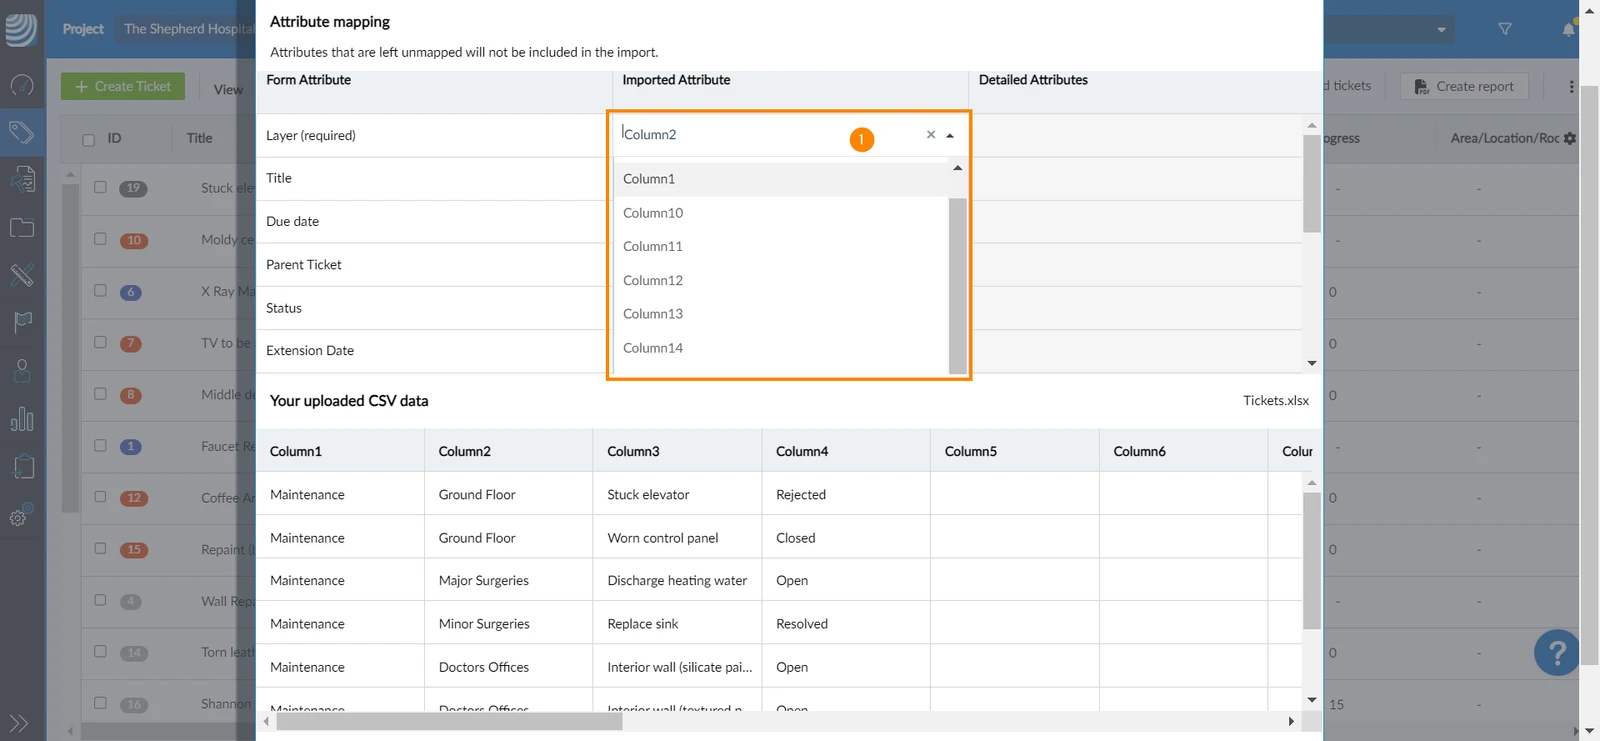
-
For form fields that refer to user (e.g. author, assignee, created by, etc.), further mapping is required. Enter the value or select from the drop-down menu in the Detailed Attribute column the value type to be posted (the user name, ID, company, email, etc.)
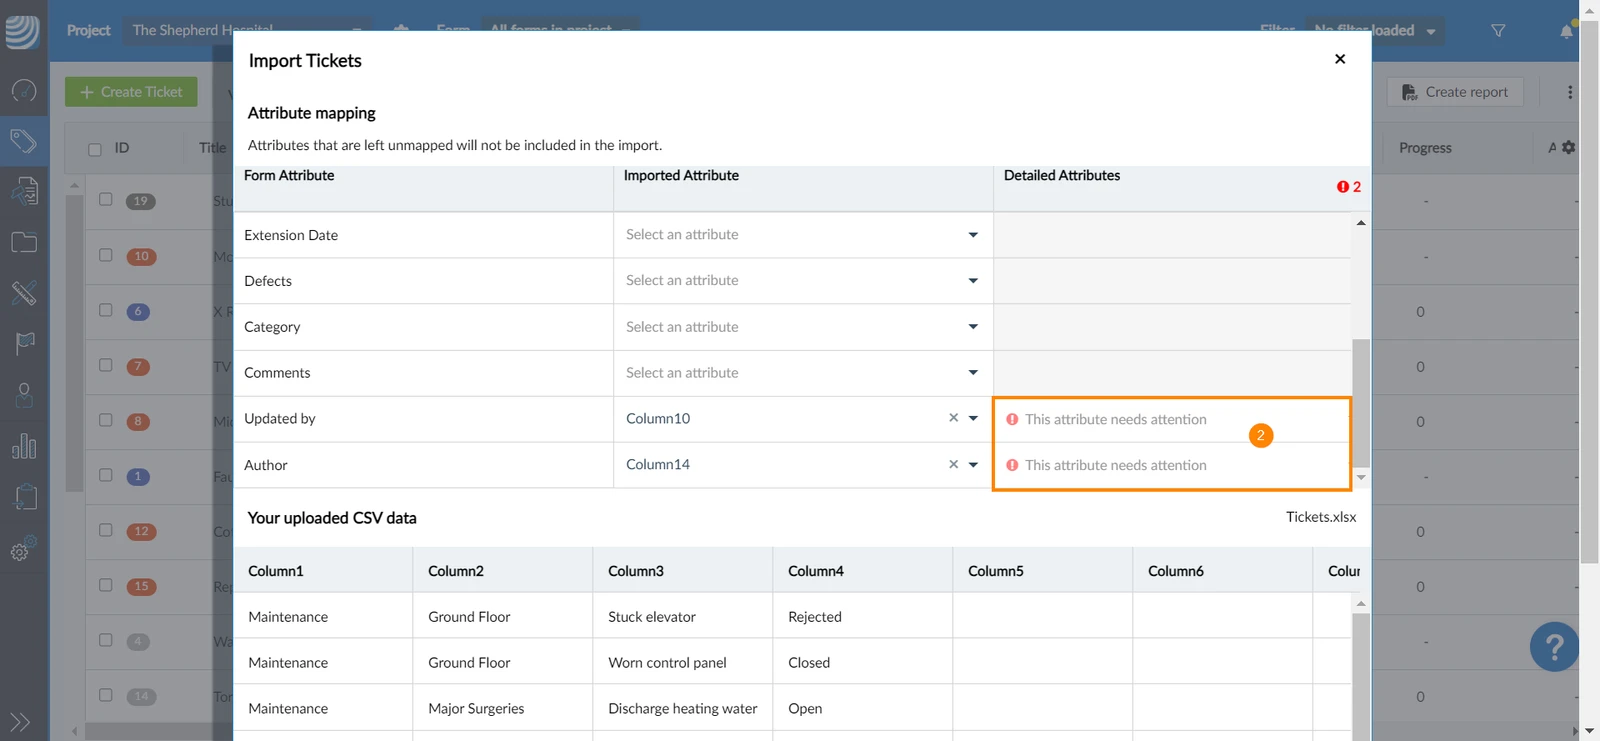
Validate Imported Tickets
Validating imported tickets is only available when you select the Validate tickets before import checkbox when importing tickets. If the checkbox is selected, a window will appear after you are done with the attribute mapping to show mapping errors (if there's any):
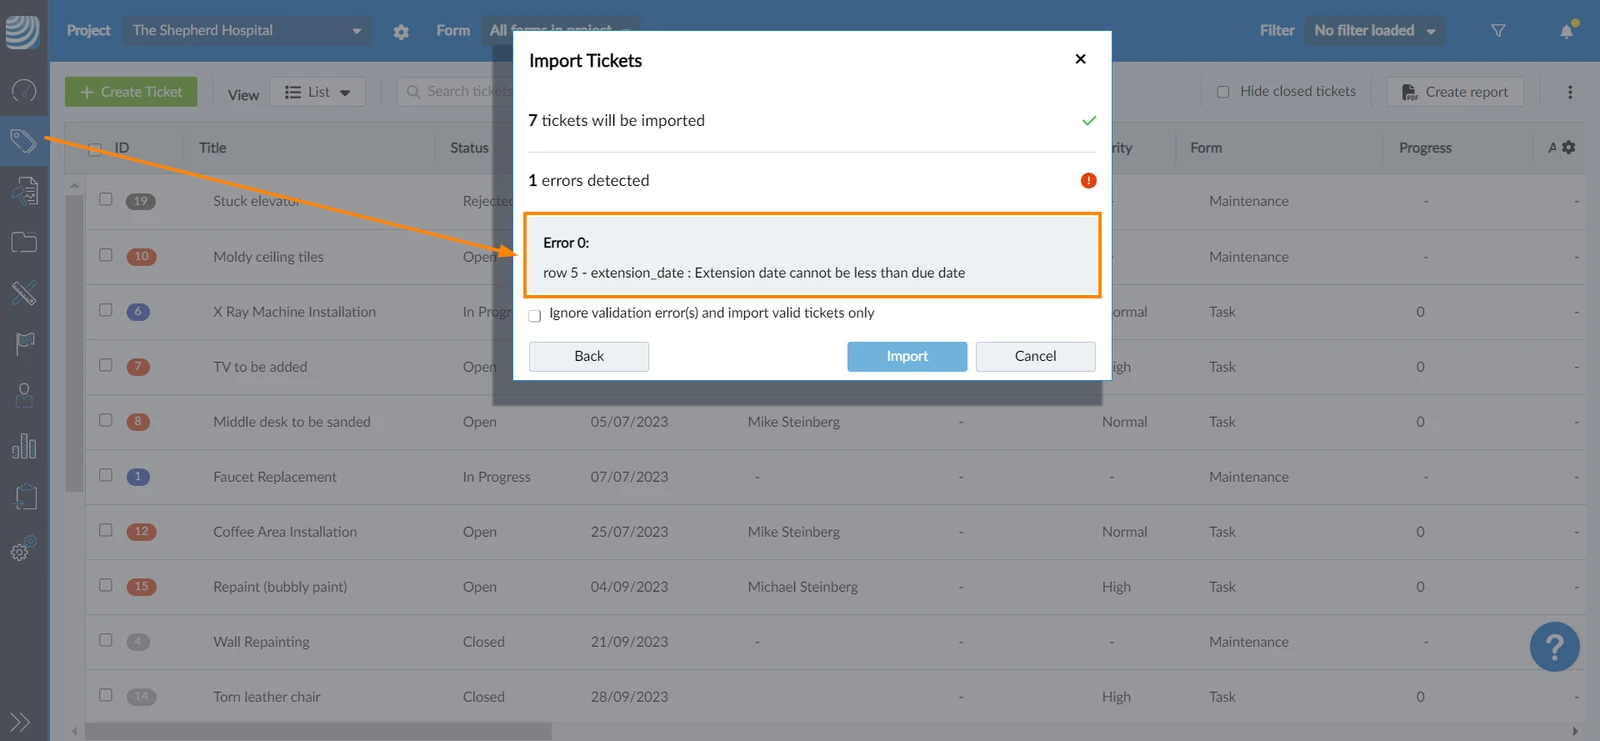
Correct Mapping Errors
To correct mapping errors:
- Click Back
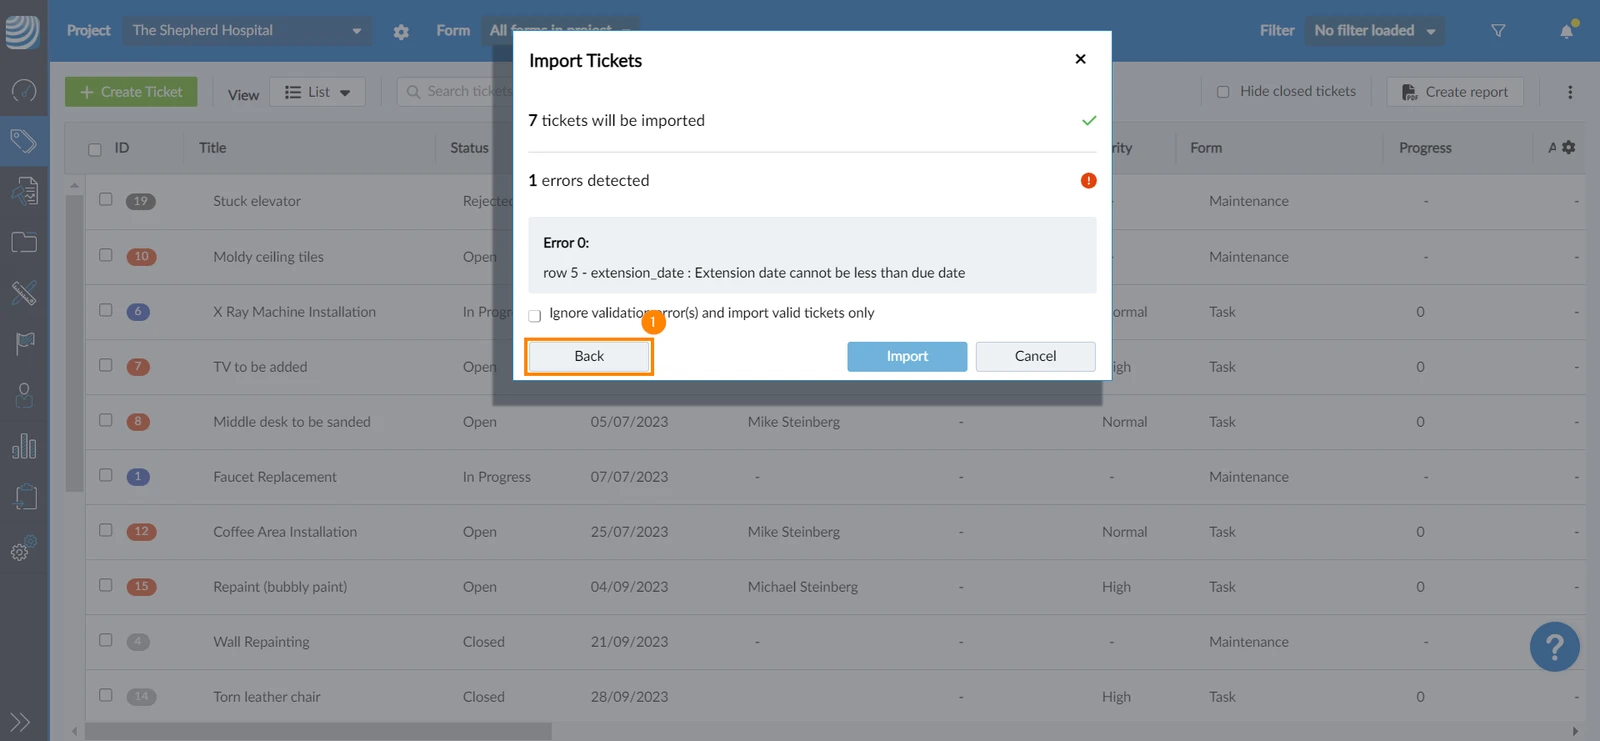
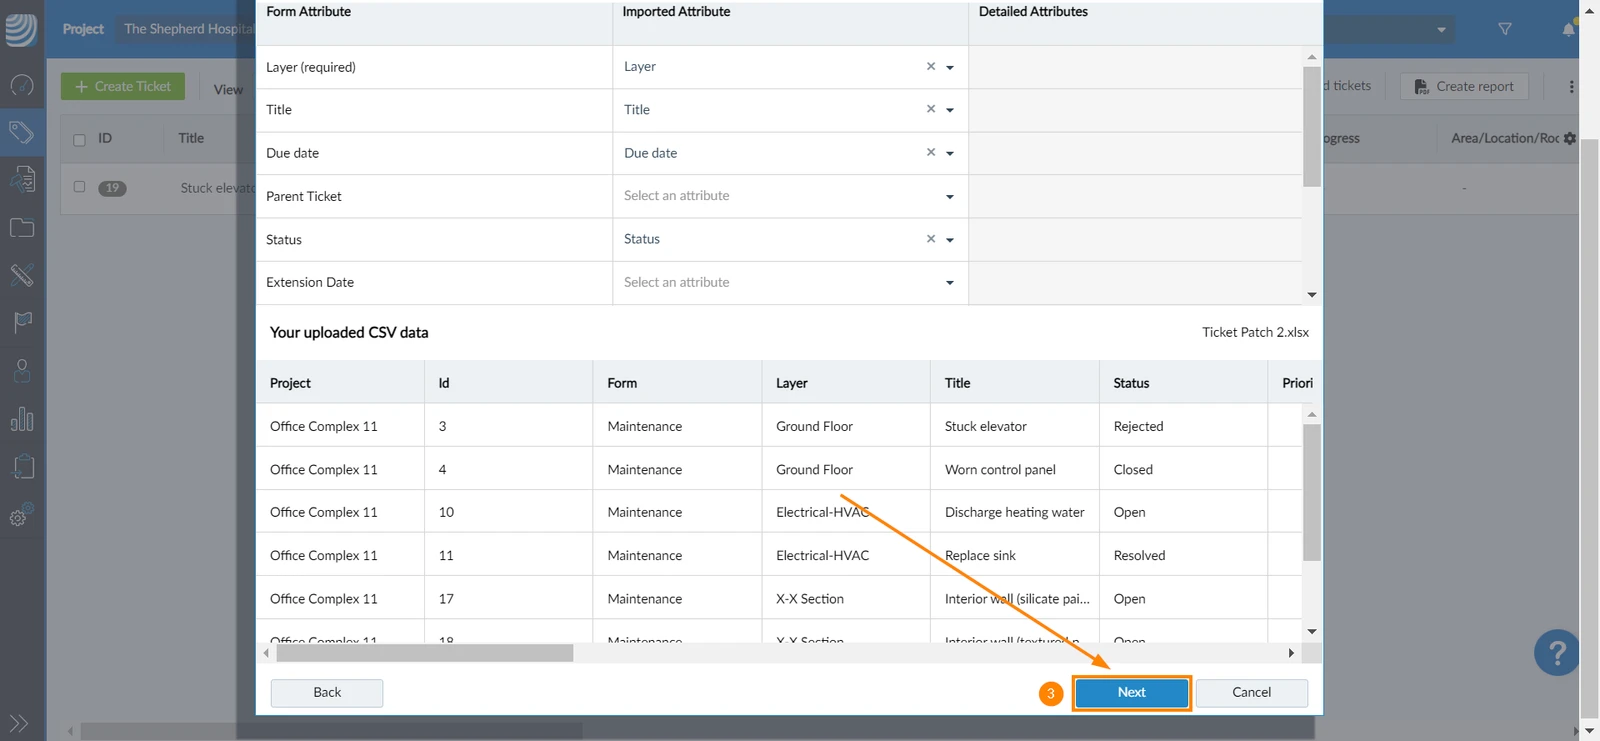
- Correct mapping errors
- Click Next
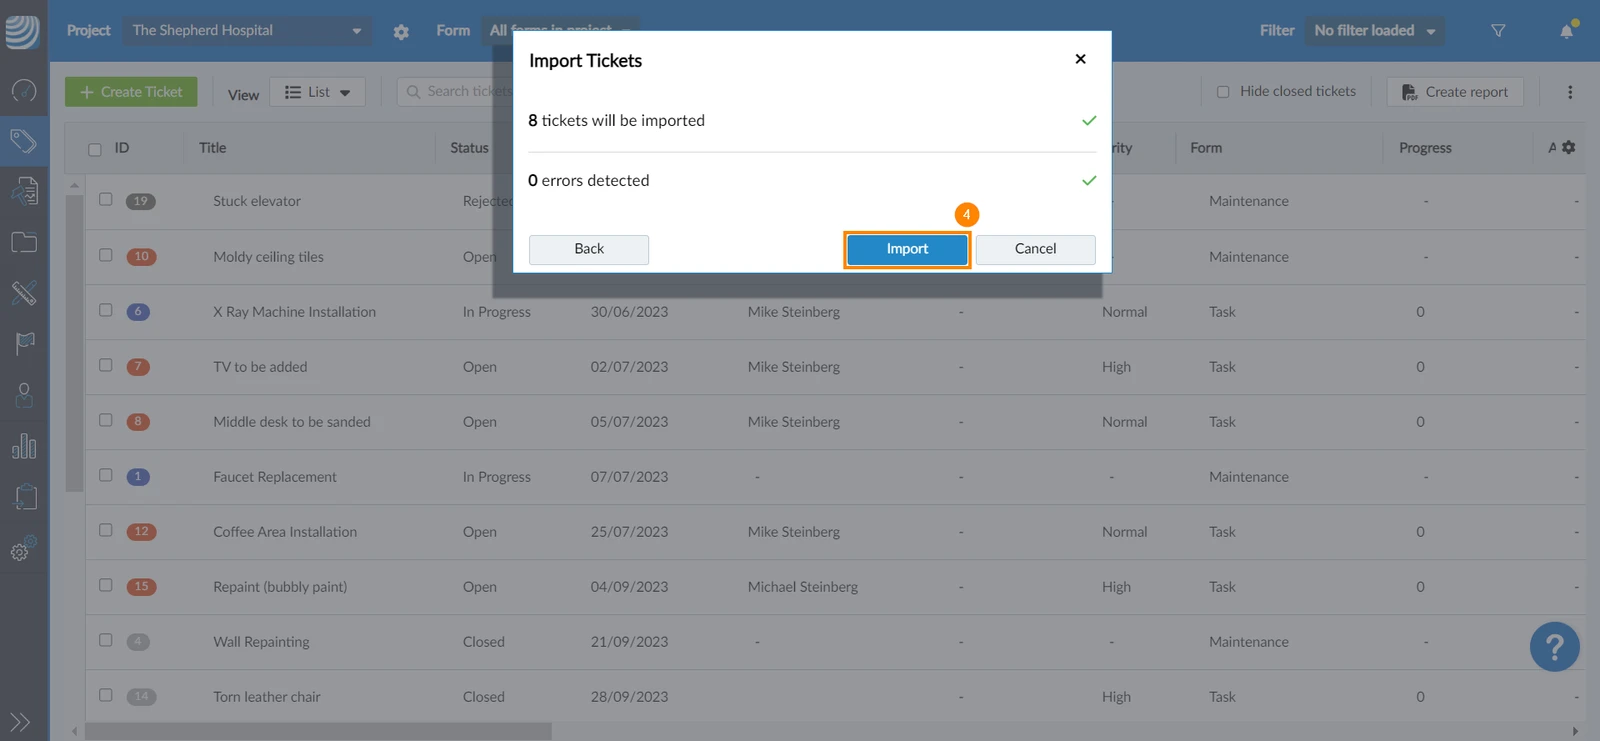
- Once there are no errors, click Import
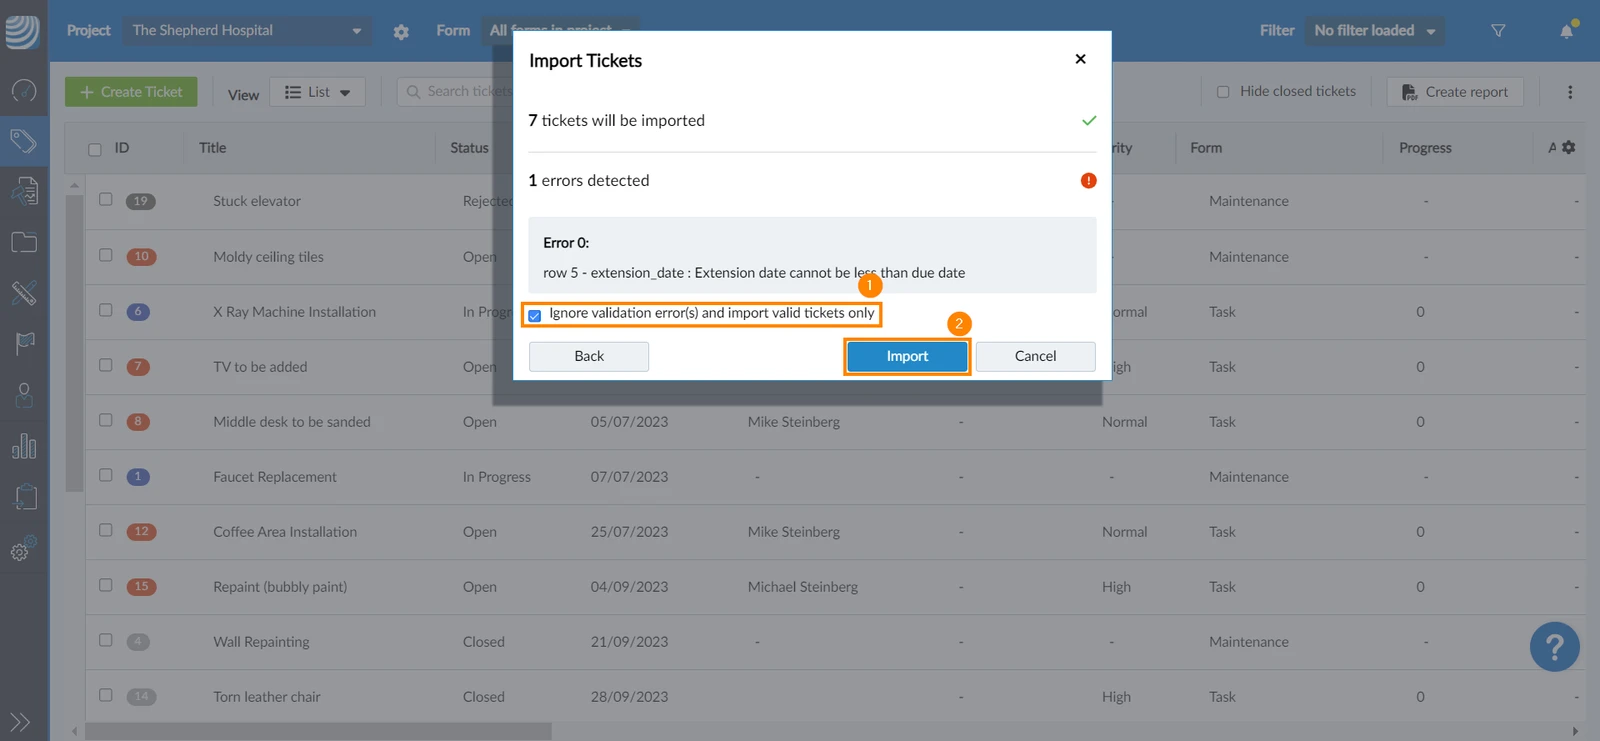
Ignore Validation Errors
To ignore validation errors:
-
Select the Ignore validation error(s) and import valid tickets only checkbox
-
Click Import
Updated October 29, 2025