

 Deutsch
 Español
 Français
 Hrvatski
 Italiano
 Polski
 Português (BR)
Create a Schedule
Overview
This is a quick summary of the recommended steps and considerations to create a new schedule.
Access & permissions
How to access Schedule
- Click Schedule
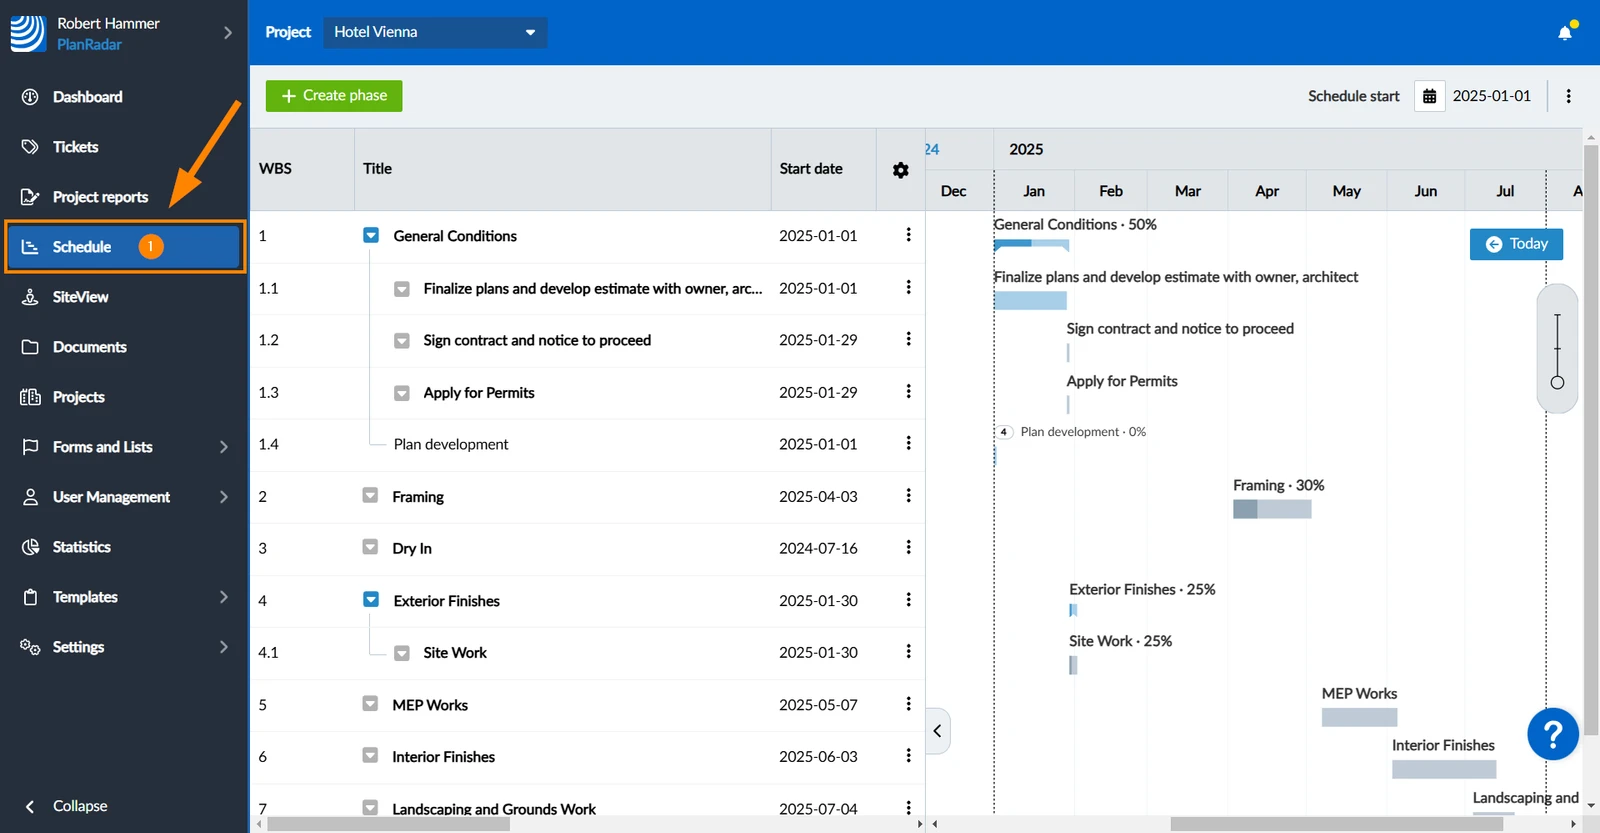
Steps to Create a Schedule
In the following, it is assumed that you have not yet created a schedule for your current project.
Set the Schedule Start Date
At first, you need to set a start date for your schedule.
Import a Schedule
If you already have a Microsoft Project, Asta Powerproject or Primavera P6 schedule, you can import it straight-away.
Create Phases & Dependencies
Alternatively (or to create additional content after import) you can create phases and sub-phases manually directly in PlanRadar.
We recommend to create a Work Breakdown Structure (WBS) for your project using drag & drop first, without adding any dates and durations.
Next, you can schedule all the phases on the timeline and add dependencies using drag & drop in the Gantt Chart.
We recommend to use automatic scheduling mode and automatic progress whenever possible.
Link Tickets to Phases to Track Progress
One of the big advantages of PlanRadar schedules is to get it updated automatically whenever a relevant ticket's progress gets updated or the ticket gets closed.
You can create new or add existing tickets directly in Schedules under any phase. Tickets can be scheduled on the timeline like phases with optional start date, end date and duration. They can also have dependencies like phases.
Updated October 25, 2024