Apply different formats to the texts in your advanced ticket report templates. PlanRadar offers nearly all the possibilities that you know from other text editors including 14 different fonts.
Access & Permissions
Toolbars
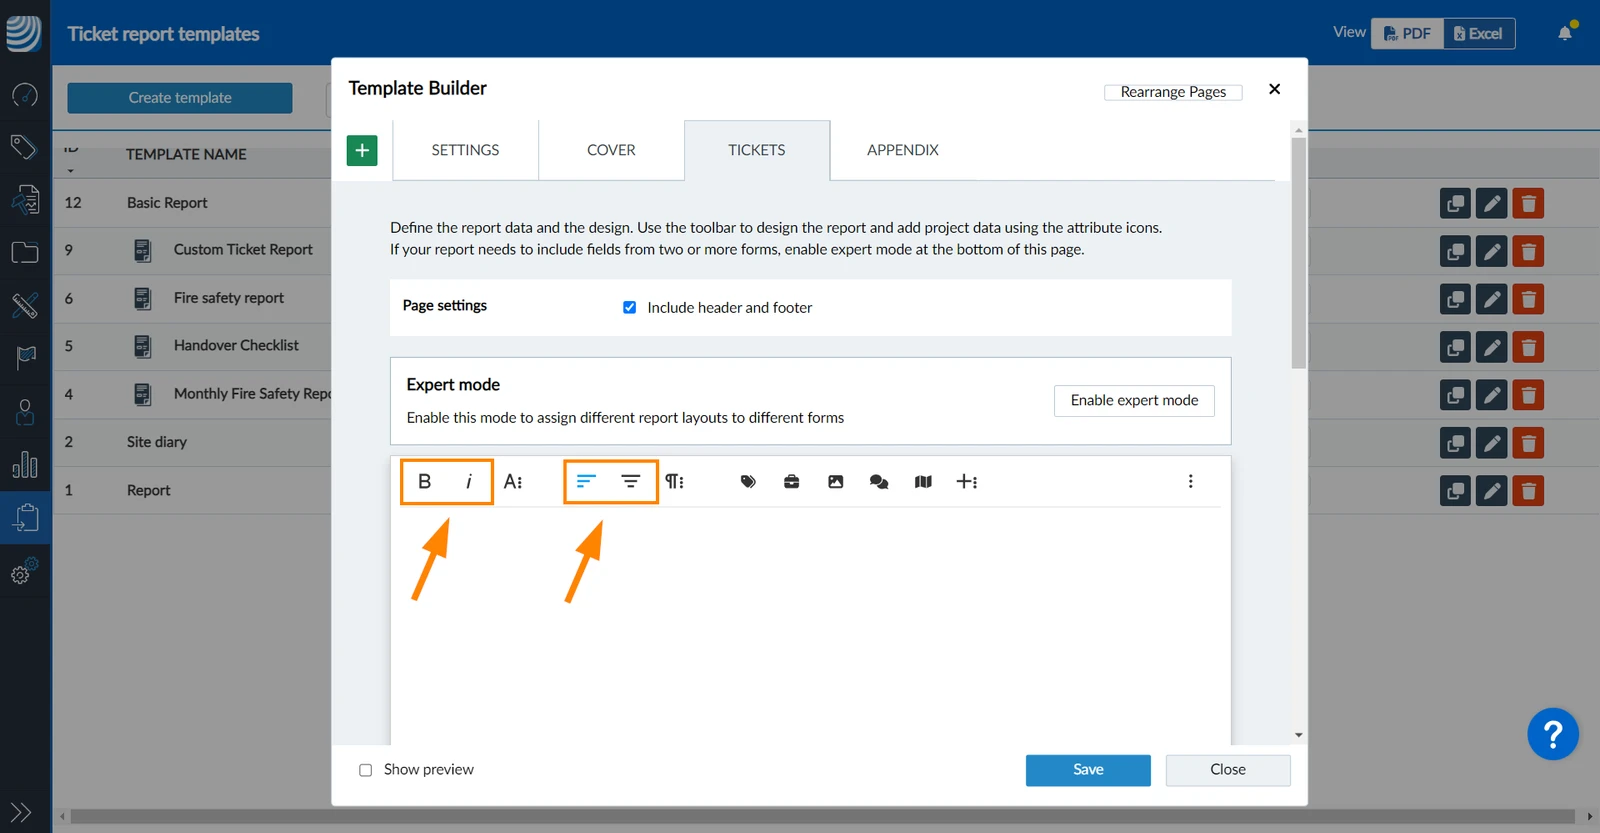
The most common formatting options are accessible with one click:
The other formatting options are in sub-menus (note the icons with three dots):
Text Formatting
The following text formatting options you can apply before you write a text or by selecting a written text and then apply the formatting options.
You can also use keyboard shortcuts to apply them instead of clicking the icon. The shortcuts are displayed in the tooltips when hovering over the icon e.g. [Ctrl] + [B] for bold:
Bold
Italic
More Text Formatting Options
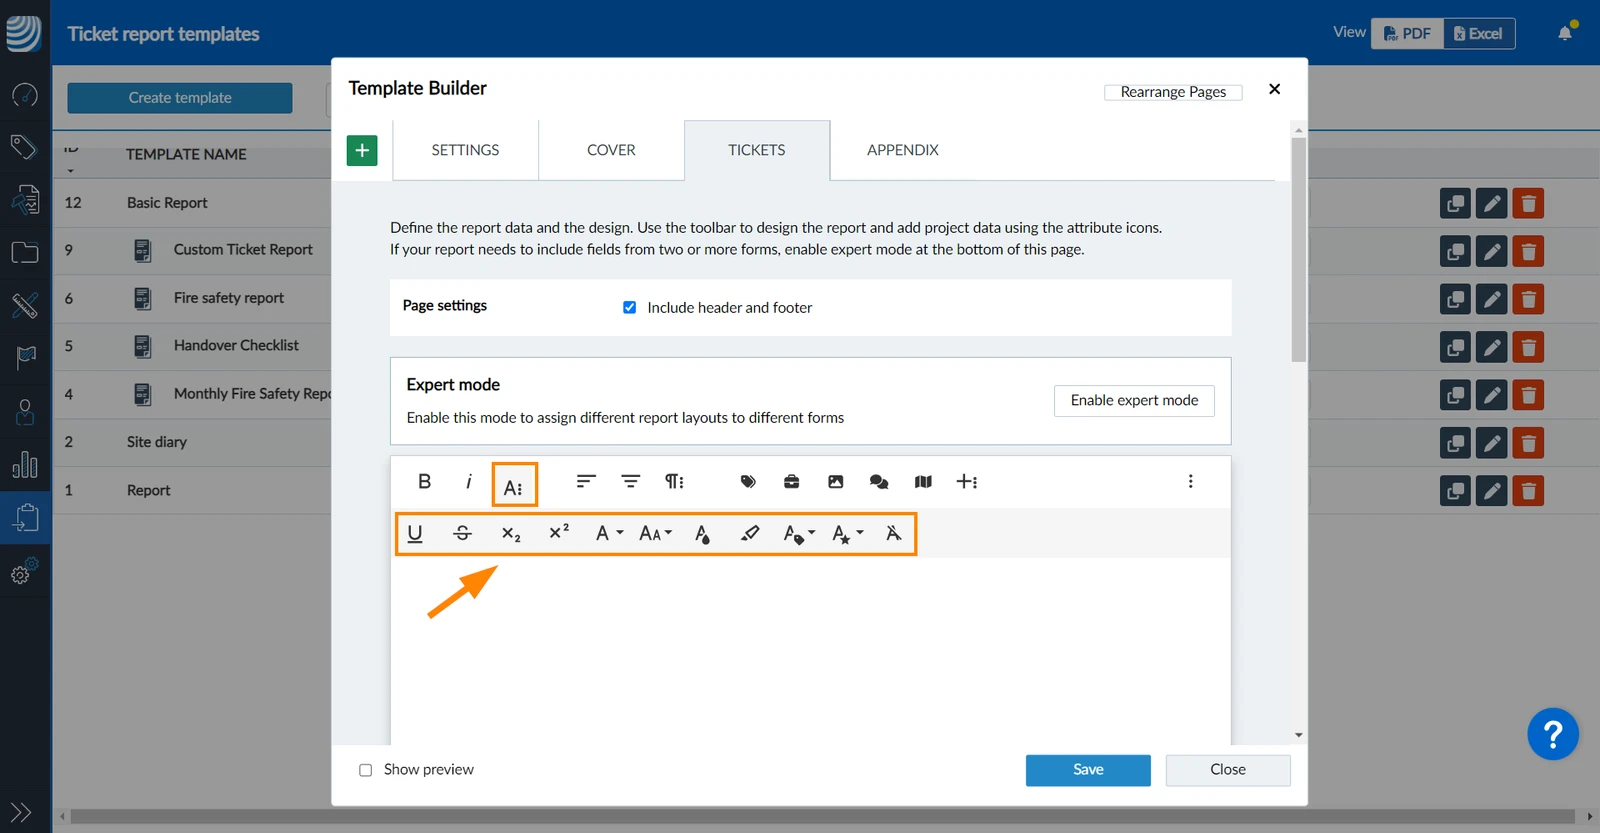
To show the second toolbar containing more text formatting options:
Click the More Text icon:
It contains the following options:
Underline
Strike Through
Subscript
Superscript
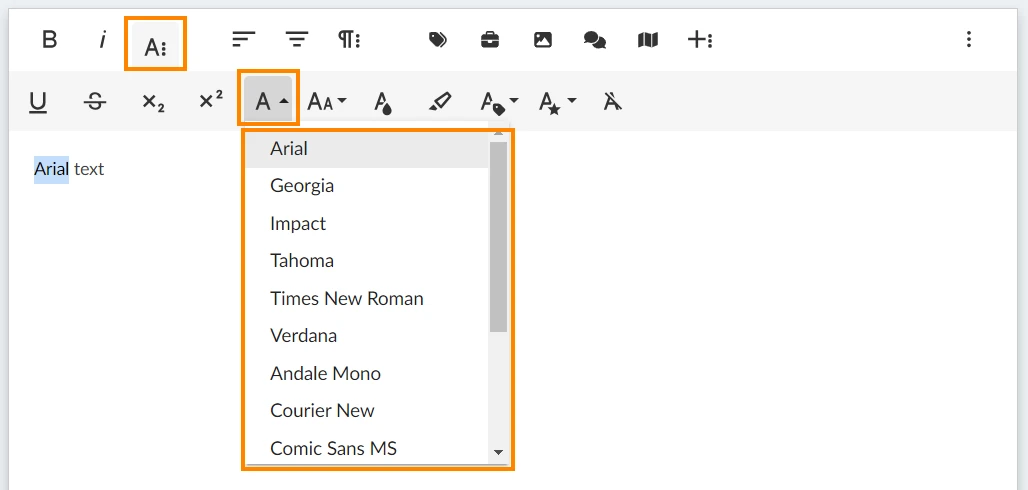
Font
Available Fonts:
Arial
Georgia
Impact
Tahoma
Times New Roman
Verdana
Andale Mono
Courier New
Comic Sans MS
Trebuchet MS
Liberation Mono
Liberation Serif
Liberation Sans Narrow
Liberation Sans
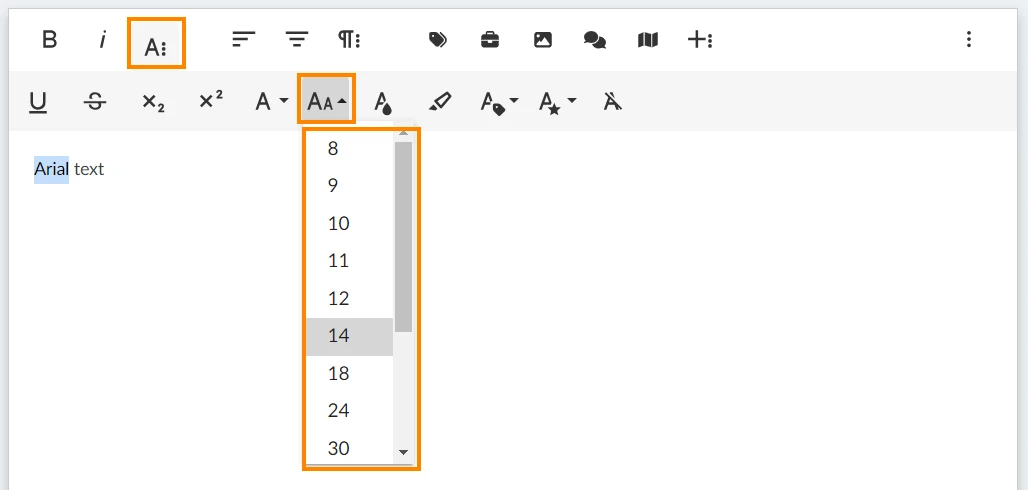
Font Size
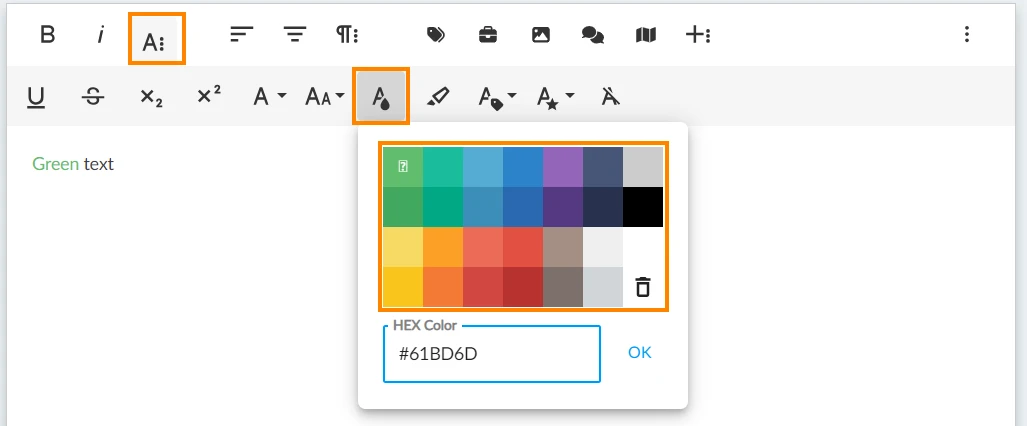
Text Colour
Select a predefined text colour or enter the HEX code of any custom colour.
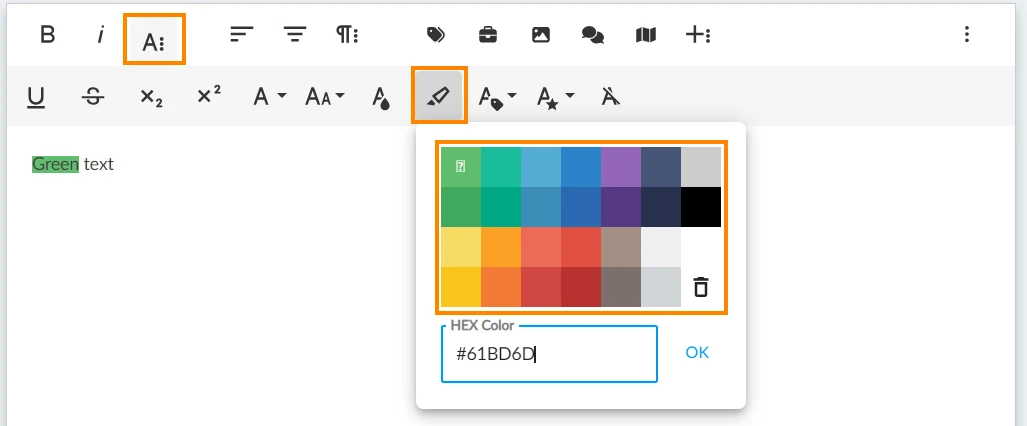
Background Colour
Select a predefined background colour or enter the HEX code of any custom colour.
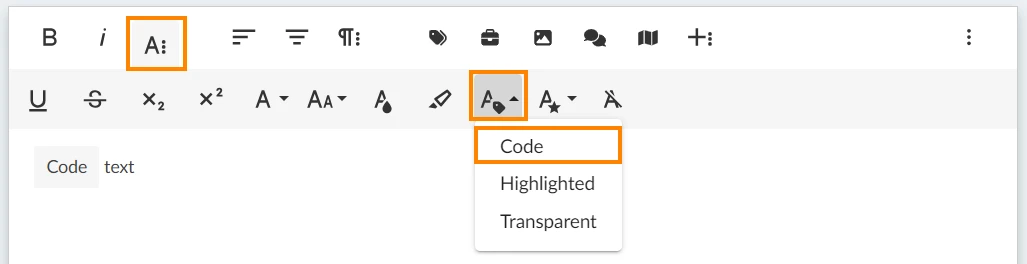
Inline Class: Code
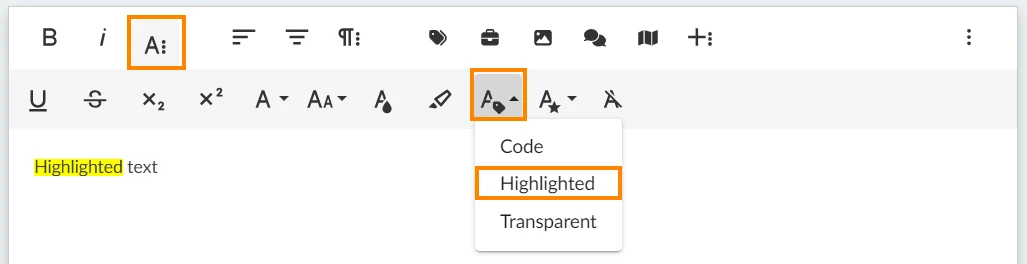
Inline Class: Highlighted
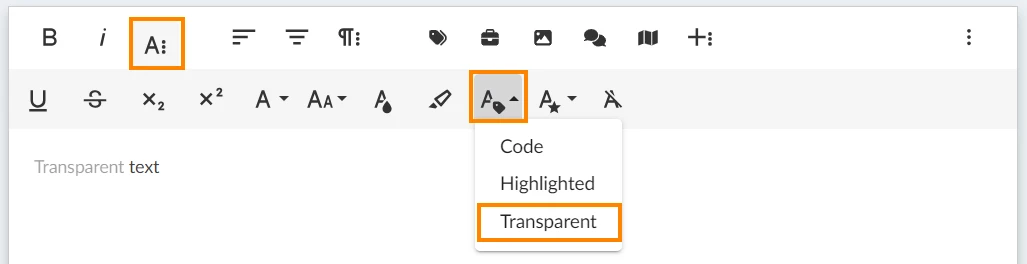
Inline Class: Transparent
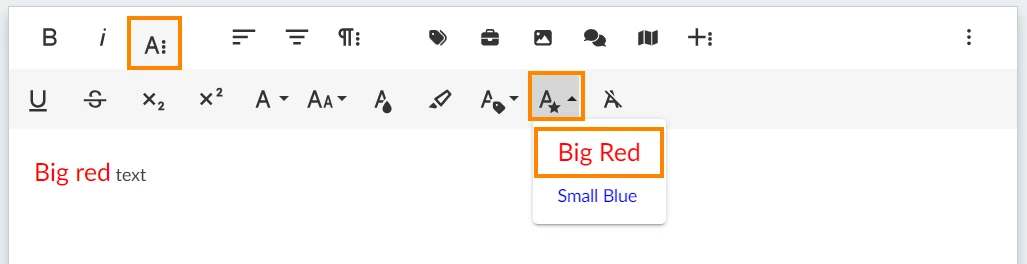
Inline Style Big Red
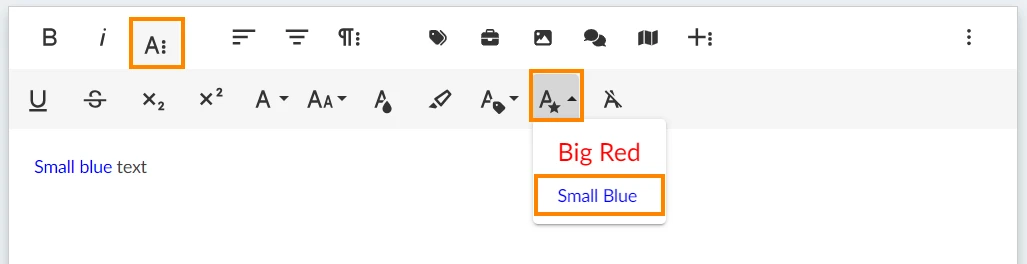
Inline Style: Small Blue
Clear Formatting
Alignment & Paragraph
Alignment and paragraph formatting applies to the whole line or paragraph and not to single words or characters.
Align Left
Align Center
More Paragraph Formatting Options
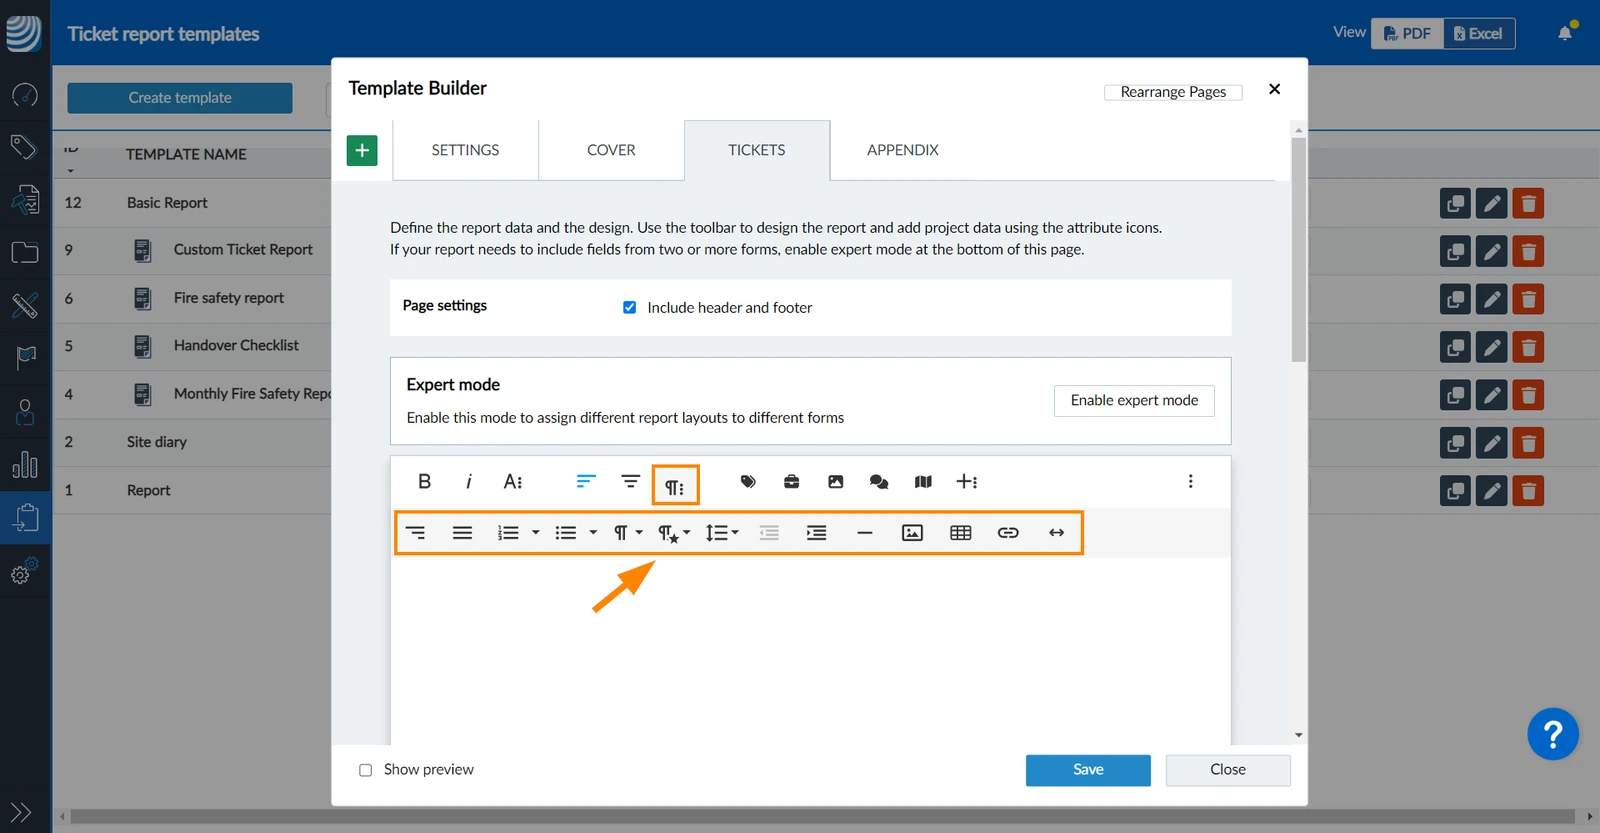
To show the second toolbar containing more paragraph formatting options:
Click the More Paragraph icon:
It contains the following options:
Align Right
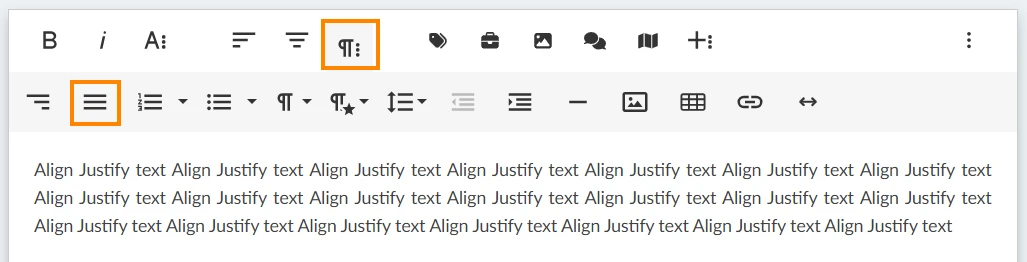
Align Justify
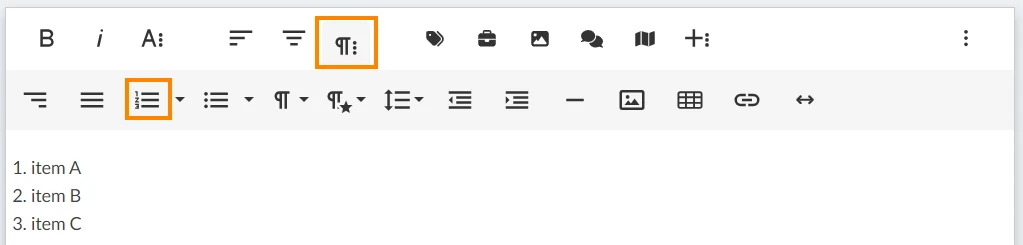
Ordered List
A default ordered list is using numbers:
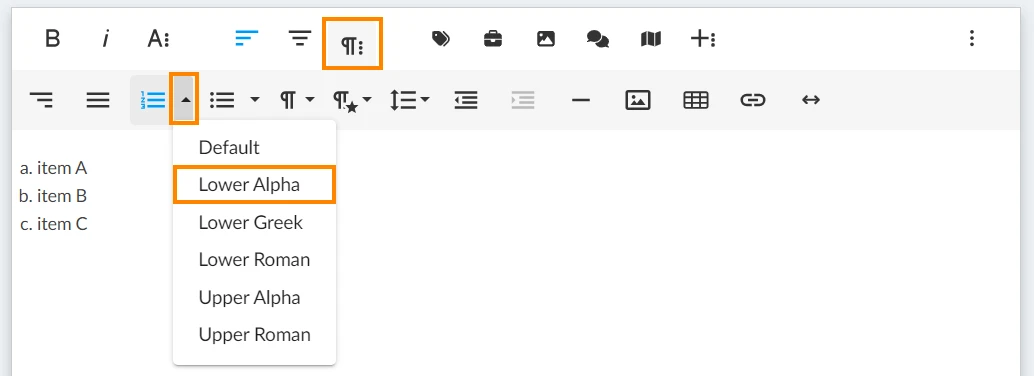
Other options for ordered list are:
Lower Alpha
Lower Greek
Lower Roman
Upper Alpha
Upper Roman
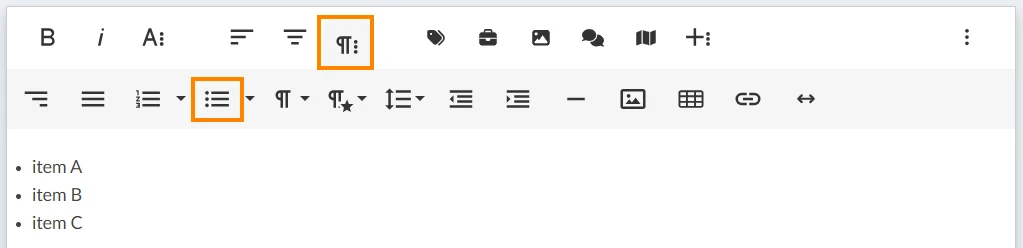
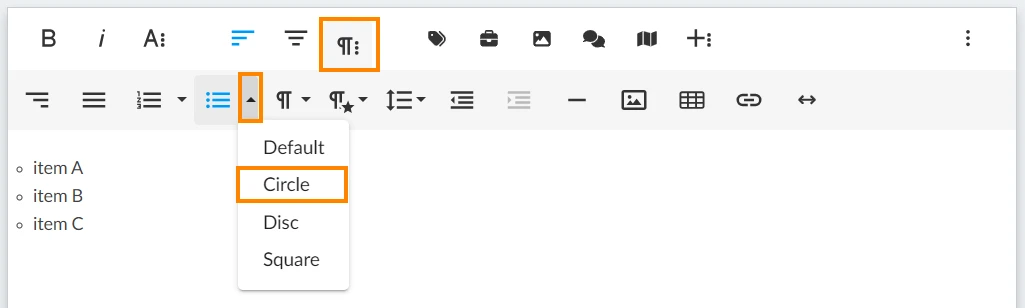
Unordered List
A default unordered list is using dots:
Other options for ordered list are:
Circle
Disc
Square
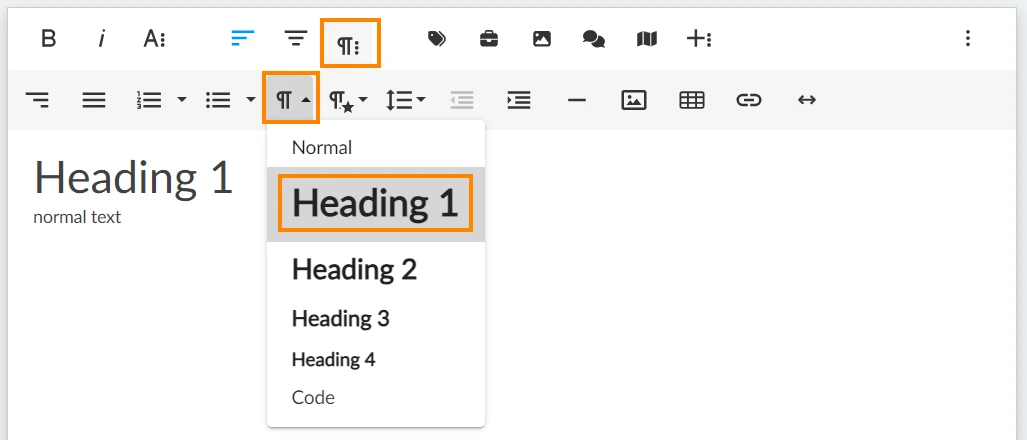
Paragraph Format (Heading)
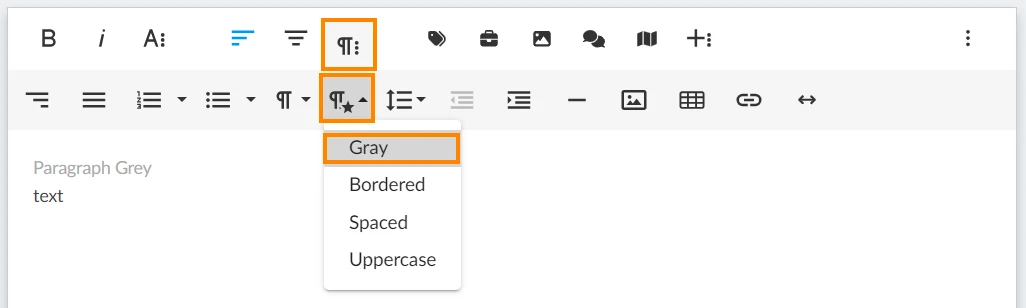
Paragraph Style: Gray
Paragraph styles can be combined on the same paragraph.
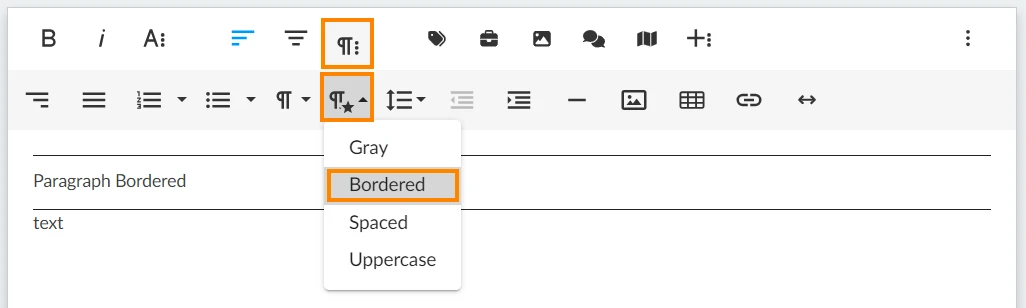
Paragraph Style: Bordered
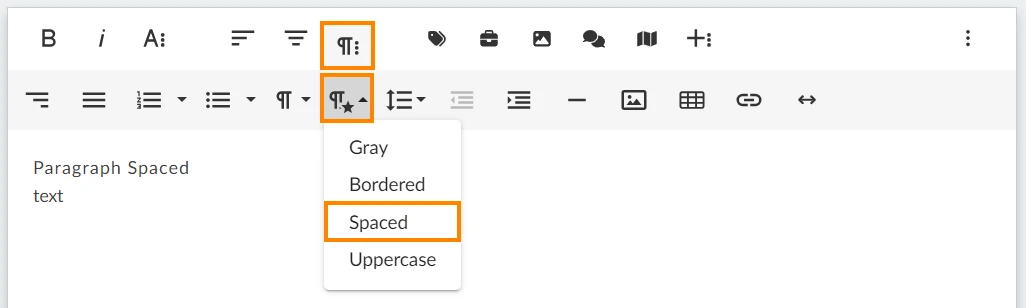
Paragraph Style: Spaced
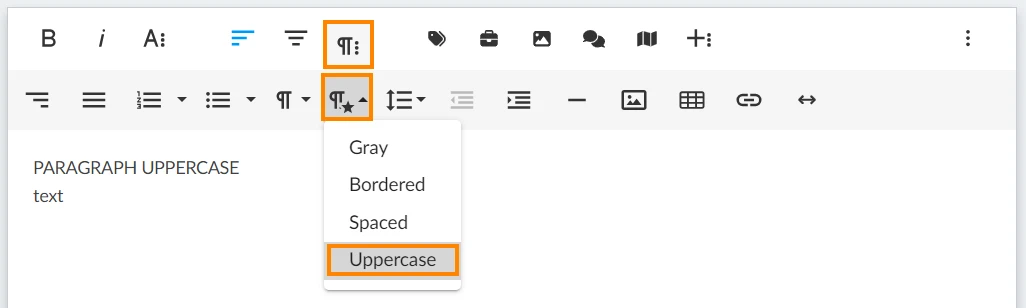
Paragraph Style: Uppercase
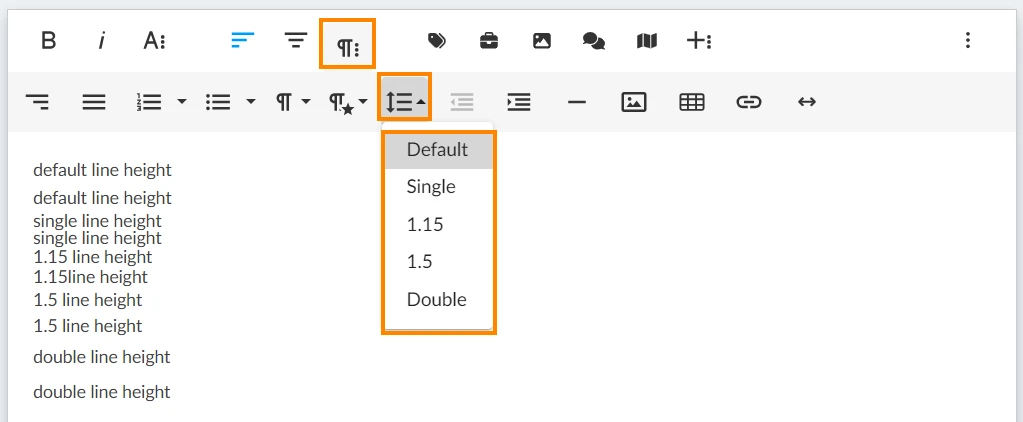
Line Height
In addition to the default line height you can choose:
Single
1.15
1.5
Double
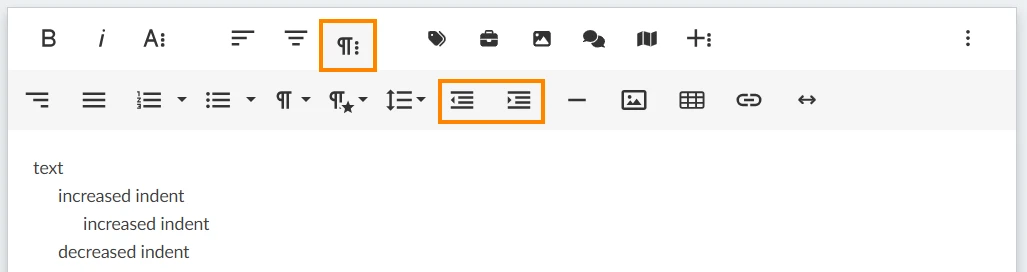
Increase/Decreased Indent
Insert
You can insert the following elements:
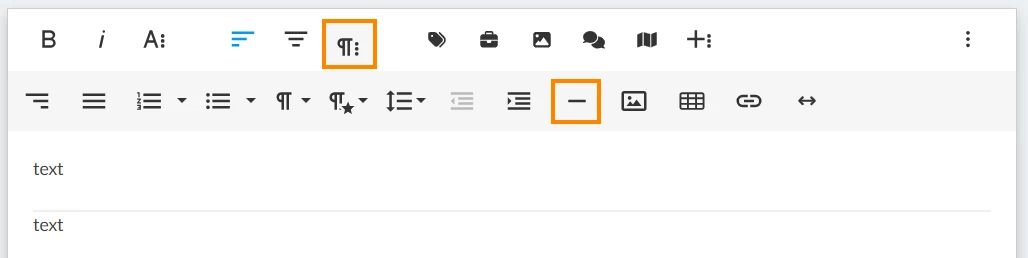
Insert Horizontal Lines
Insert Images
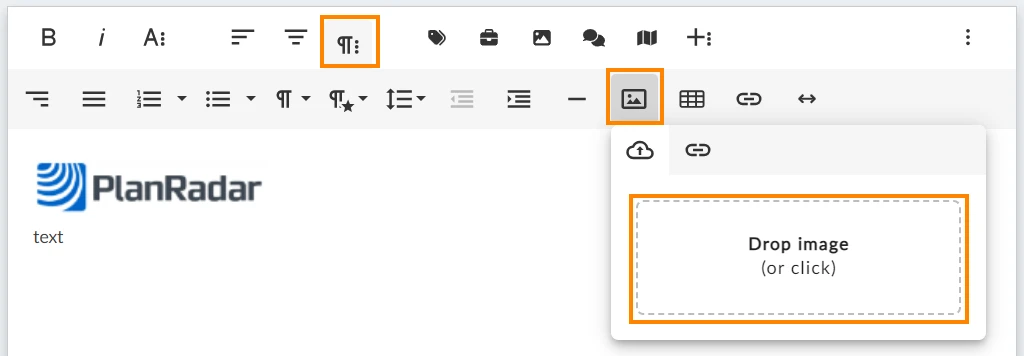
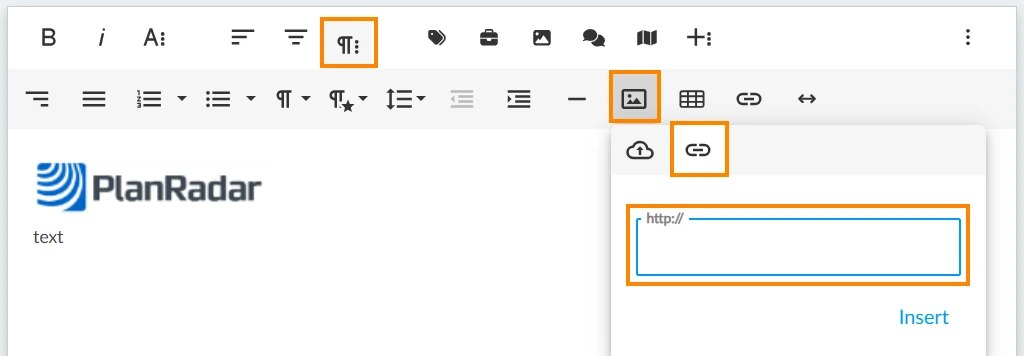
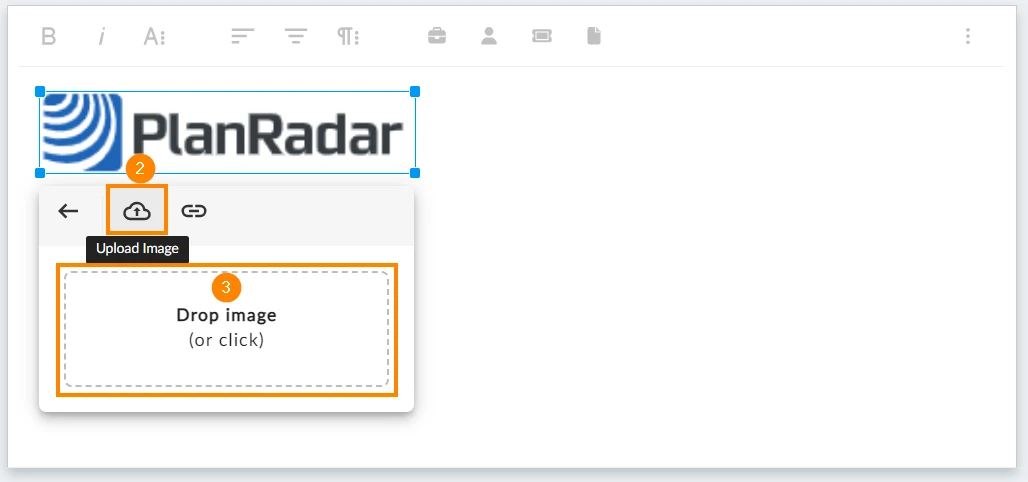
To insert an image you have multiple options:
Drap & Drop the image file
Click on the drop area to open the file browser and pick a file
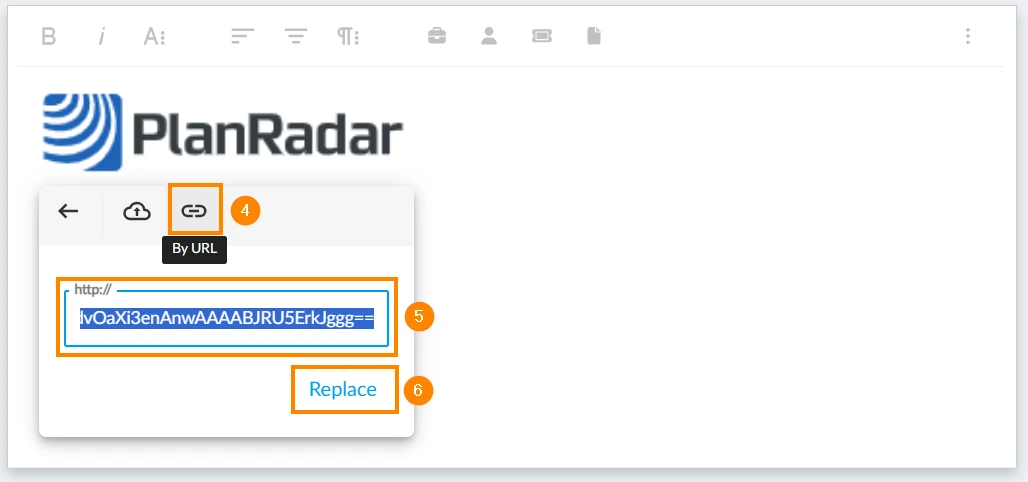
Insert a URL:
Paste the image from your clipboard with keyboard shortcut [Ctrl] + [V].
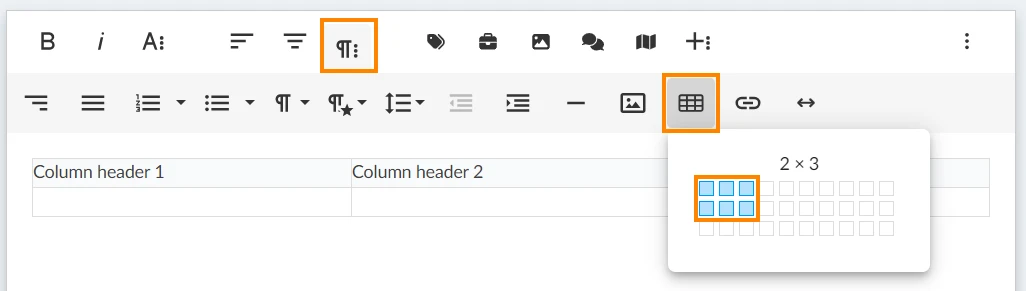
Insert and Edit Tables
Insert a table by defining the initial number of columns and lines.
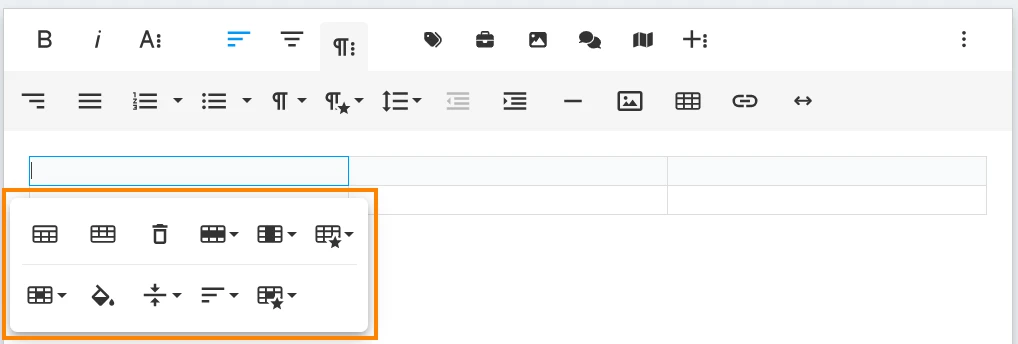
When you click on an inserted table you have the following editing options:
Table Header
Table Footer
Delete Table
Row
Insert row above
Insert row below
Delete row
Column
Insert column above
Insert column below
Delete column
Table Style
Dashed borders
Alternative rows
Borderless table
Cell
Merge cells
Vertical split
Horizontal split
Cell Background Colour
Vertical Align
Top
Middle
Bottom
Horizontal Align
Align Left
Align Center
Align Right
Align Justify
Cell Style
Highlighted
Thick
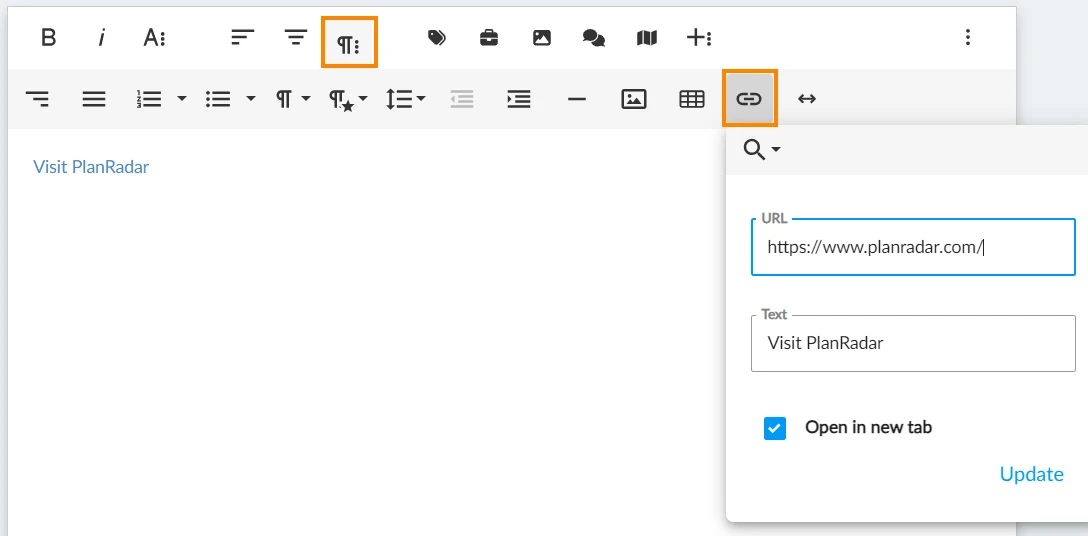
Insert Links
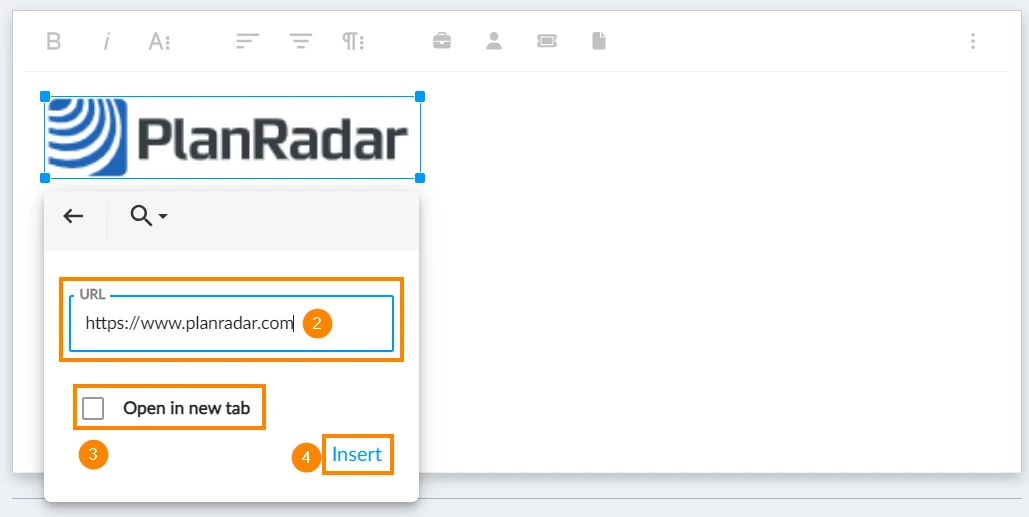
When you insert a URL you can define a text for the link and if it should open in a new tab.
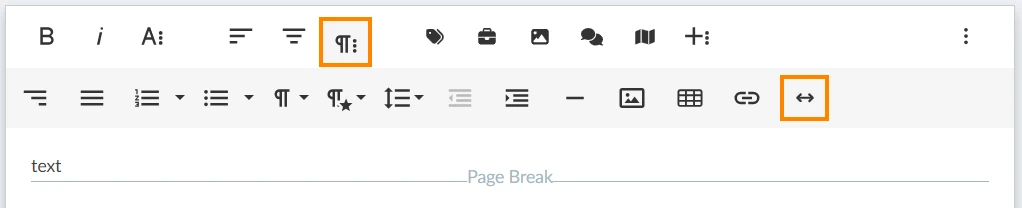
Insert Page Breaks
Insert page breaks to ensure the following content starts on a new page.
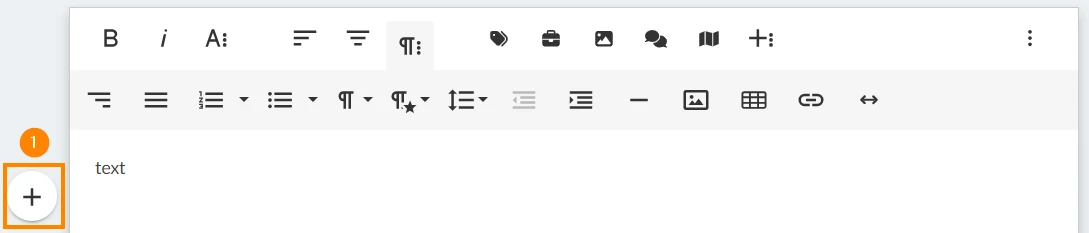
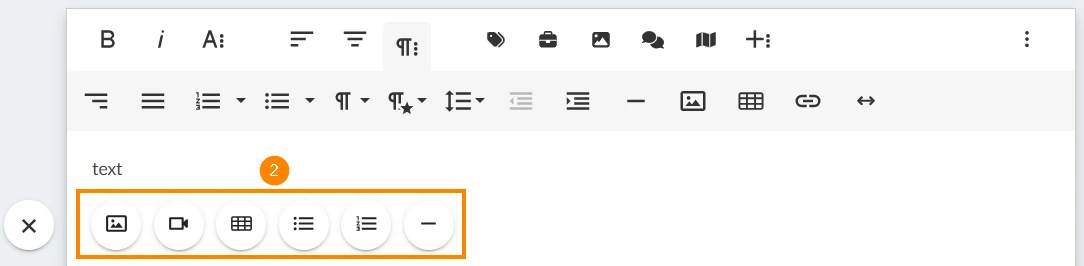
Quick Insert
Use quick insert for the following elements, when your cursor is at the beginning of a new line:
Image
Table
Unordered List
Ordered List
Horizontal Line
Click the + icon
Select one of the quick insert elements:
Insert & Edit Images
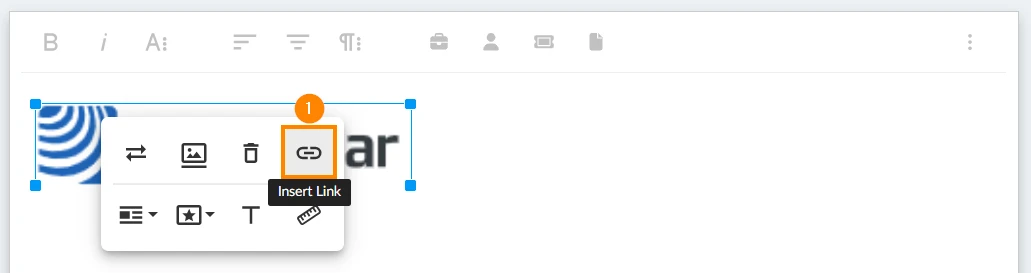
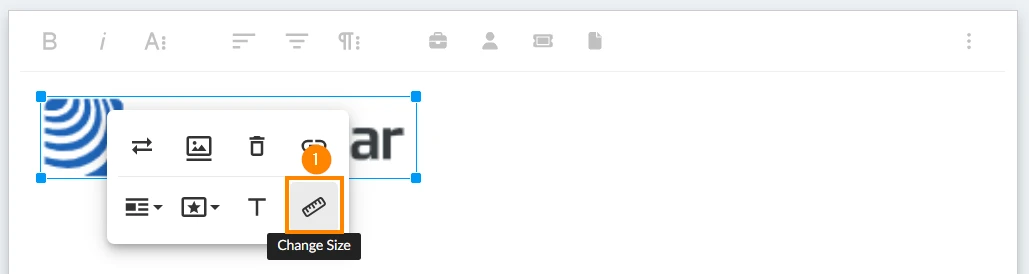
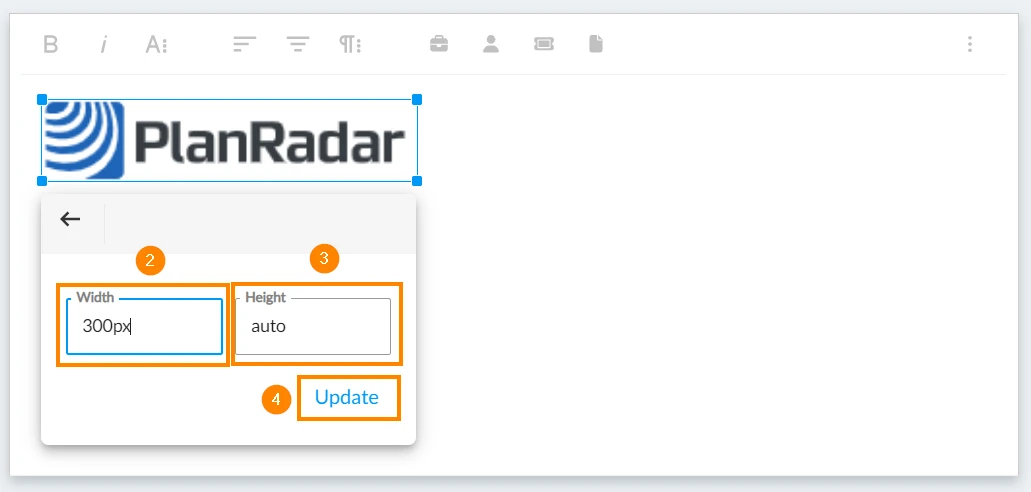
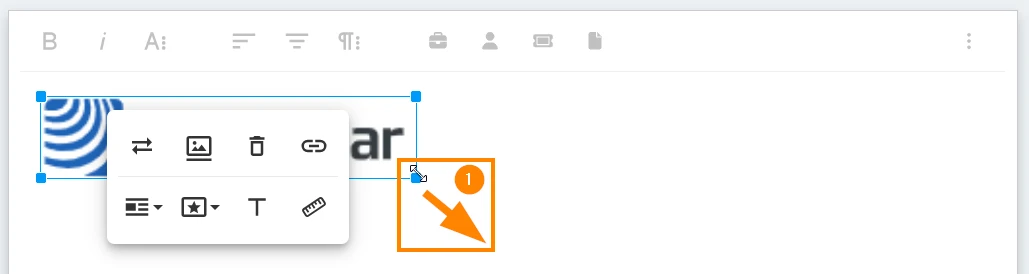
Insert images as described above in Quick Insert or simply by using the keyboard shortcut Ctrl+C to copy an image and then Ctrl+V to paste it from your clipboard, e.g. to insert your company logo in the header.
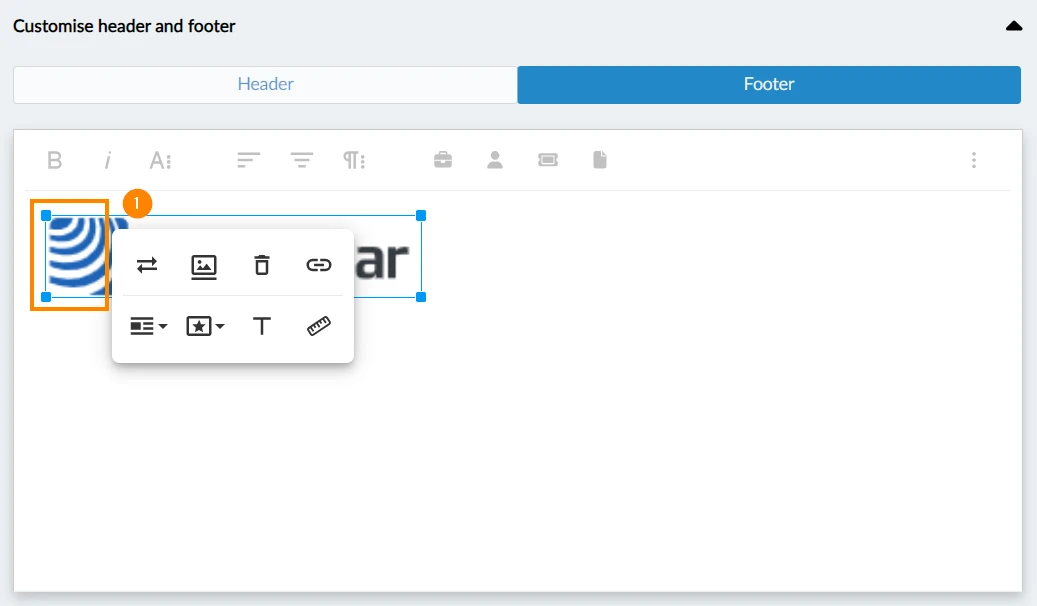
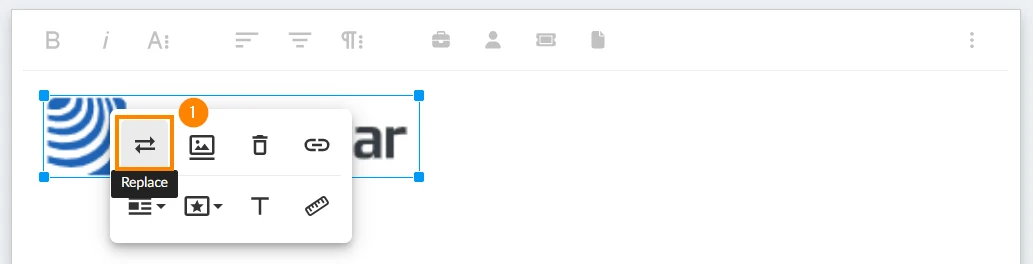
Image Toolbar
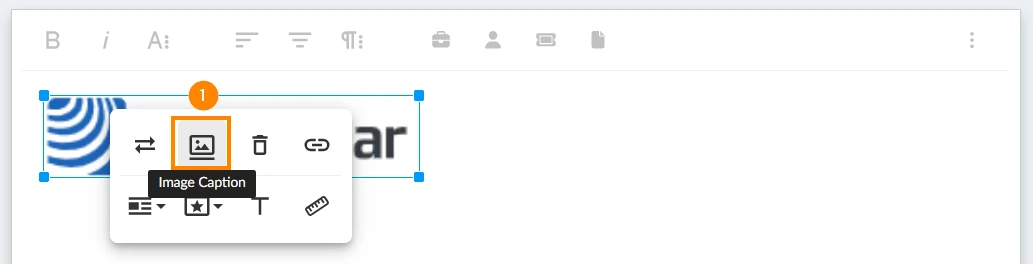
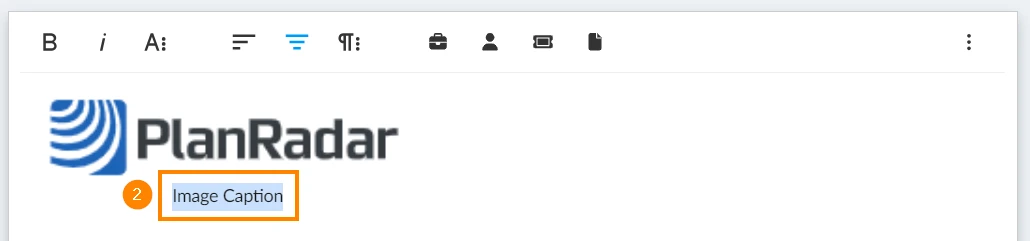
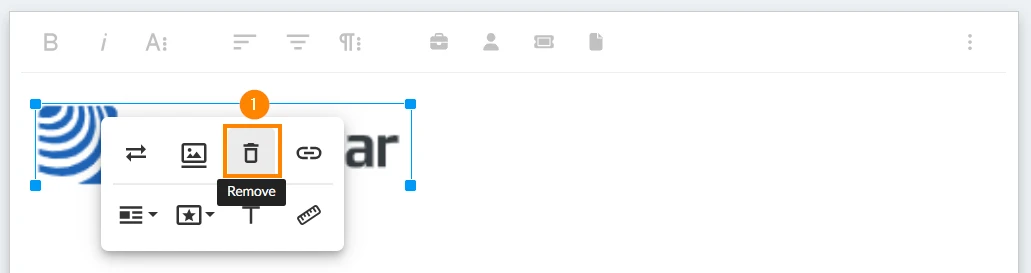
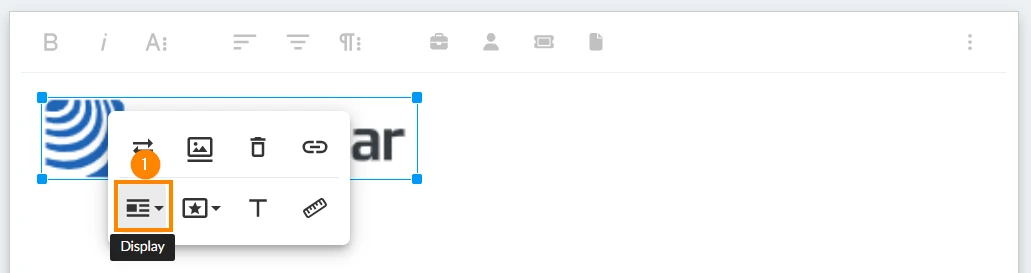
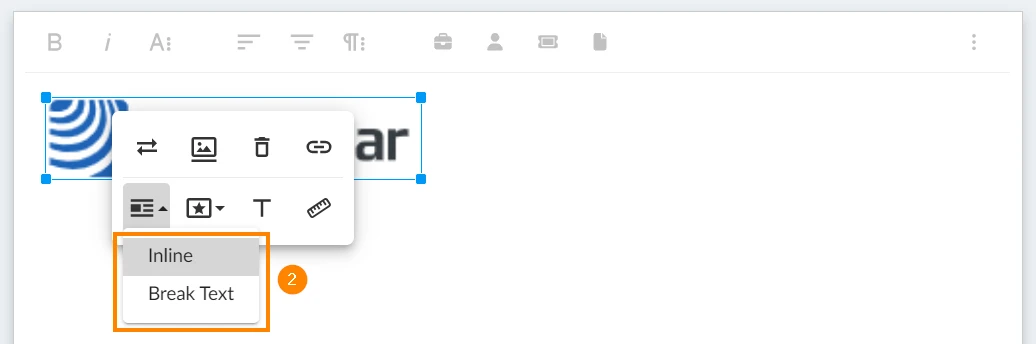
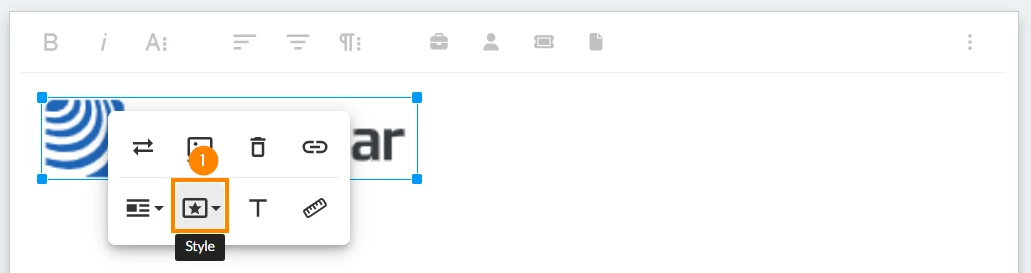
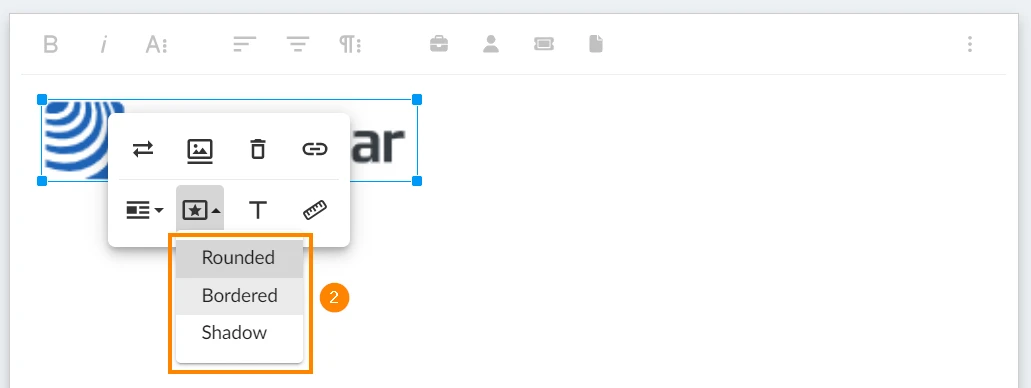
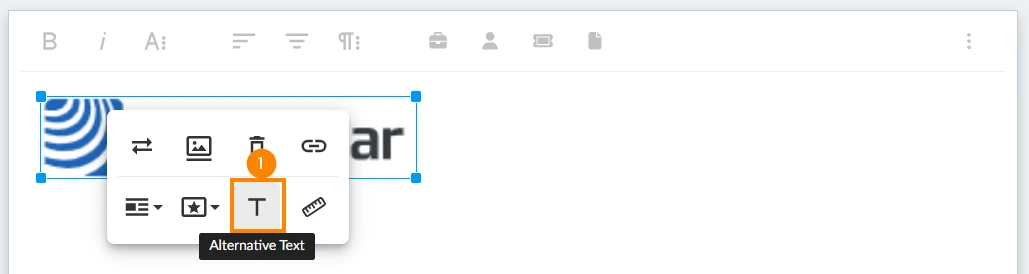
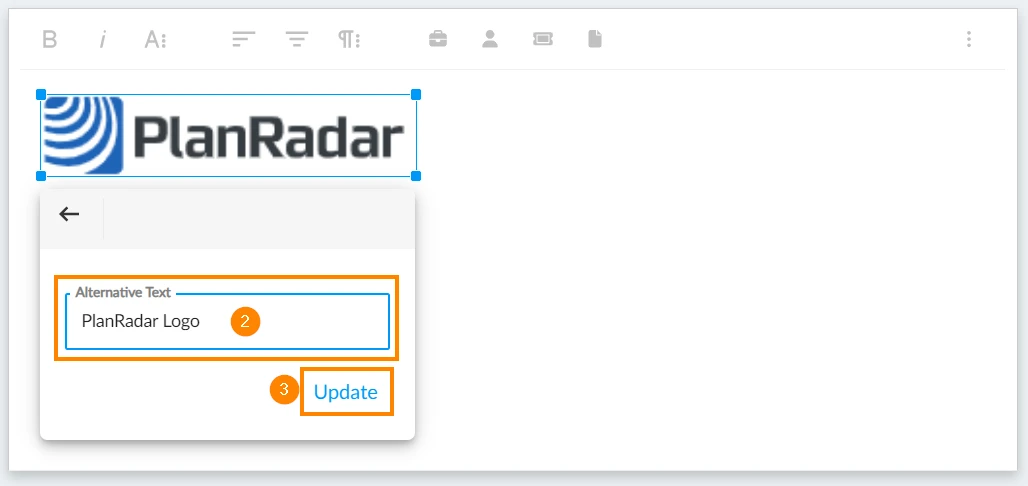
There is a toolbar with additional options for pasted images.


 Deutsch
 Español
 Français
 Hrvatski
 Italiano
 Polski
 Português (BR)