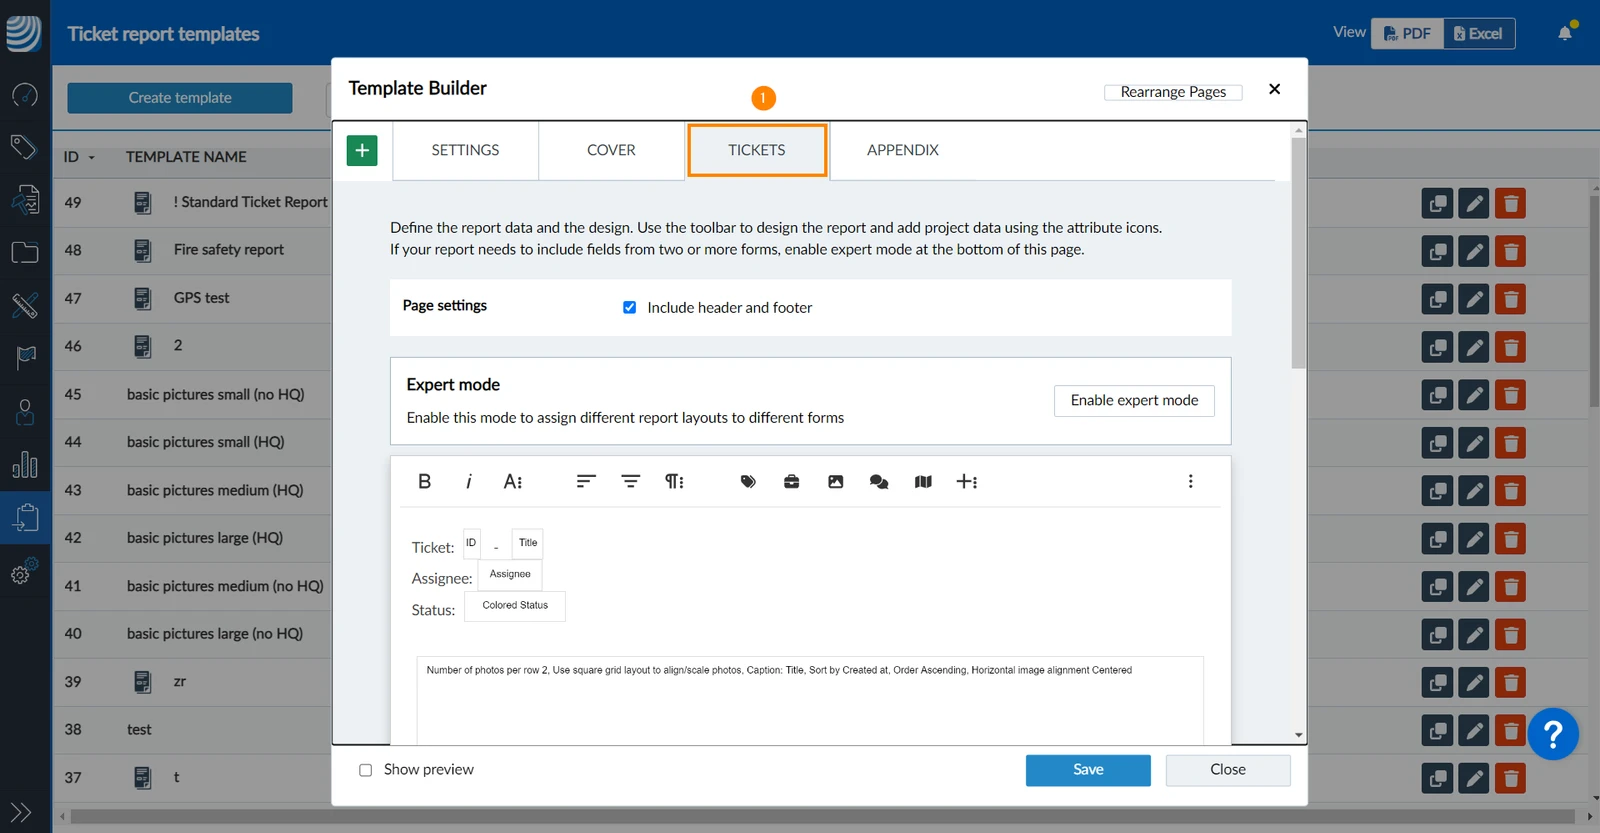
The "TICKETS" page is a special one. There, you can define the representation of all the tickets. The tickets page cannot be renamed or deleted, but you can move it to change the order within the other pages.
Custom Page
You can add as many custom pages to your reports as needed. You can either create a blank page and fill it with dynamic content or upload a static PDF page.
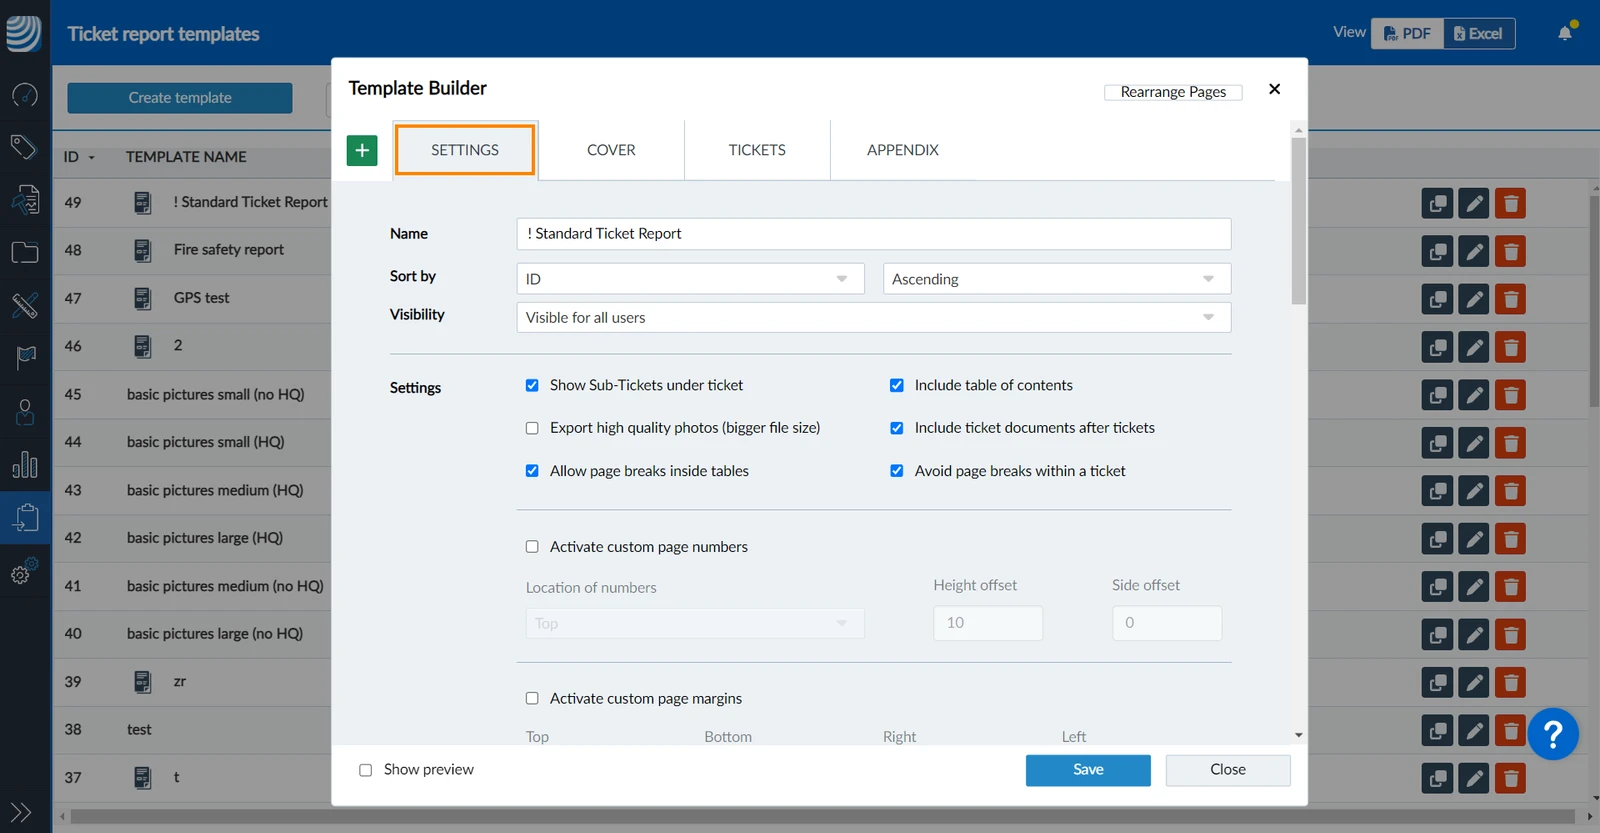
The most common example for a custom page is a cover page before the tickets page or a appendix page after the tickets page. That's why those are already there as default pages. You can rename, move or delete them or add new custom pages as needed.
Add a blank custom page to create your own content in the Template Builder as described below in Customise & Format your Pages.
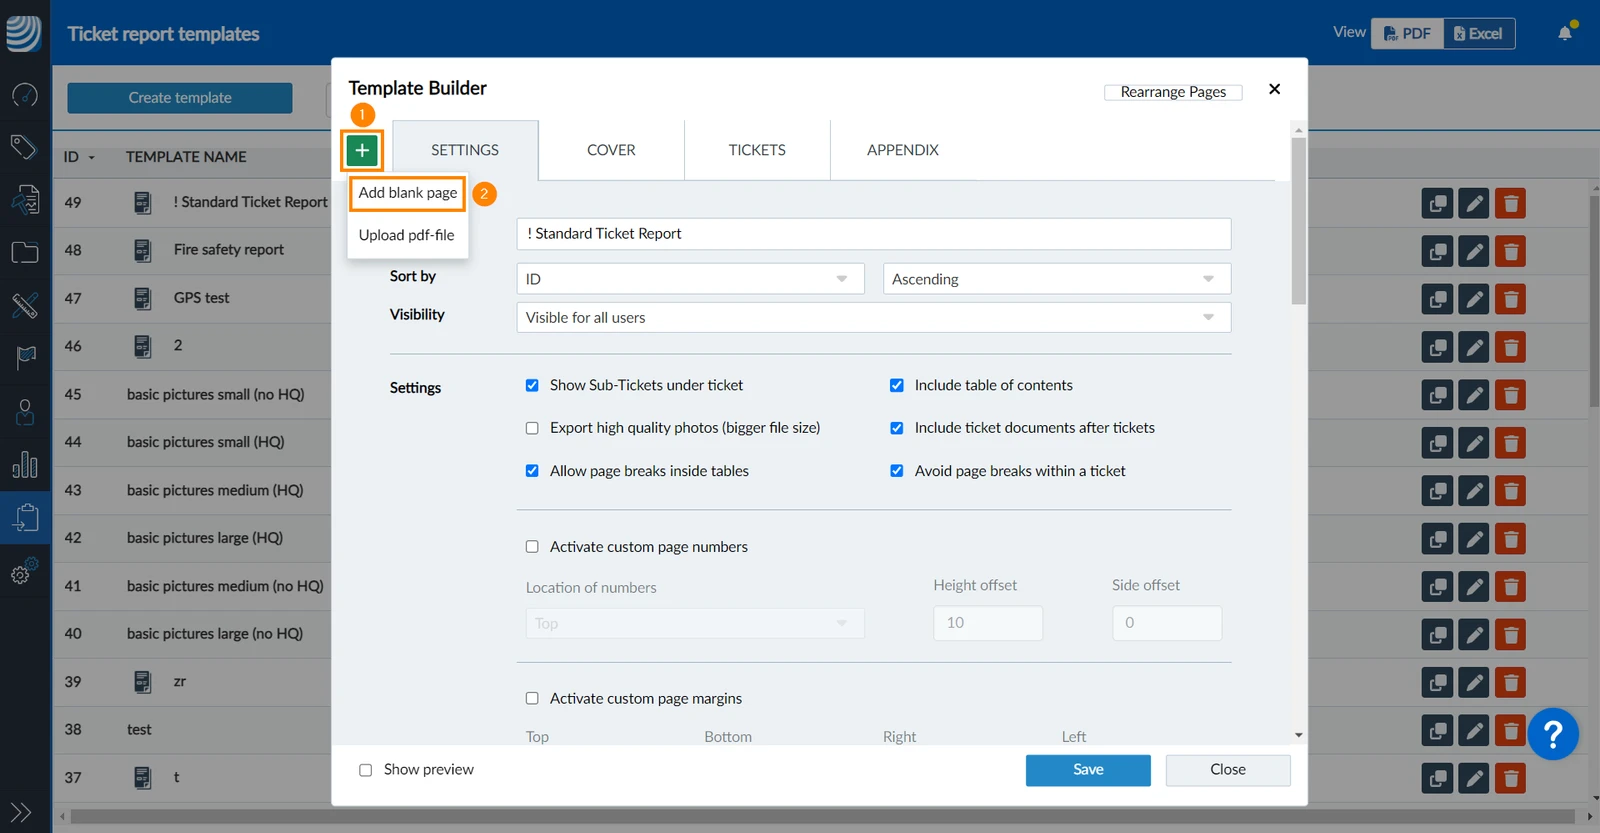
To add a blank page:
Click the + icon
Click Add blank page 

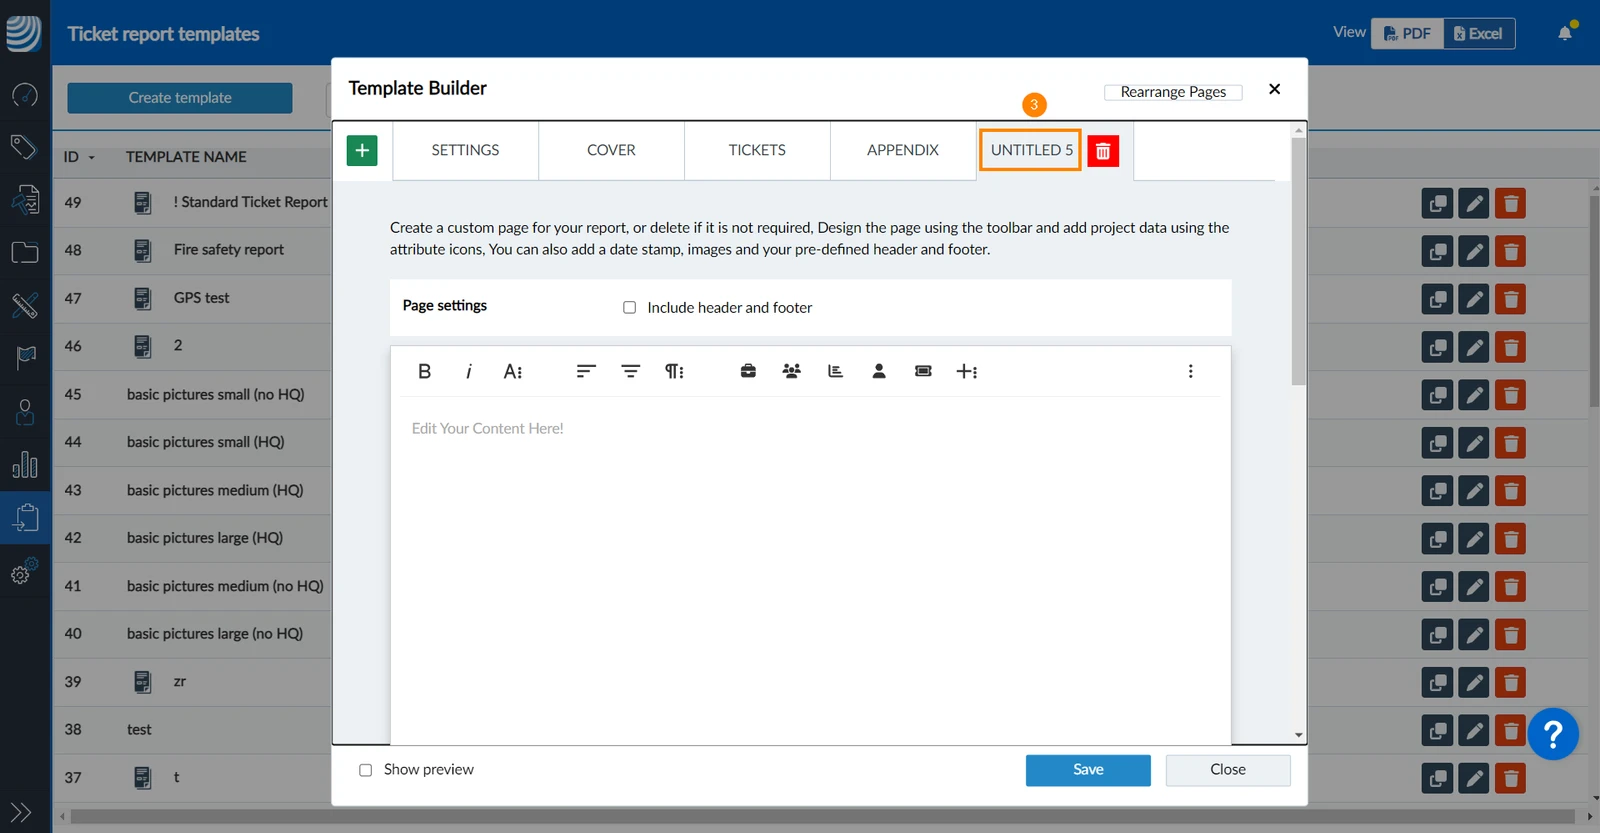
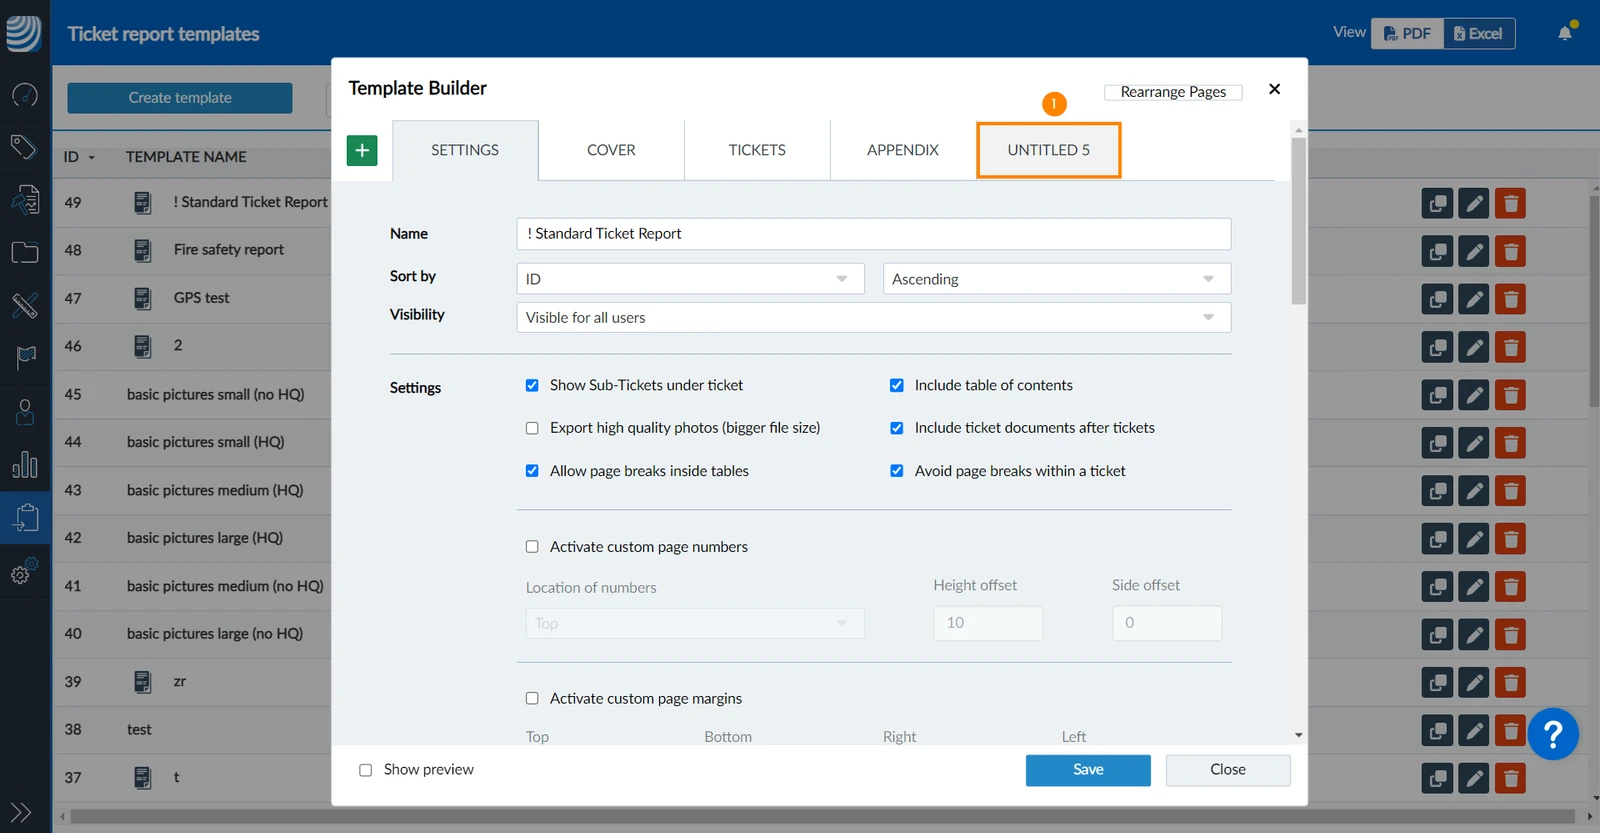
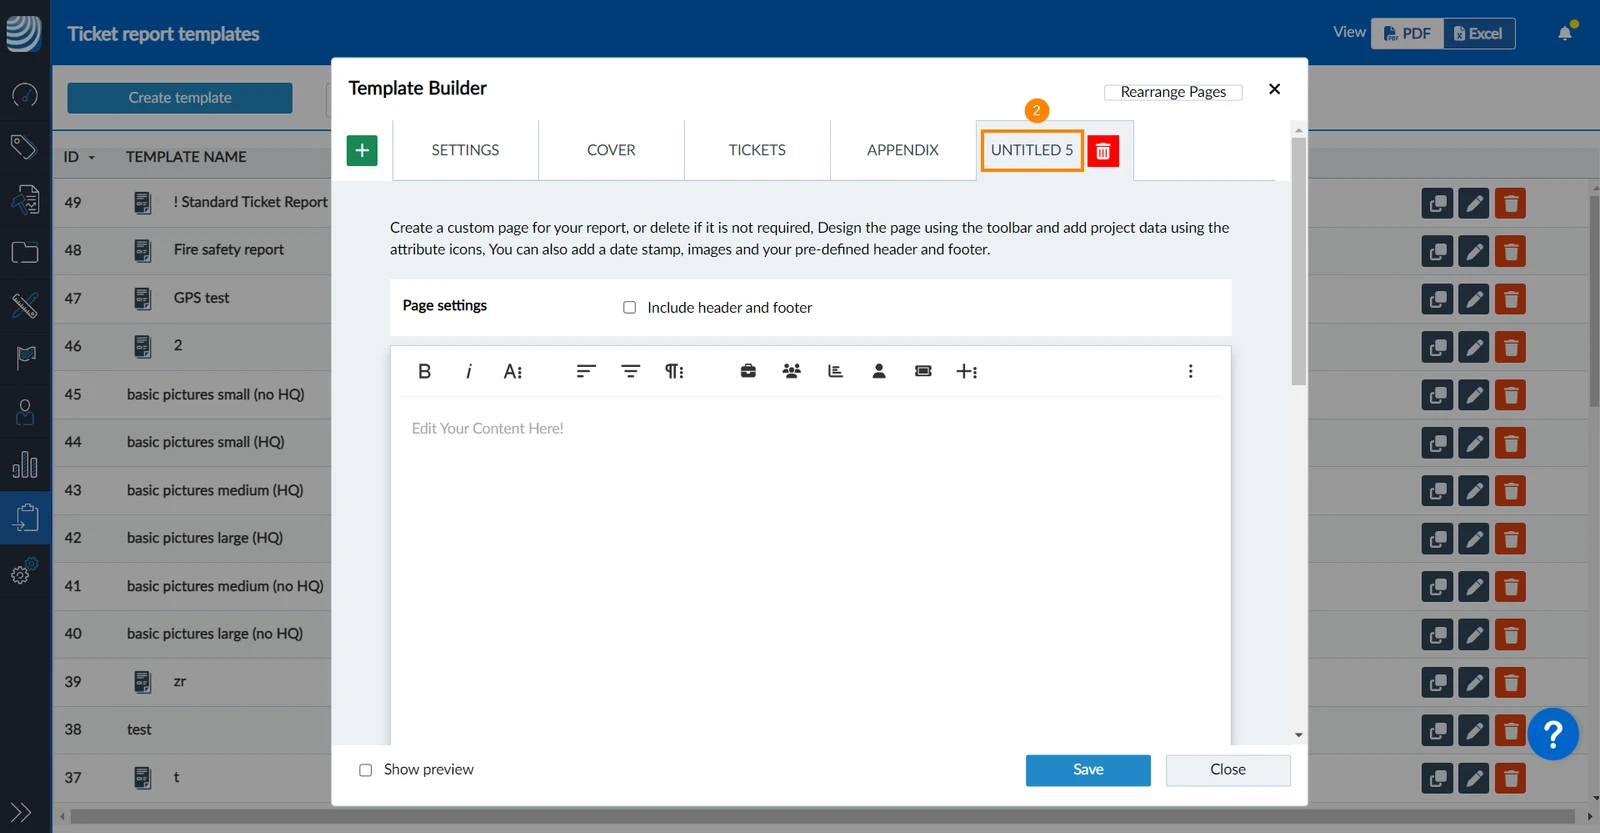
This will add a new untitled page at the end:
Add a Custom PDF Page
You can upload a single or multiple page PDF file. The maximum file size is 5MB. It is possible to add multiple custom PDF pages. The content cannot be changed once uploaded.
To upload a PDF file from your computer as a new page:
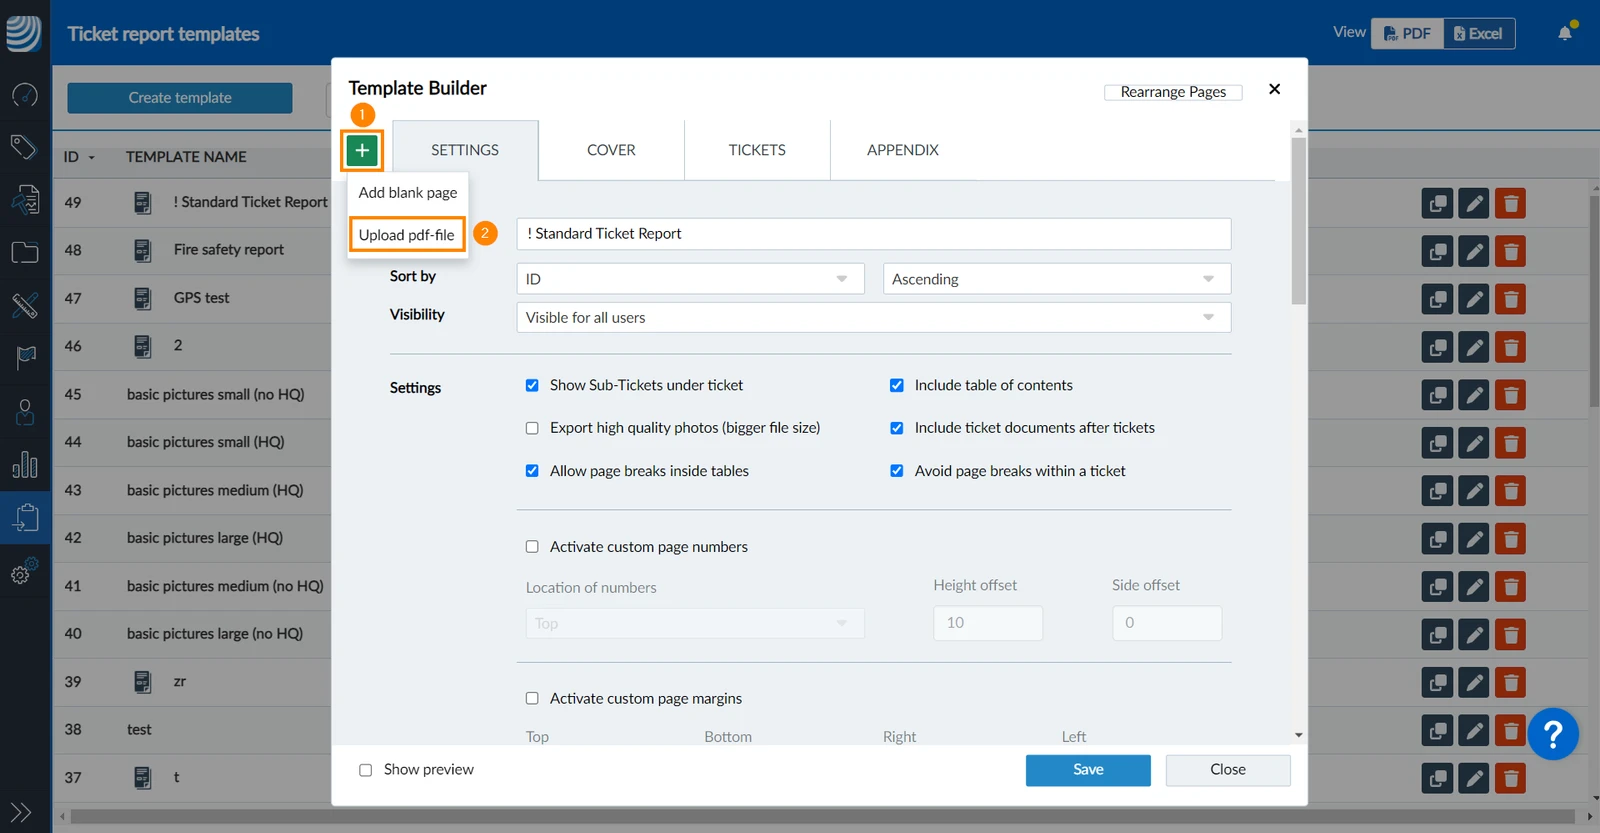
Click the + icon
Click Upload pdf file 

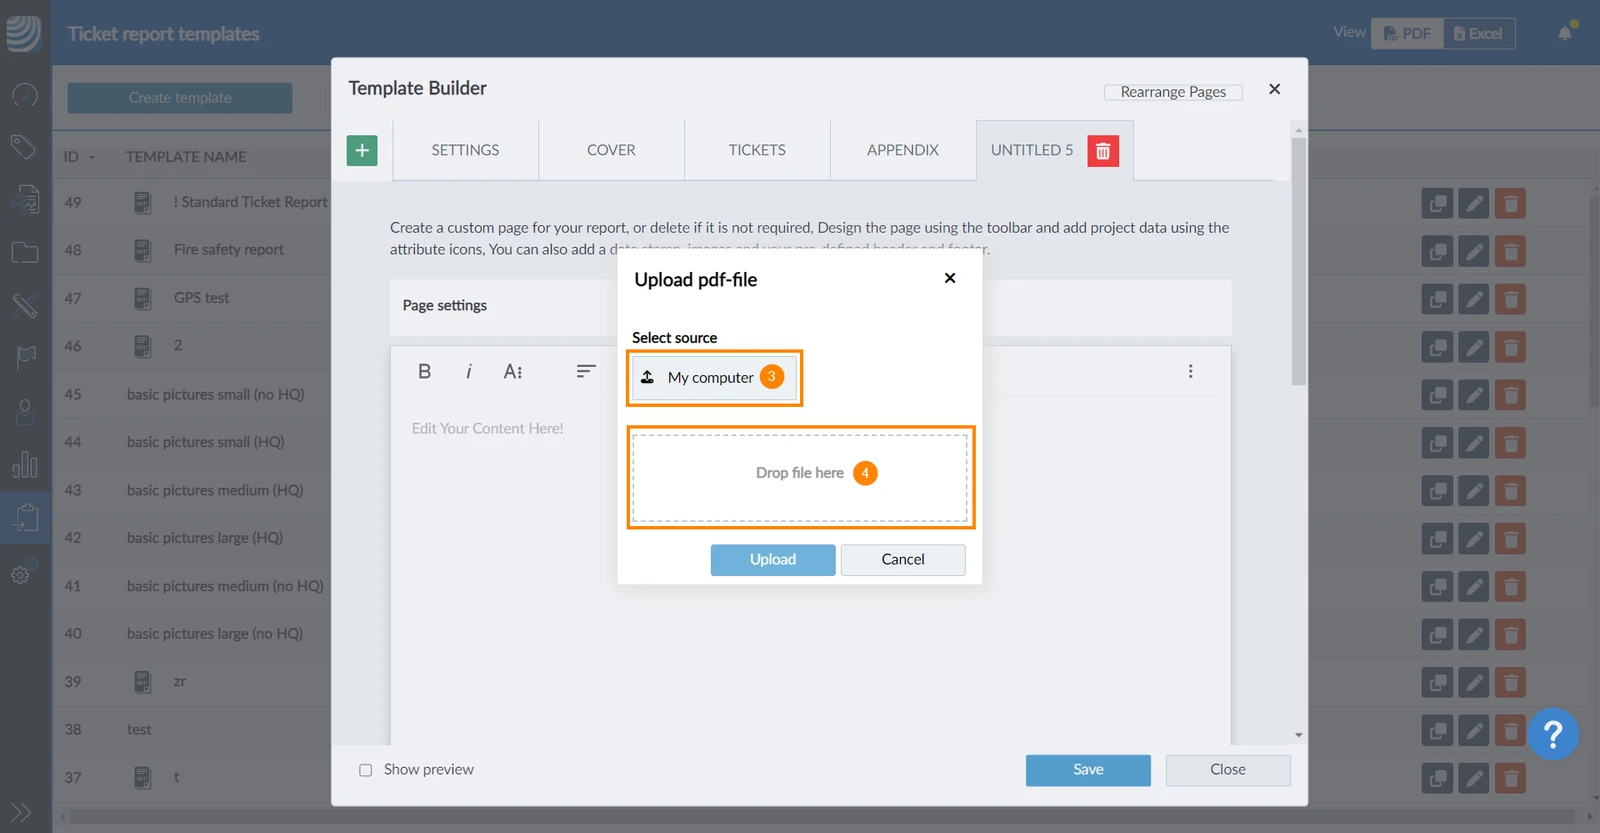
Click My computer and select the PDF in your file browser.
OR use Drag & Drop for the PDF.
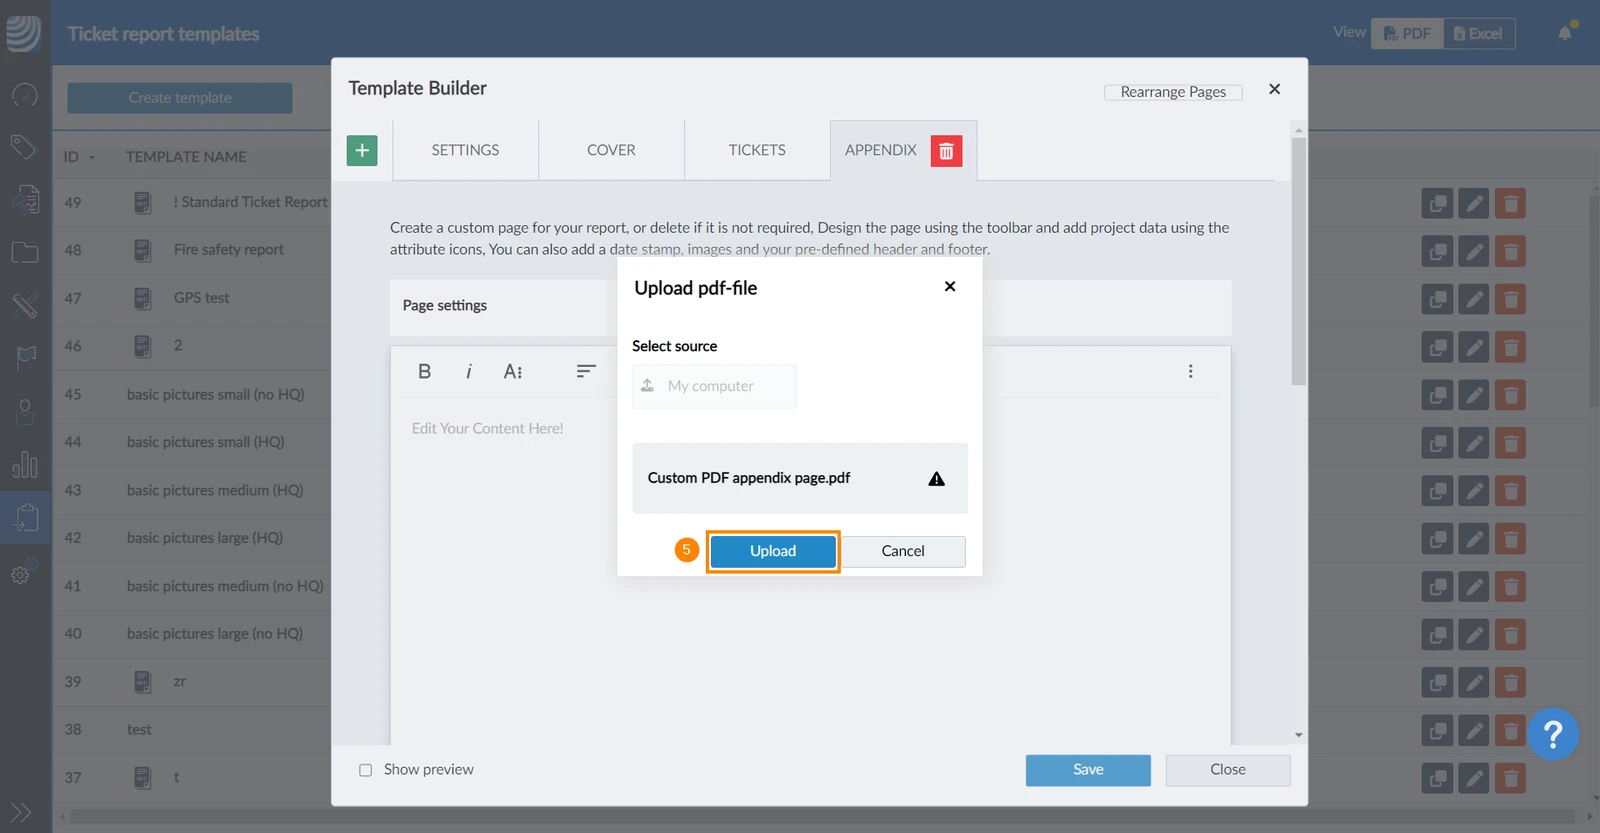
Click Upload
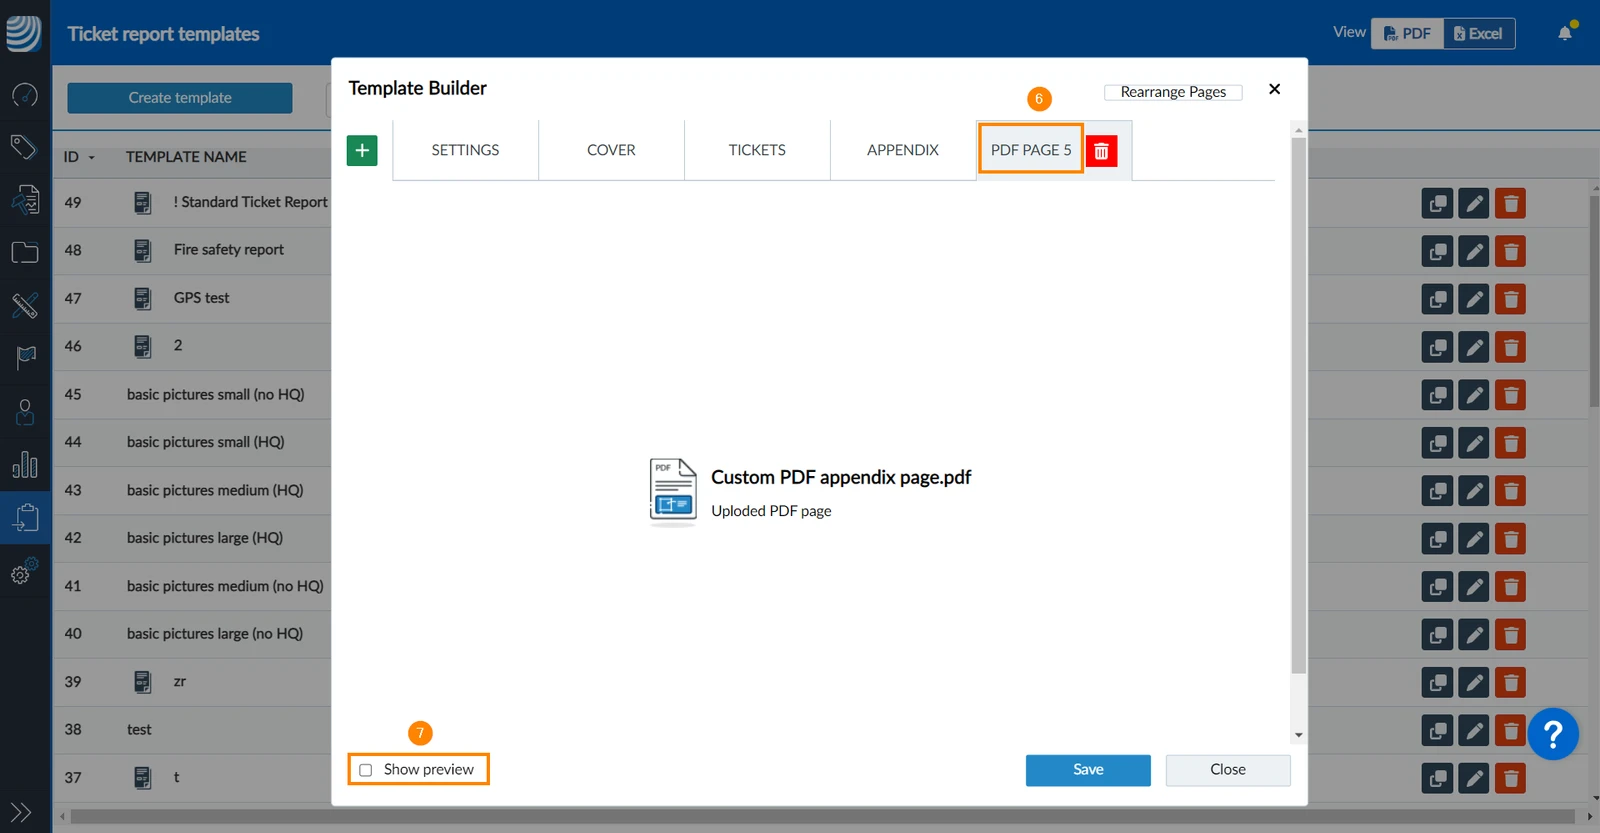
This will add a new PDF page at the end.
Optional: Click Show preview to view it.
Rename a Page
The page names will not be displayed in the report. Names only help you to manage your pages in the Template Builder.
To rename a page:
Click on the page tab
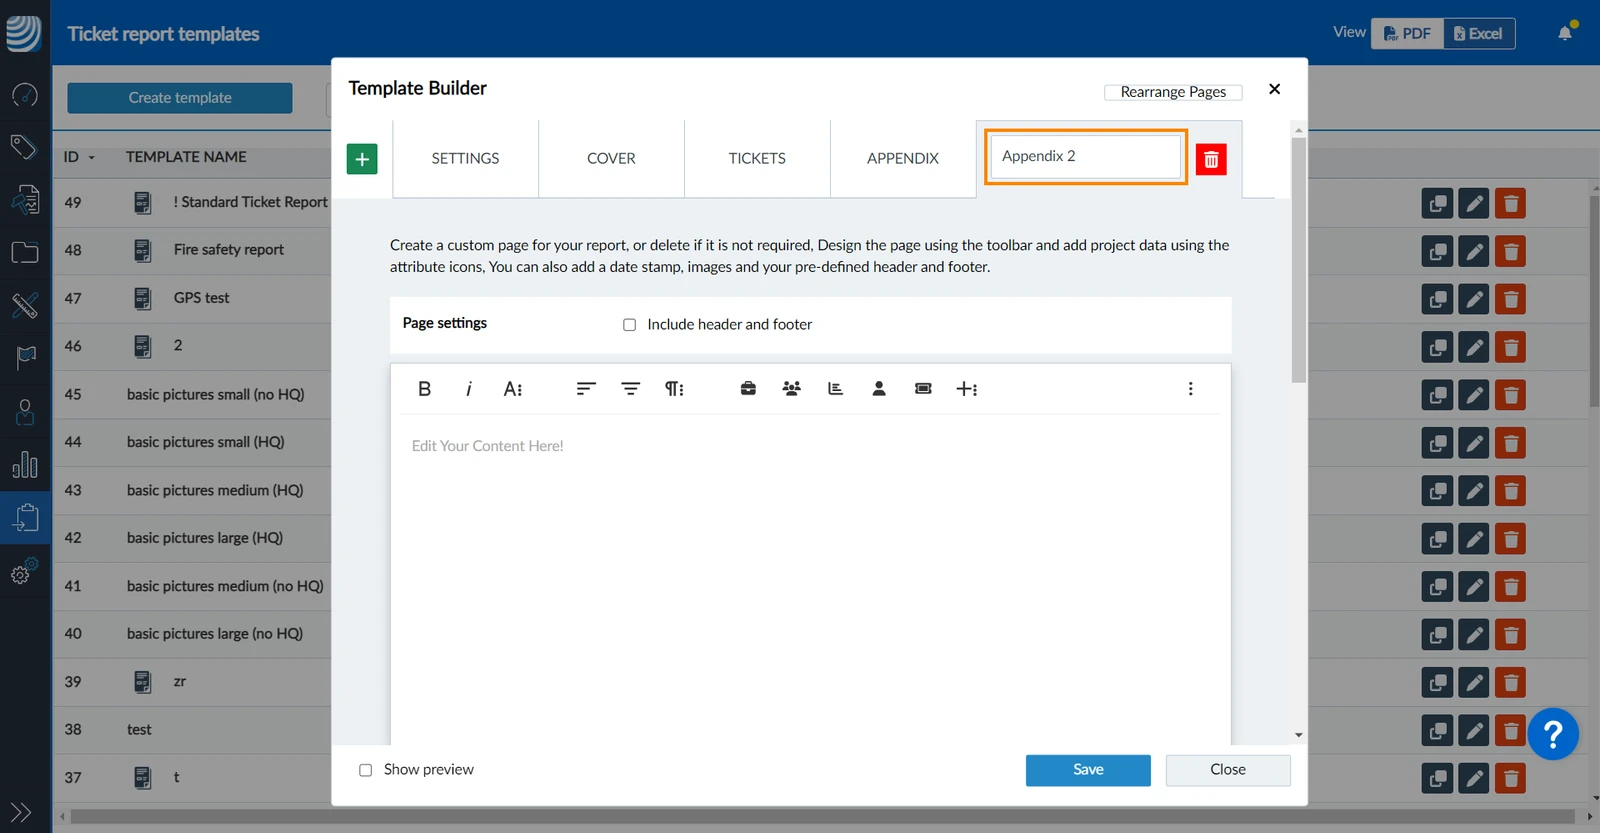
Double-click on the name
Click on the input field
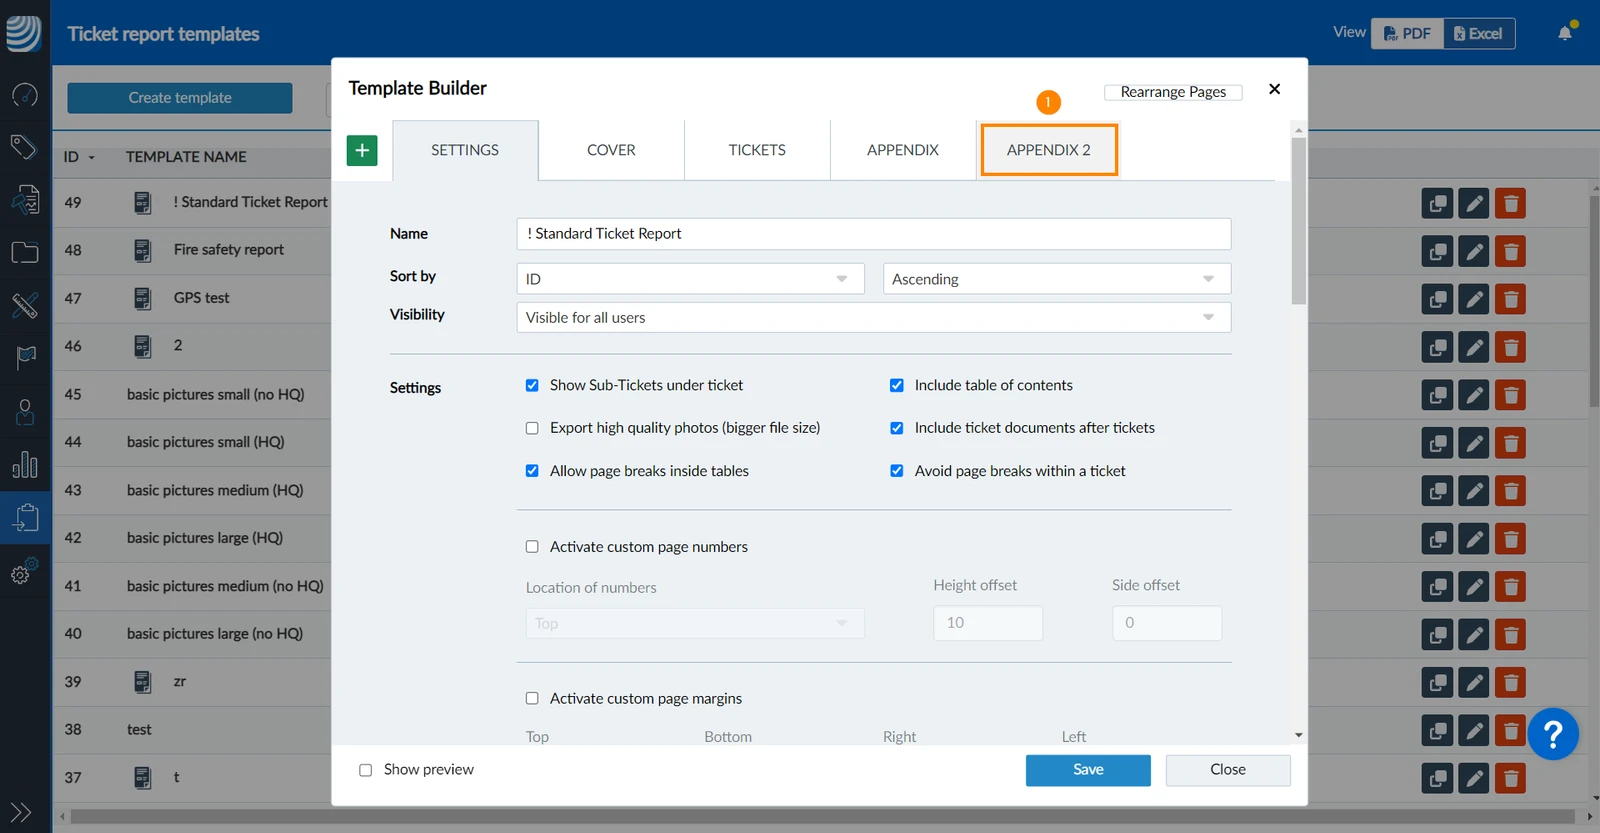
Enter the new name
Click outside the input field to confirm.
Delete a Page
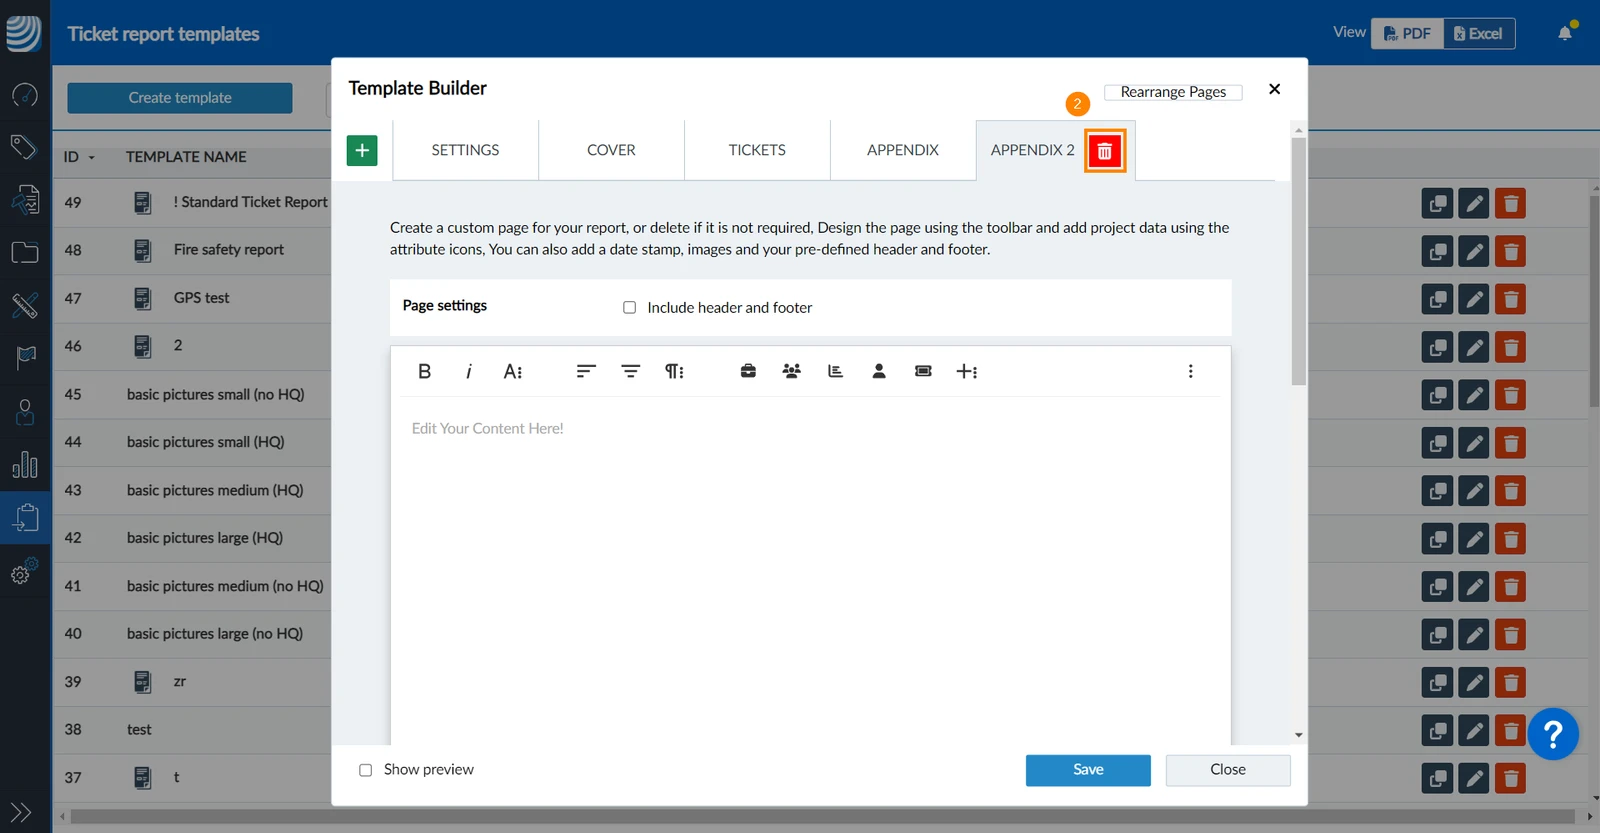
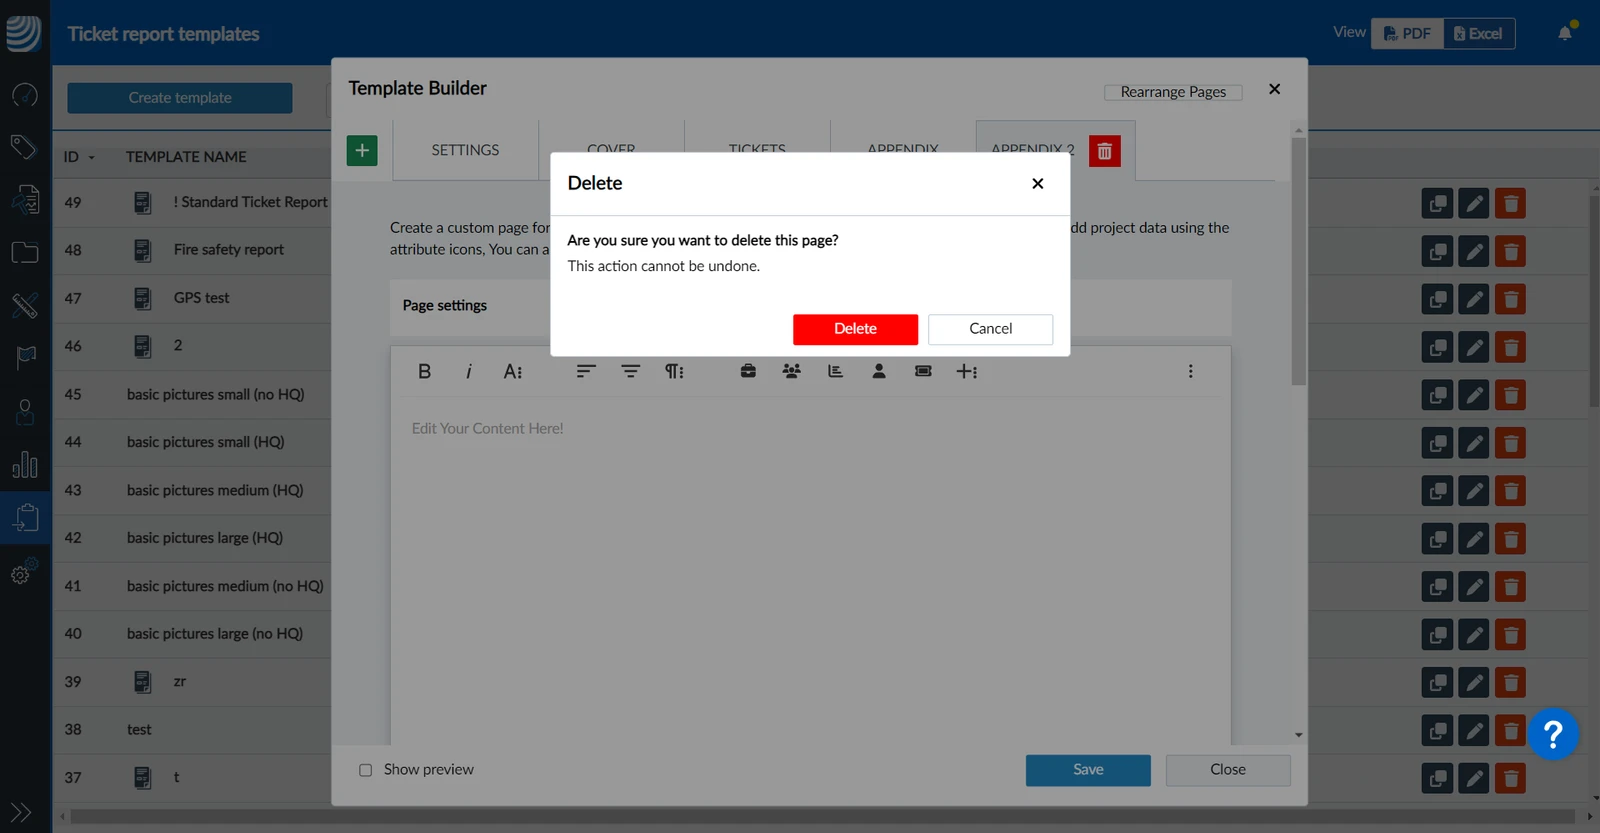
To delete a page:
Click on the page tab
Click the delete icon
Click Delete to confirm
Change the Order of Pages
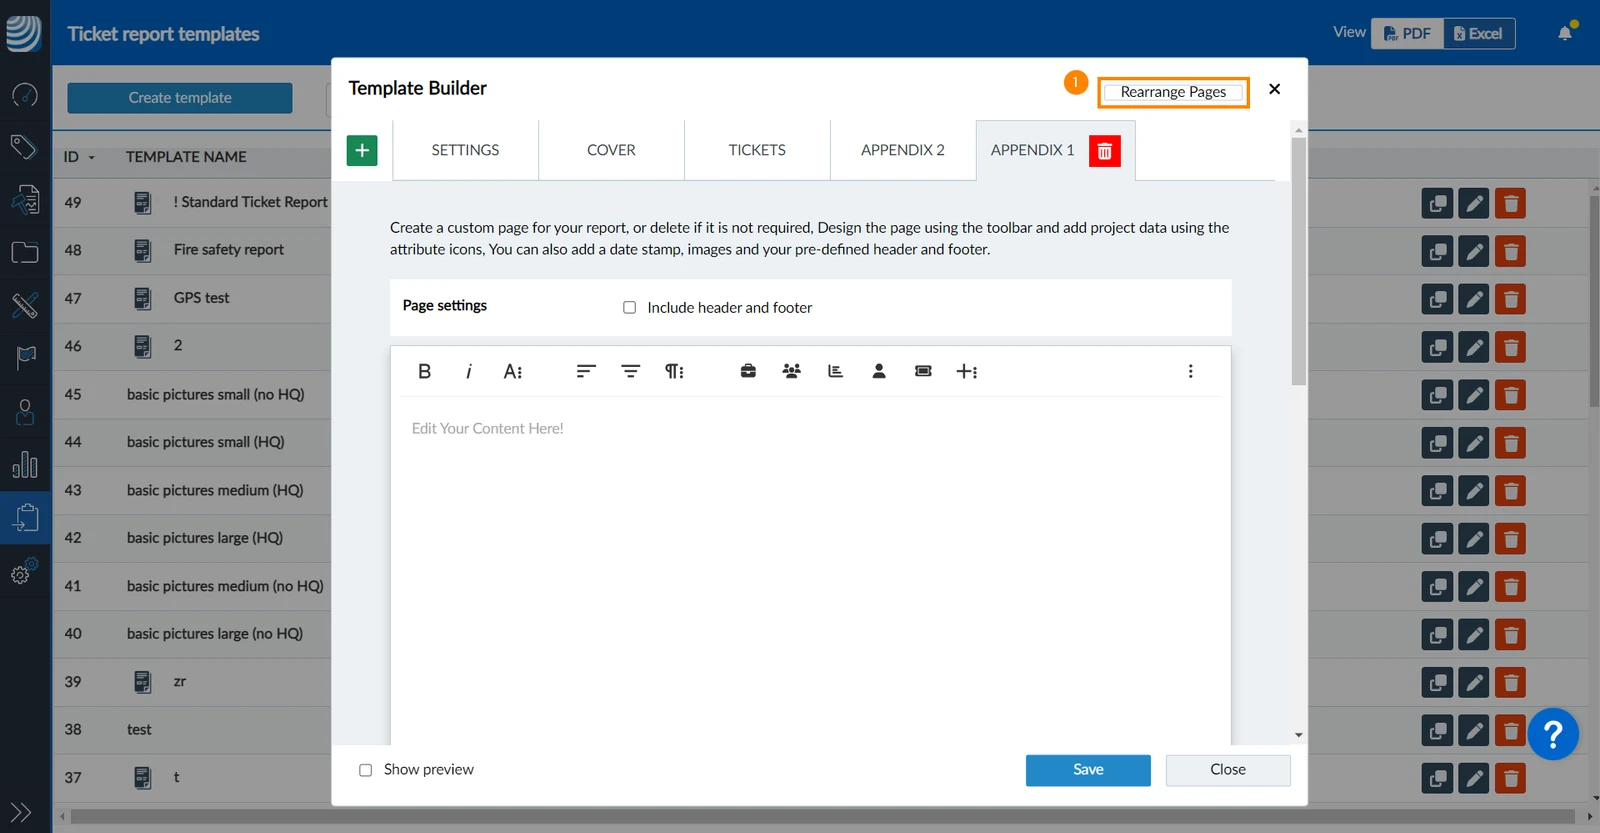
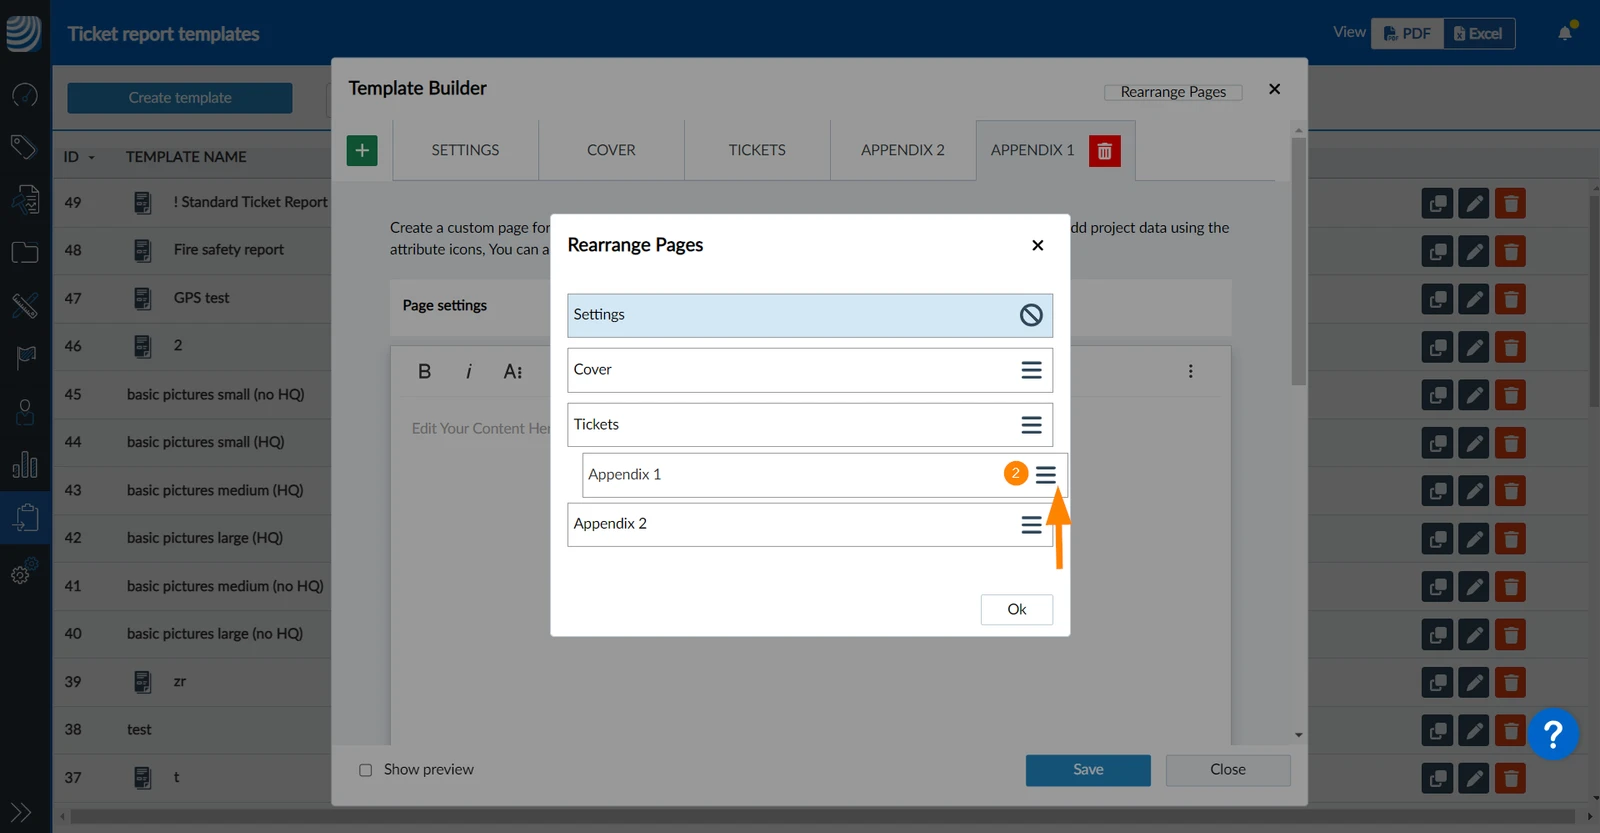
To change the order of pages as they appear in the Template Builder tabs and in the generated reports:
Click Rearrange pages
Use drag and drop on the order icon
Page Settings
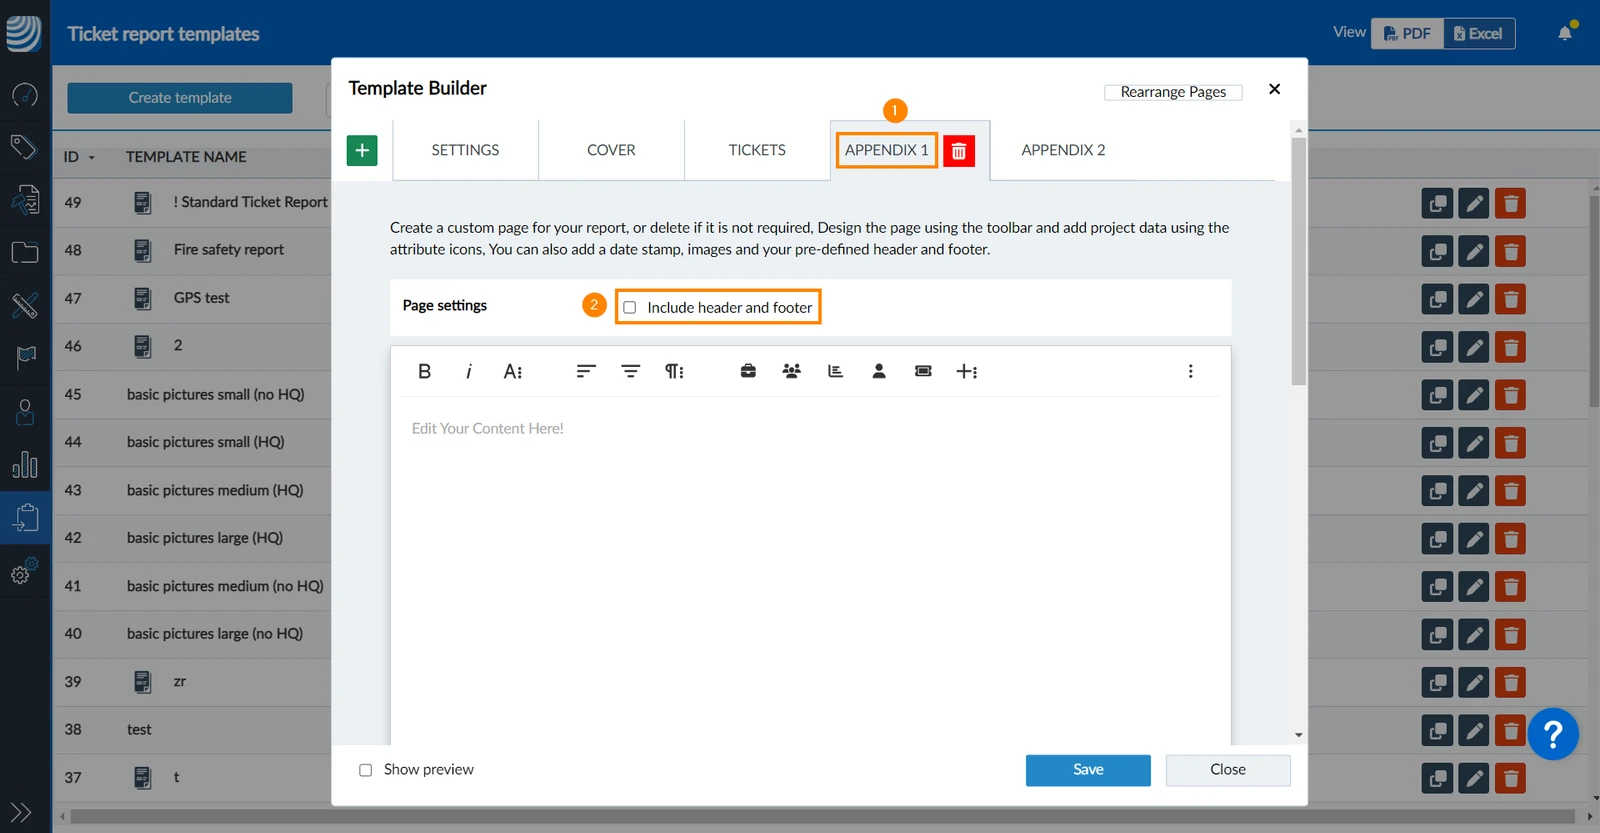
All pages (except custom PDF pages) have a setting to include or exclude the header and footer.
The tickets page includes the header and footer by default, while other pages do not.
To change that:
Click on the page
Select or clear the Include header and footer checkbox.
Customise & Format your Pages
The Template Builder offers extensive customisation and formatting options.
They are described in detail in the following articles:


 Deutsch
 Español
 Français
 Hrvatski
 Italiano
 Polski
 Português (BR)