

 Deutsch
 Español
 Français
 Hrvatski
 Italiano
 Polski
 Português (BR)
Set, Change or Delete the Plan Position of a Ticket
Overview
Use the plan position of a ticket to keep everyone up-to-date about where an issue is located on the plan.
Access & Permissions
Set the Plan Position
Usually you set the plan position when creating a ticket. It is possible to create a ticket without a plan position and add it later.
Requirements to set a plan position:
-
The current layer of the ticket must have a plan.
- If this is not the case the + Set Plan Position button is not displayed in the ticket.
- Learn how to Change the Layer of a Ticket.
-
Plan position must be enabled in the form.
- If this is not the case the + Set Plan Position button is disabled in the ticket.
- Read more in Forms Options.
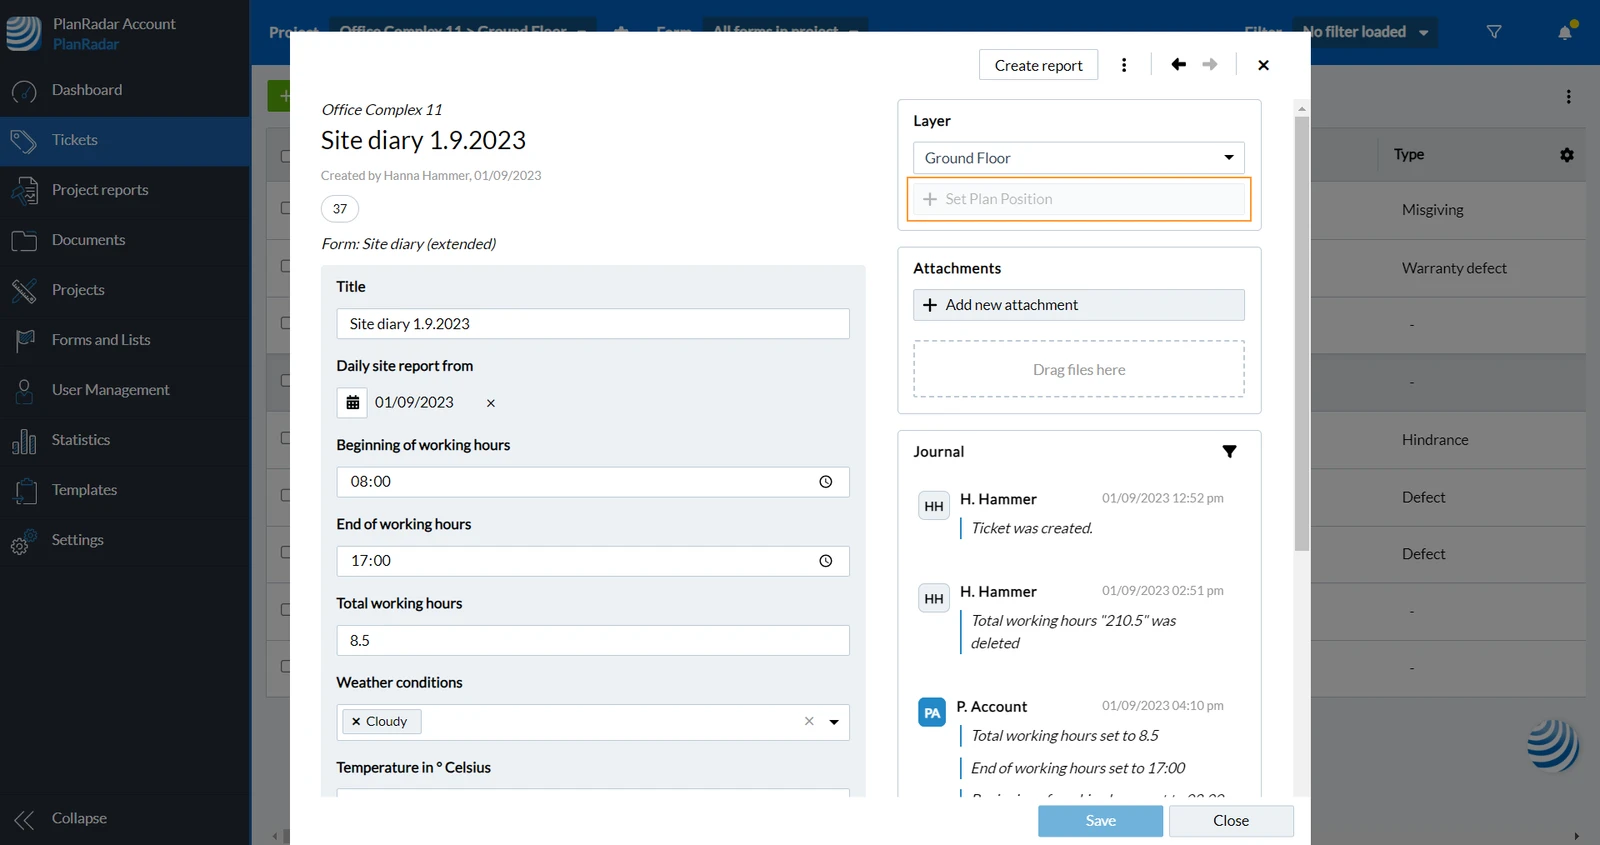
To set a plan position for a ticket that doesn't have one yet:
- Open the ticket
- Click + Set Plan Position
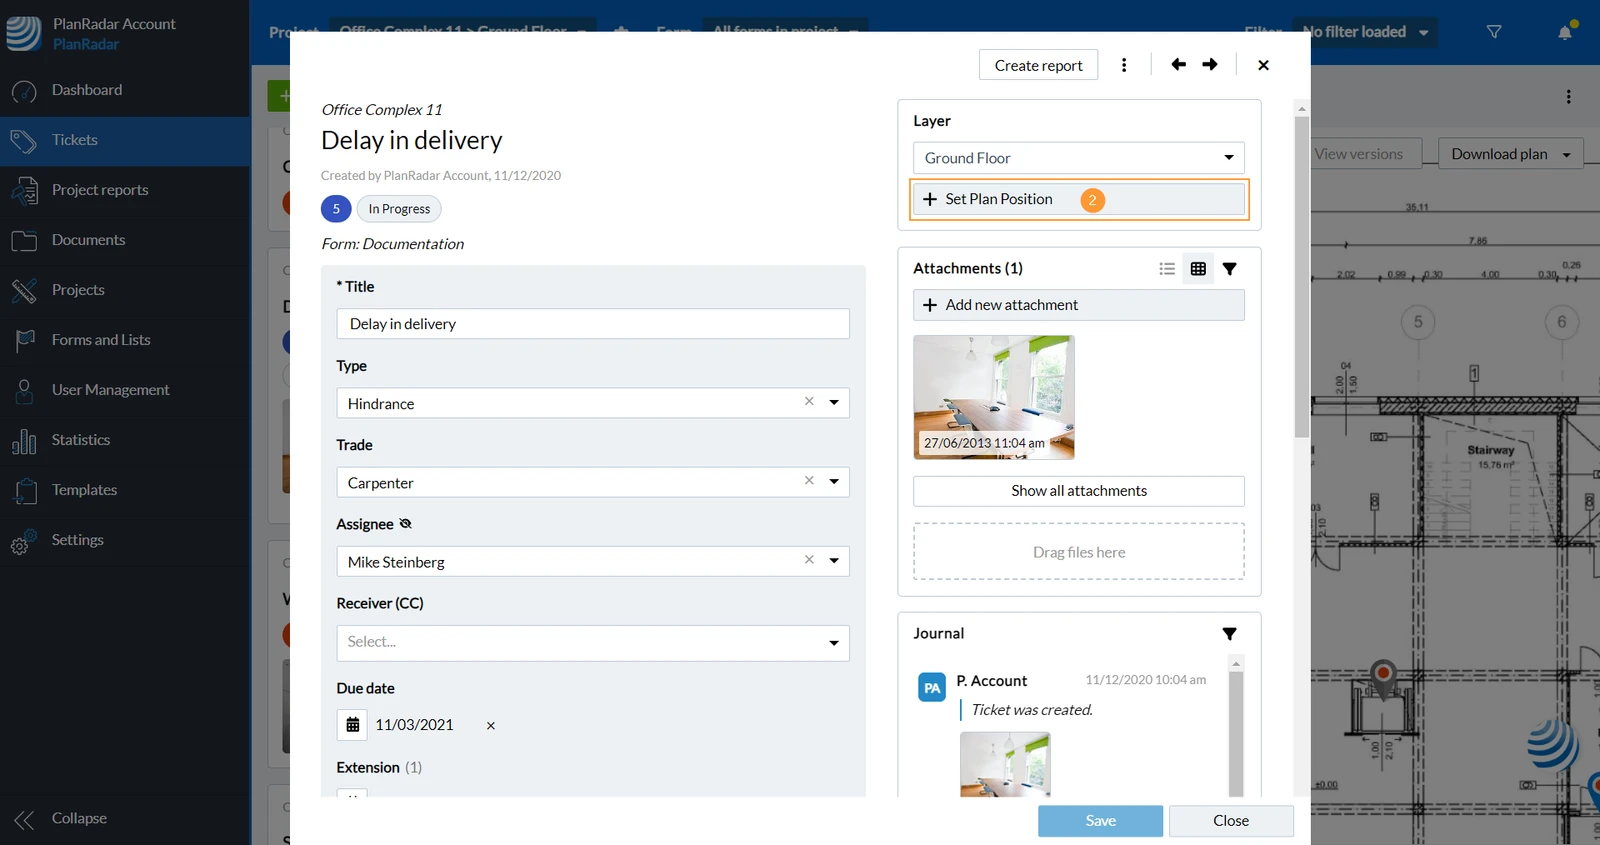
- Drag & drop the ticket pin
- Click ✔ to confirm and save.
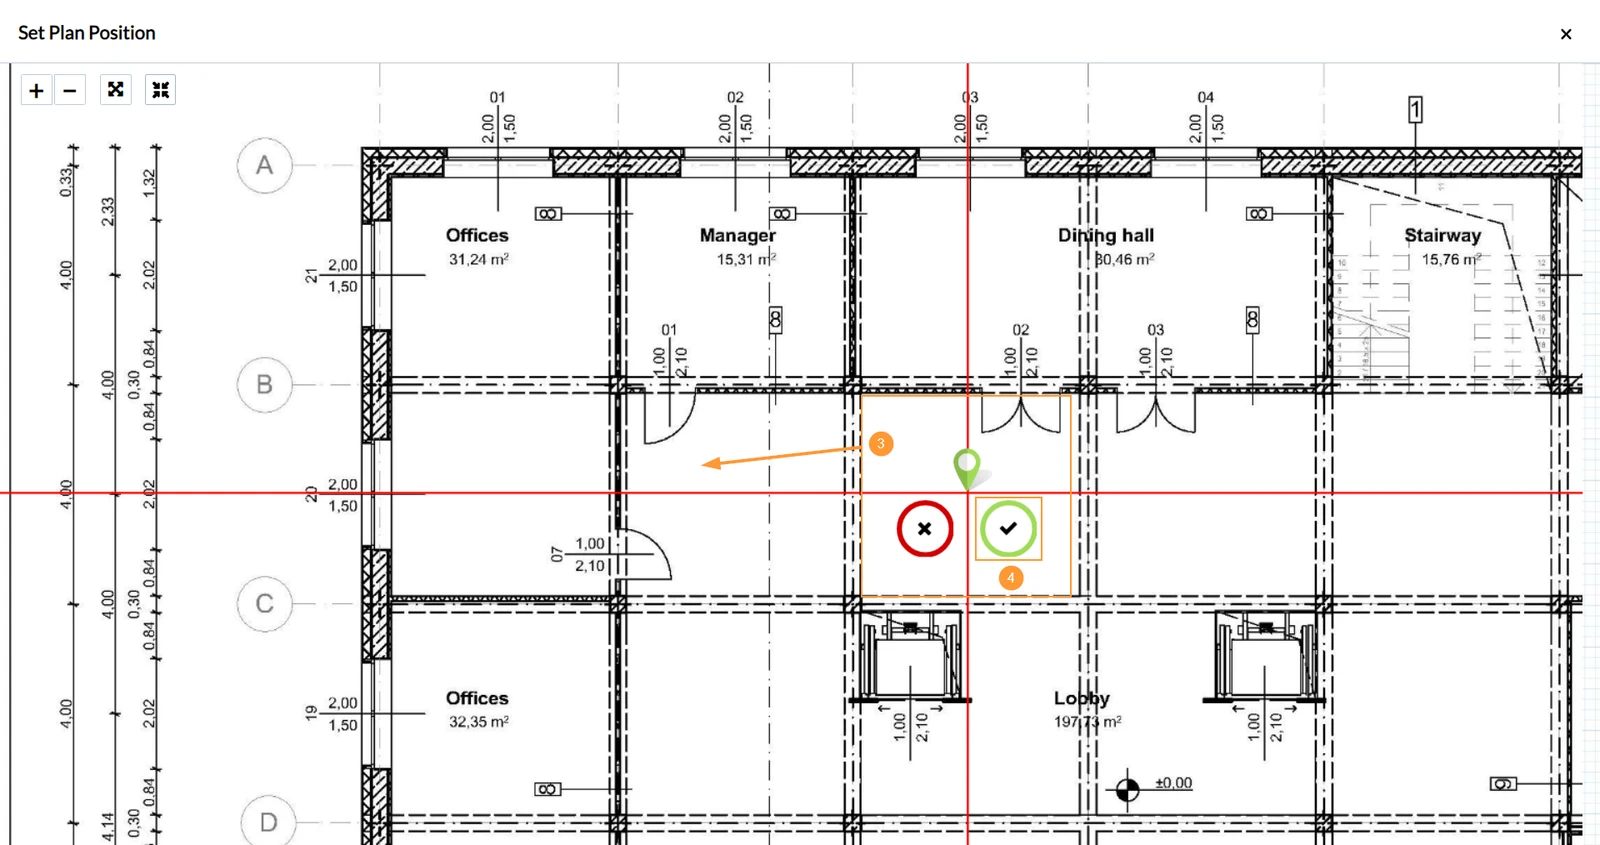
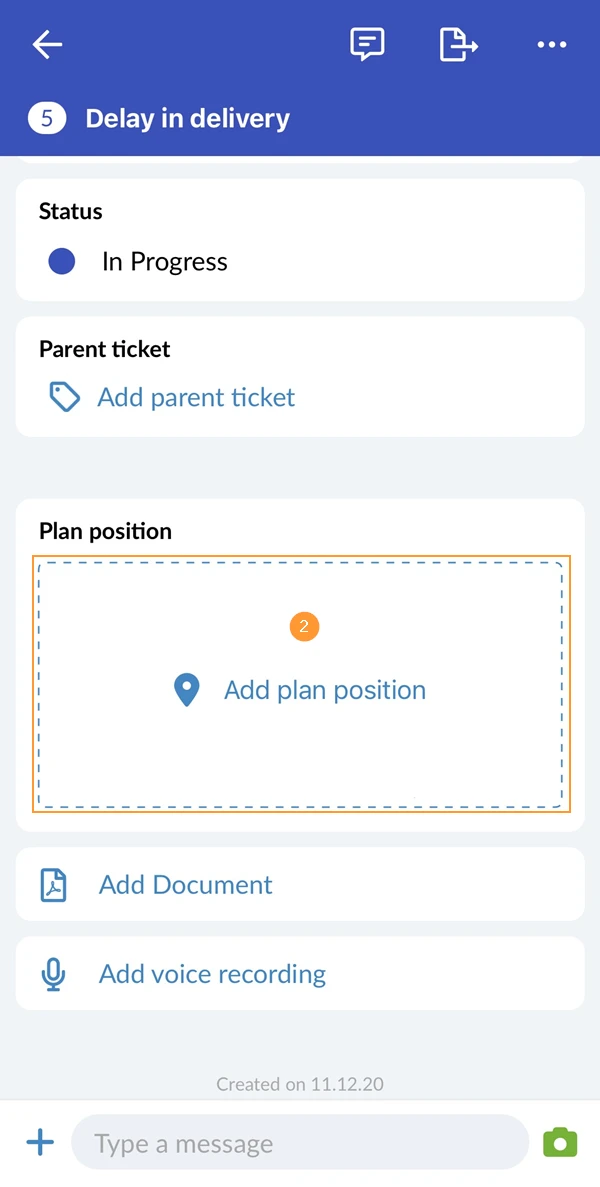
- Open the ticket and scroll down to Plan position
- Tap Add plan position
- Long tap on the plan to set a plan position
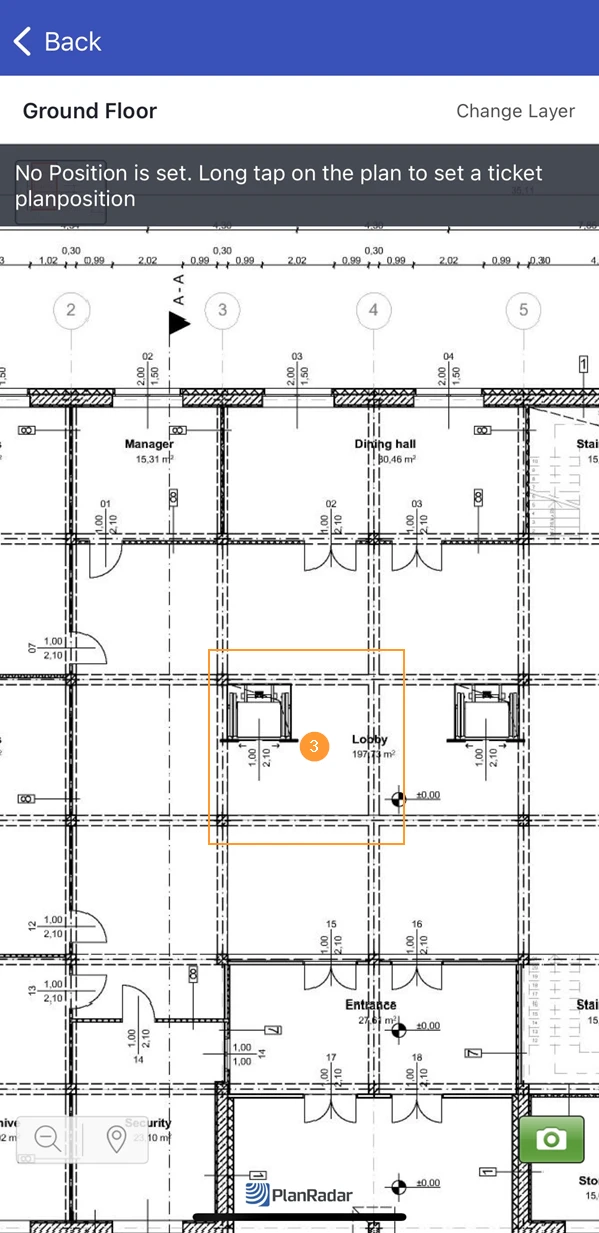
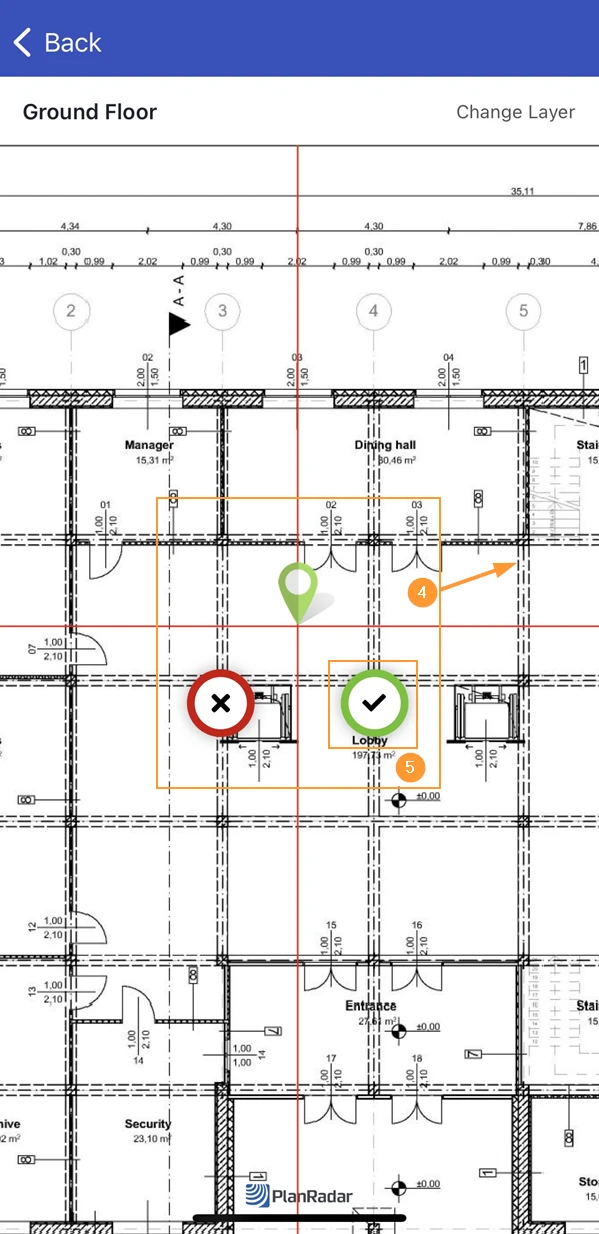
- Optional: drag & drop the ticket pin to adjust the plan position
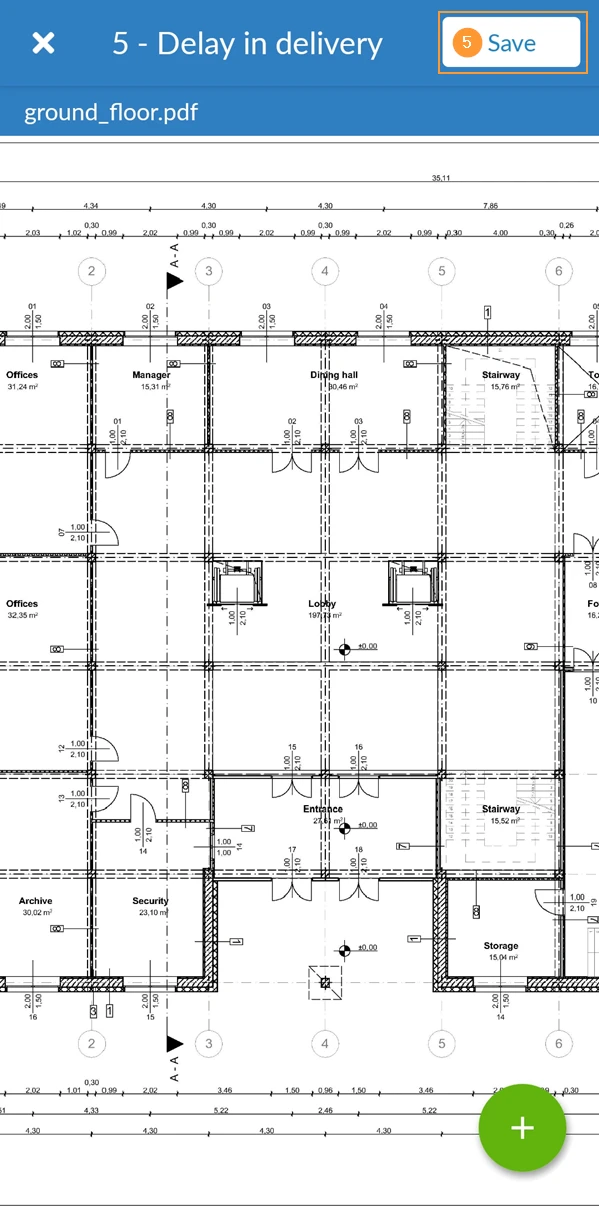
- Tap ✔ to confirm and save the plan position
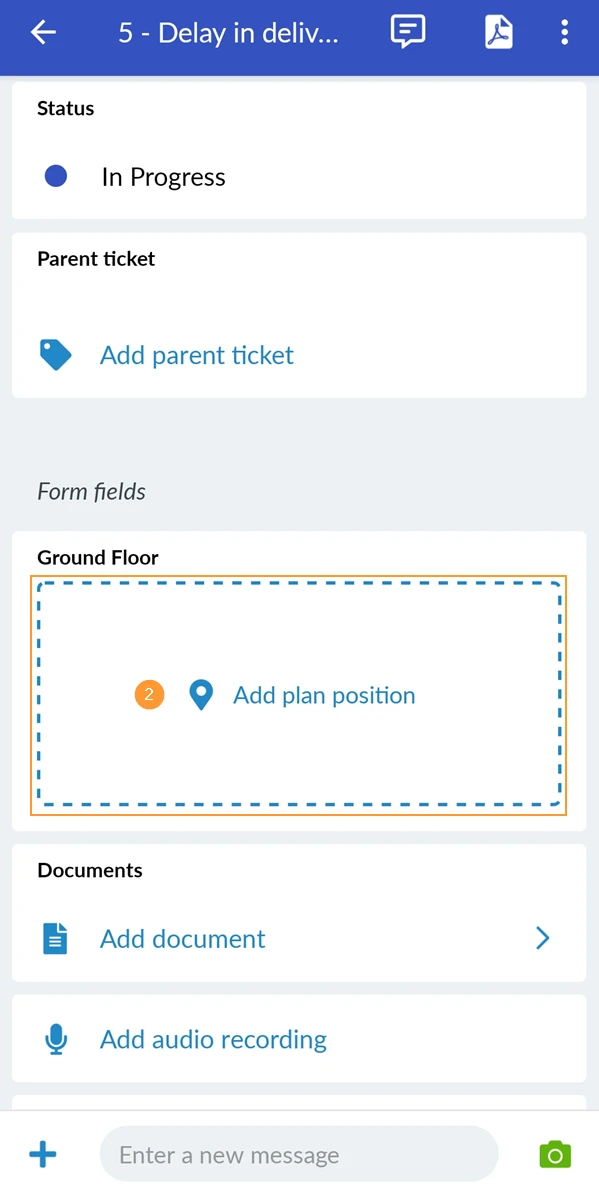
- Open the ticket and scroll down
- Tap Add plan position
- Long tap on the plan to set a plan position
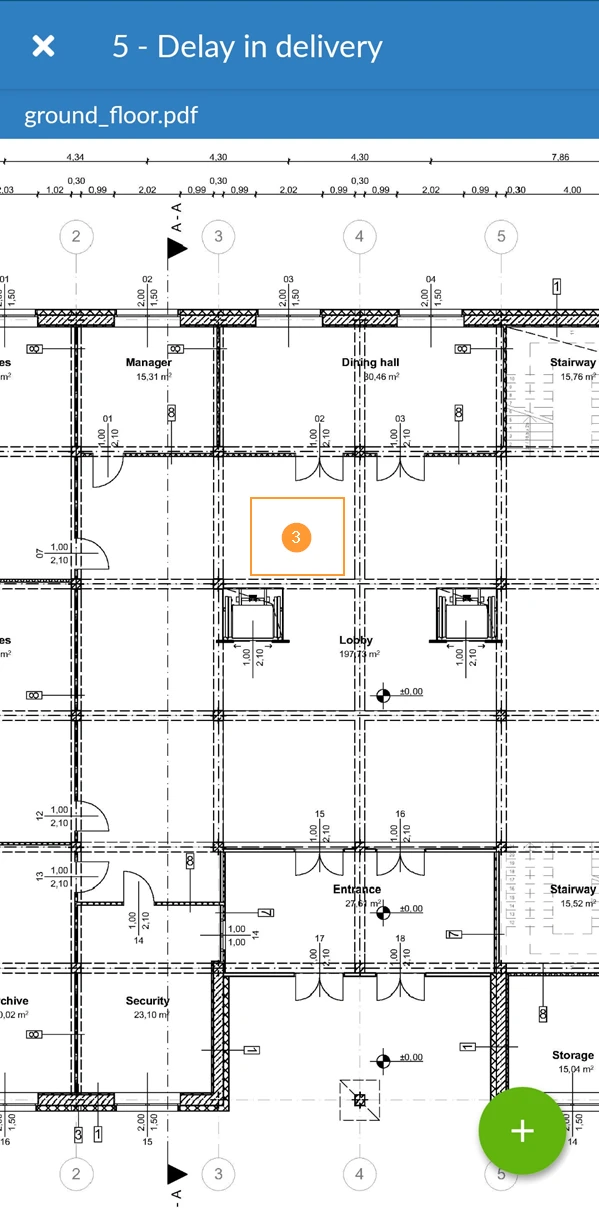
- Optional: drag & drop the ticket pin to adjust the plan position
- Tap ✔ to confirm
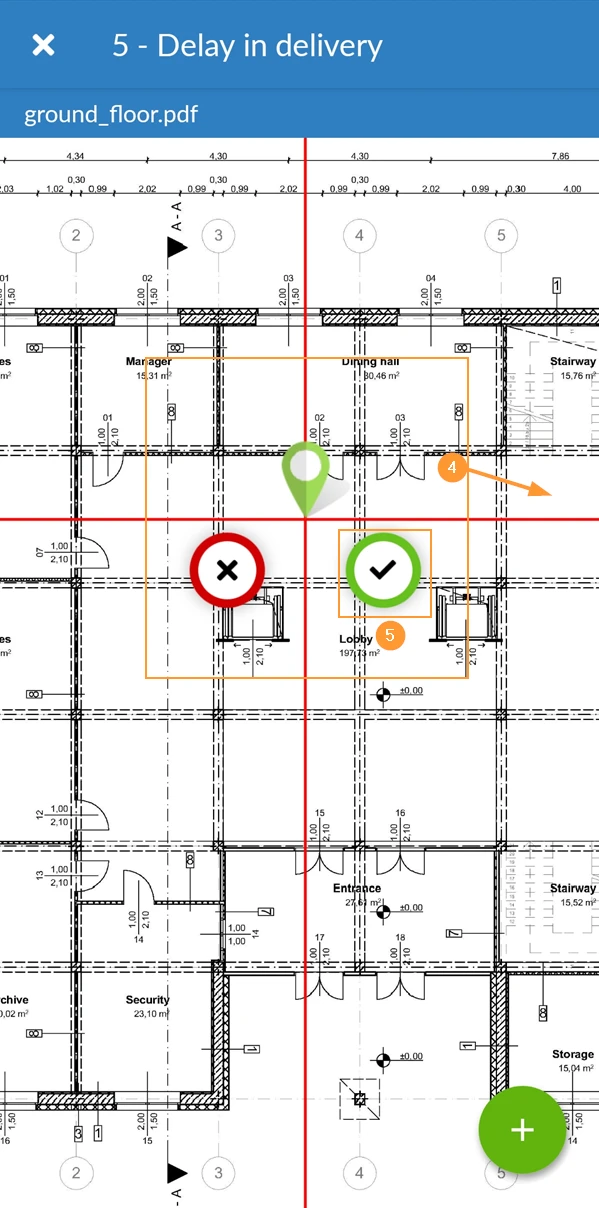
- Tap Save
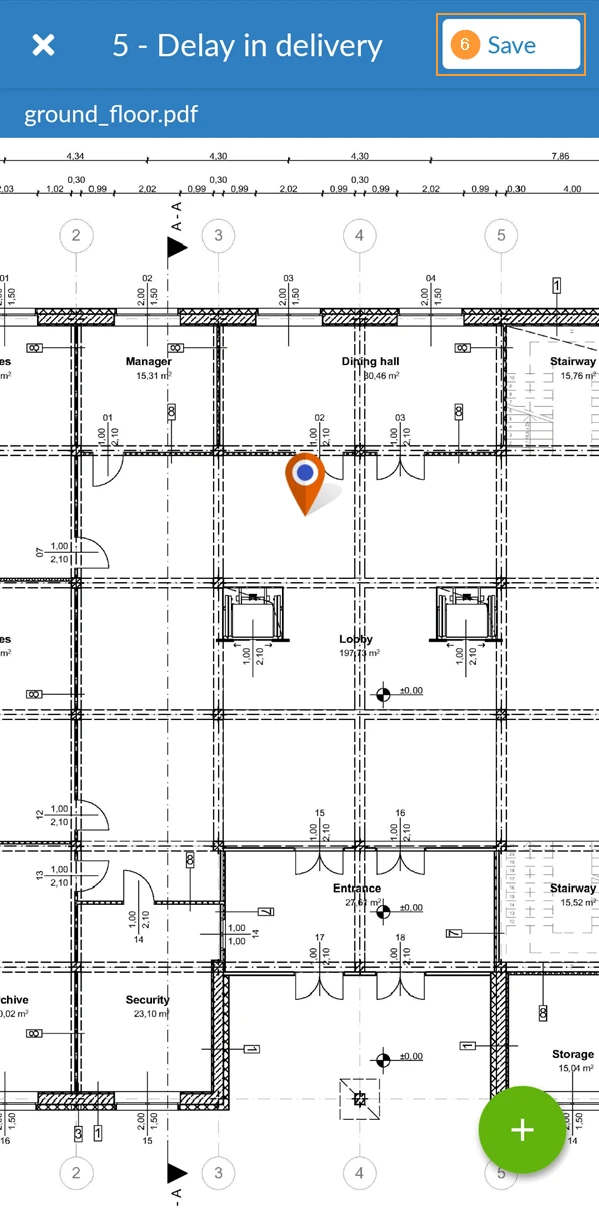
Change the Plan Position
There are two ways to change the plan position of a ticket:
In the Plan View
- Select Plan in the View drop down
- Click the ticket pin on the plan to open the ticket preview.
- Click Reposition
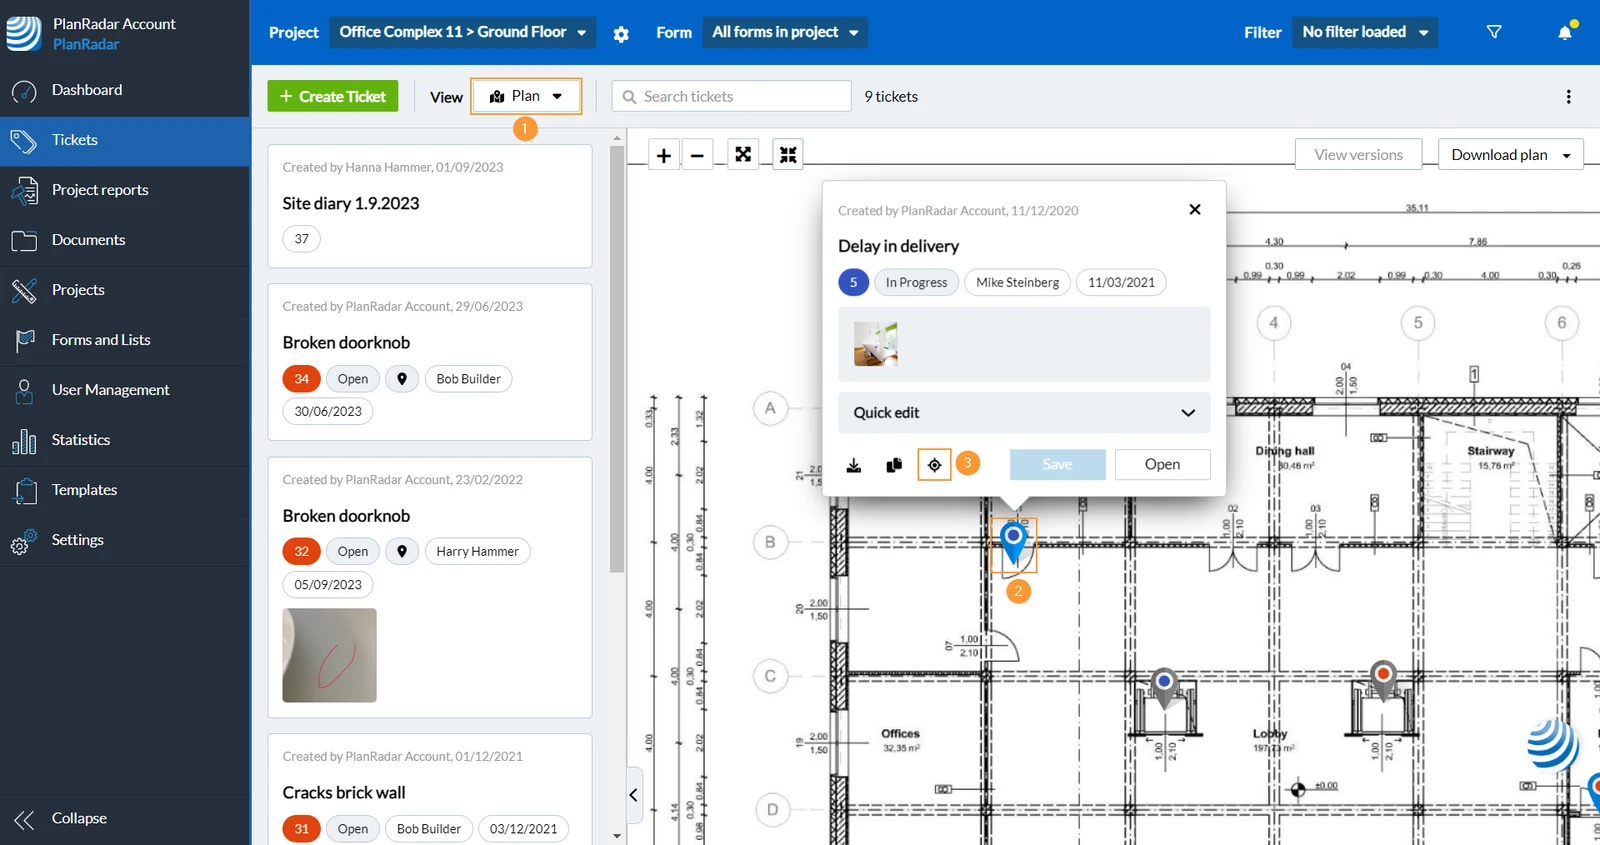
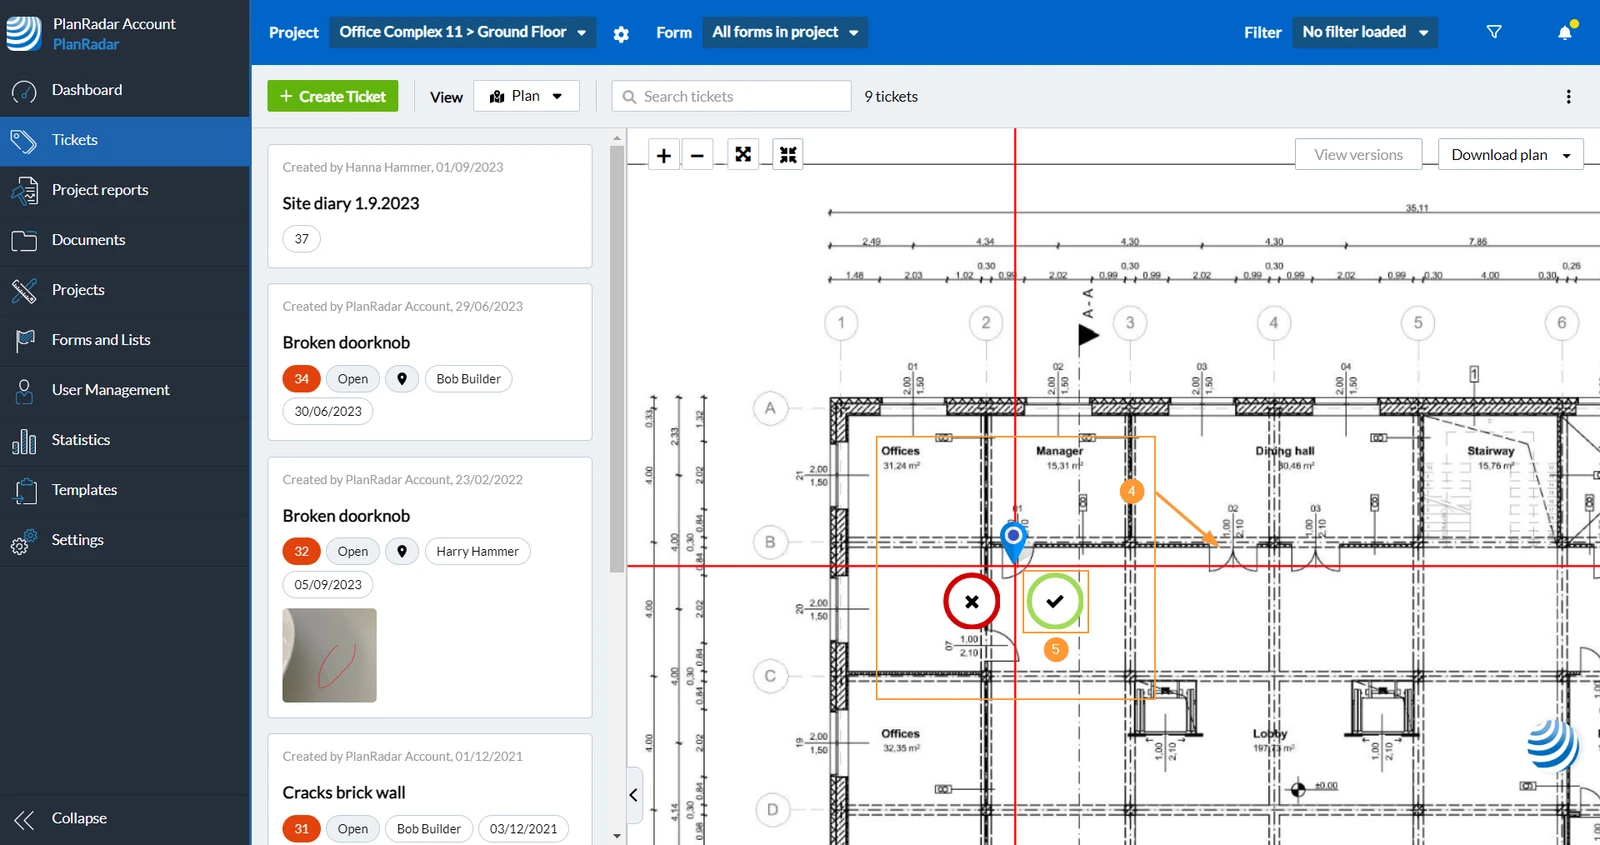
- Drag & drop the ticket pin
- Click ✔ to confirm and save.
In the Ticket
- Open the ticket
- Click on the plan position preview to open the View Plan Position screen.
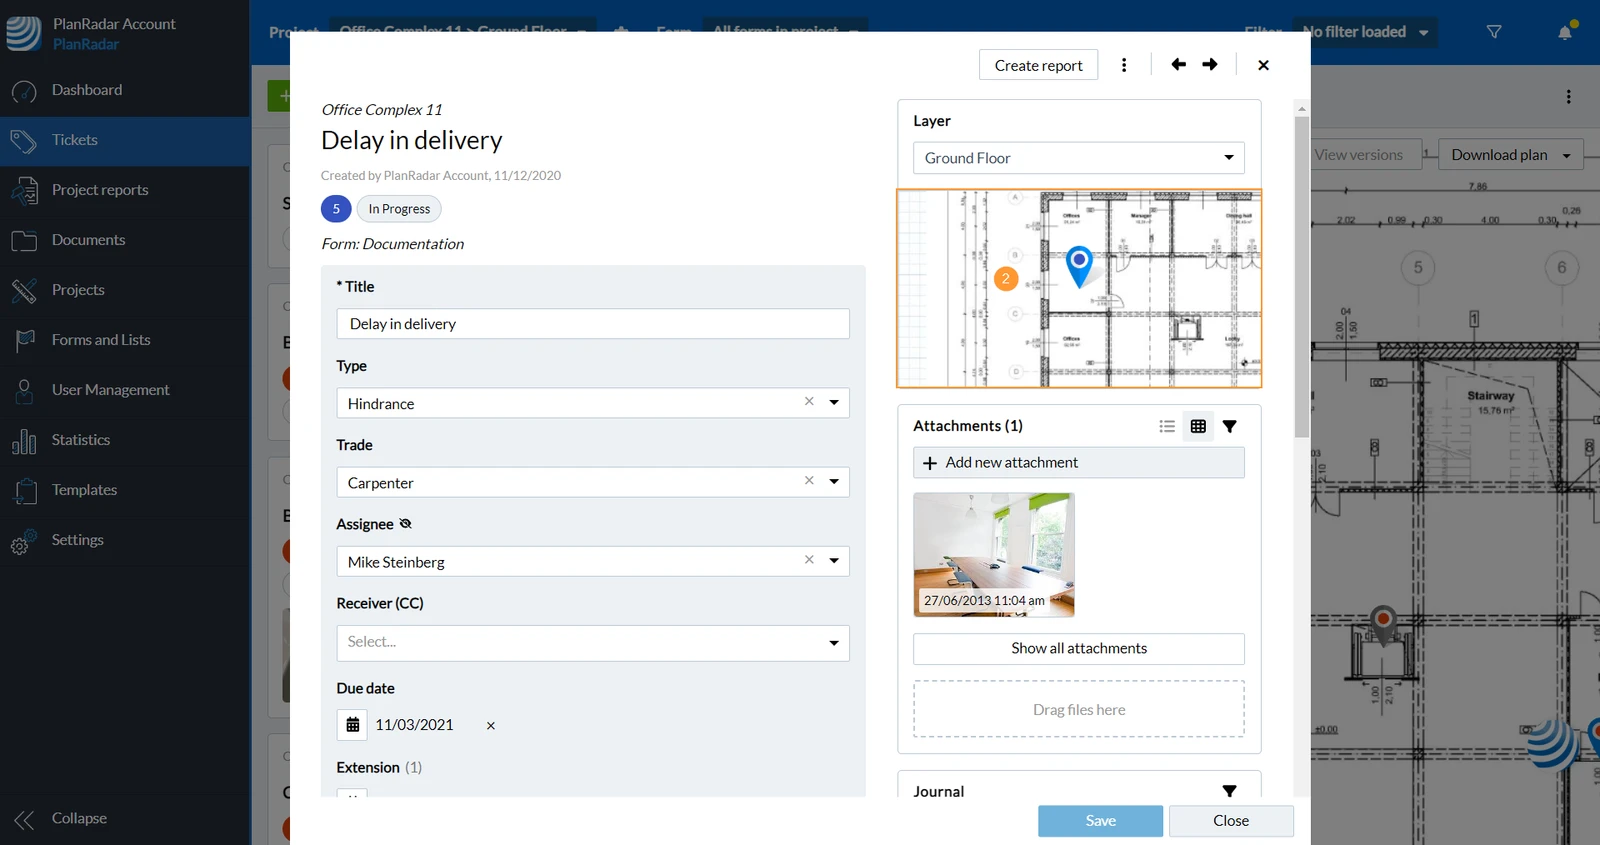
- Click Change Plan Position
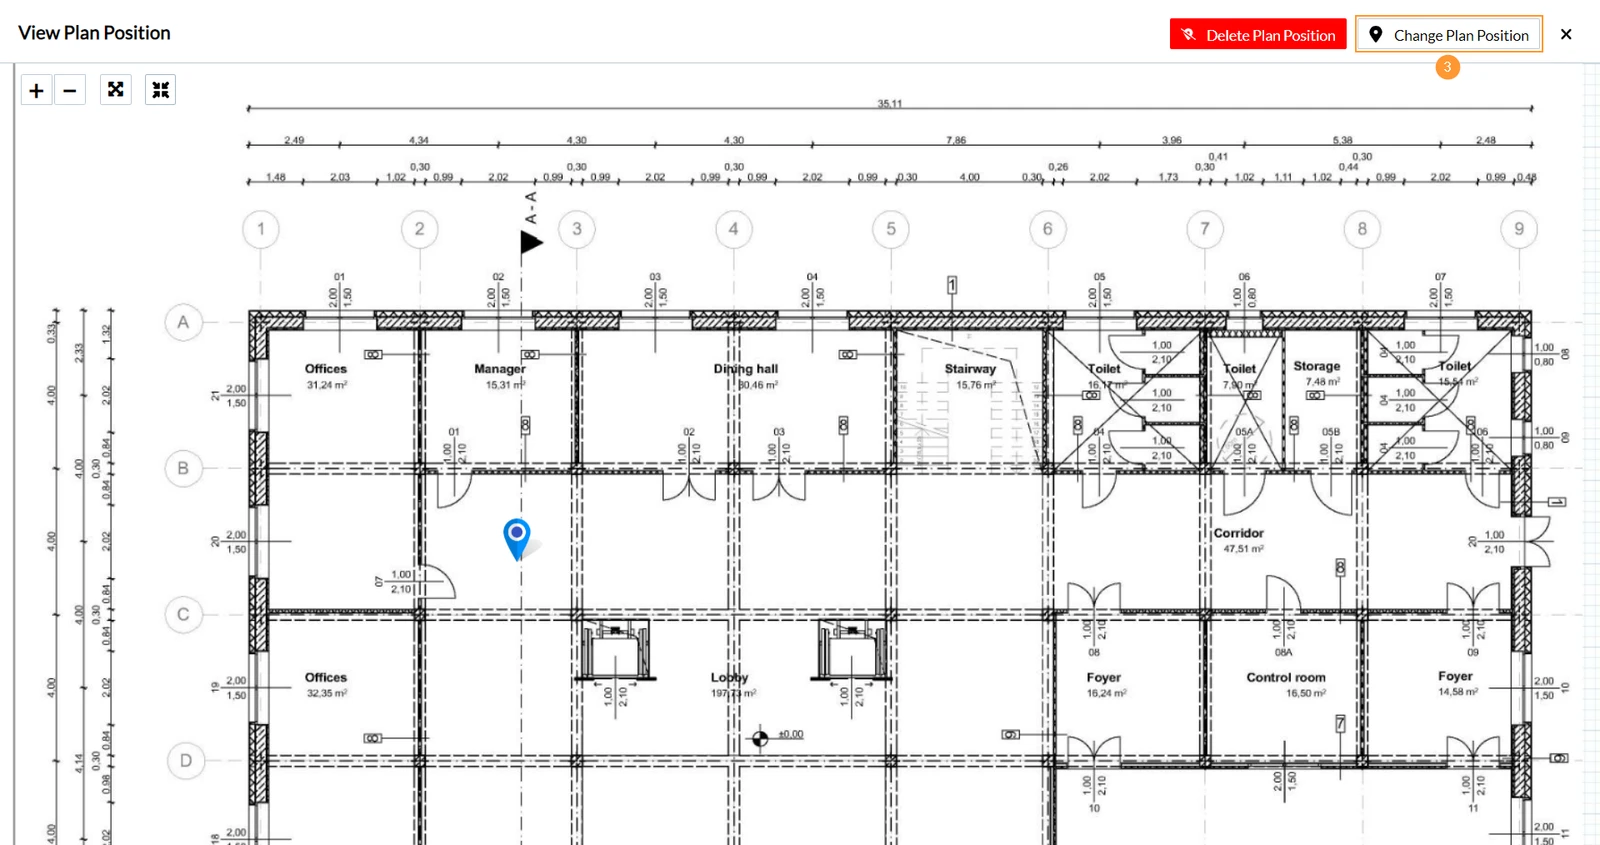
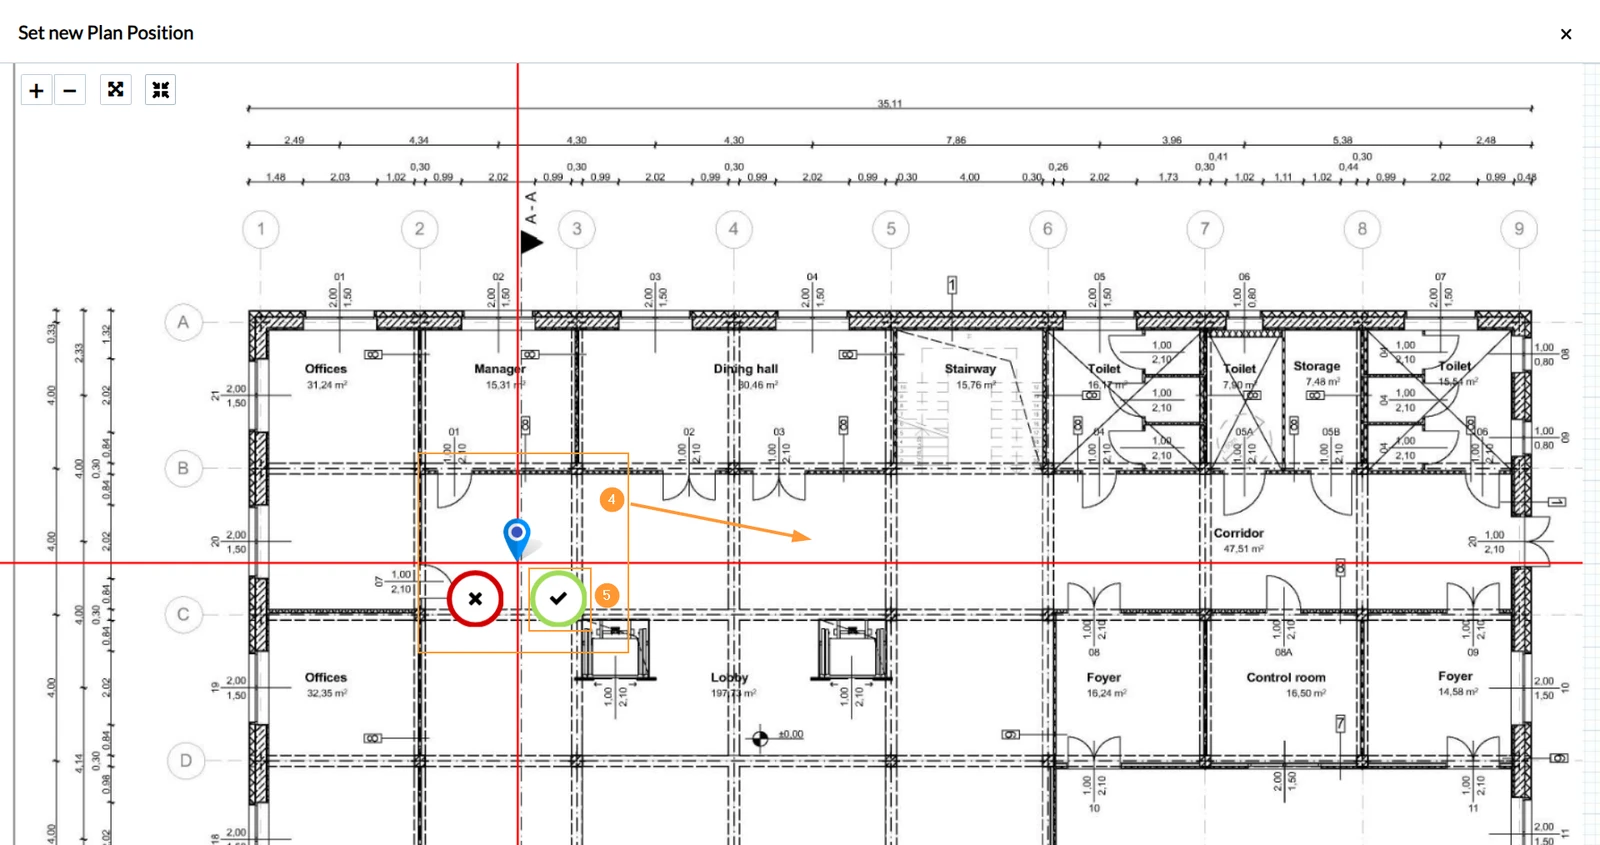
- Drag & drop the ticket pin
- Click ✔ to confirm and save.
To set a different plan position on iOS you must delete the current plan position first:
- Open the ticket and scroll down to Plan position
- Tap Edit plan position
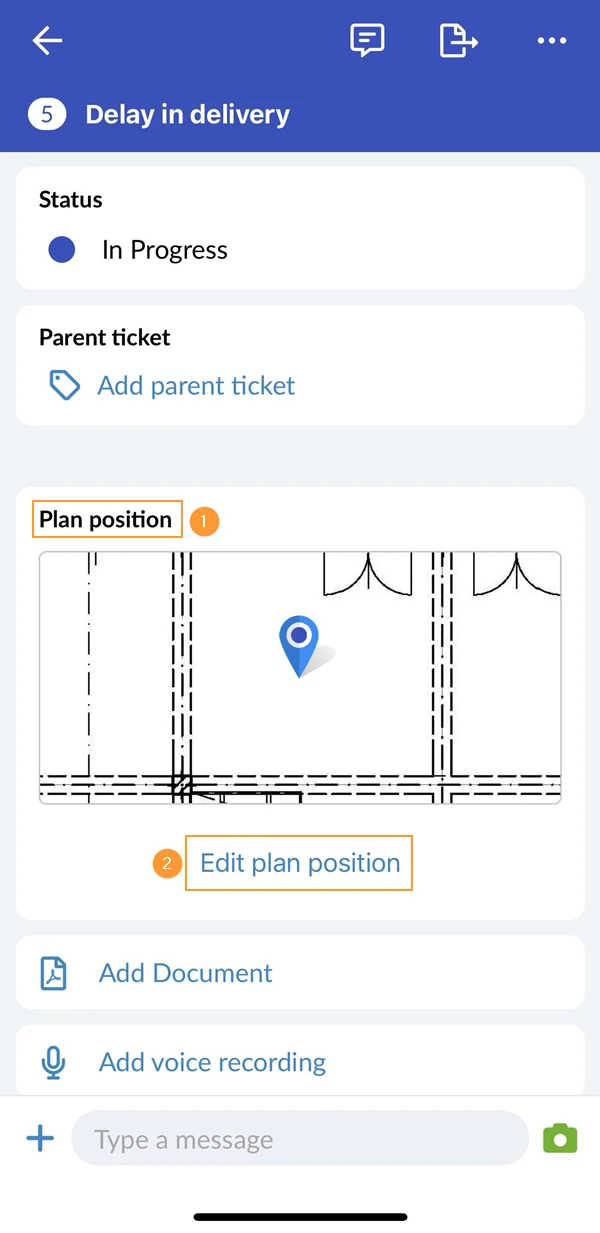
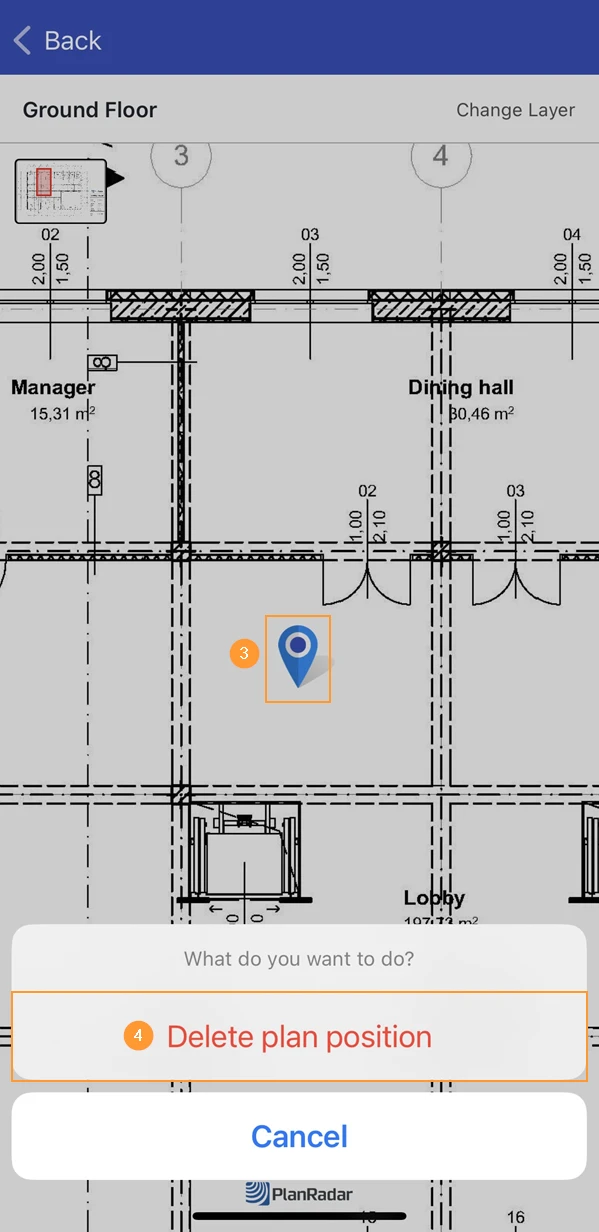
- Tap the ticket pin
- Tap Delete plan position
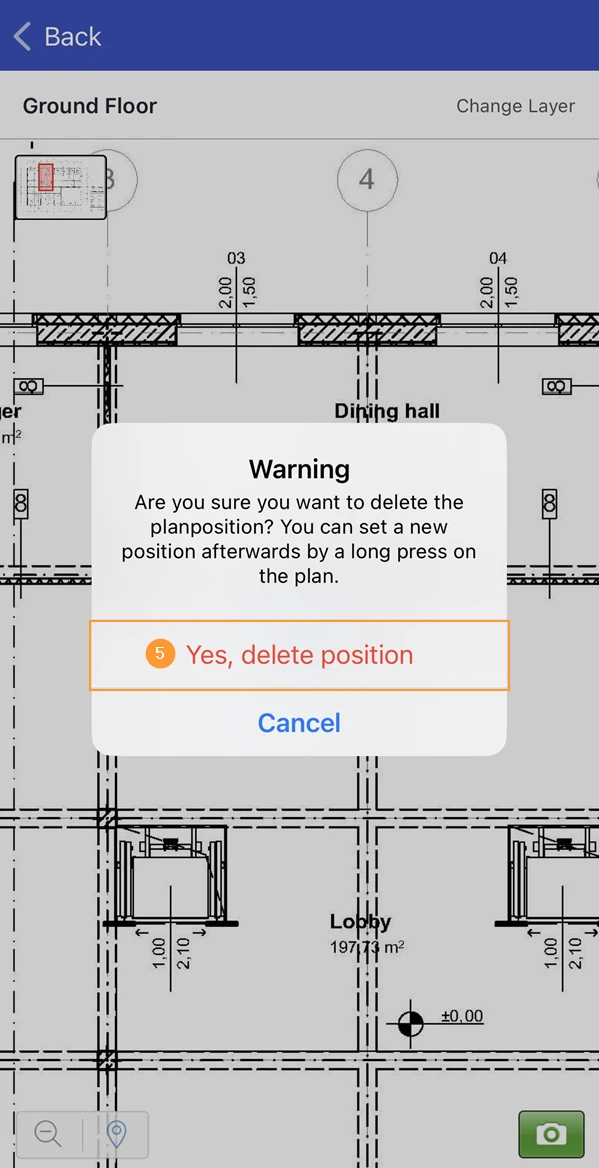
- Tap Yes, delete position
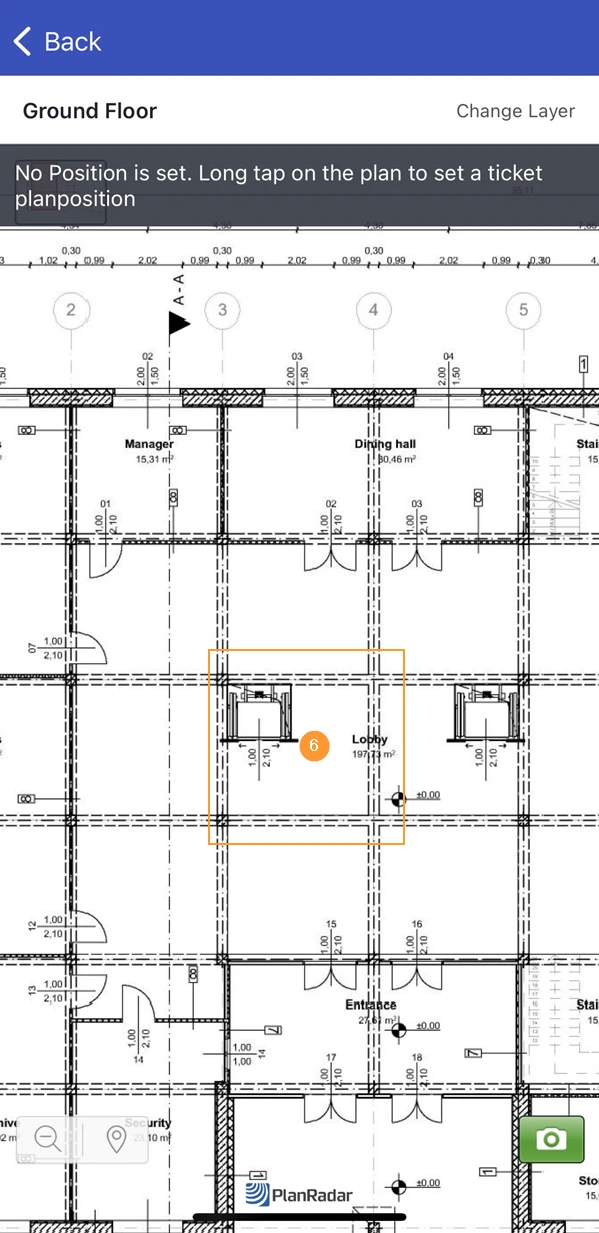
- Long tap on the plan to set a ticket plan position
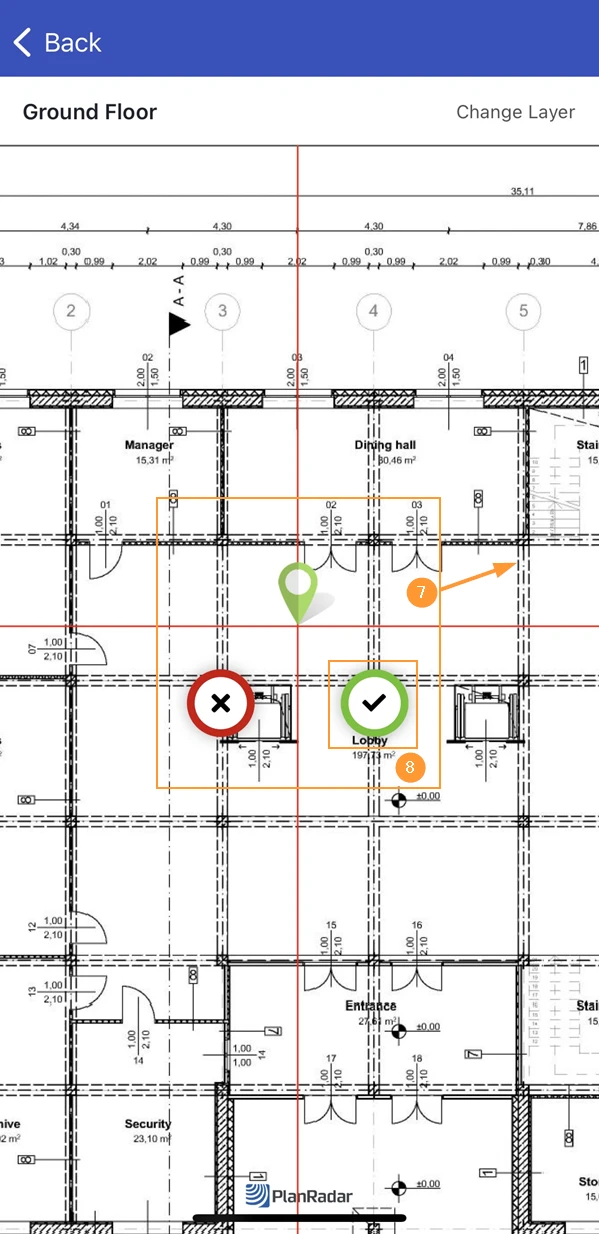
- Optional: drag & drop the ticket pin to adjust the plan position
- Tap ✔ to confirm and save the plan position
- Open the ticket and scroll down
- Tap the plan position preview
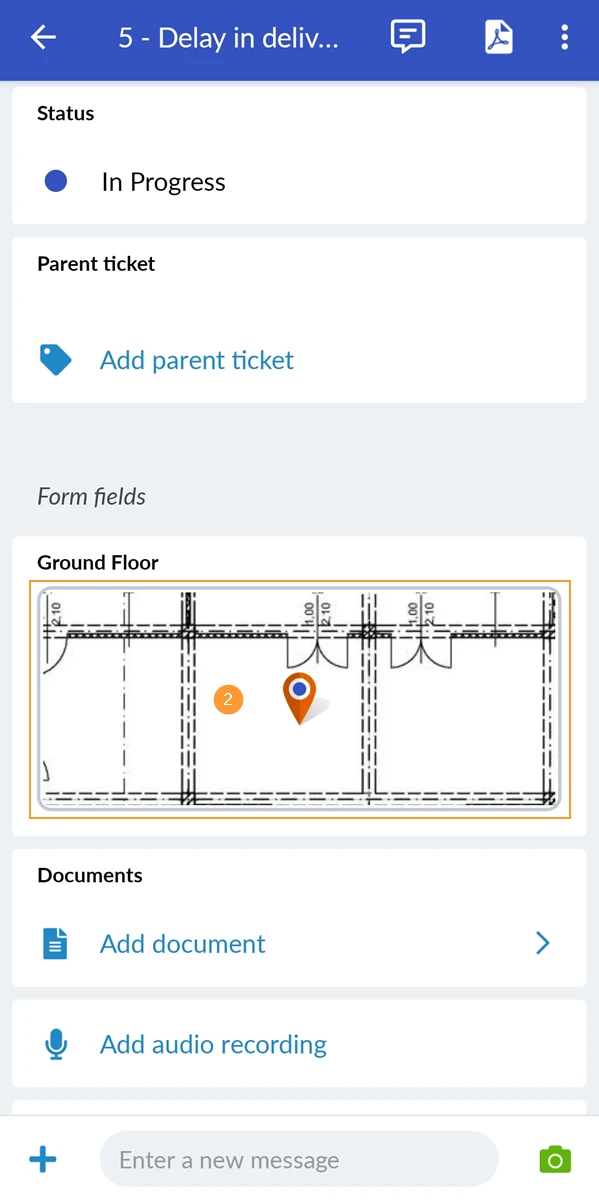
- Long tap on the ticket pin
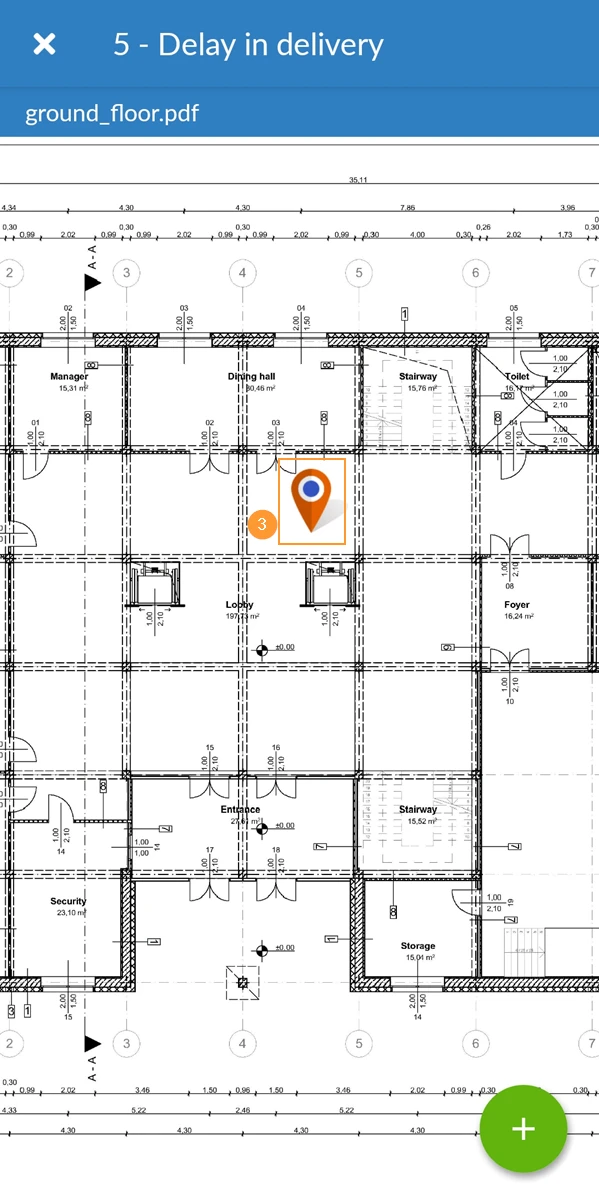
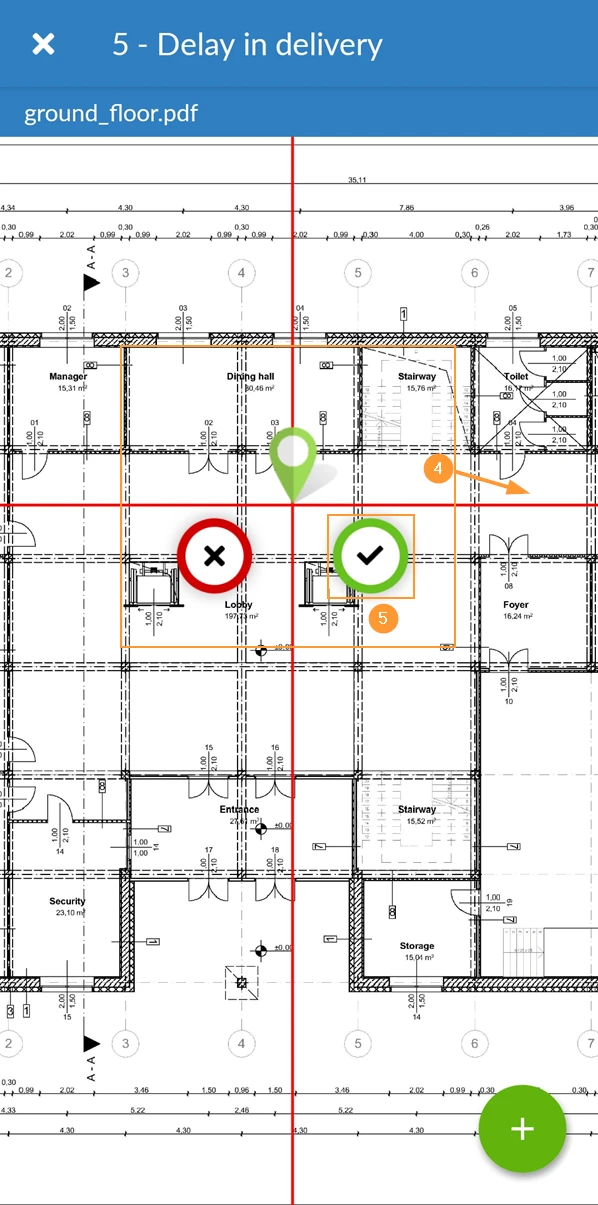
- Optional: drag & drop the ticket pin to adjust the plan position
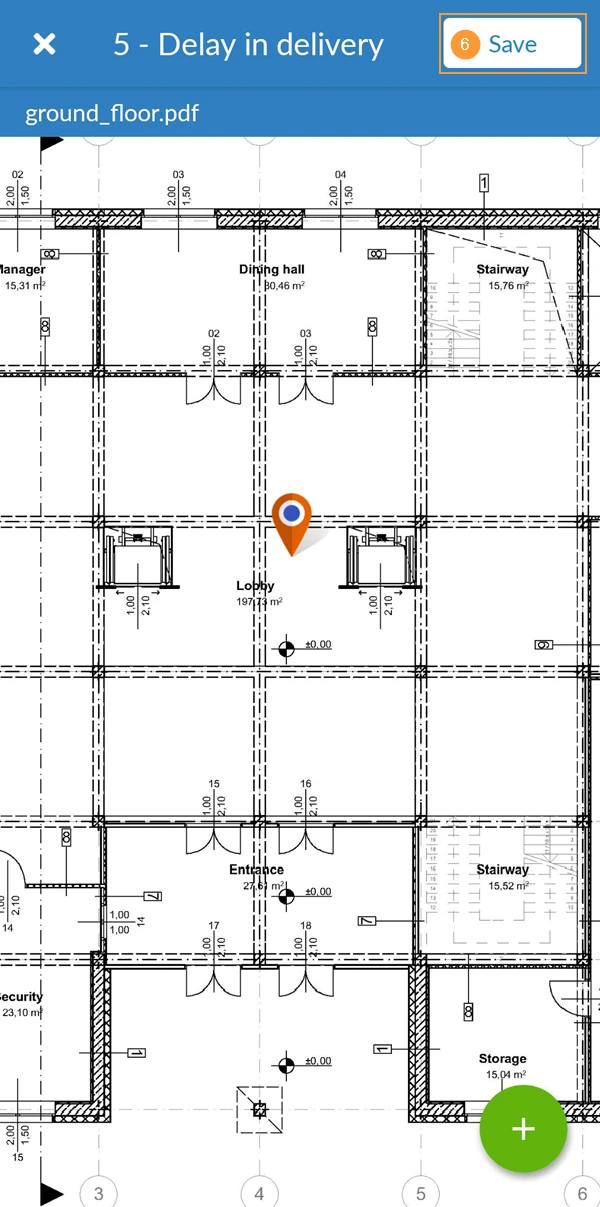
- Tap ✔ to confirm
- Tap Save
Delete the Plan Position
To delete the plan position of a ticket:
- Open the ticket
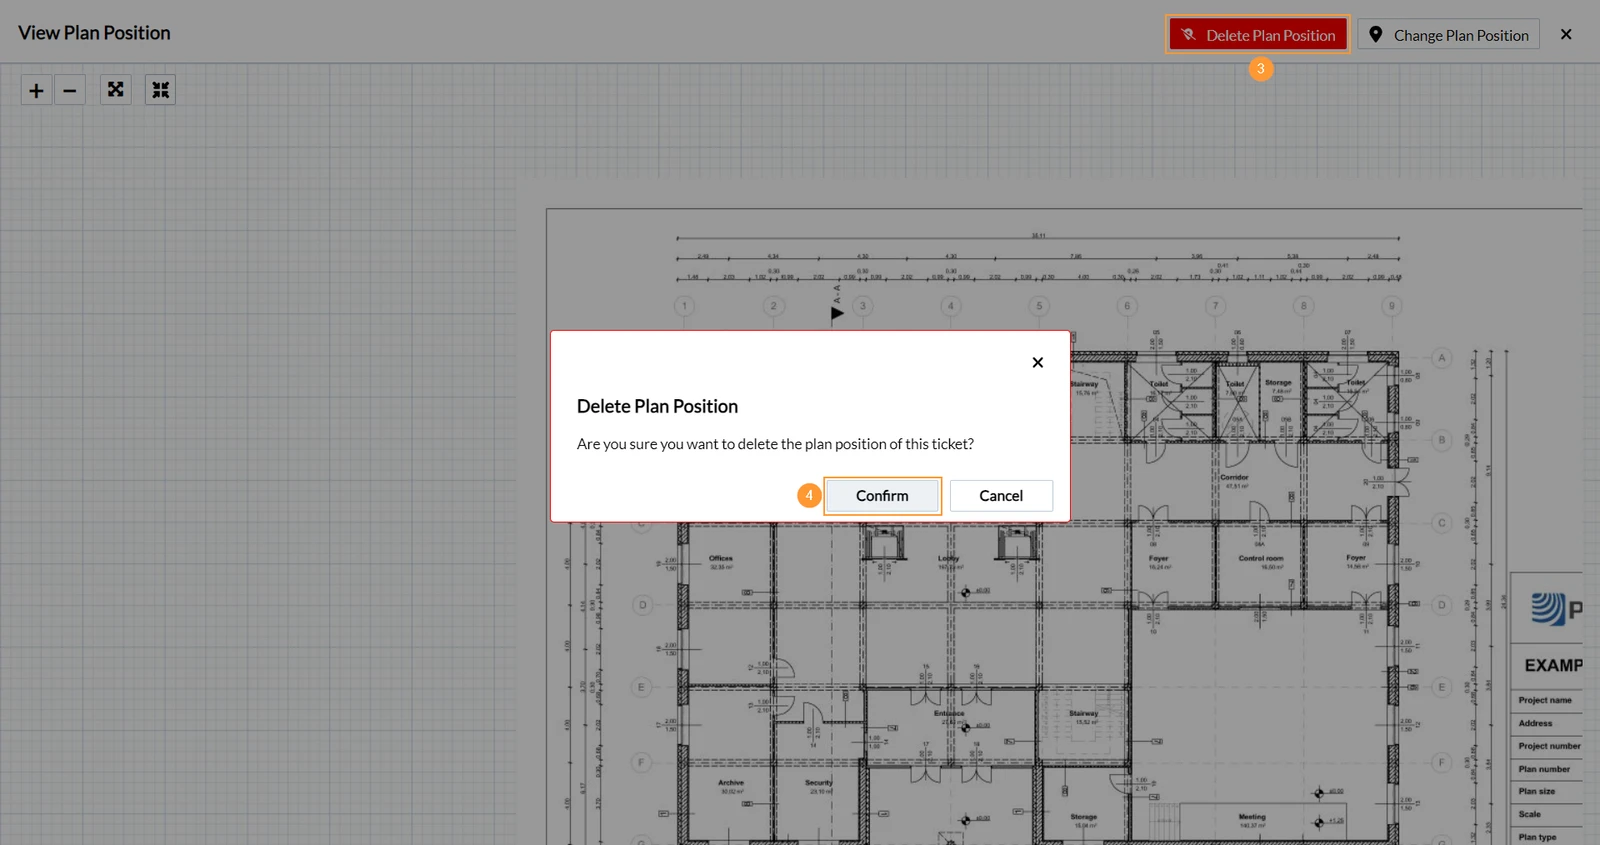
- Click on the plan position preview to open the View Plan Position screen.
- Click Delete Plan Position
- Click Confirm to save the ticket without a plan position.
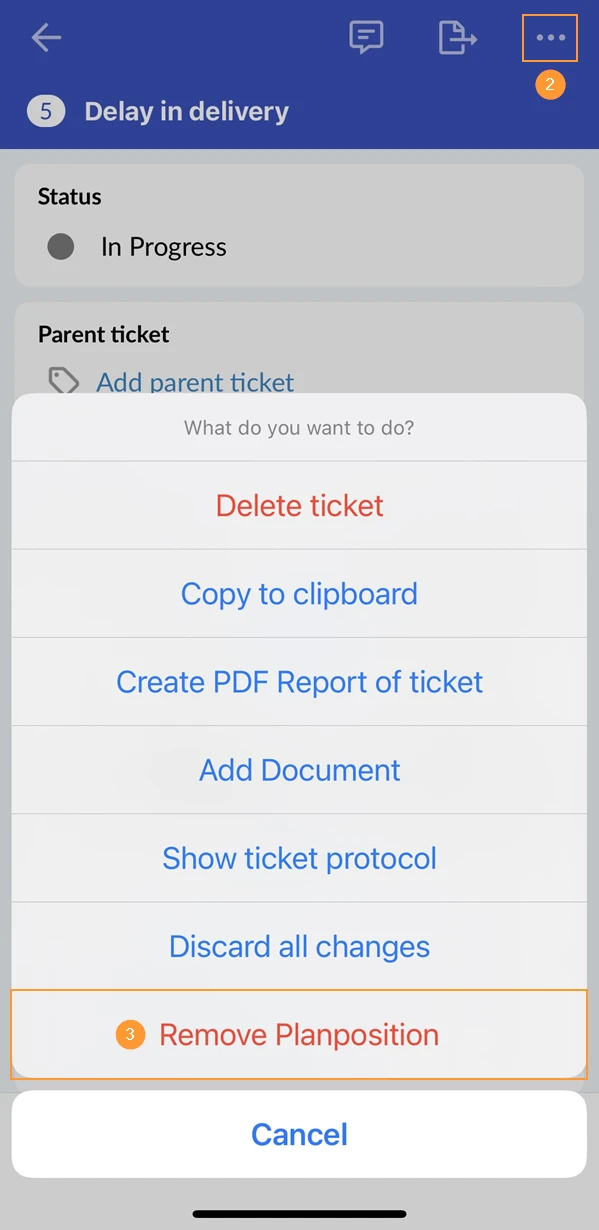
- Open the ticket
- Tap More
- Tap Remove Planposition
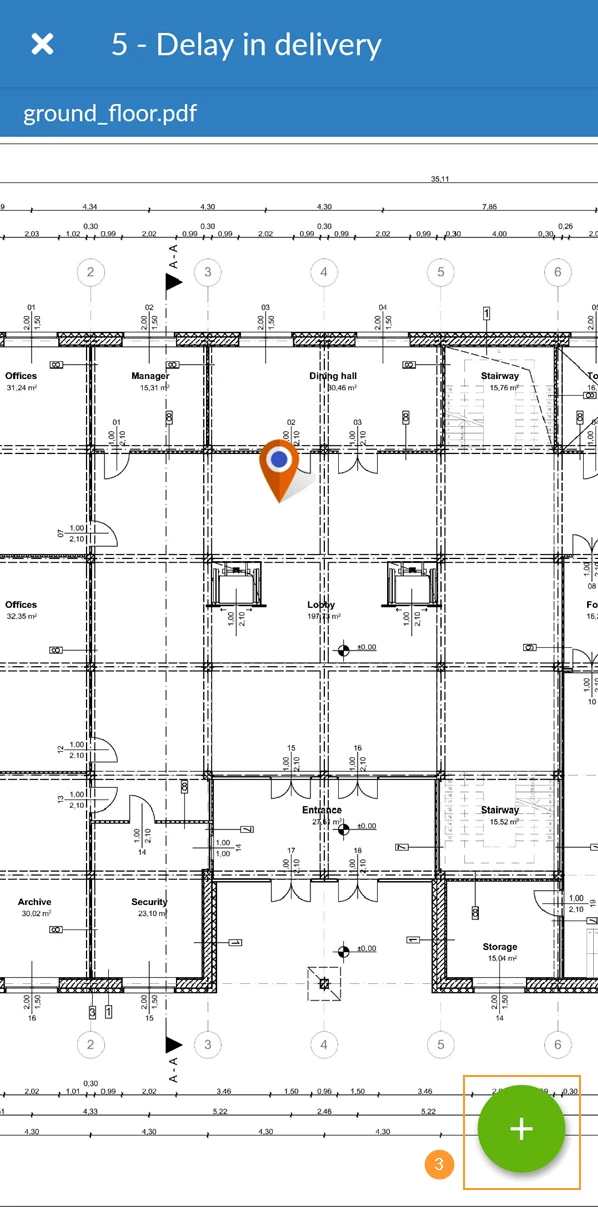
- Open the ticket and scroll down
- Tap the plan preview
- Tap + to open the menu
- Tap delete position
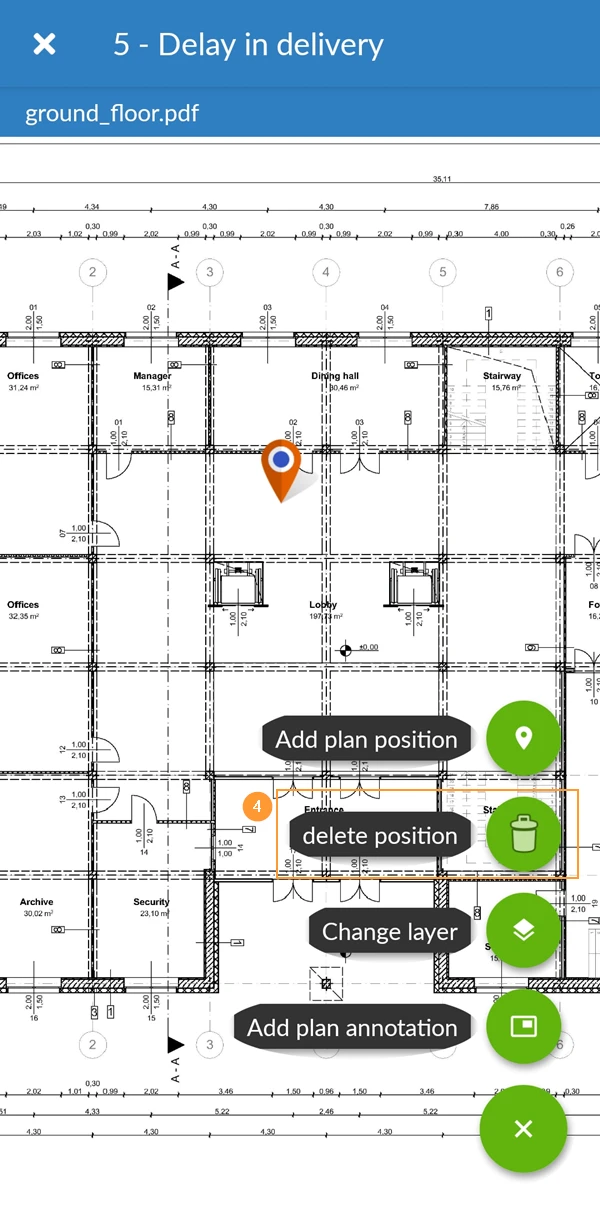
- Tap Save
Updated February 17, 2025