

 Deutsch
 Español
 Français
 Hrvatski
 Italiano
 Polski
 Português (BR)
Attach Photos to Project Reports
Overview
Attach photos to a project report to be displayed in a gallery. When the submitted project report is shared as a PDF or printed, the photos will be listed at the end. You can attach up to 50 photos per report.
Access & Permissions
Attach Photos to Project Reports
To attach photos to project reports:
- Create or edit a project report as described in Create & Edit Project Reports
- Click Show Attachments
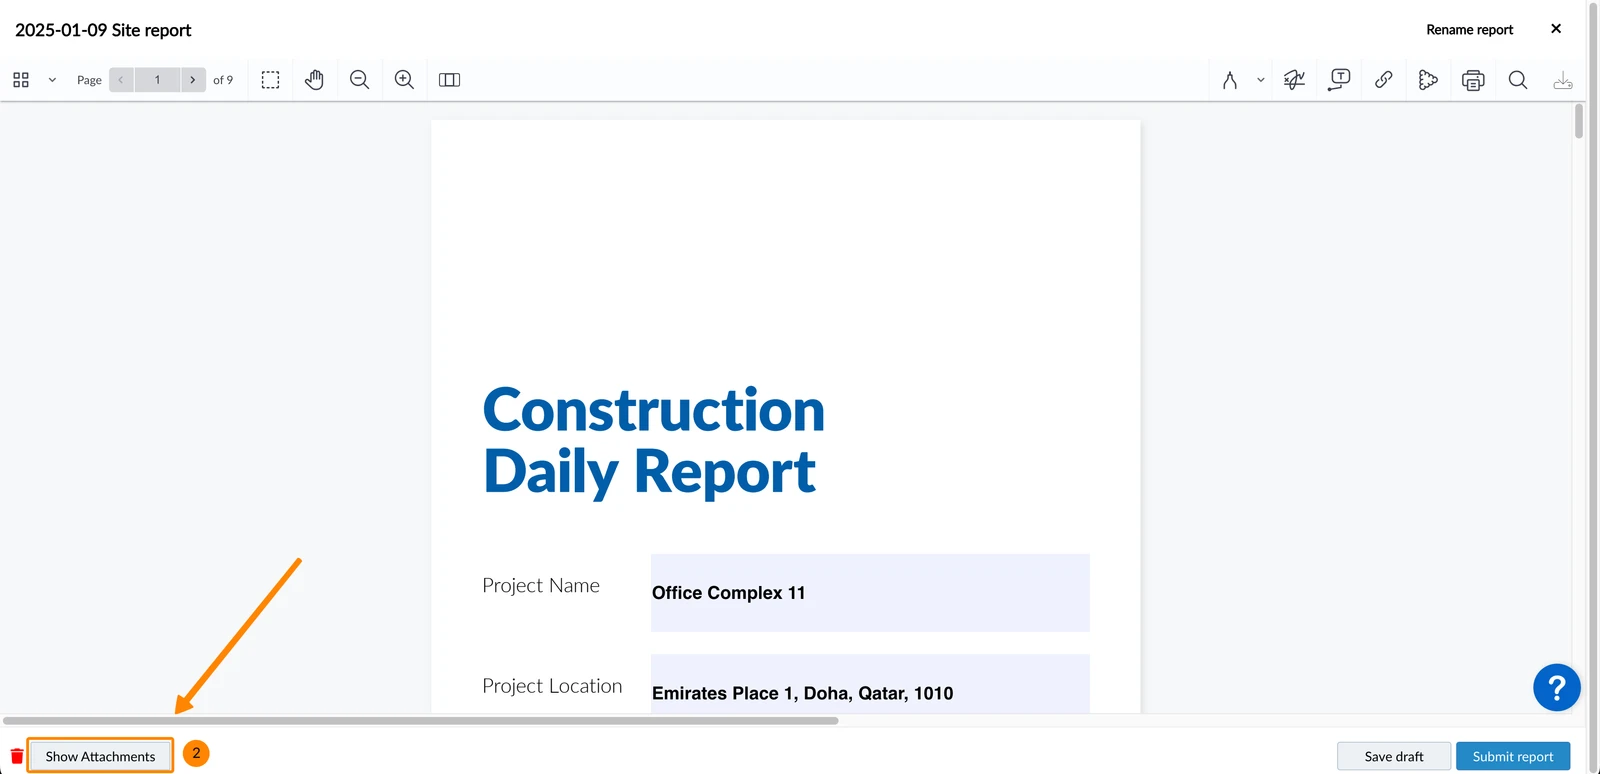
- Click + Add Attachments
- Click Attach Photos
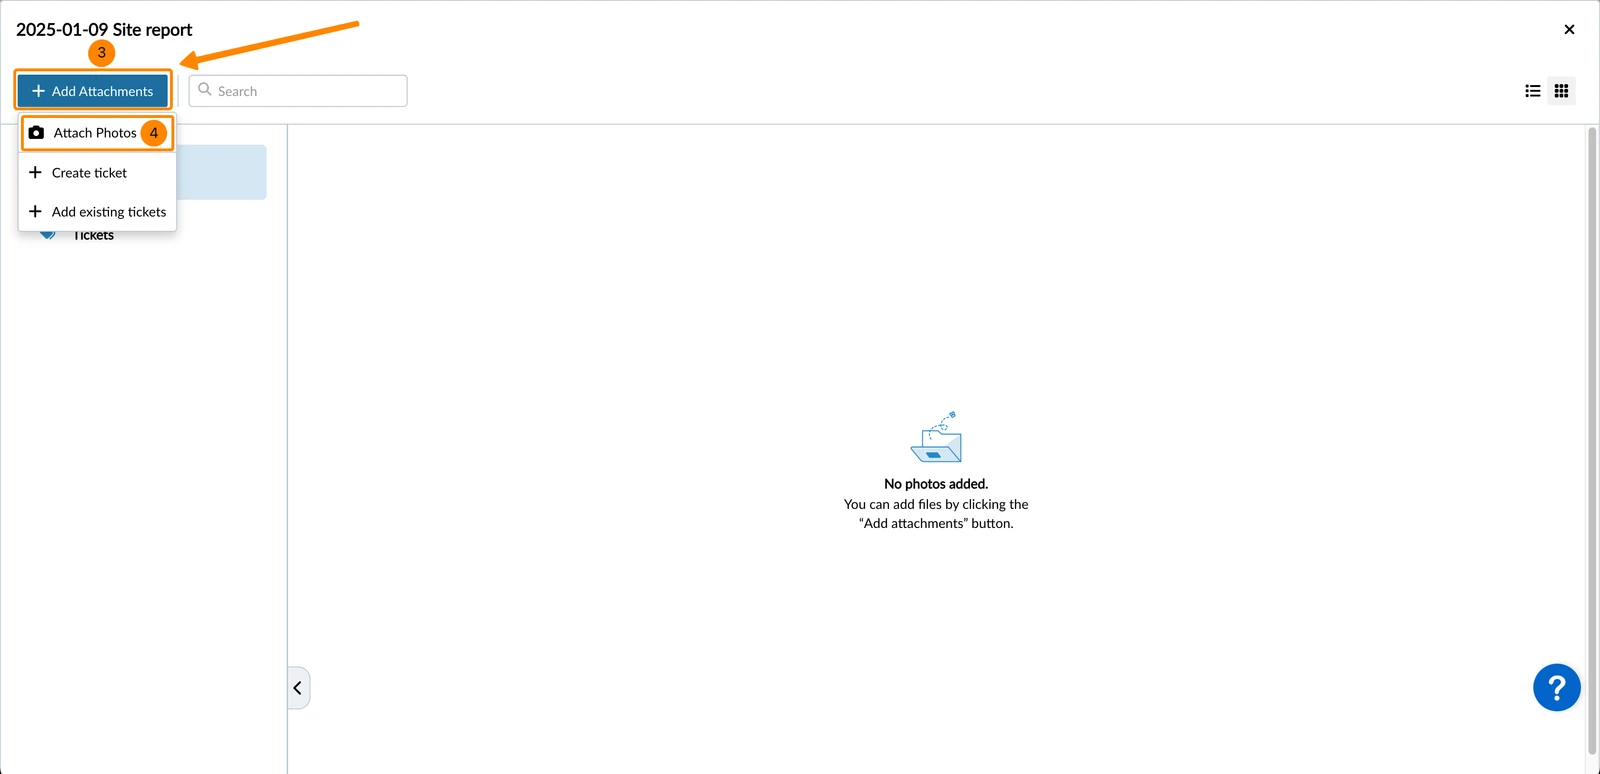
- Select the photo from your device
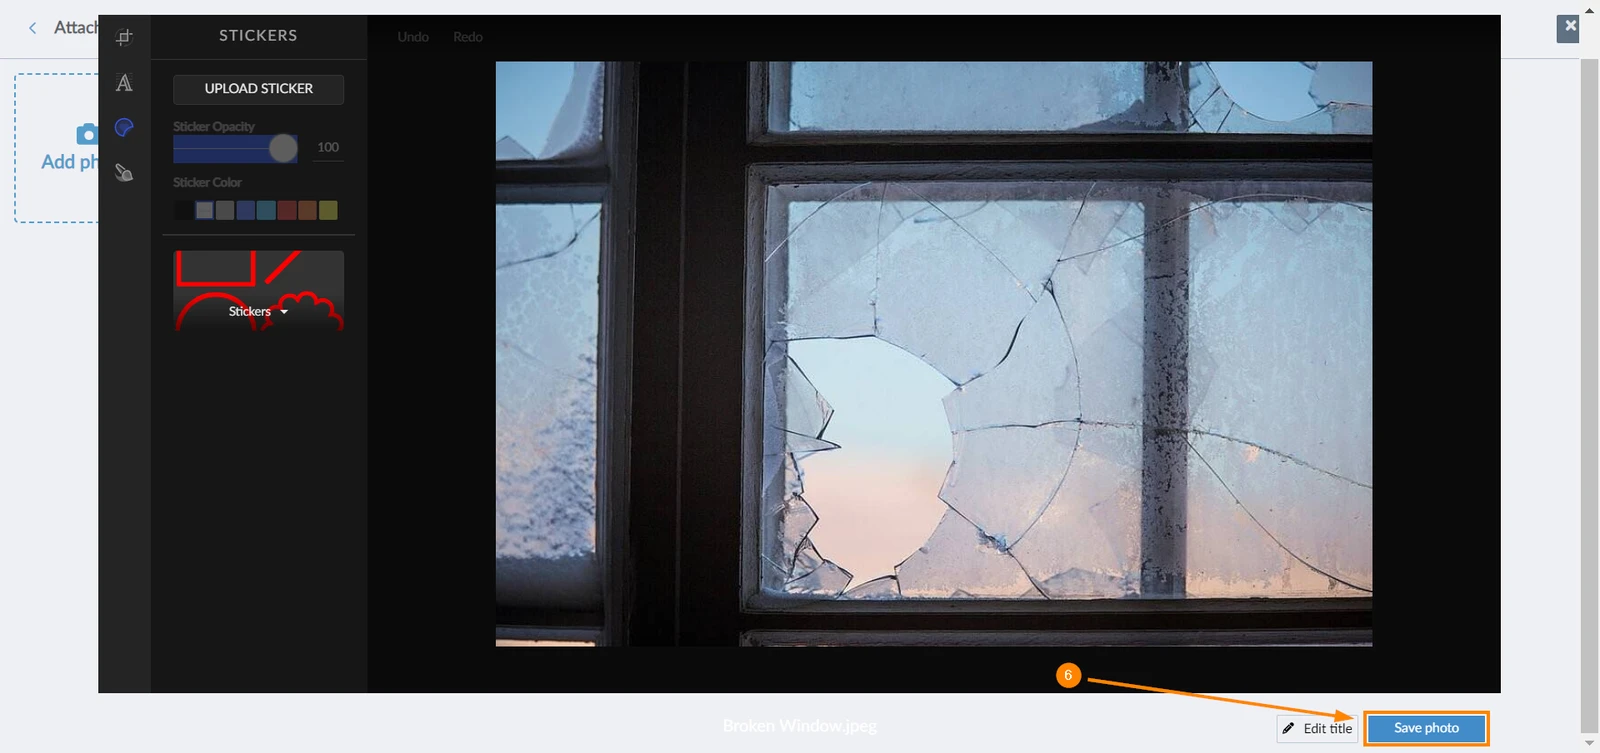
- Use the Photo Editor to annotate the photo if needed
- Click Save Photo
-
Create or edit a project report as described in Create & Edit Project Reports.
-
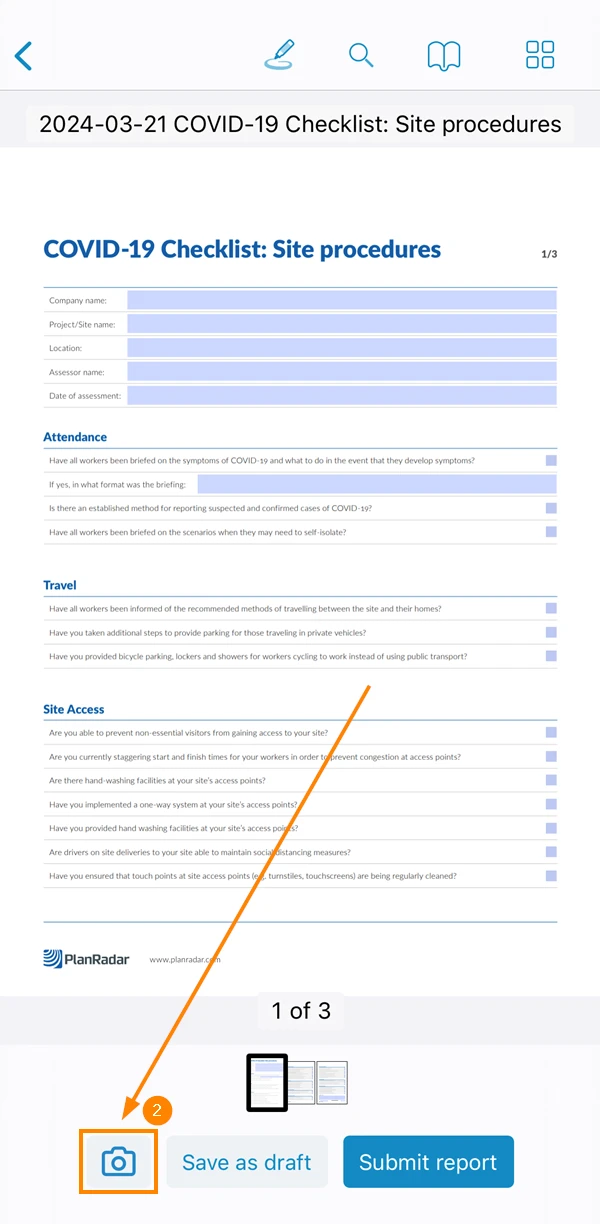
Tap the camera icon
-
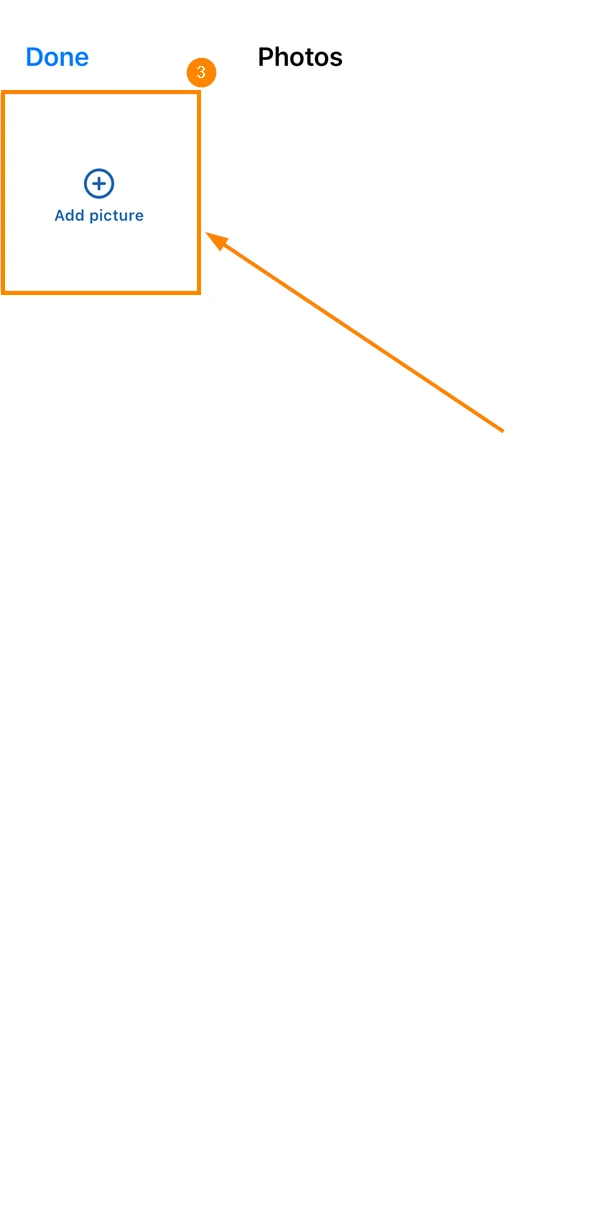
Tap Add picture
-
Select the photo from your device or take a new photo.
-
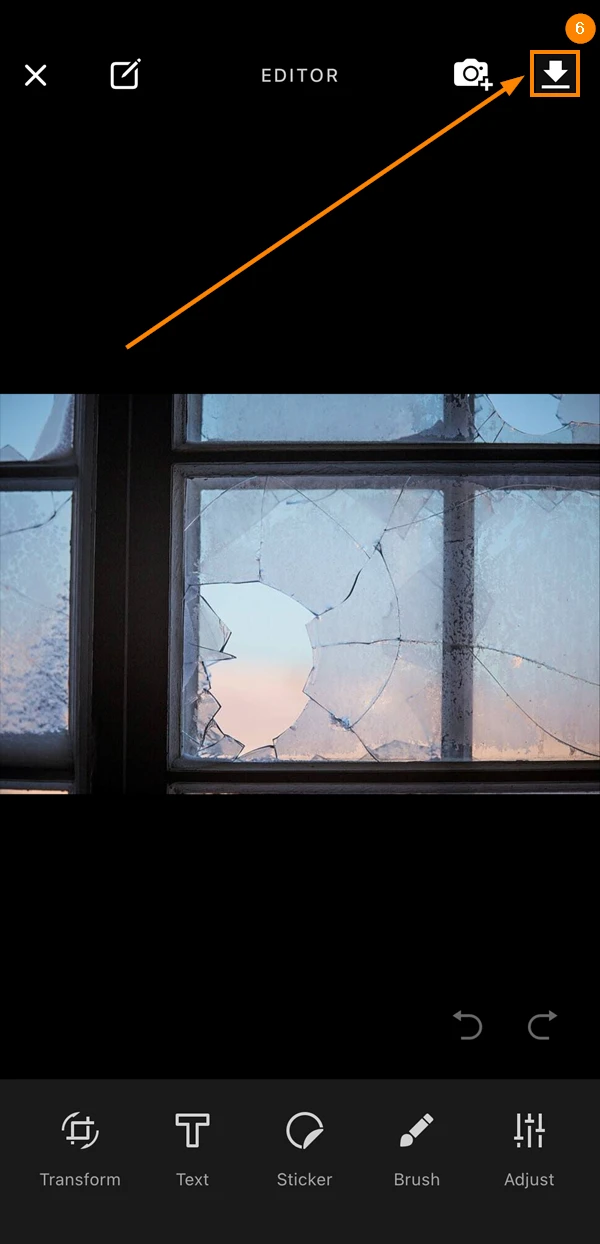
Use the Photo Editor to annotate the photo if needed
-
Tap the download icon to attach the photo to the report
-
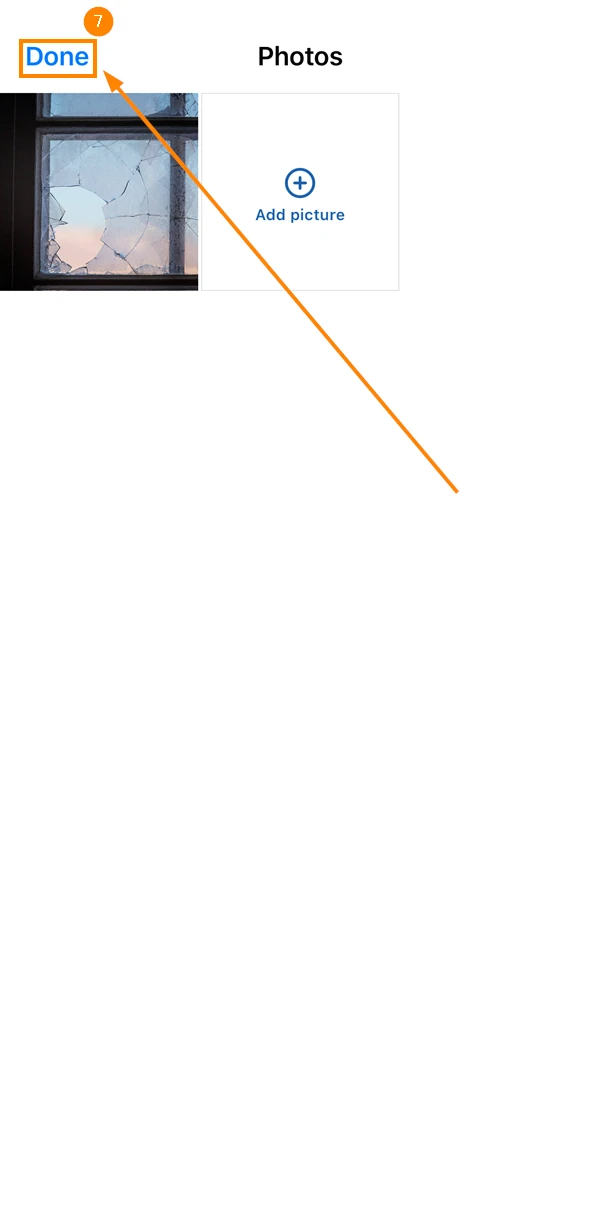
Tap Done
-
Create or edit a project report as described in Create & Edit Project Reports.
-
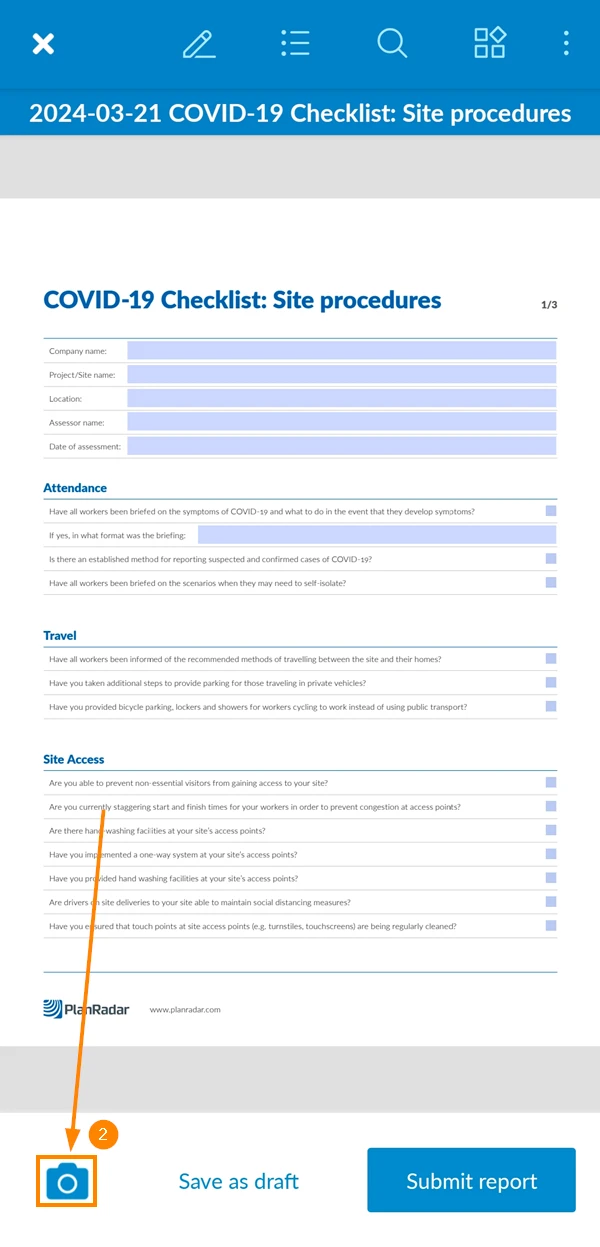
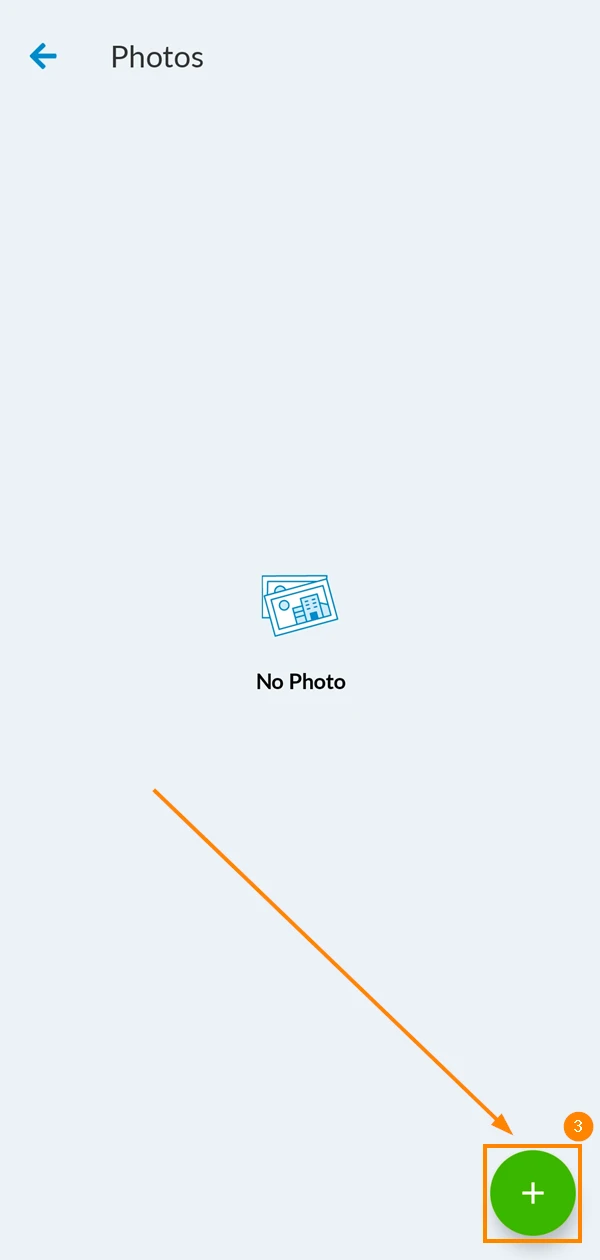
Tap the camera icon
-
Tap the + icon
-
Select the photo from your device or take a new photo.
-
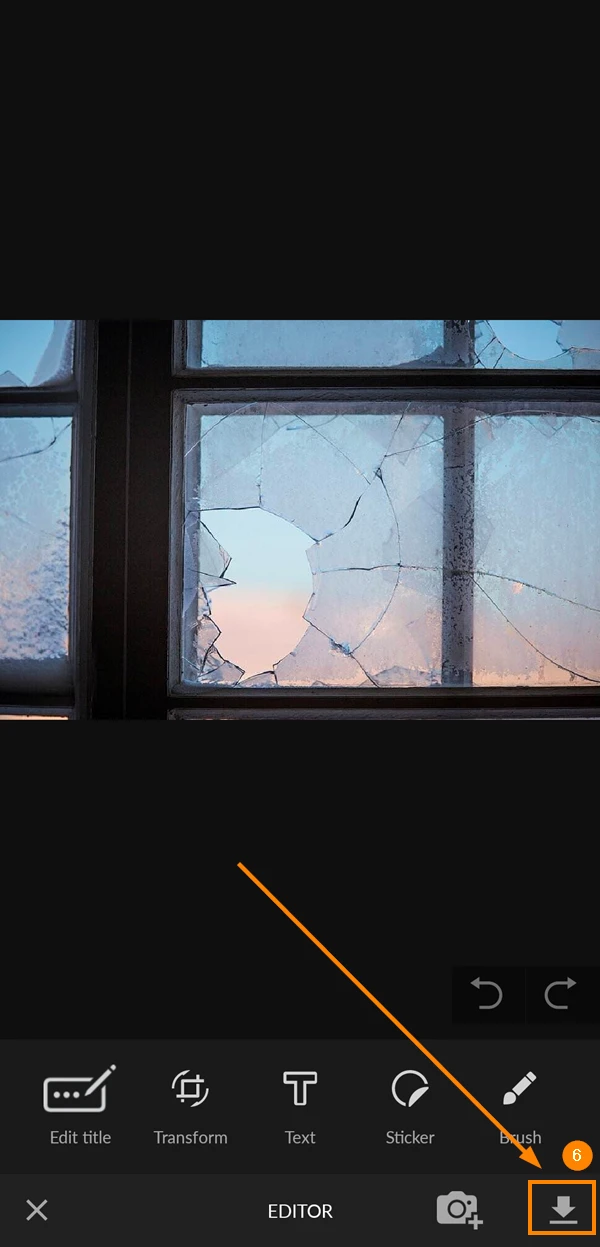
Use the Photo Editor to annotate the photo if needed
-
Tap the download icon to attach the photo to the report
View Photos Attached to Project Reports
To view photos attached to project reports:
- View a report as described in View & Browse Project Reports
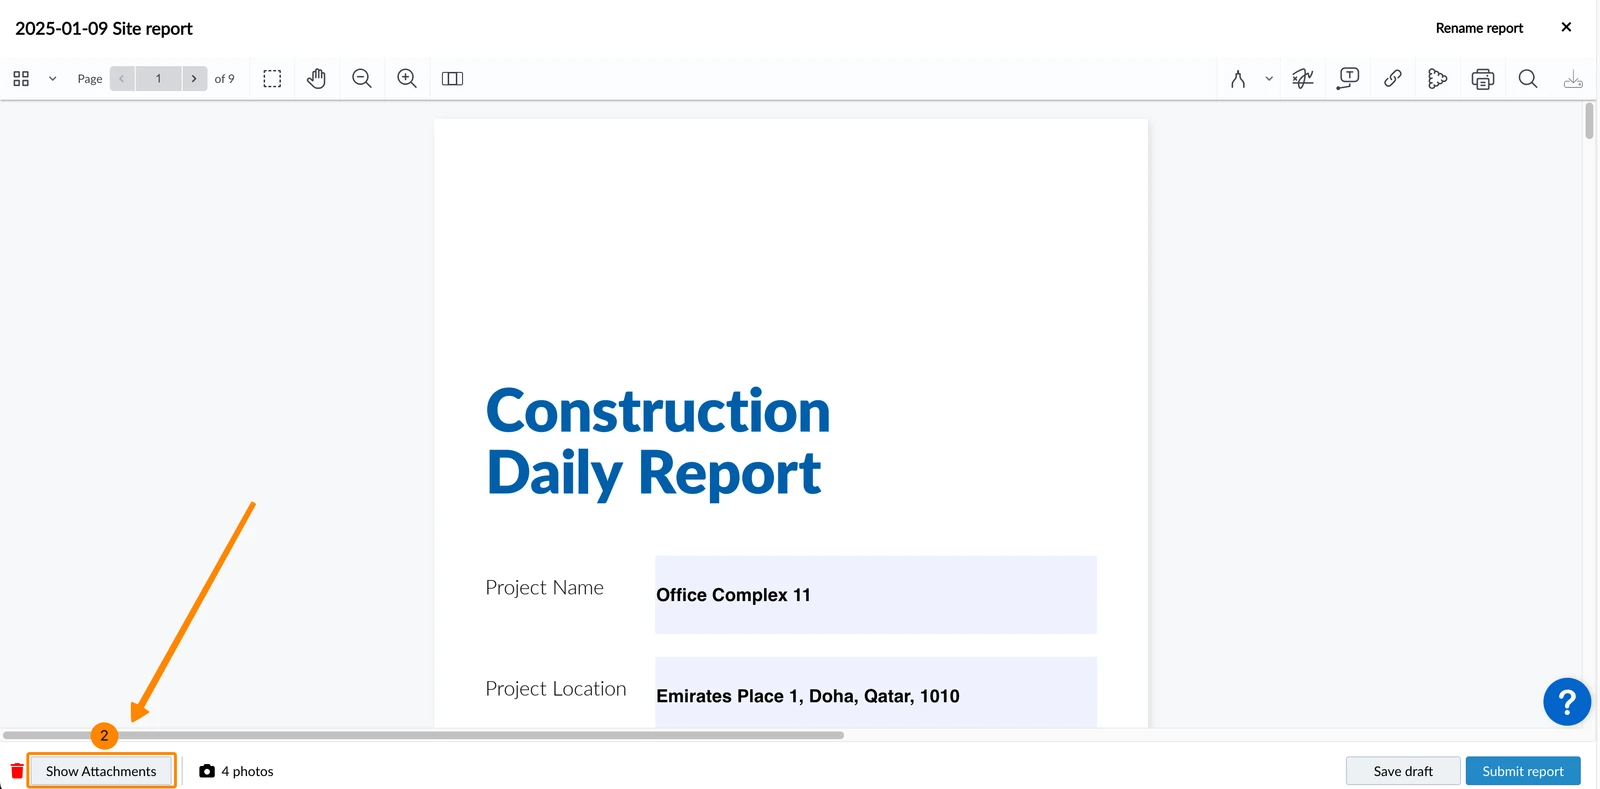
- Click Show Attachments
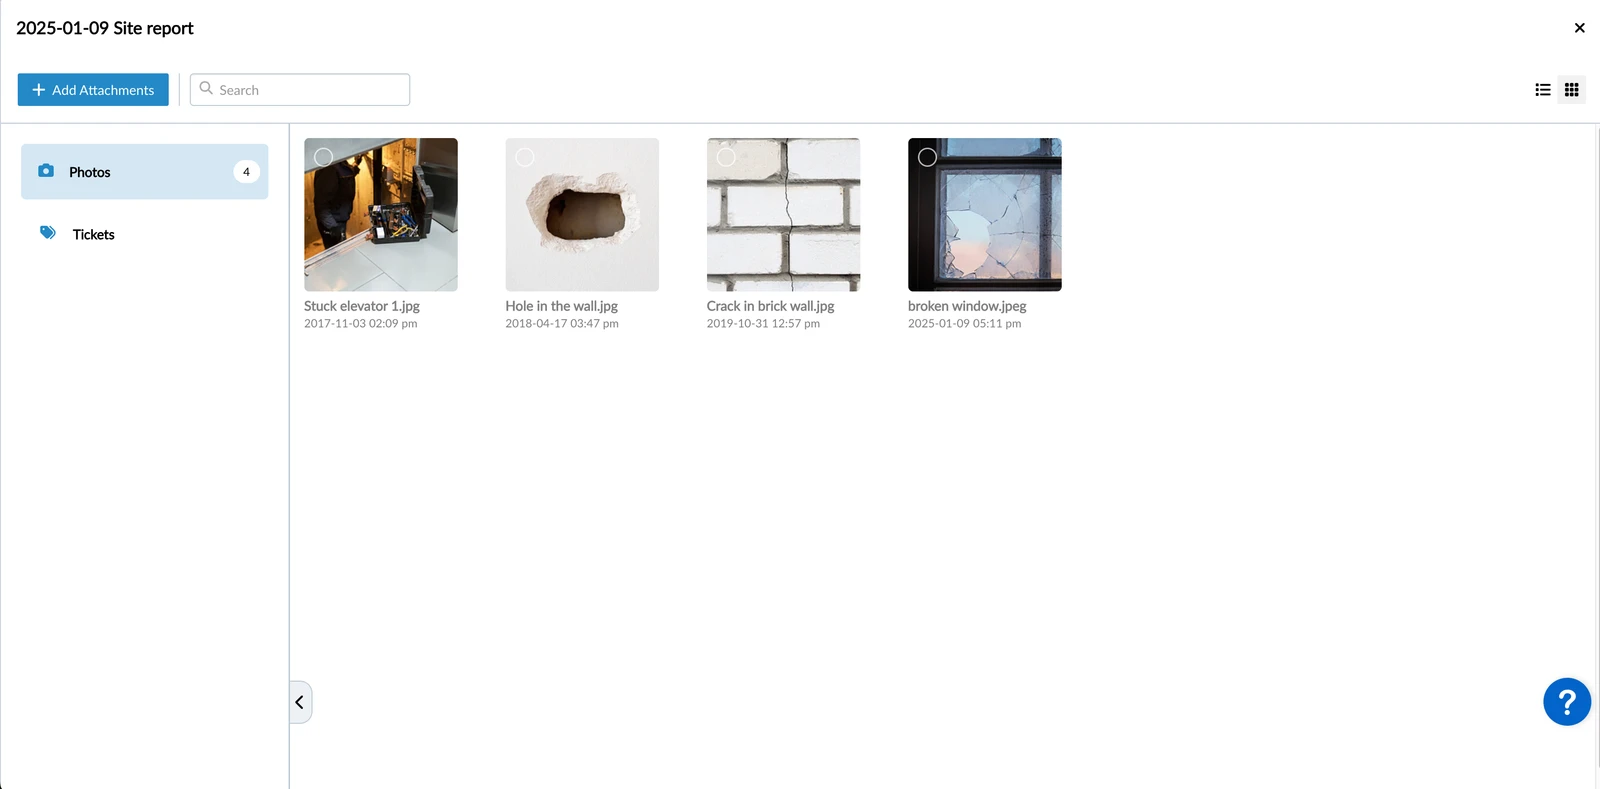
- A gallery will open showing all attached photos
- Open a project report
- Tap the gallery icon (Note: if the project report is a draft, a camera icon is shown instead)
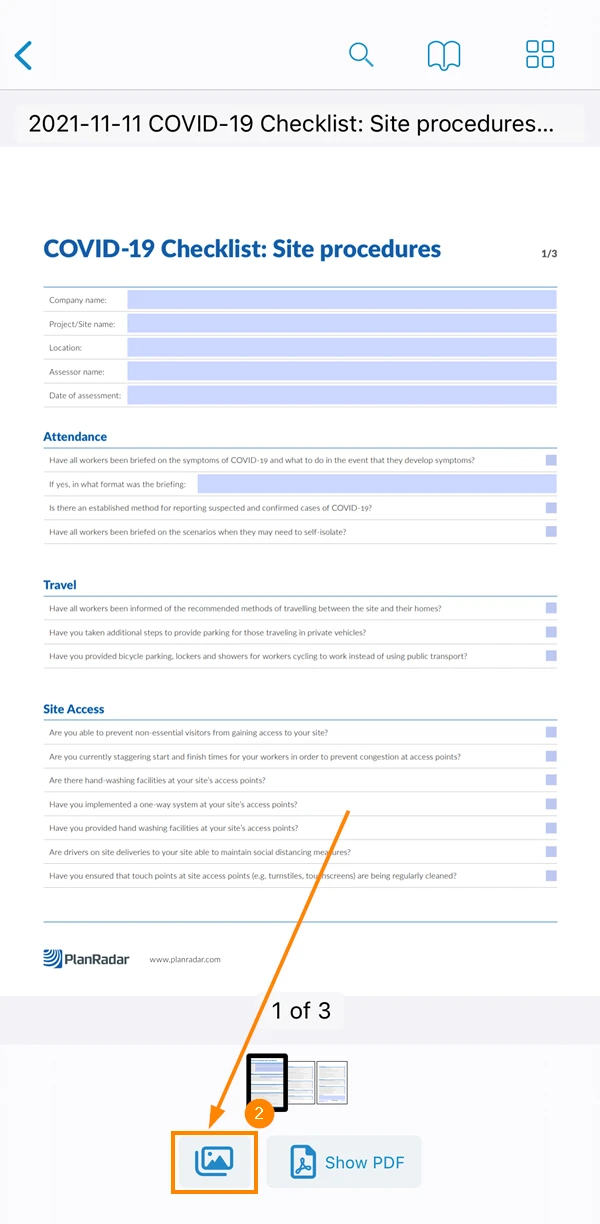
- A gallery will open showing attached photos
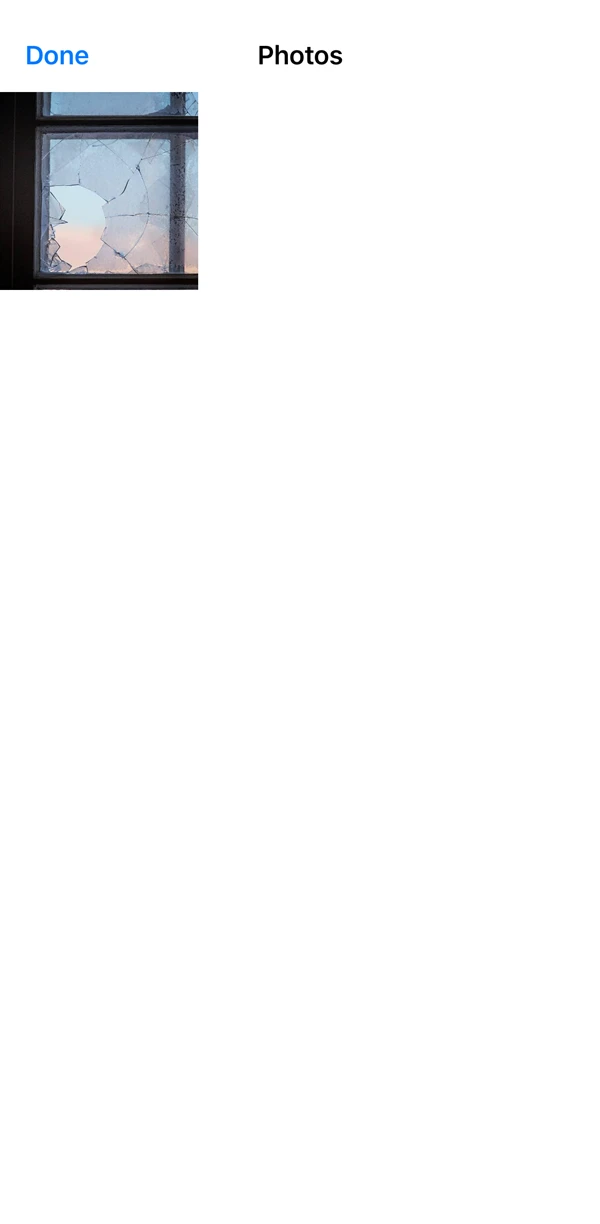
- Open a project report
- Tap the gallery icon (Note: if the project report is a draft, a camera icon is shown instead)
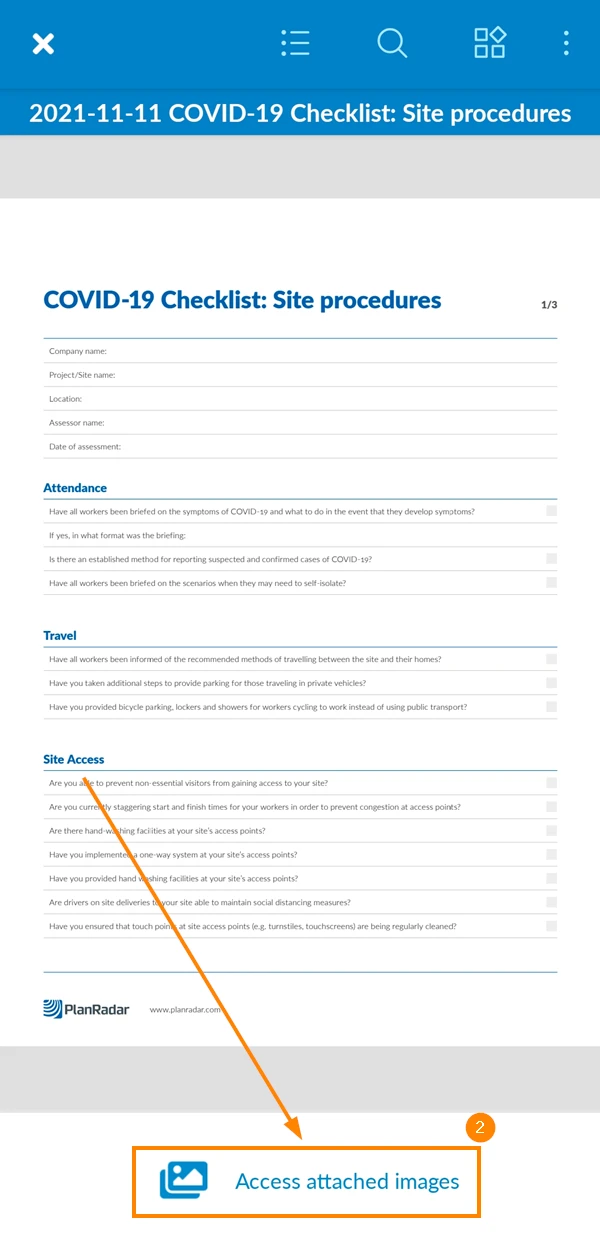
- A gallery will open showing attached photos

Delete Photos from Project Reports
To delete a photo from a project report that is not yet submitted:
- Open a project report draft
- Click Show Attachments
- Hover over the photo and click the Delete icon
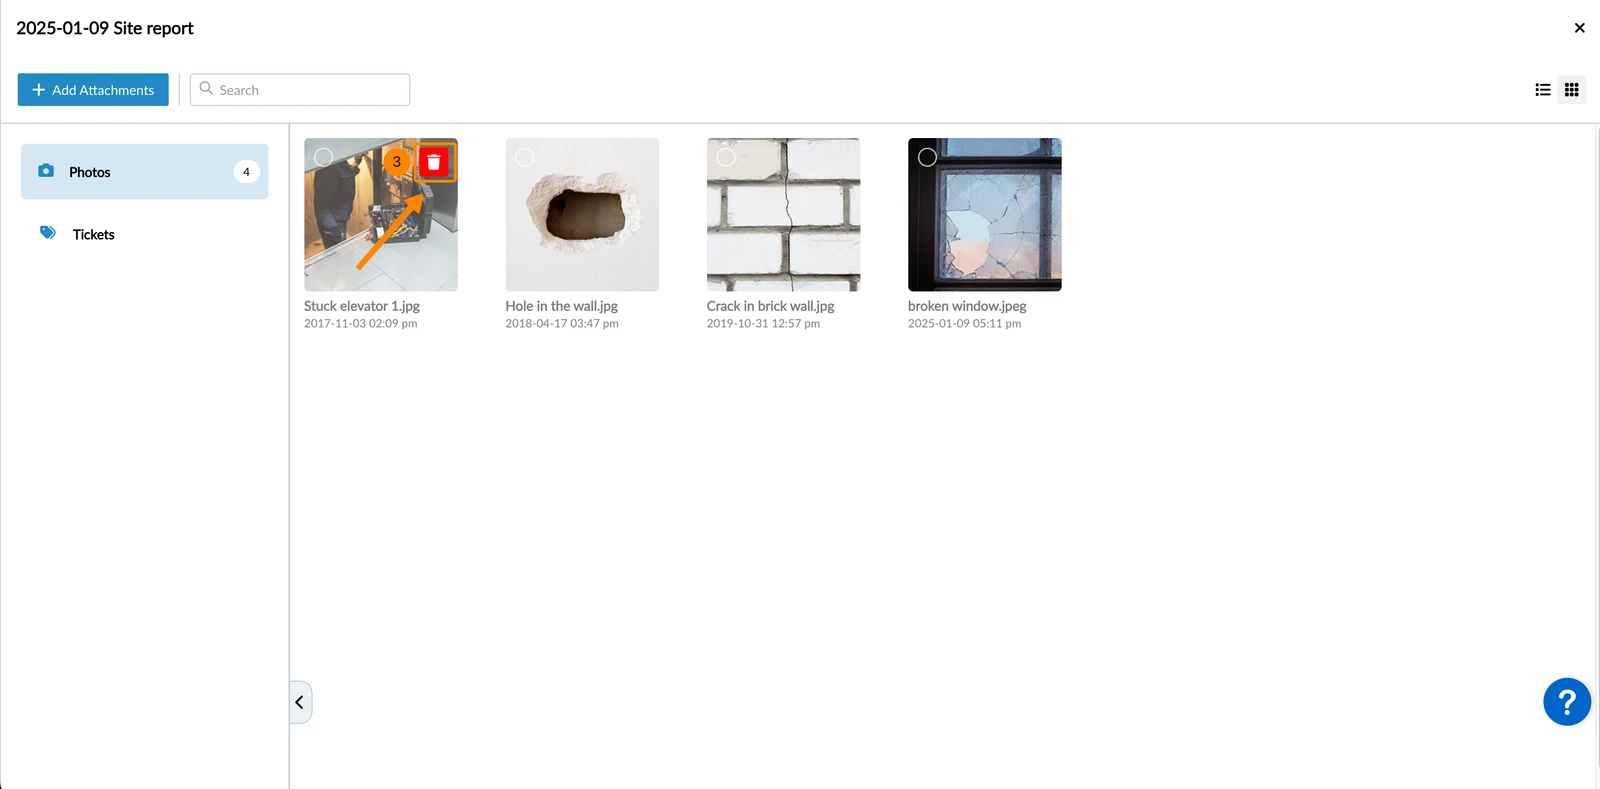
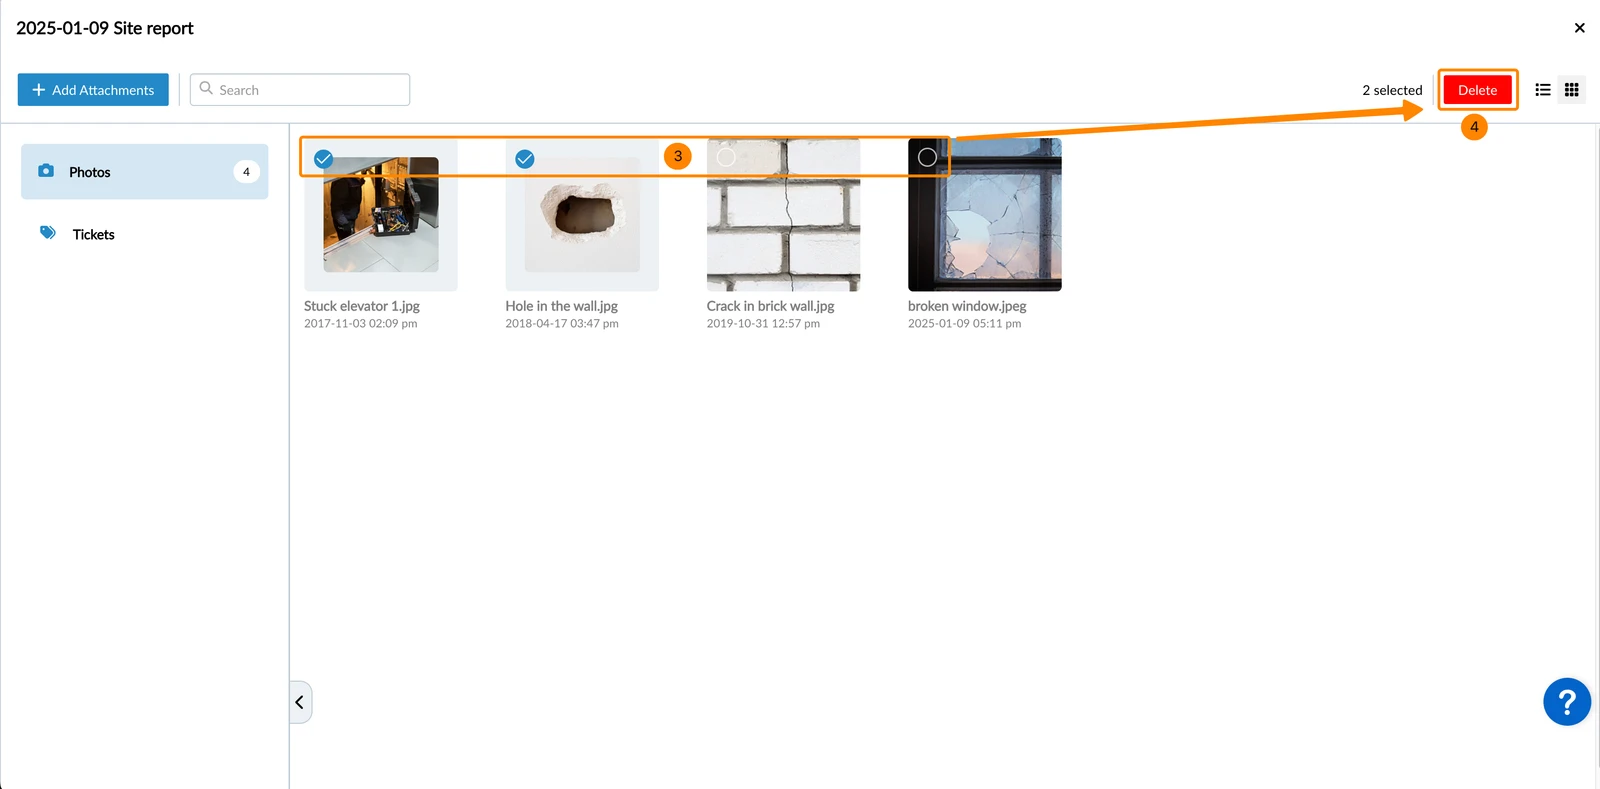
To delete multiple photos from a project report that is not yet submitted:
- Open a project report draft
- Click Show Attachments
- Select the photos
- Click Delete
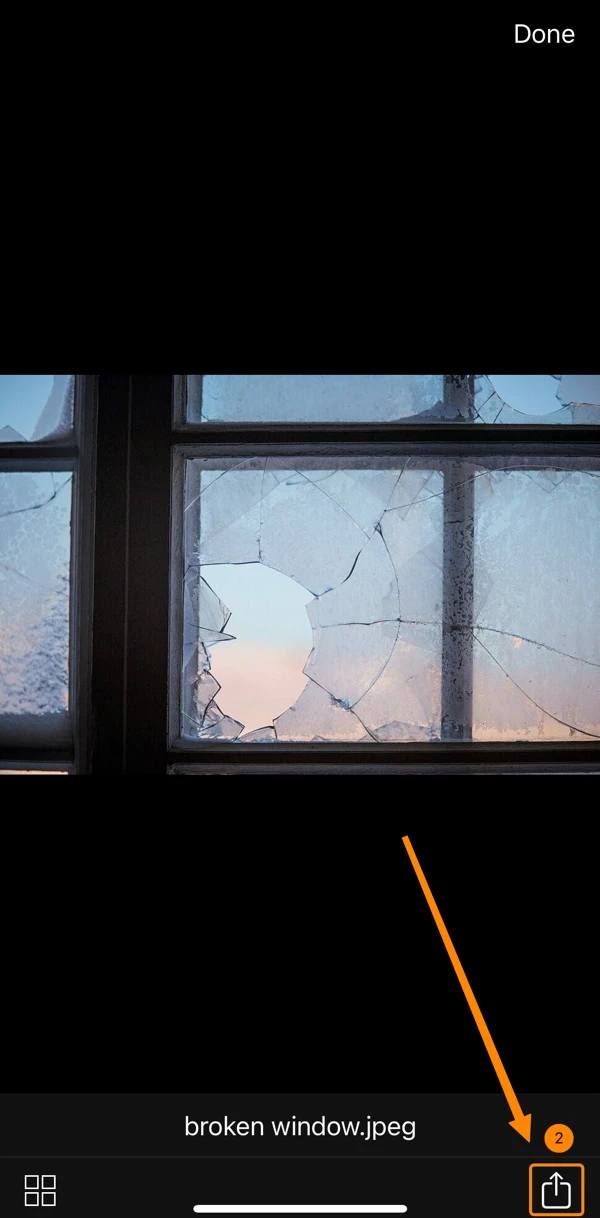
- View an attached photo as described above.
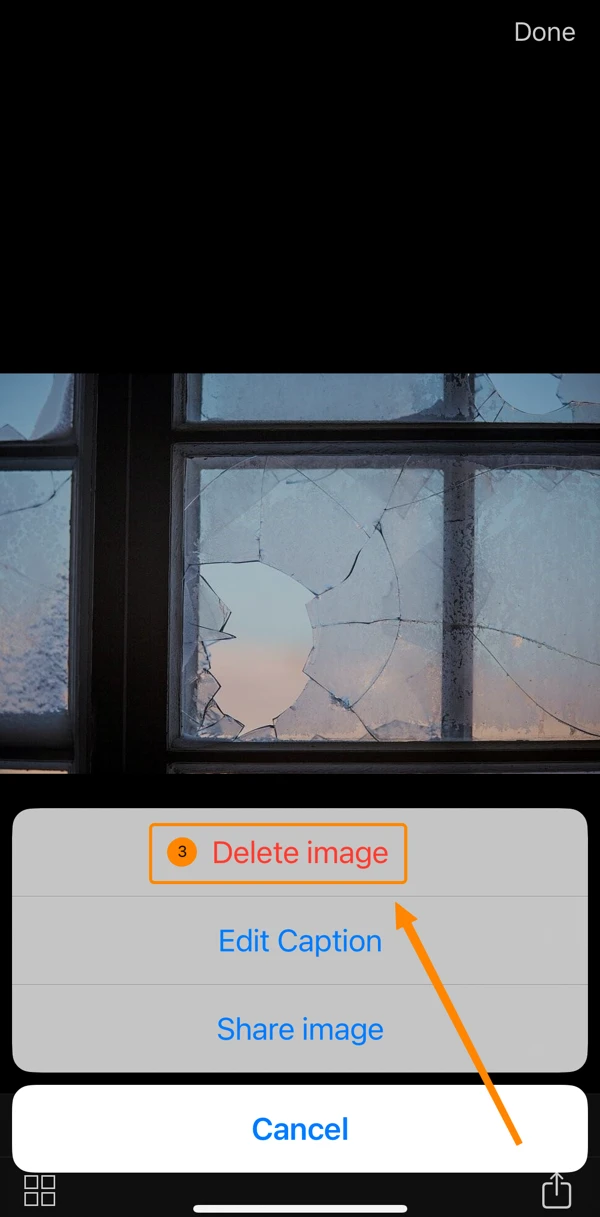
- Tap the share icon
- Tap Delete image
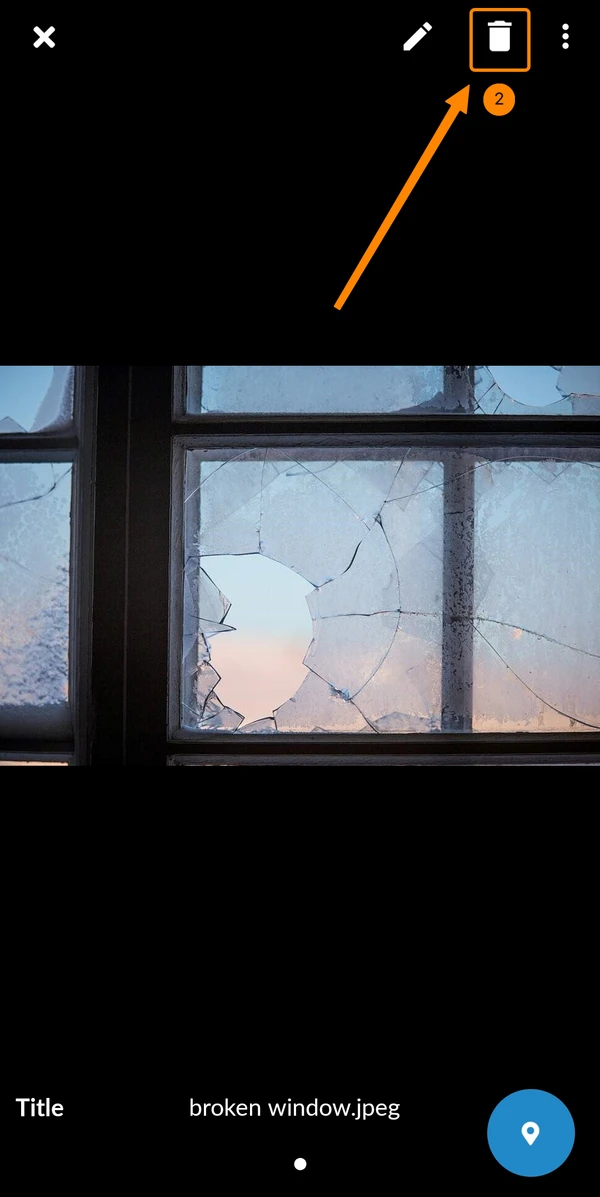
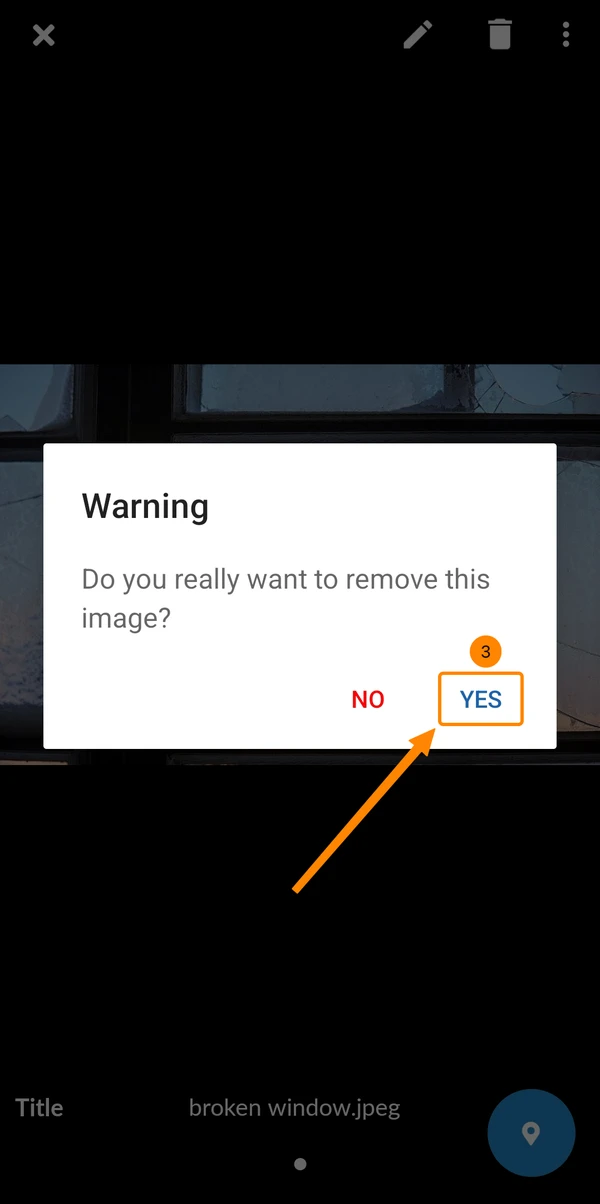
- View an attached photo as described above.
- Tap the delete icon
- Tap Yes to confirm
Updated May 24, 2026