To get started with ticket reports consider reading fundamentals about Ticket Reports first.
You can create ticket reports from one or multiple tickets. In both cases you can choose a custom template or just use a simple standard format for your report.
Access & Permissions
Create a Report from a Single Ticket
To create a report from a single ticket:
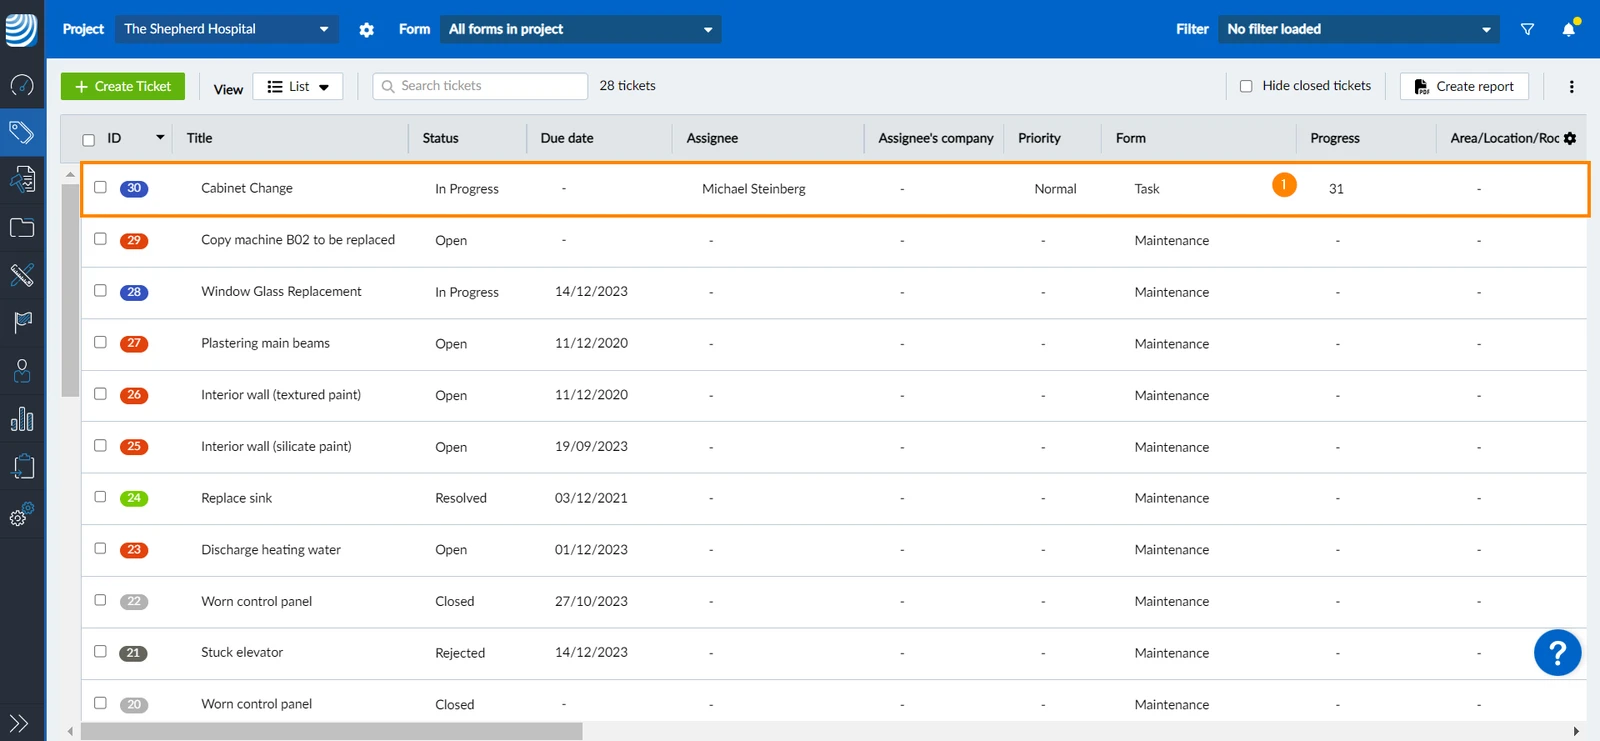
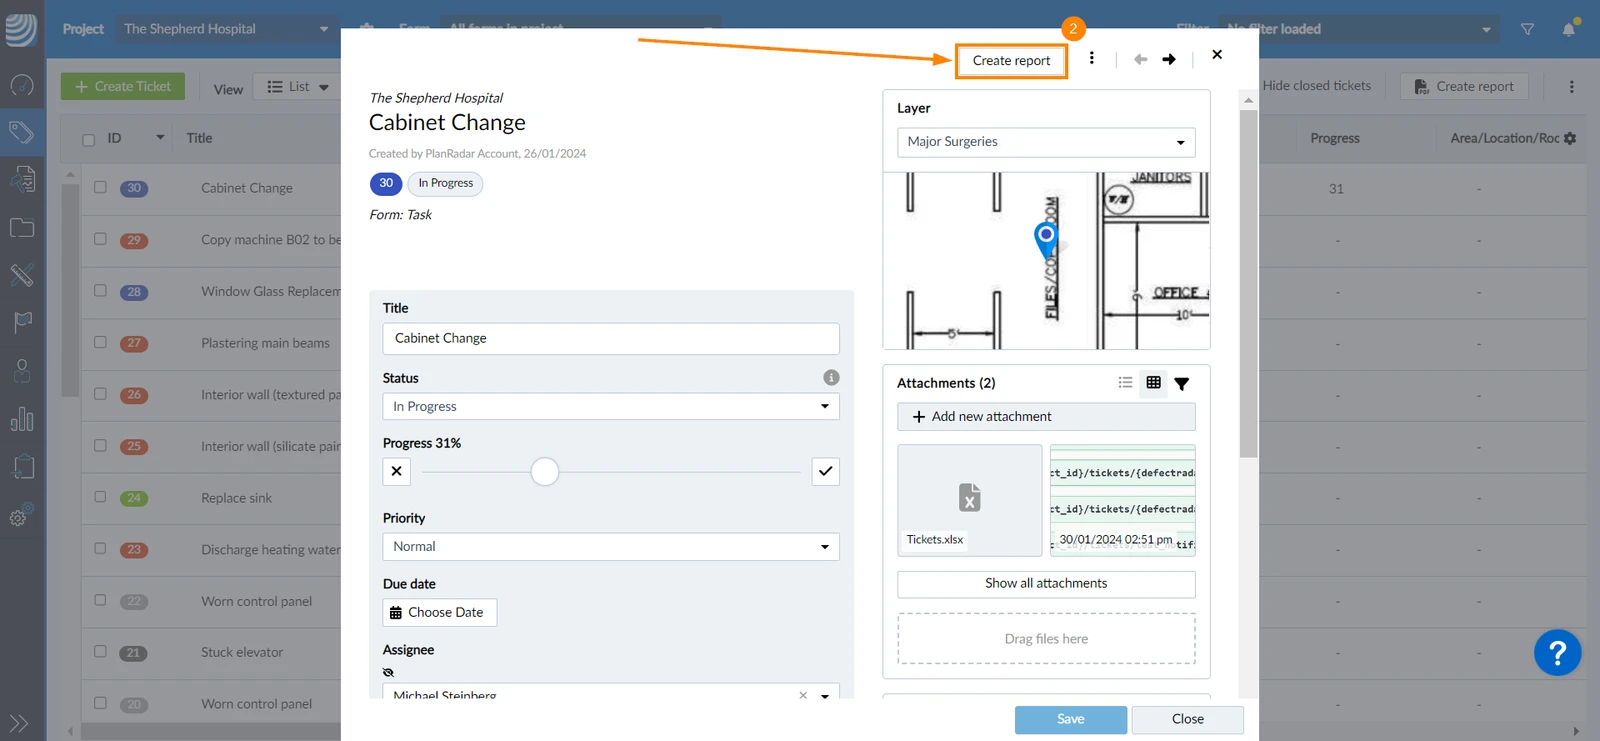
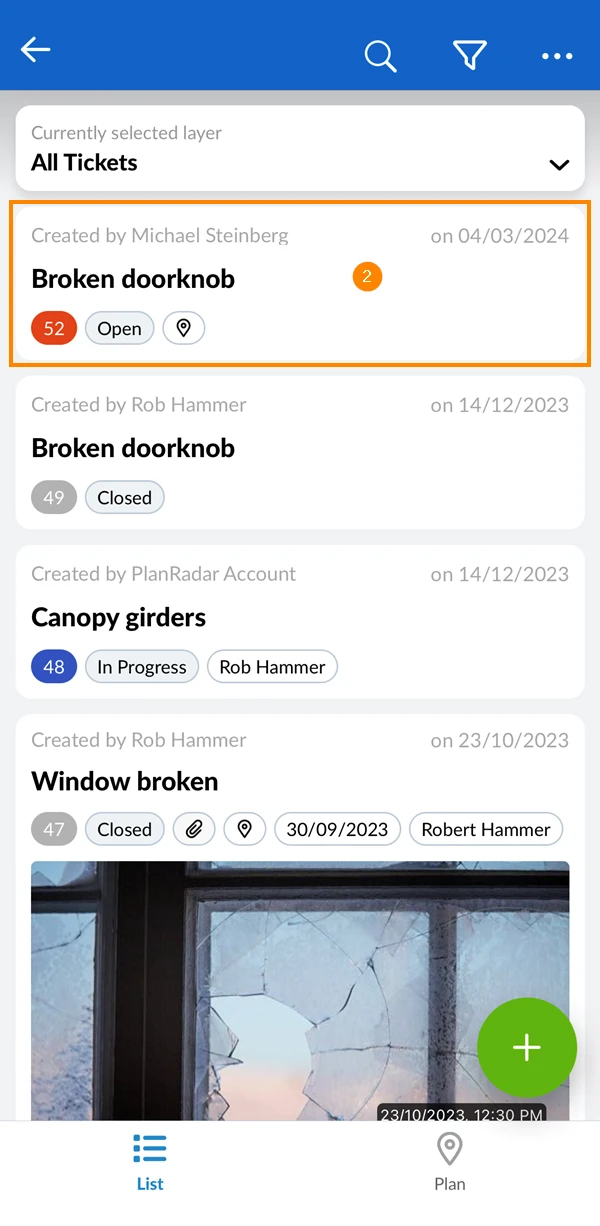
Open the ticket
Click Create report
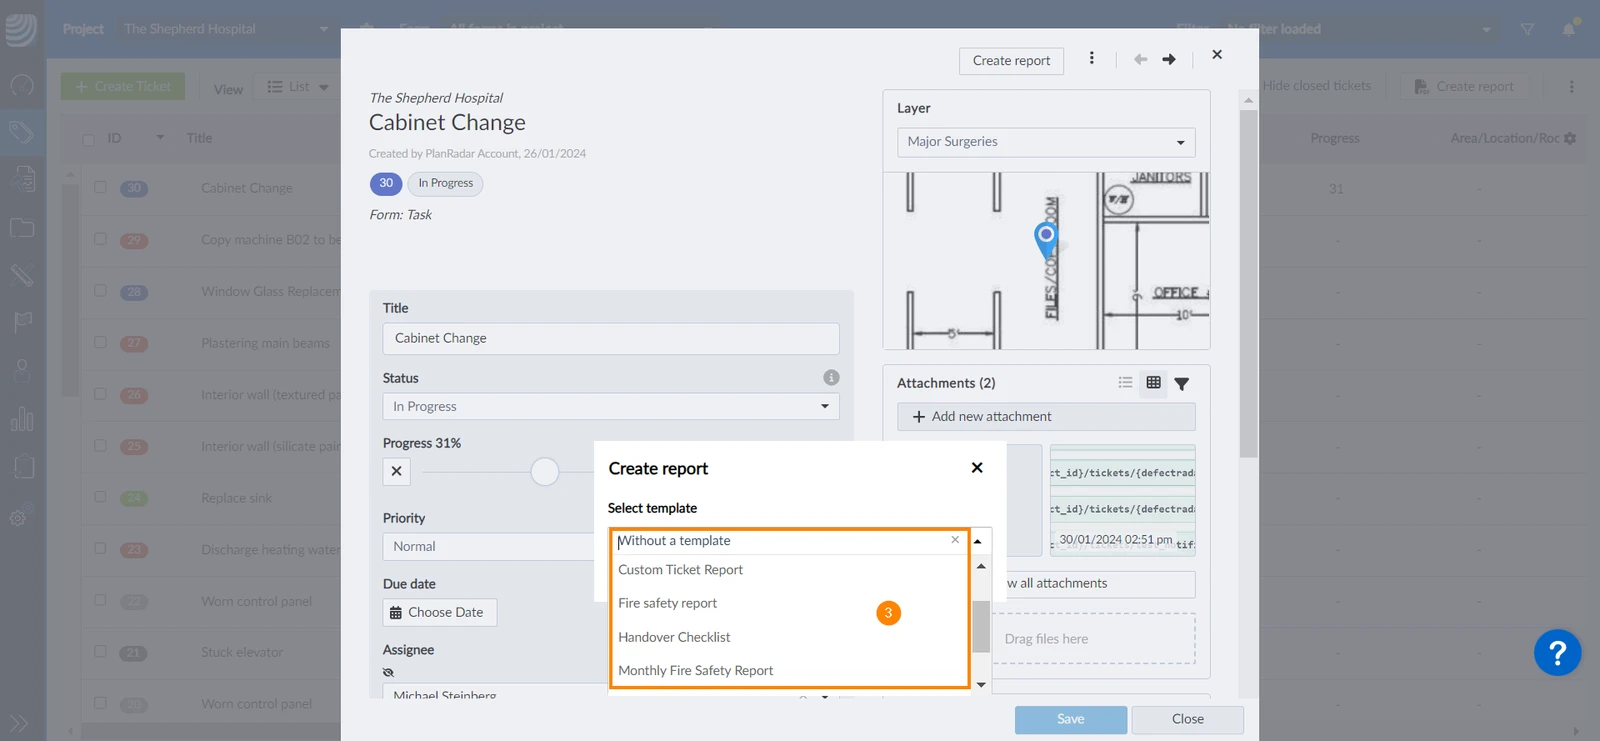
Select a template e.g. Report
OR use the default Without a template to create a standard ticket report as defined by PlanRadar.
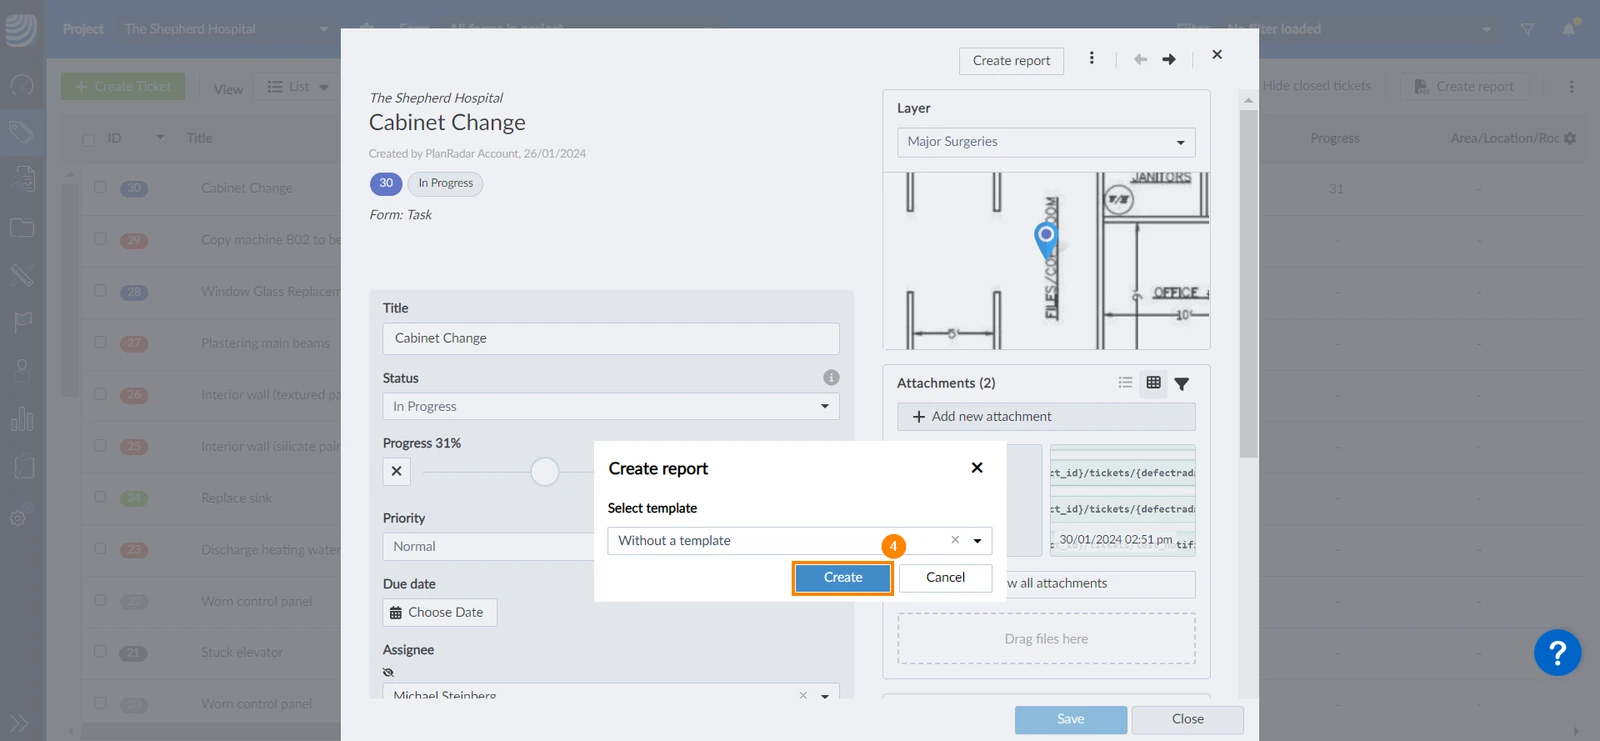
Click Confirm 

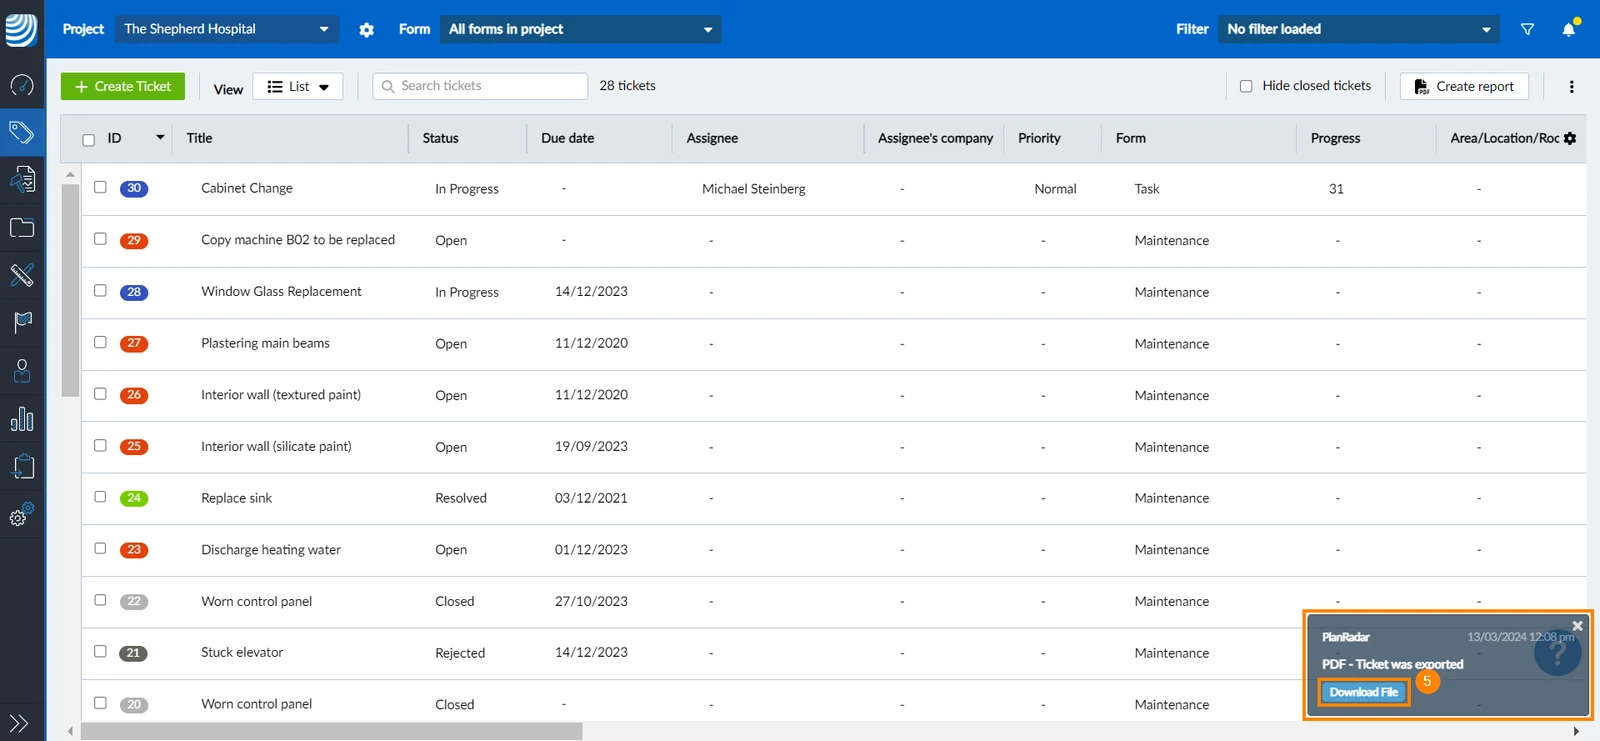
The report gets generated in the background and you receive a notification when it is ready to Download File.
The download is available for 24 hours – read more in View Generated Ticket Reports.
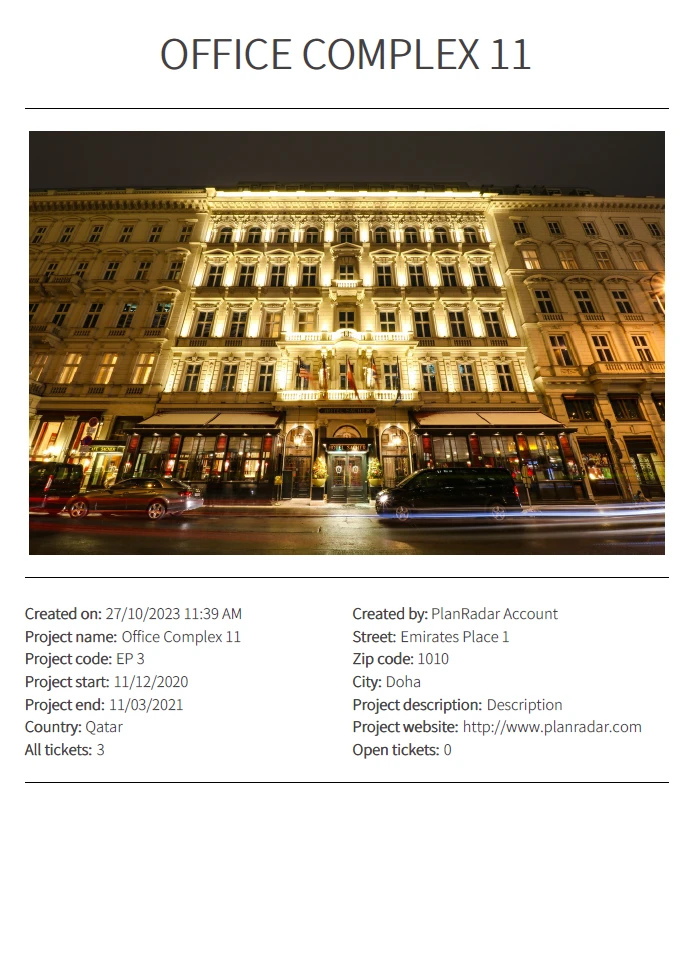
View the downloaded PDF ticket report
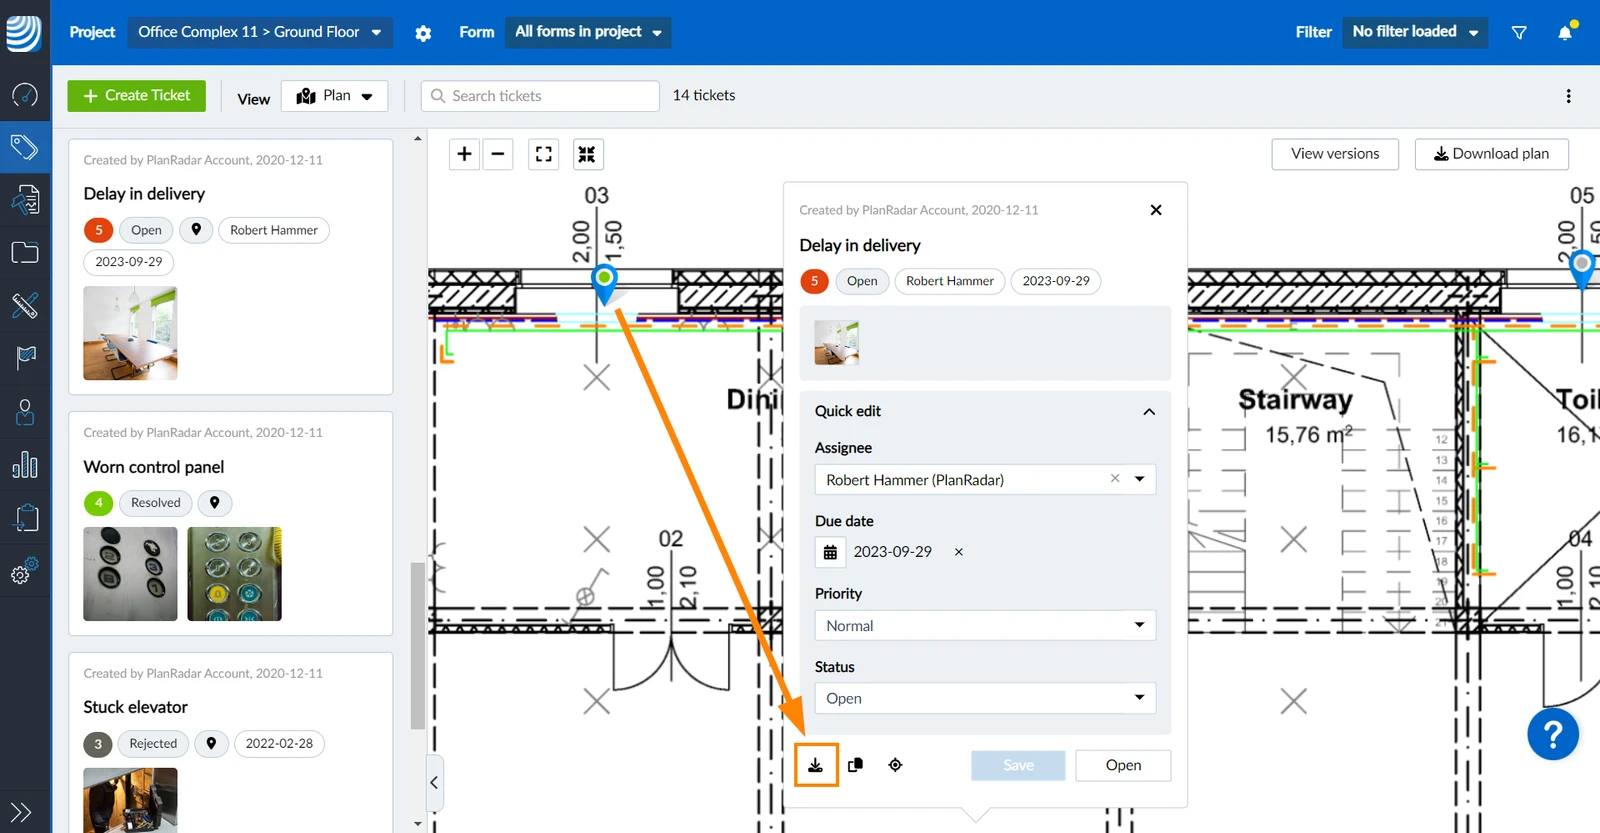
It is also possible to create a ticket report from the ticket preview in plan view:
To create a report from a single ticket:
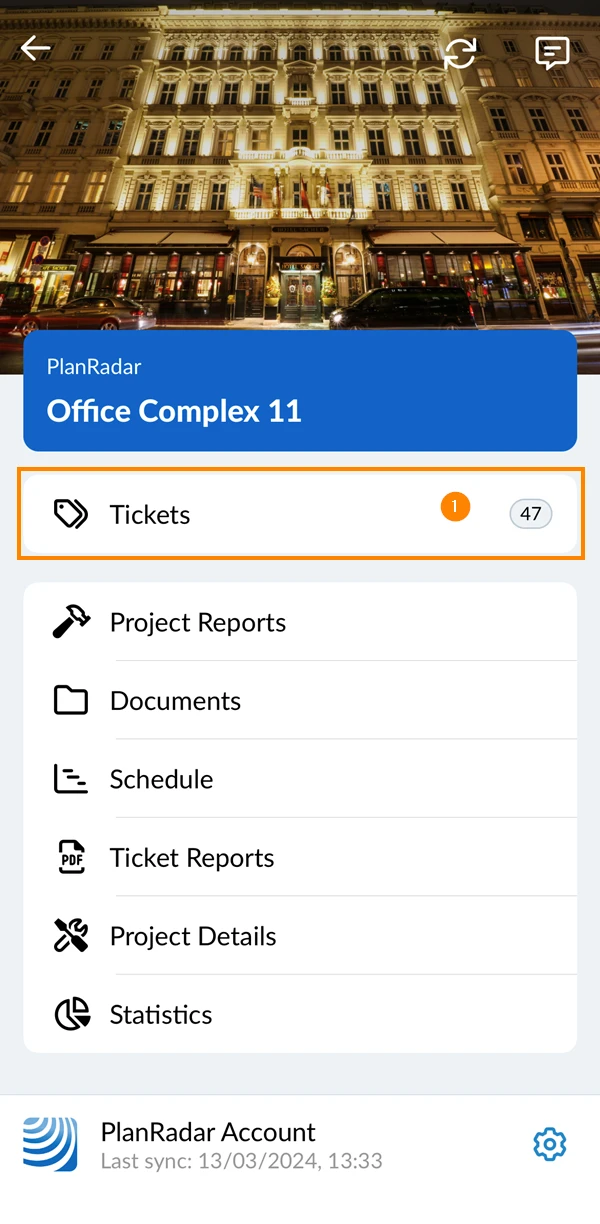
Tap Tickets
Open a ticket
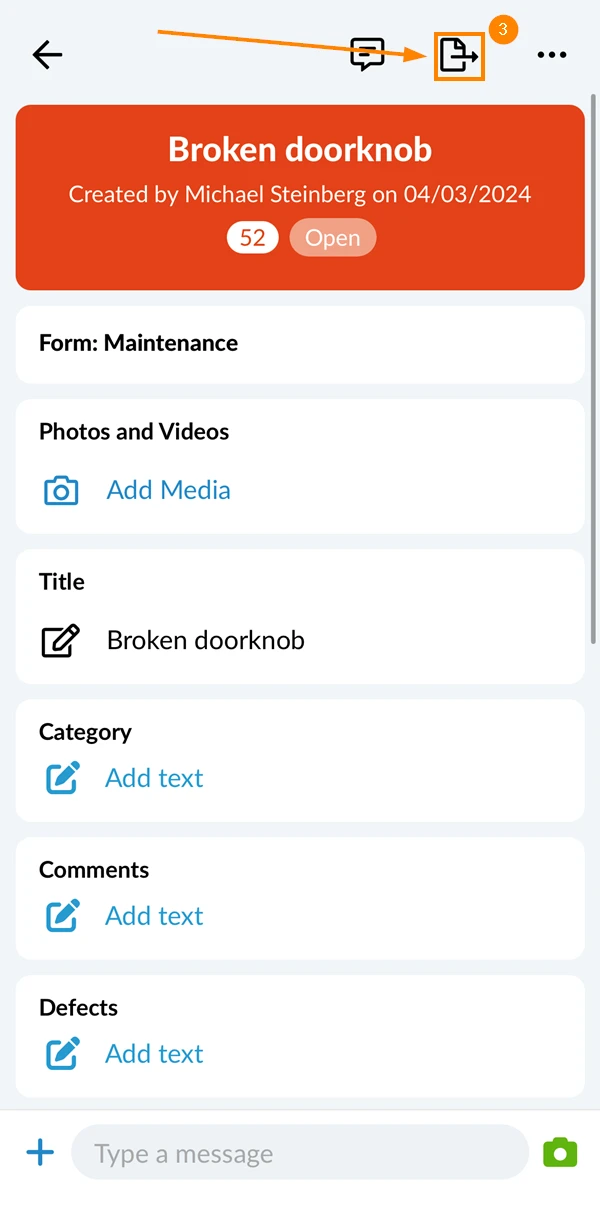
Tap the create report icon
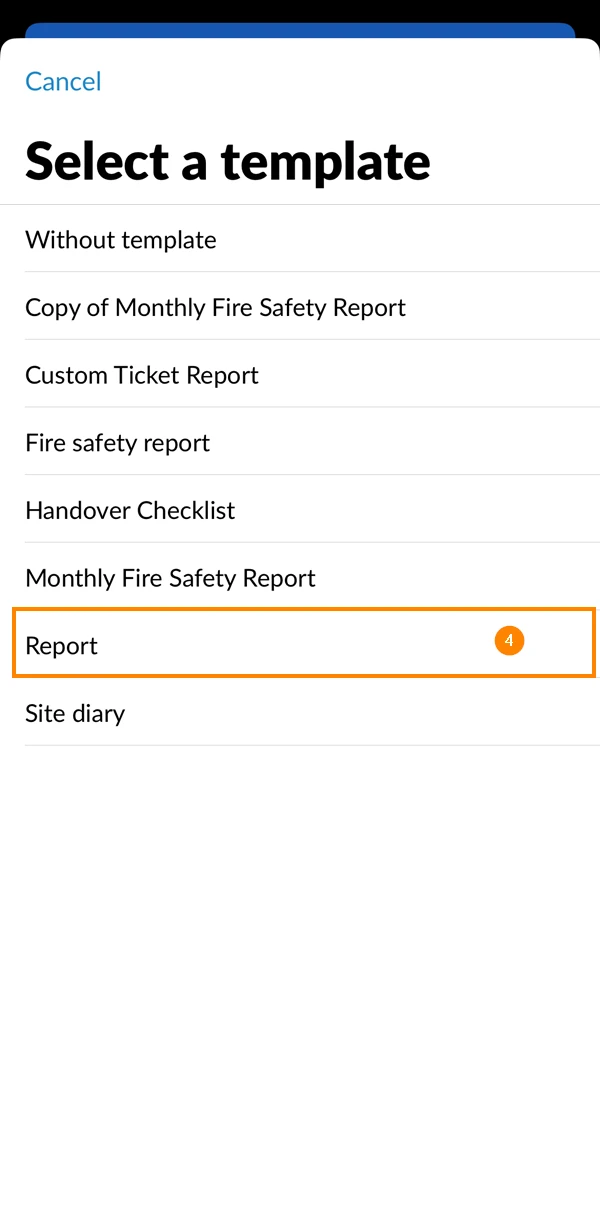
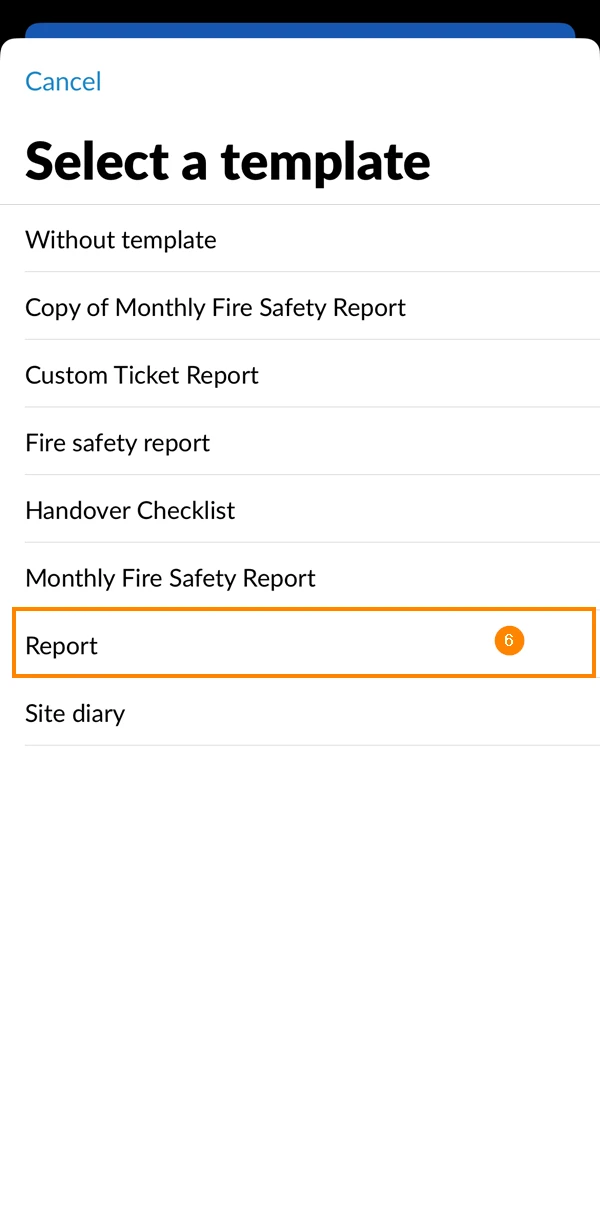
Select a template e.g. Report
OR use Without a template to create a standard ticket report as defined by PlanRadar.
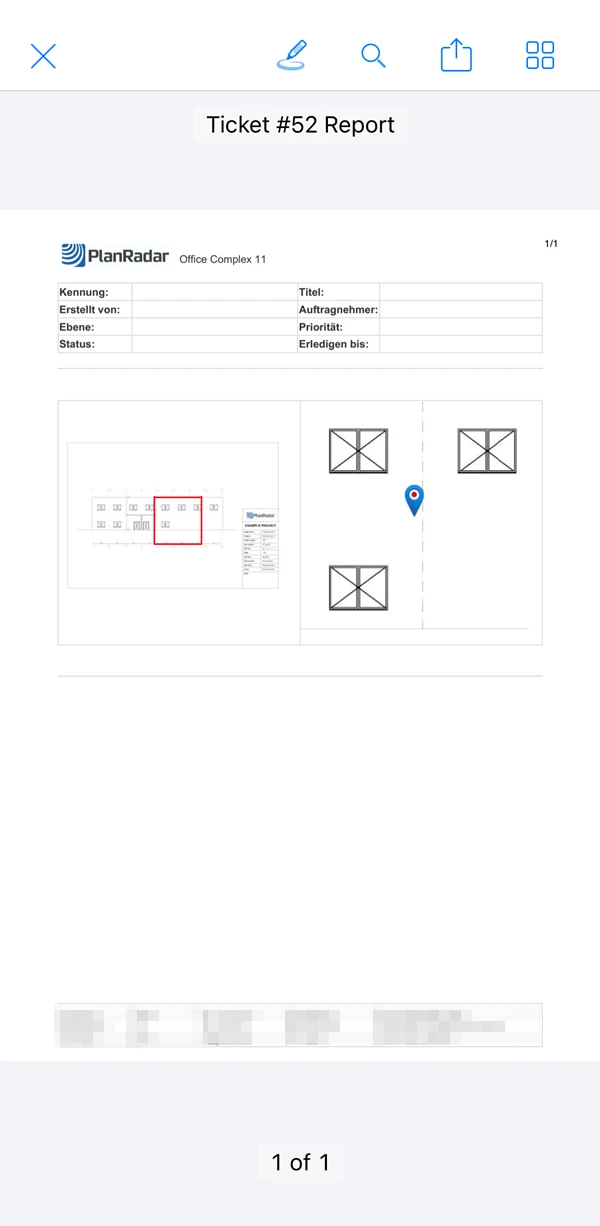
The report will open automatically
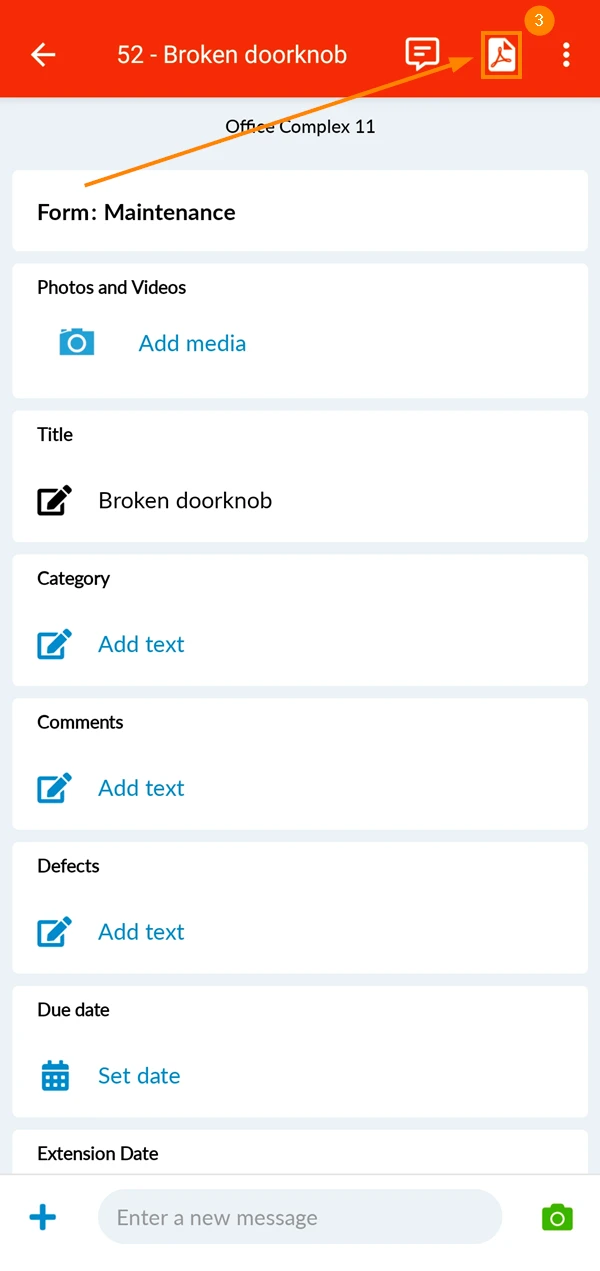
To create a report from a single ticket:
Tap Tickets
Open a ticket
Tap the PDF icon
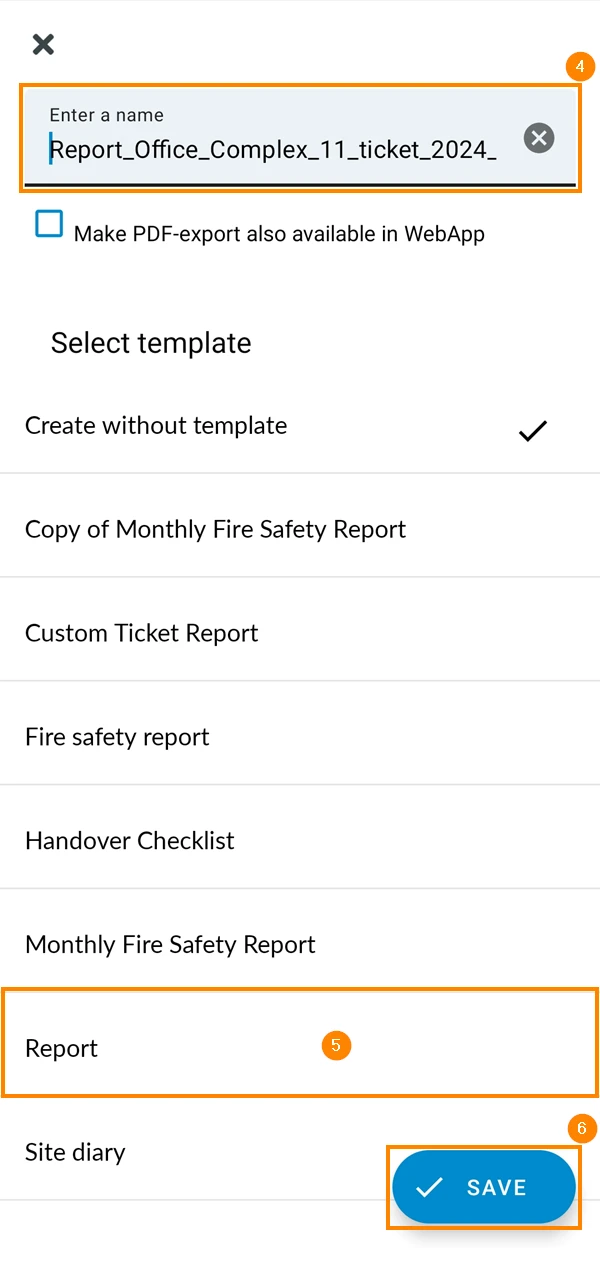
Enter report's title
Select a template e.g. Report
OR use Without a template to create a standard ticket report as defined by PlanRadar.
Tap Save
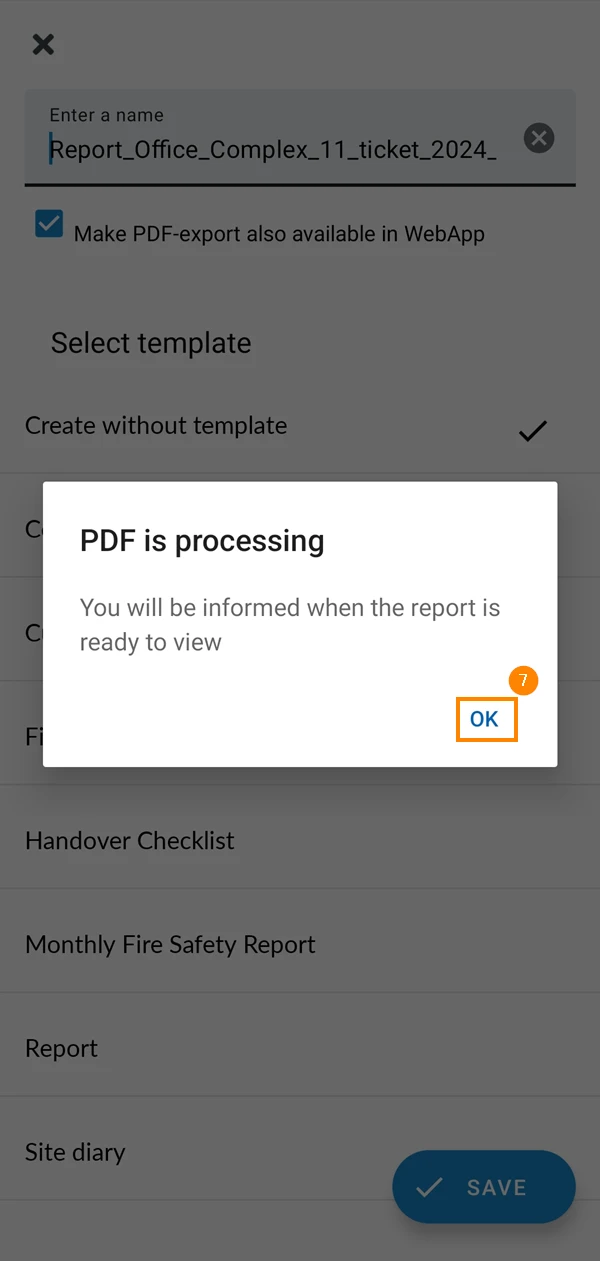
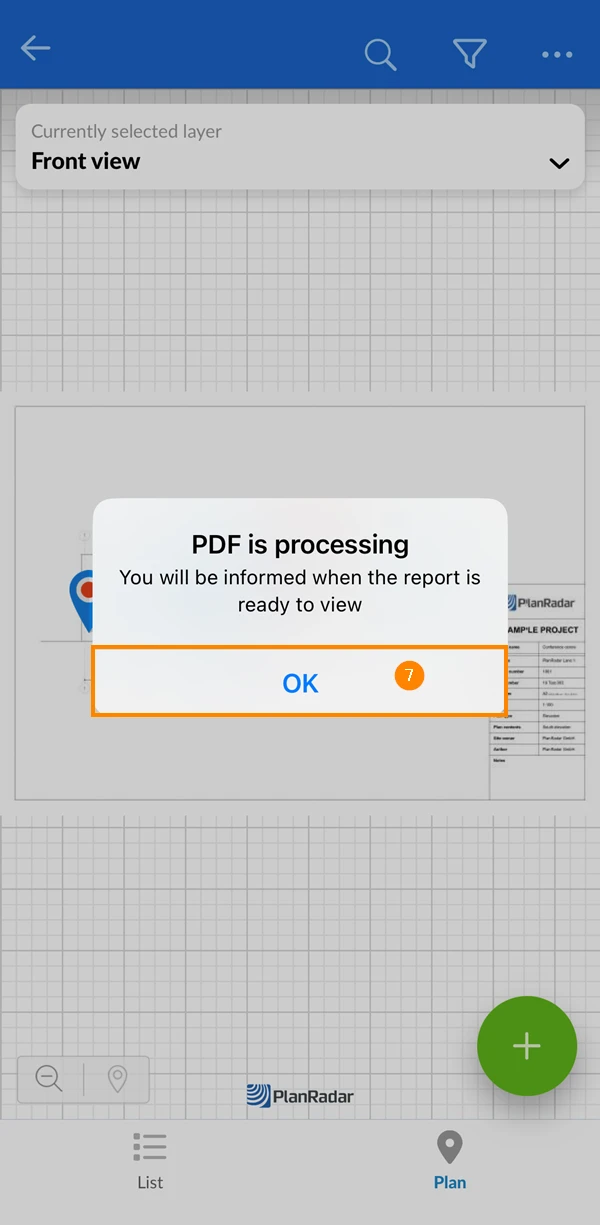
PDF is processing - You will be informed when the report is ready to view. Tap OK
You will receive a push notification once your report is ready, click on it to open it
Create a Report from Multiple Tickets
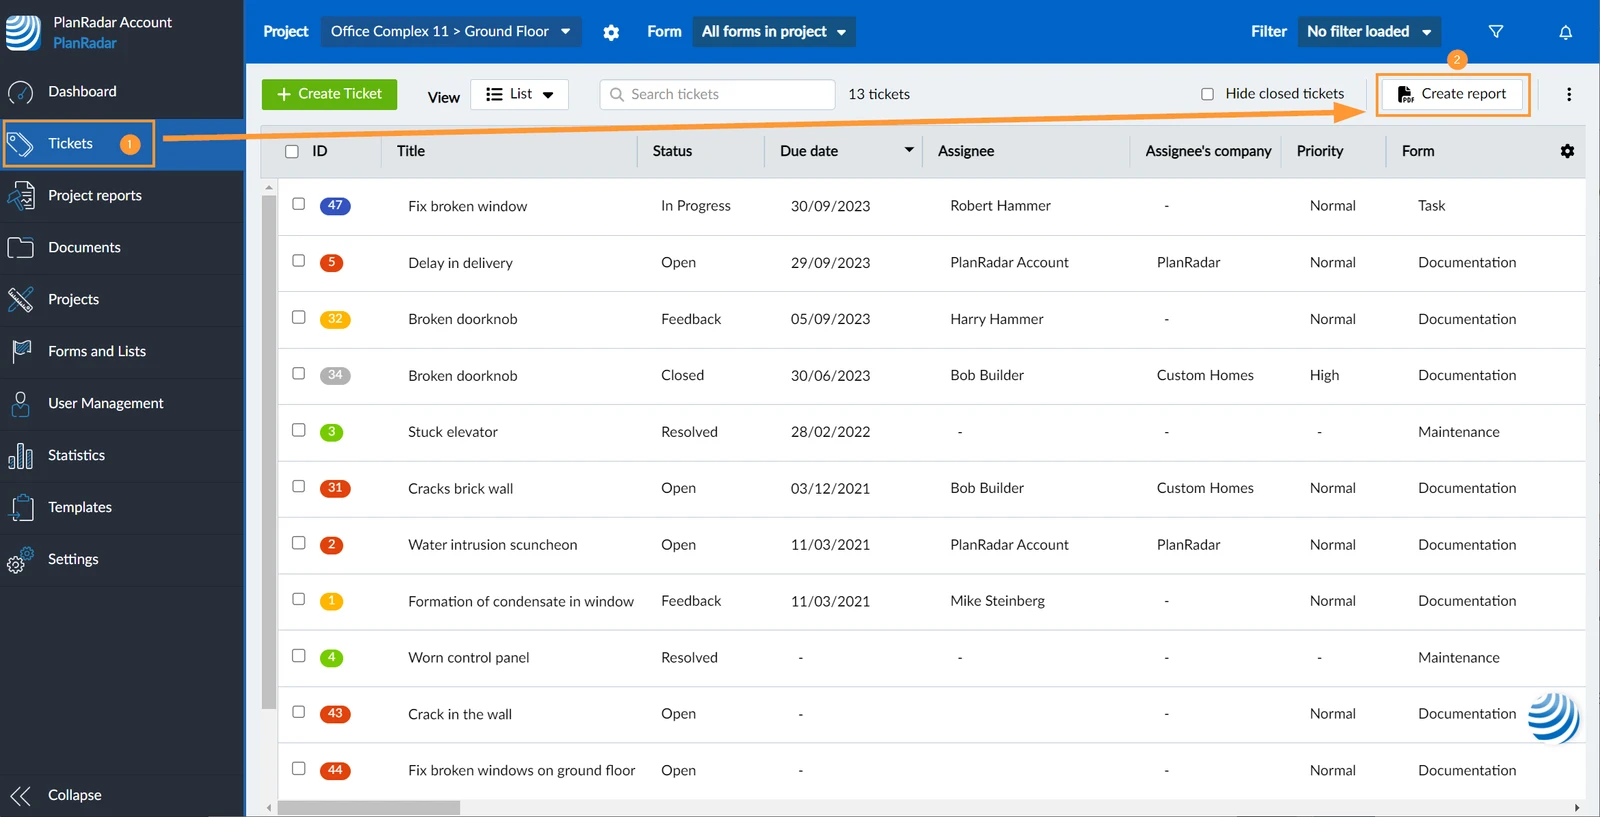
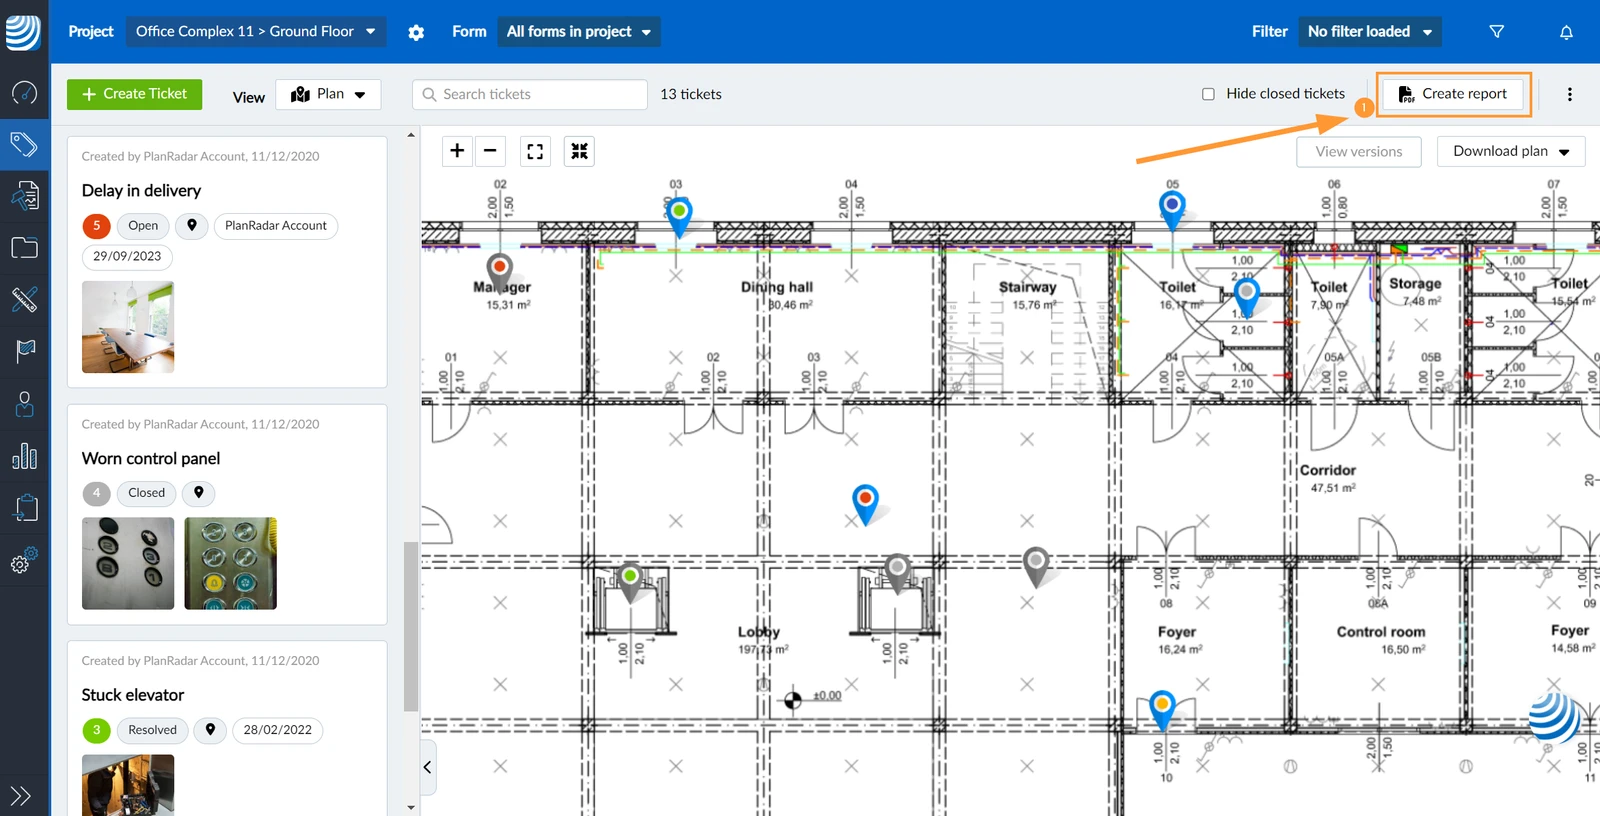
To create a report from multiple tickets use the ticket list or plan view:
Click Tickets
Click Create report
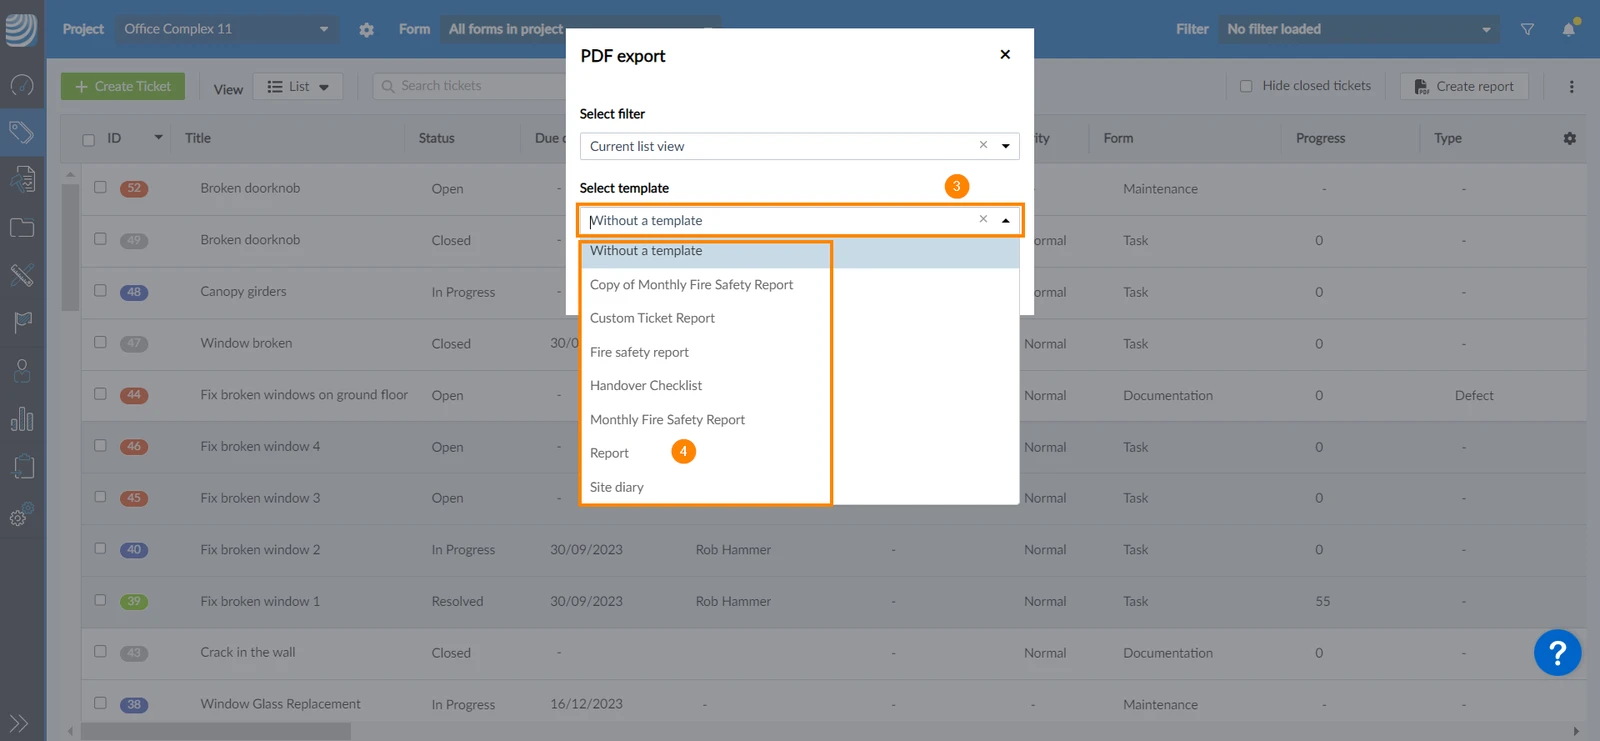
Open the Select template drop-down
Select a template e.g. Report
OR use the default option Without a template to create a standard ticket report defined by PlanRadar.
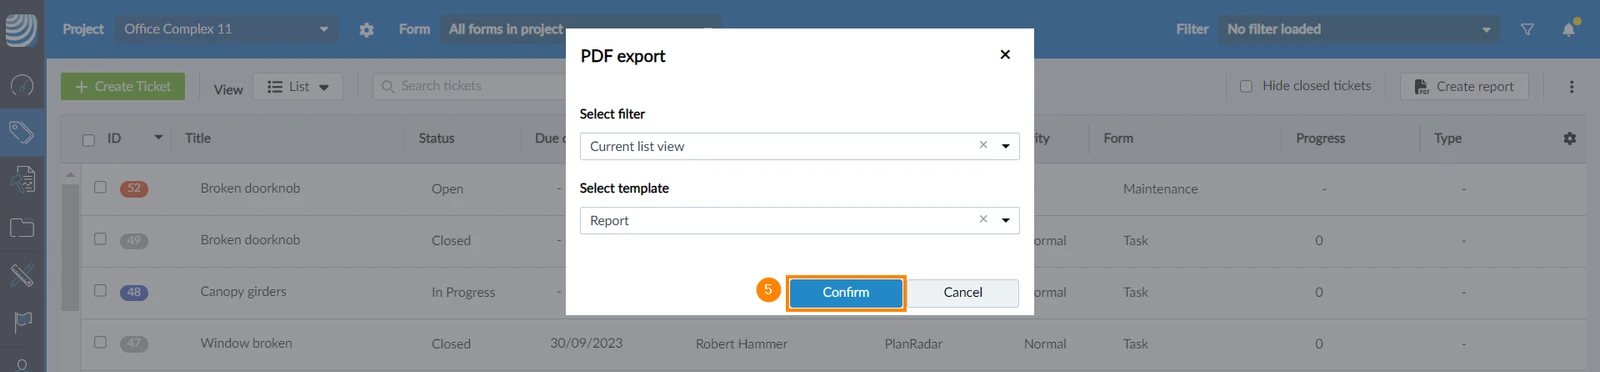
Click Confirm
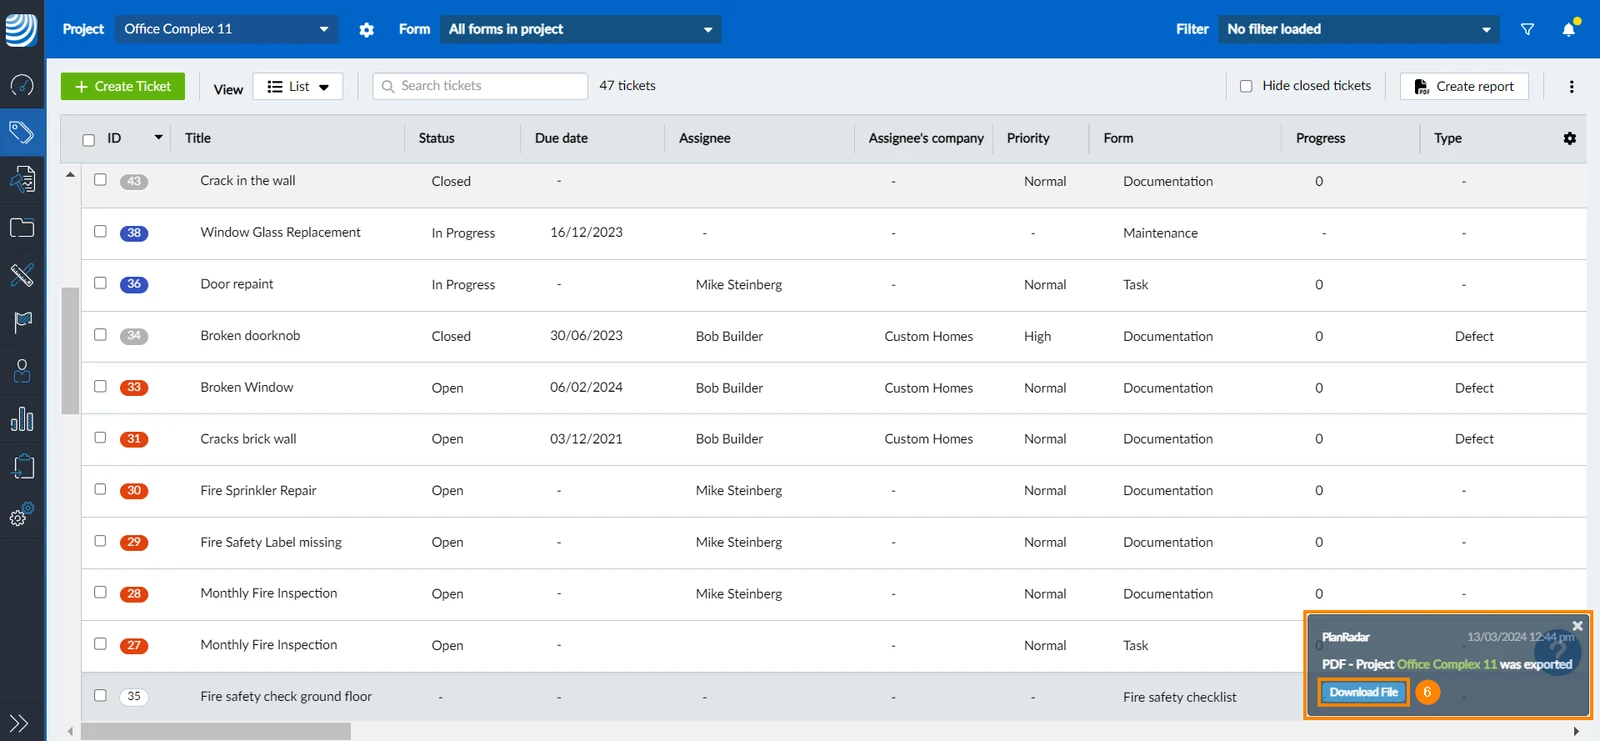
The report gets generated in the background and you receive a notification when it is ready to Download File.
View the downloaded PDF ticket report
You have several options to control which tickets to include in your report. The quick filter Hide Closed Tickets also works in combination.
Saved Filter
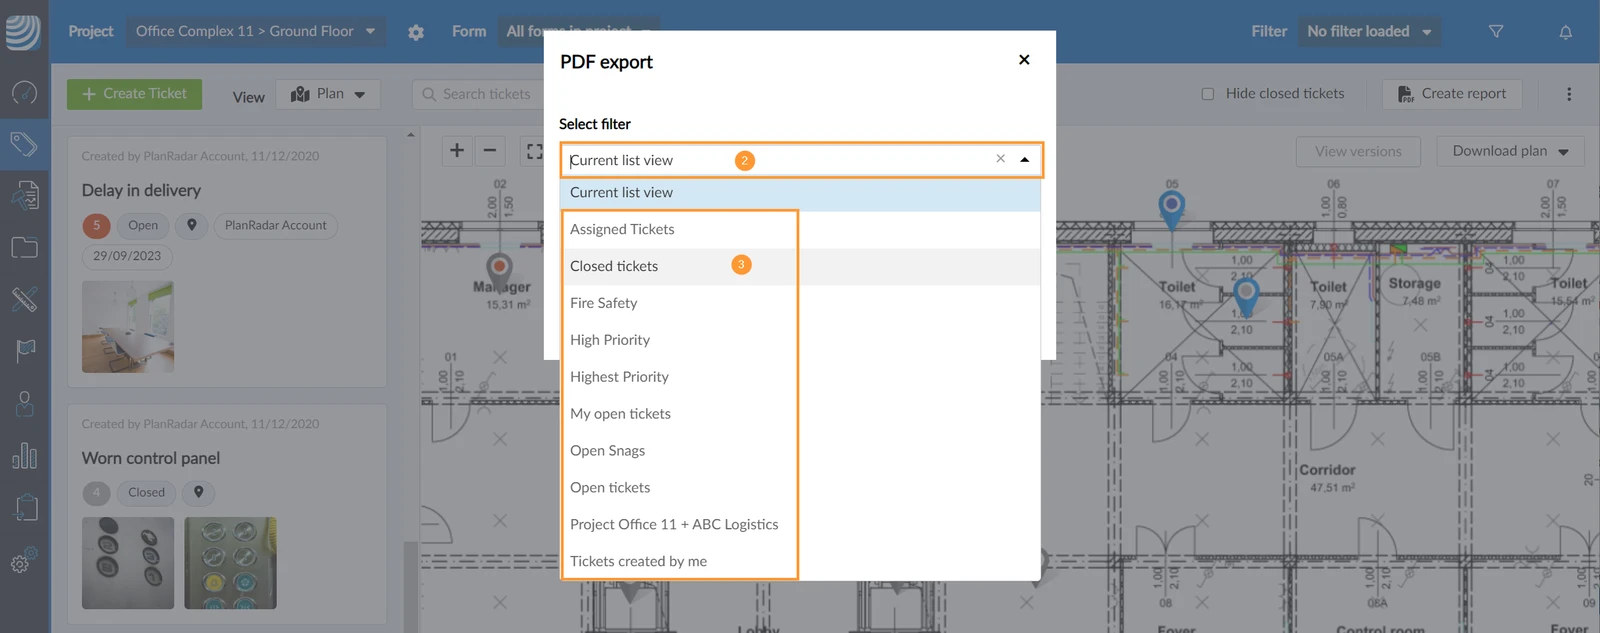
Select a saved filter in the create report dialog to only include tickets matching its criteria.
In addition to the filter, the selected project, layer and form (or all layers and all forms) will also determine which tickets to include. Read more in View Tickets of a Project, Layer or Form.
Click Create report
Open the Select filter drop-down
Select a filter, e.g. Closed tickets
Current List View
Instead of a saved filter, choose Current list view (default) in the create report dialog above to include all currently visible tickets. Any active search and filter criteria will be applied and tickets currently not visible will not be included.
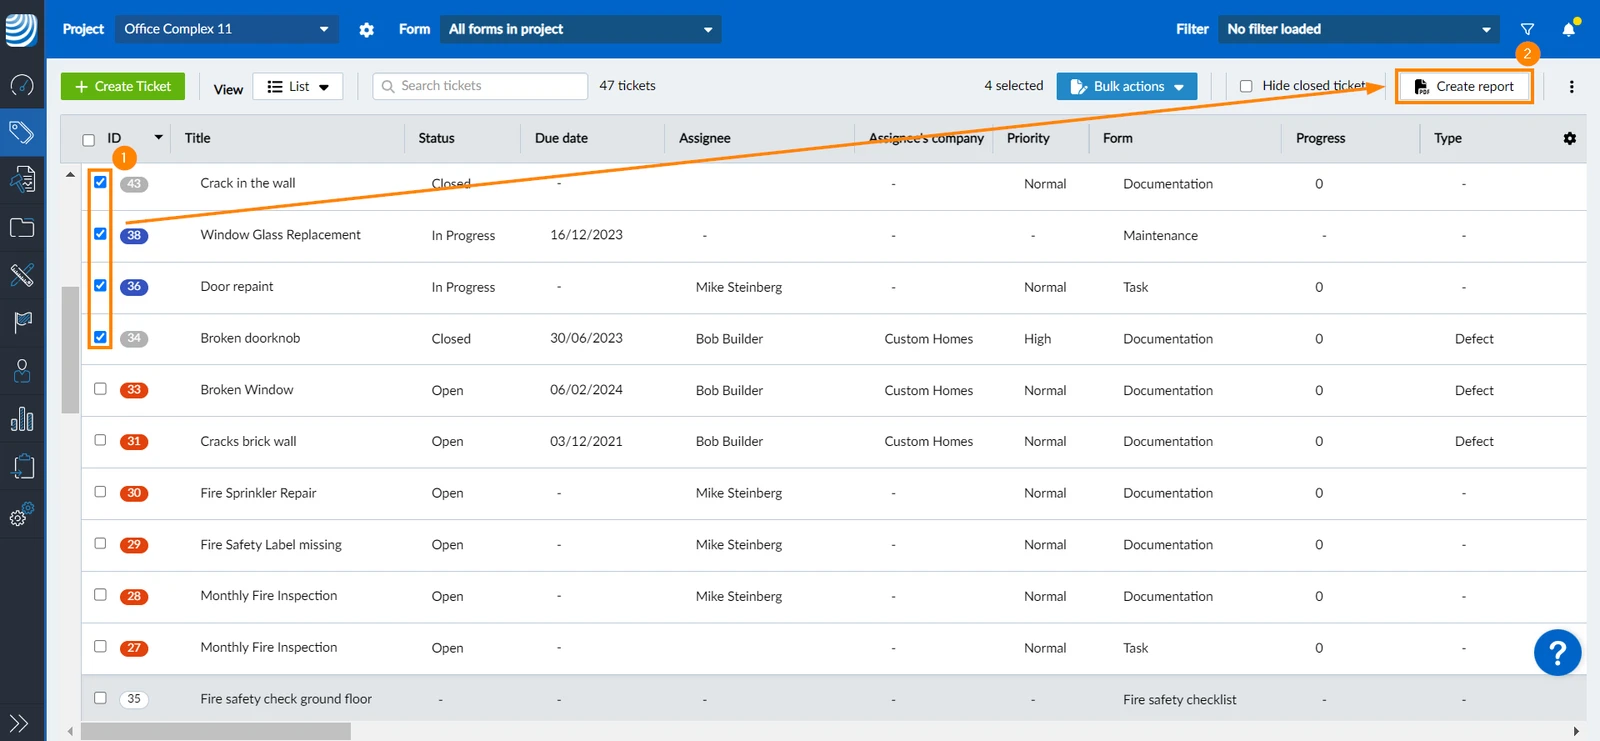
Select Individual Tickets With Multi-Selection
Select ticket check boxes
Click Create report
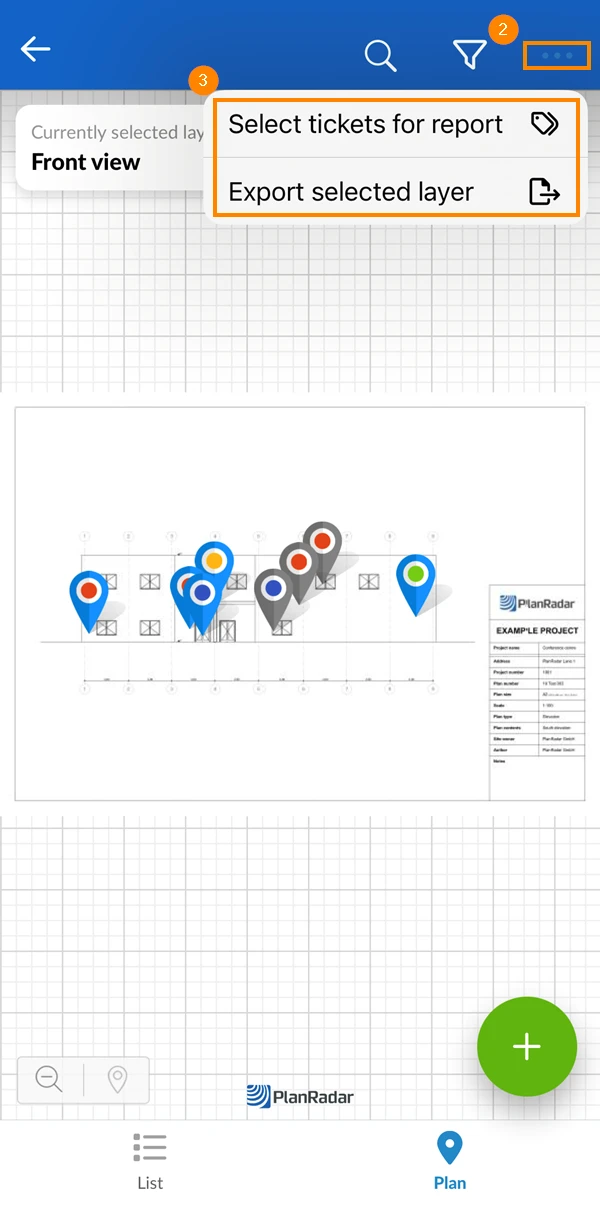
To create a report from multiple tickets use the ticket list or plan view:
Tap Tickets
Tap the more menu
Tap Select tickets for reports to select from a list of tickets. OR tap Export selected layer to include all tickets in the layer (and skip step 4 and 5).
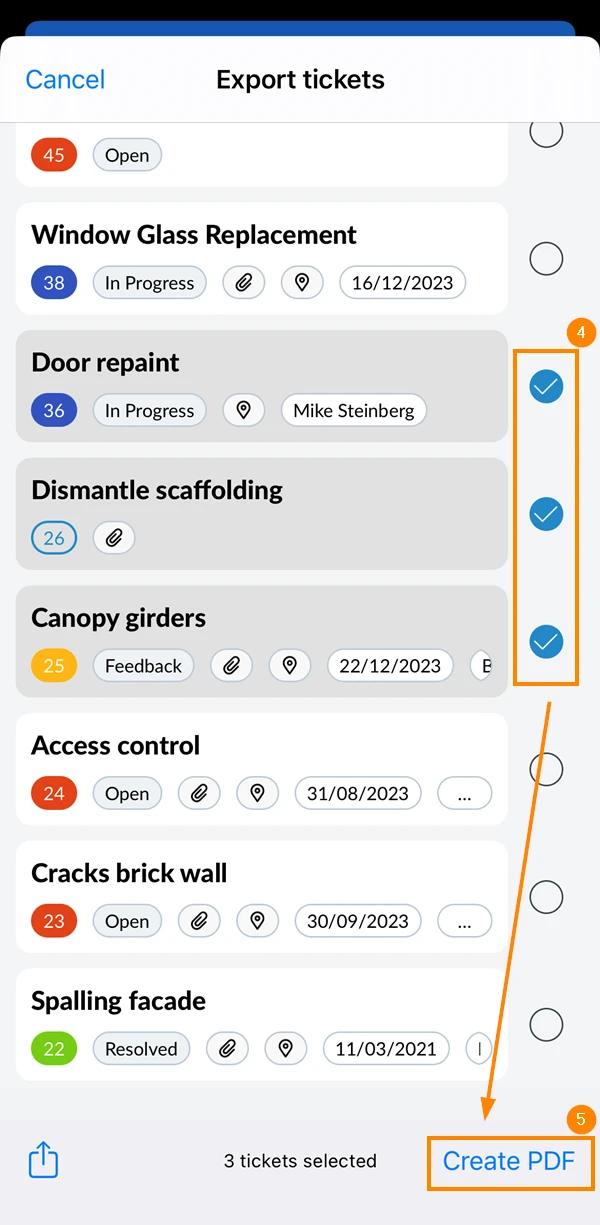
Select the check boxes of the tickets to be included in the report
Tap Create PDF
Select a template e.g. Report
OR use Without a template to create a standard ticket report as defined by PlanRadar.
PDF is processing - You will be informed when the report is ready to view.
Tap OK.
You can optionally use a filter before you start creating at ticket report.
Replacement Tokens and User Attributes
Some of your templates might include replacement tokens or user attributes for variable content. When creating a report and selecting such a template, PlanRadar will ask you to provide values for those tokens.
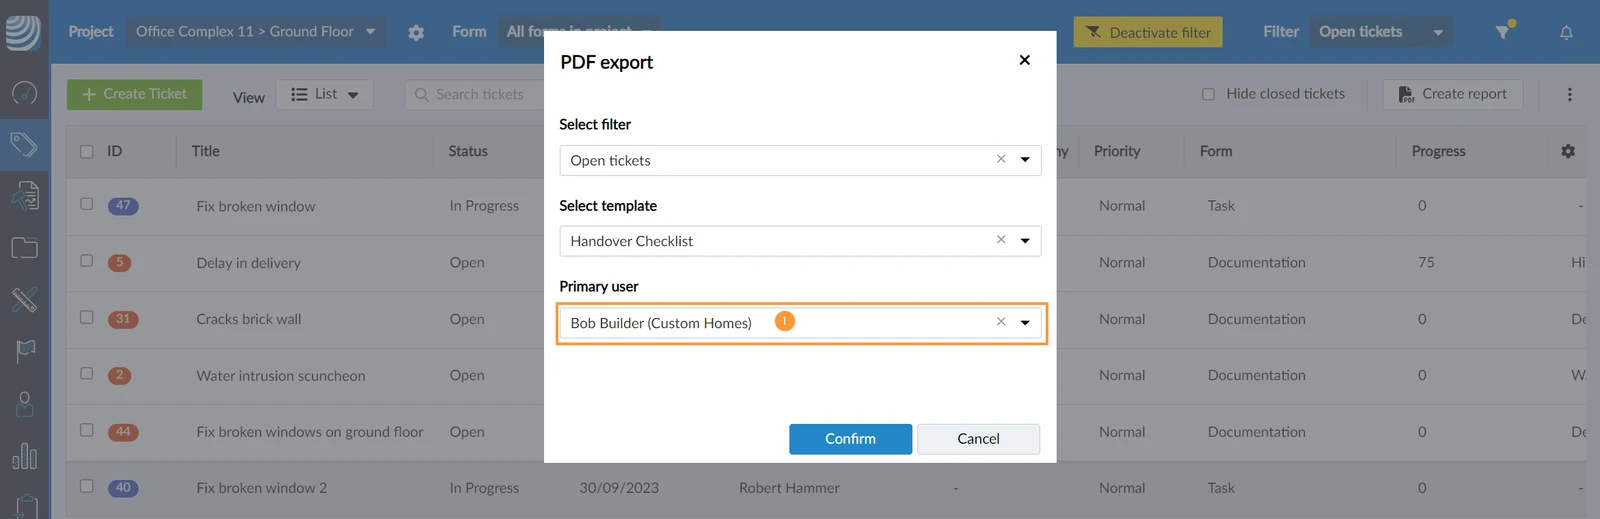
To set a value for a user attribute (e.g. Primary user):
Select a user in the Primary user drop-down
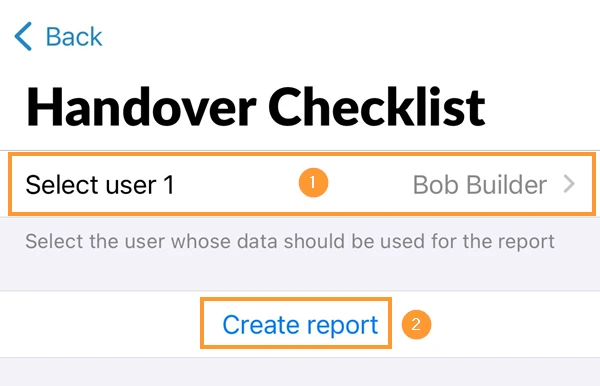
To set a value for a user attribute (e.g. Primary user):
Tap Select user 1 and select a user from the list
Tap Create report
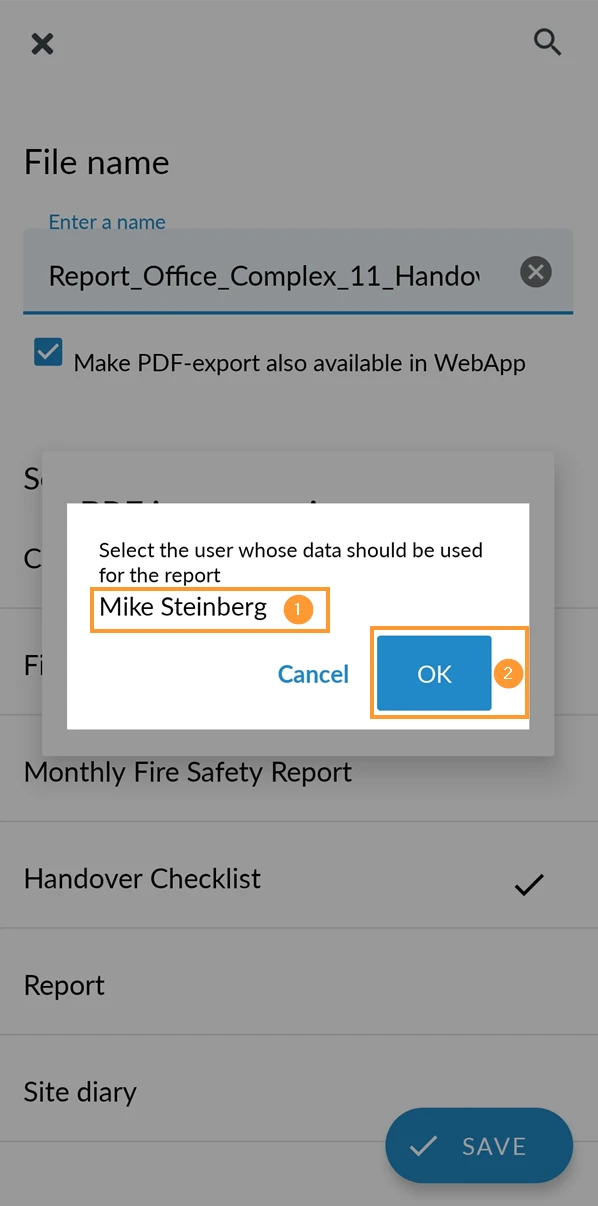
To set a value for a user attribute (e.g. Primary user):
Optional: Tap the pre-selected user name e.g. Mike Steinberg and select a different user from the list


 Deutsch
 Español
 Français
 Hrvatski
 Italiano
 Polski
 Português (BR)