

 Deutsch
 Español
 Français
 Hrvatski
 Italiano
 Polski
 Português (BR)
Create new PlanRadar Connect Recipes
1 Overview
*PlanRadar Connect* allows you to automate workflows by creating recipes—automated sequences that integrate *PlanRadar* with third-party apps such as Outlook, OneDrive, Google Sheets, or Dropbox. Recipes eliminate repetitive tasks and reduce human error.
A recipe consists of two parts:
-
Trigger – the event that starts the automation
-
Actions – the tasks that occur when the trigger happens
2 Access PlanRadar Connect
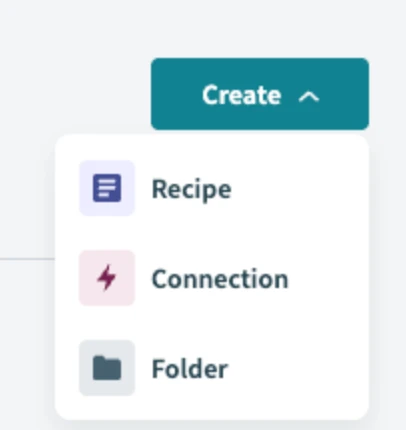
- Navigate to **Settings > Account > PlanRadar Connect**.
- Click the **Recipes** tab.
- Select **Create Recipe** to open the recipe editor.
3 Set the Trigger
Triggers define when the recipe should start. You can choose:
-
Event-based triggers (e.g. 'When a new ticket is created')
-
Time-based triggers (e.g. 'Every day at 6:00 PM')
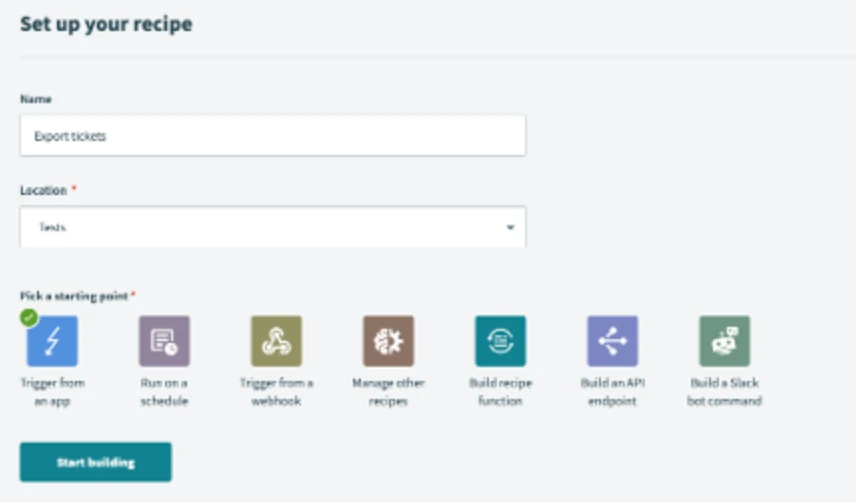
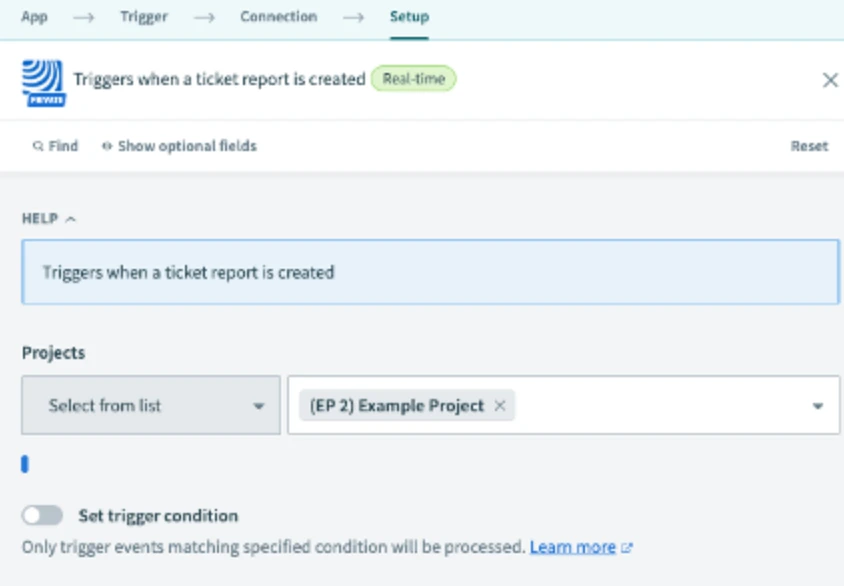
To configure the trigger:
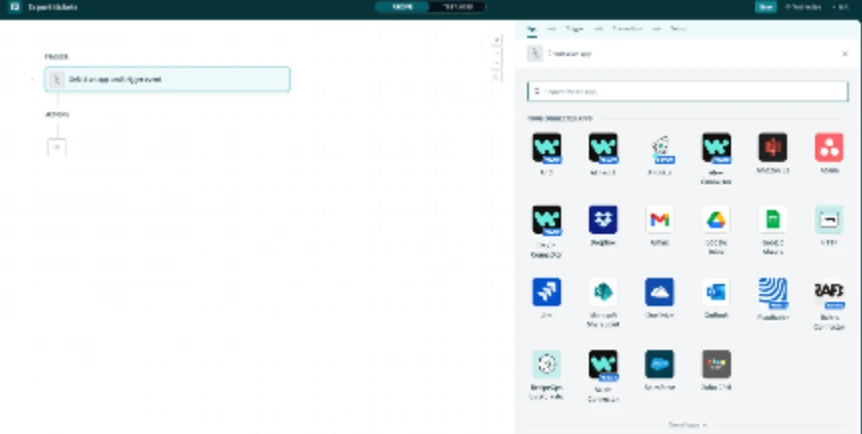
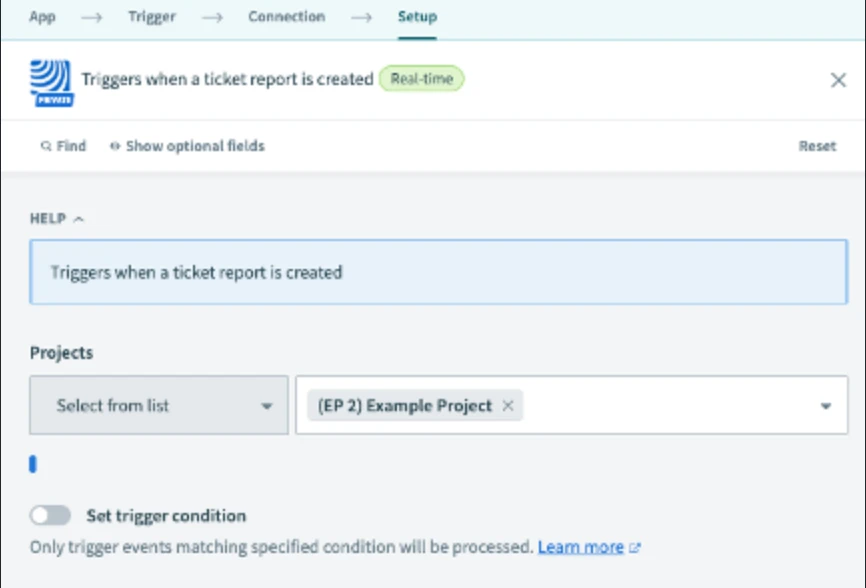
- Click the **Trigger** box.
- Select the app and event.
- Add conditions (e.g. project filters) if needed.
- Ensure the app is authorized under the **Connections** tab.
4 Define Actions
Actions are the tasks executed when the trigger fires. Examples include:
-
Create or update *tickets*
-
Send notifications via email
-
Store data in spreadsheets or cloud drives
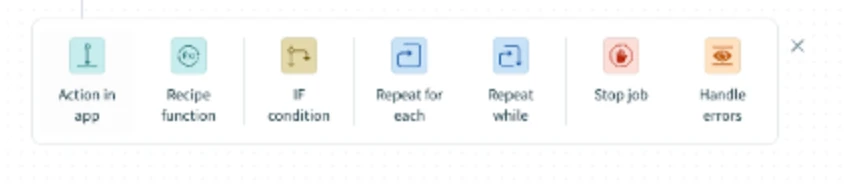
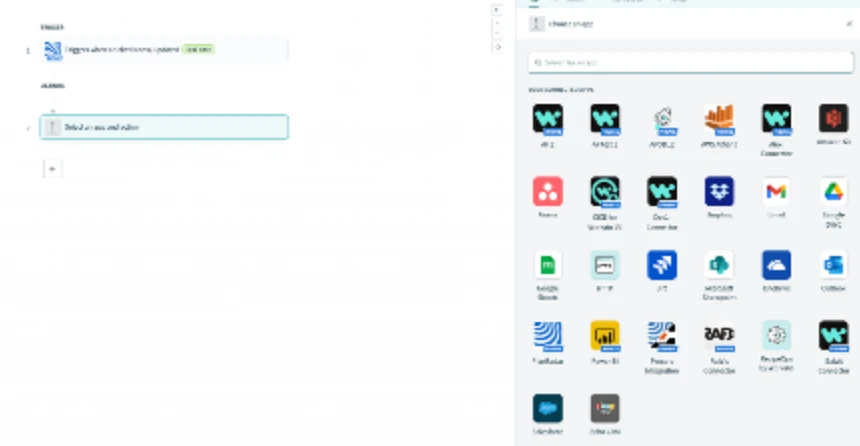
To add an action:
- Click **+ Add an Action**.
- Choose the app and action type.
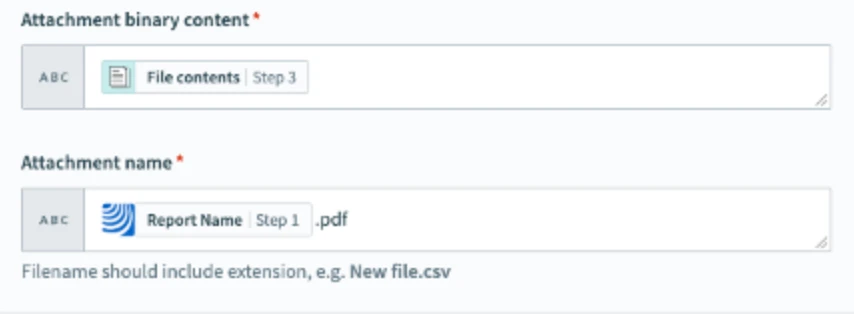
- Map data from the trigger or previous actions into the fields.
- Use conditional logic (if/else) if needed.
5 Test the Recipe
Always test your recipe before going live:
- Click **Save** in the editor.
- Click **Test Recipe**.
- Trigger the recipe manually or use sample data.
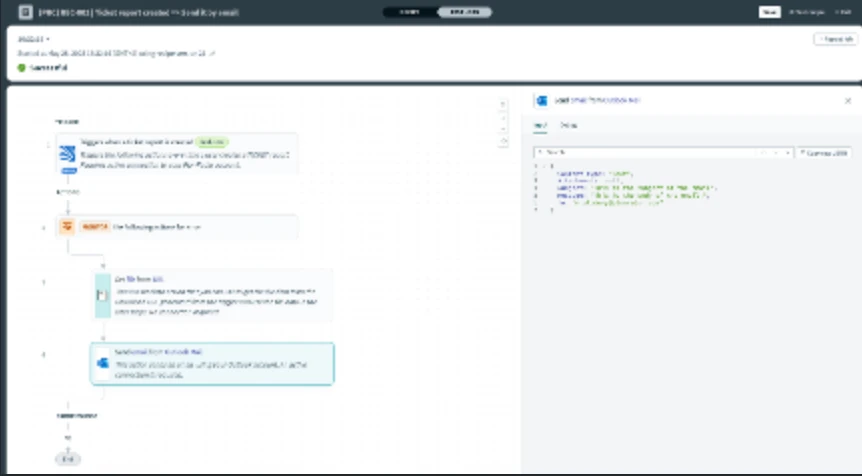
- Review the log to confirm expected behavior.
6 Error Handling and Troubleshooting
Common issues include:
-
Expired credentials or missing authorizations
-
Missing required fields
-
API errors from third-party apps
Troubleshooting steps:
- Go to the **Jobs** tab to review error logs.
- Reconnect apps via the **Connections** tab.
- Check field mappings and filters in the recipe.
7 Start the Recipe
Once everything is set up and tested:
- Return to the recipe dashboard.
- Click **Start Recipe** to activate it.
The recipe will now run automatically when the trigger conditions are met.
Updated May 12, 2026