

 Deutsch
 Español
 Français
 Hrvatski
 Italiano
 Polski
 Português (BR)
View & Navigate 360° Images
Overview
Image points on a run can be selected to view the corresponding 360° image.
View 360° images, change the viewing angle, select a different time/run of the same image point and more.
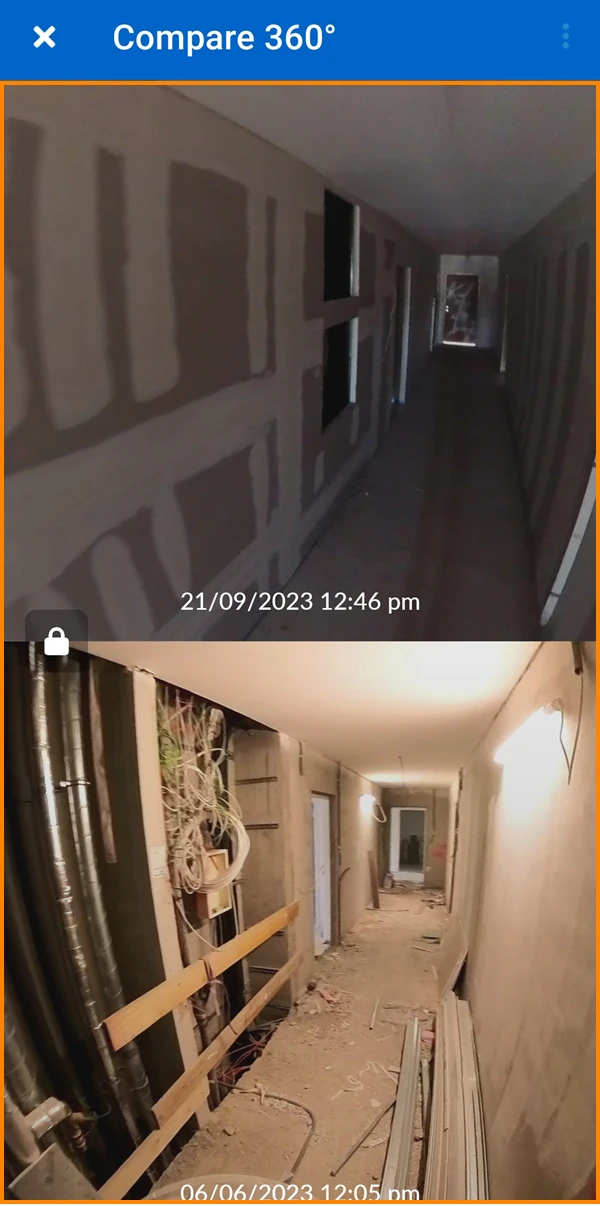
Compare mode enables side-by-side display of two 360° images from different runs, making it easy to see differences between two points in time.
Access & Permissions
Subcontractors and watchers can see all runs of their projects. Subcontractors can only see tickets that are assigned to them or if they are set as receivers.
Read more in User Types.
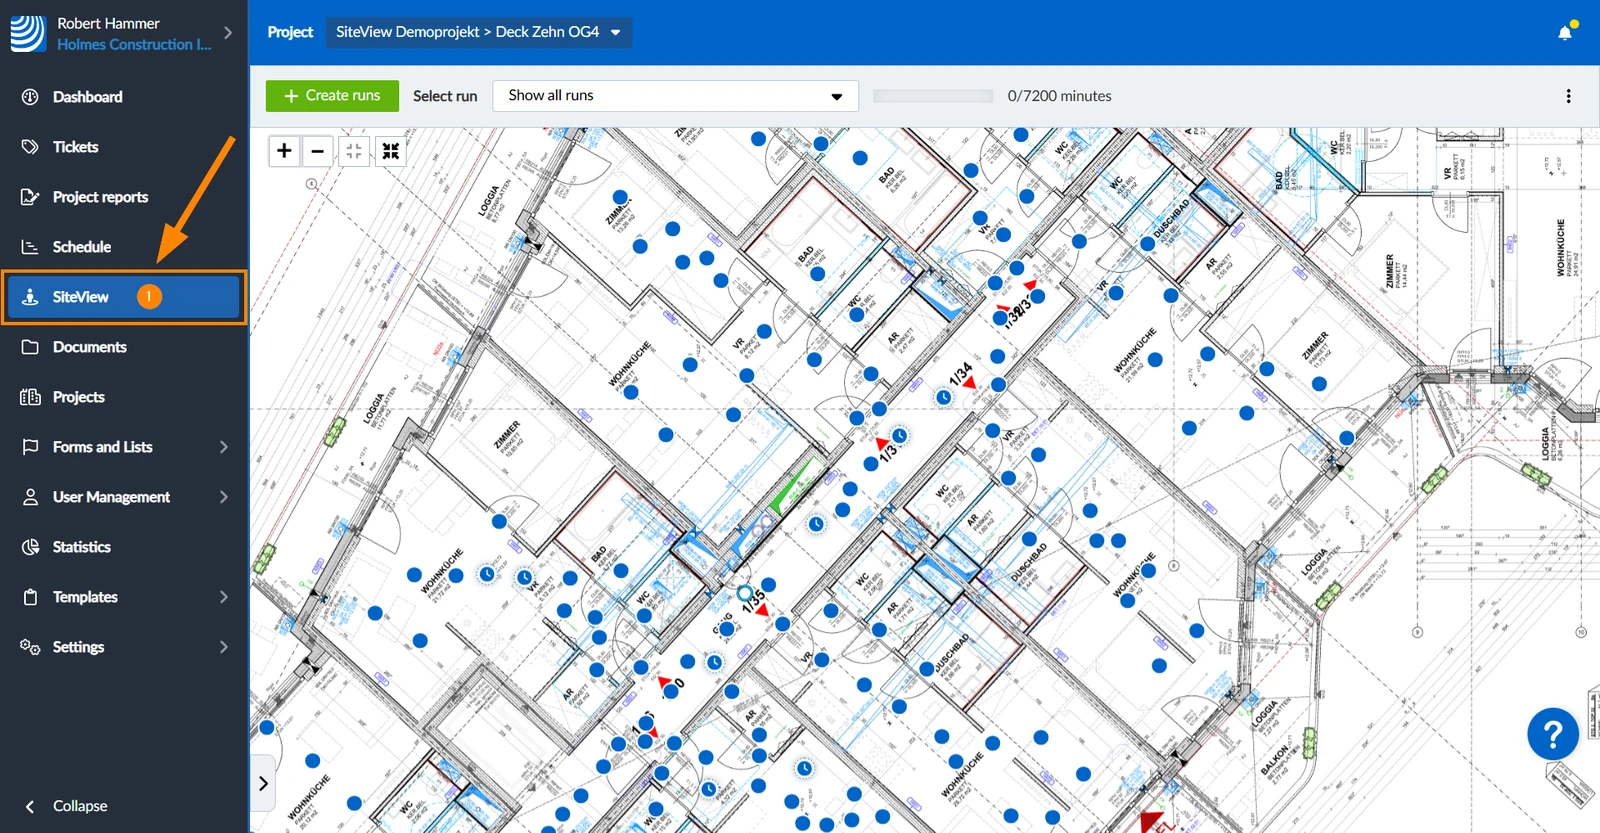
How to access SiteView
- Click SiteView
- Tap SiteView
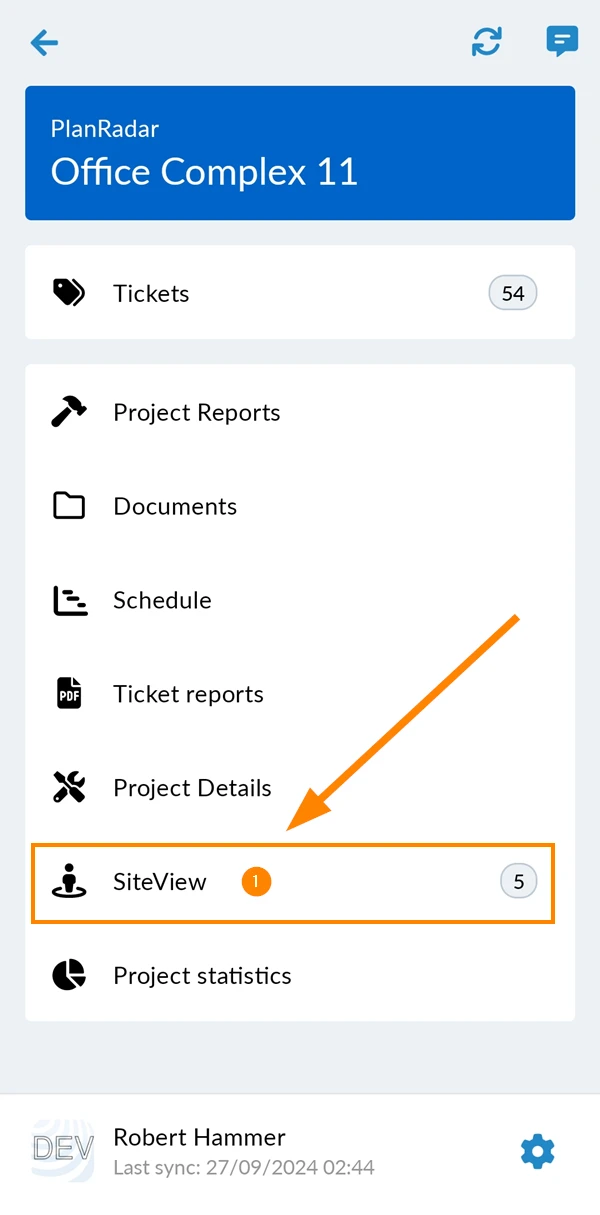
Image Points & 360° Images
Image Point Icons
There are five icons to visualise the state of an image point on the plan:
 | Start position: | Where the recording of the run began. |
 | Time machine: | Combined image points from multiple runs in different points in time. |
 | Normal image point: | Contains a single 360° image |
 | End position: | Where the recording of the run ended. |
 | Selected image point: | Indicates the current viewing direction of the 360° image. |
 | Still image | Single still image taken manually without a run. |
 | Selected still image | Currently selected still image. |
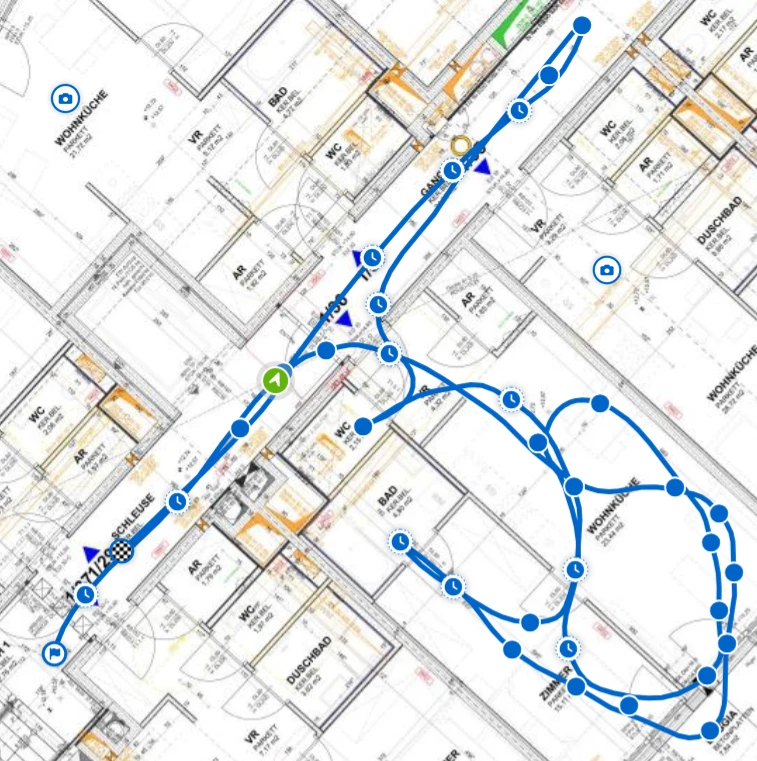
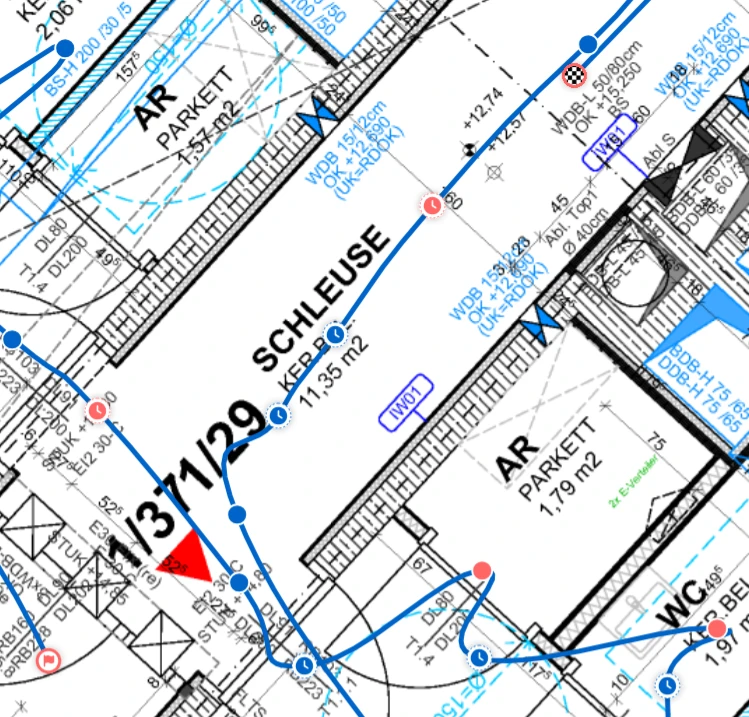
Image point icons with a ticket are red instead of blue.
Also see Add Tickets to 360° Images in the Webapp
View a 360° Image
To view a 360° Image:
- Click on any image point to select it.
- The 360° image is loads on the right side next to the plan.
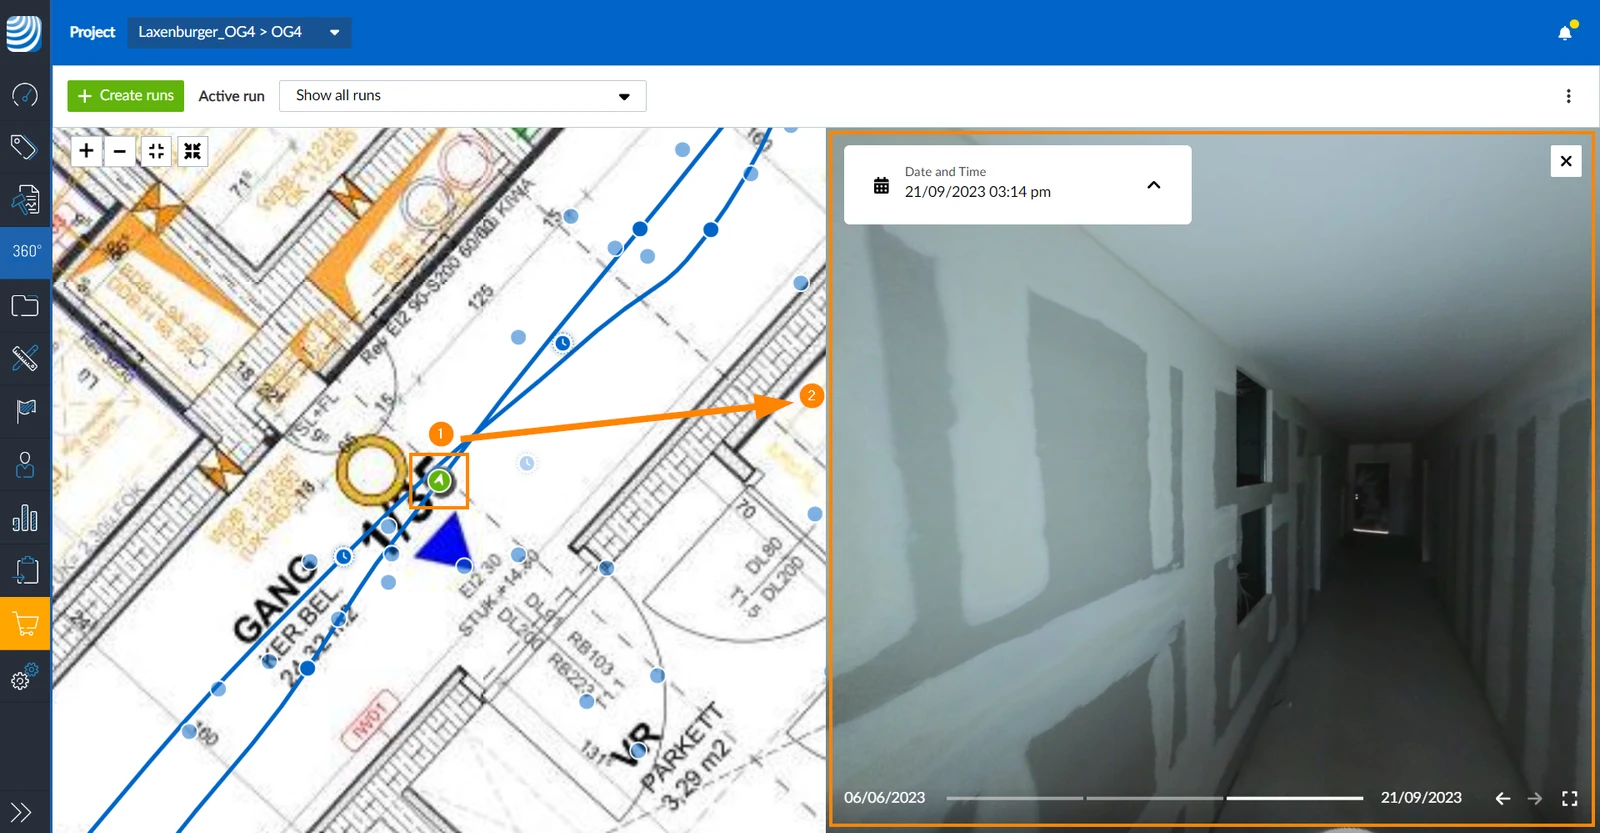
- Tap on any image point to select it.
- The 360° image is displayed under the plan.
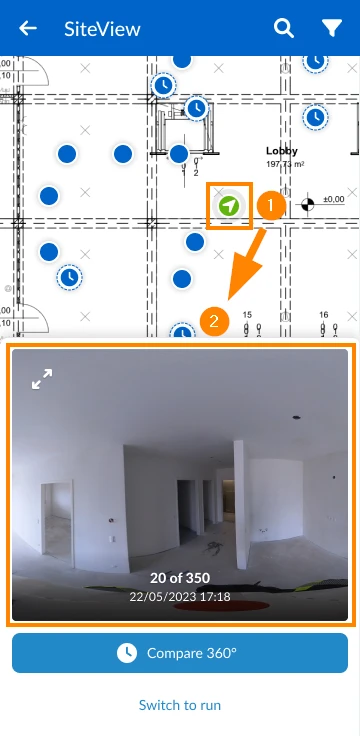
Change Viewing Angle
To change the viewing angel use drag & drop on the image:
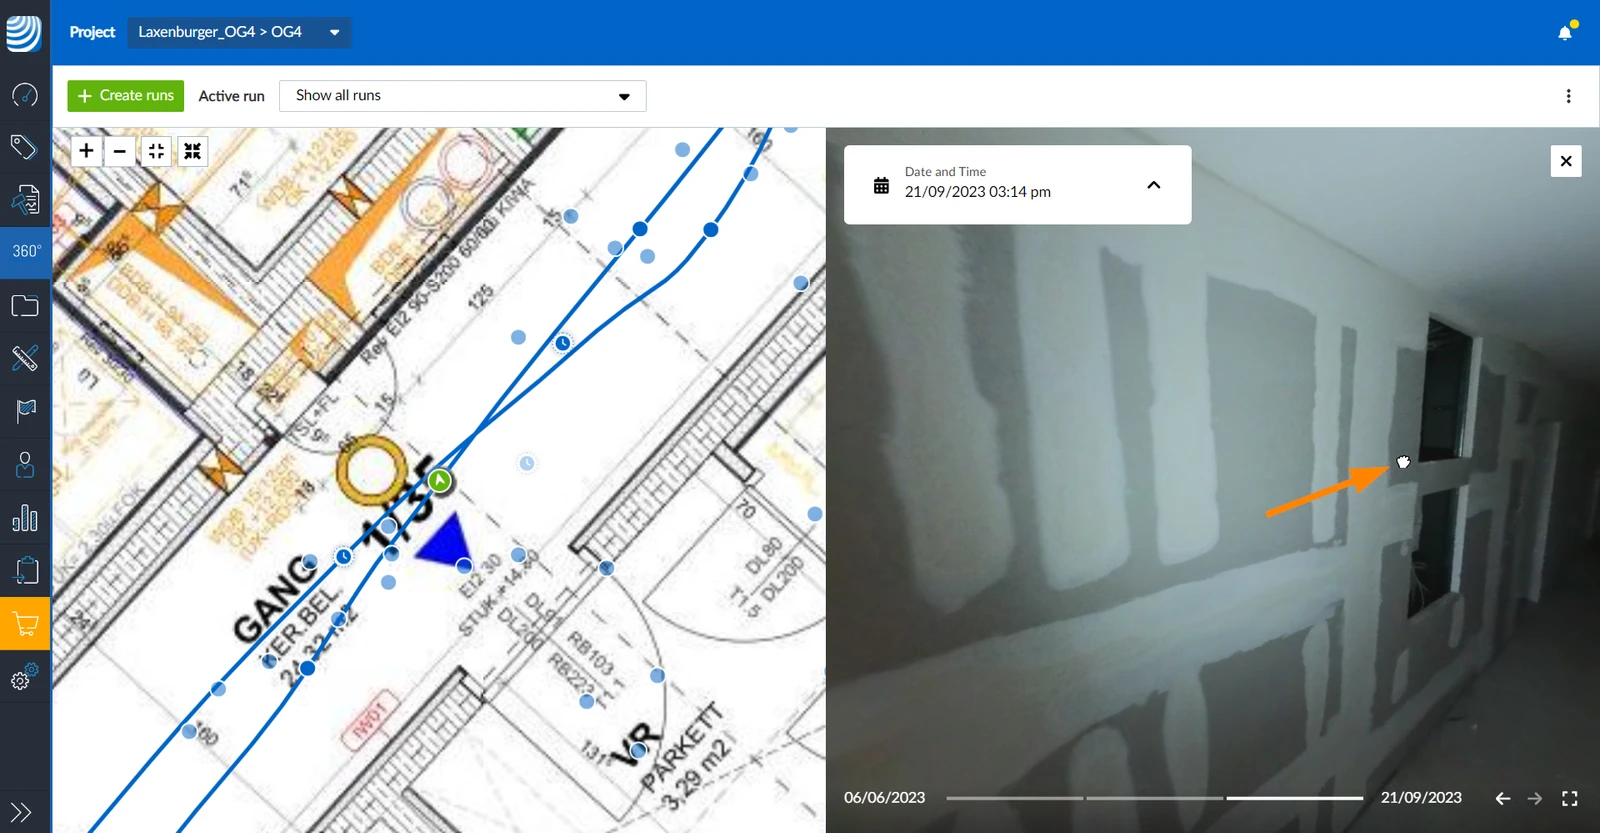
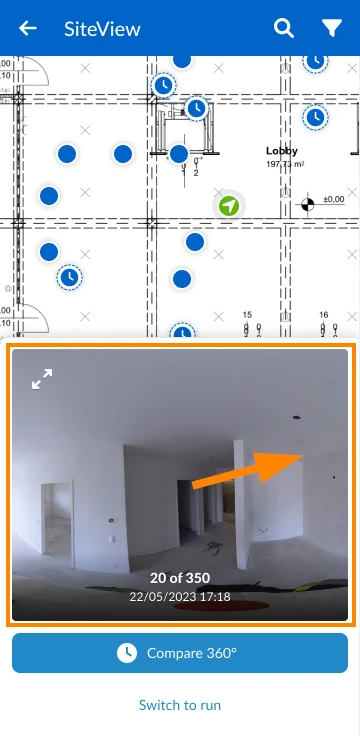
Select Different Time/Run
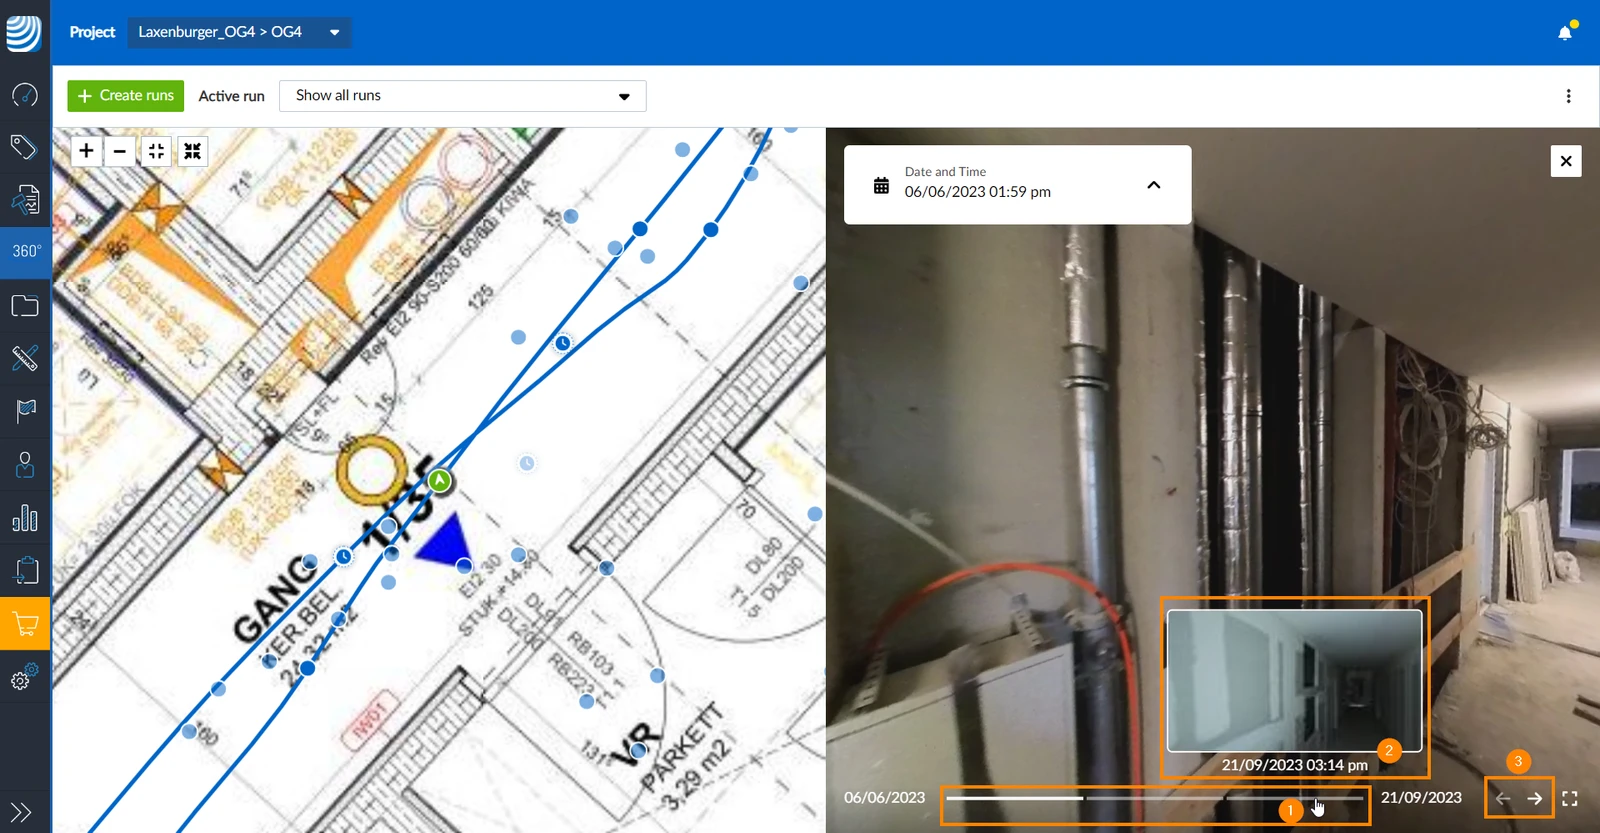
If you selected a time machine image point (combined image points from multiple runs) you can navigate through them with the controls on the bottom (in the Webapp):
- Hover over a segment in the time line to see the thumbnail, date and time of the image.
- Click on a segment to view the corresponding 360° image.
- OR use the arrow buttons to jump to the next/previous segment.
Maximise the Image
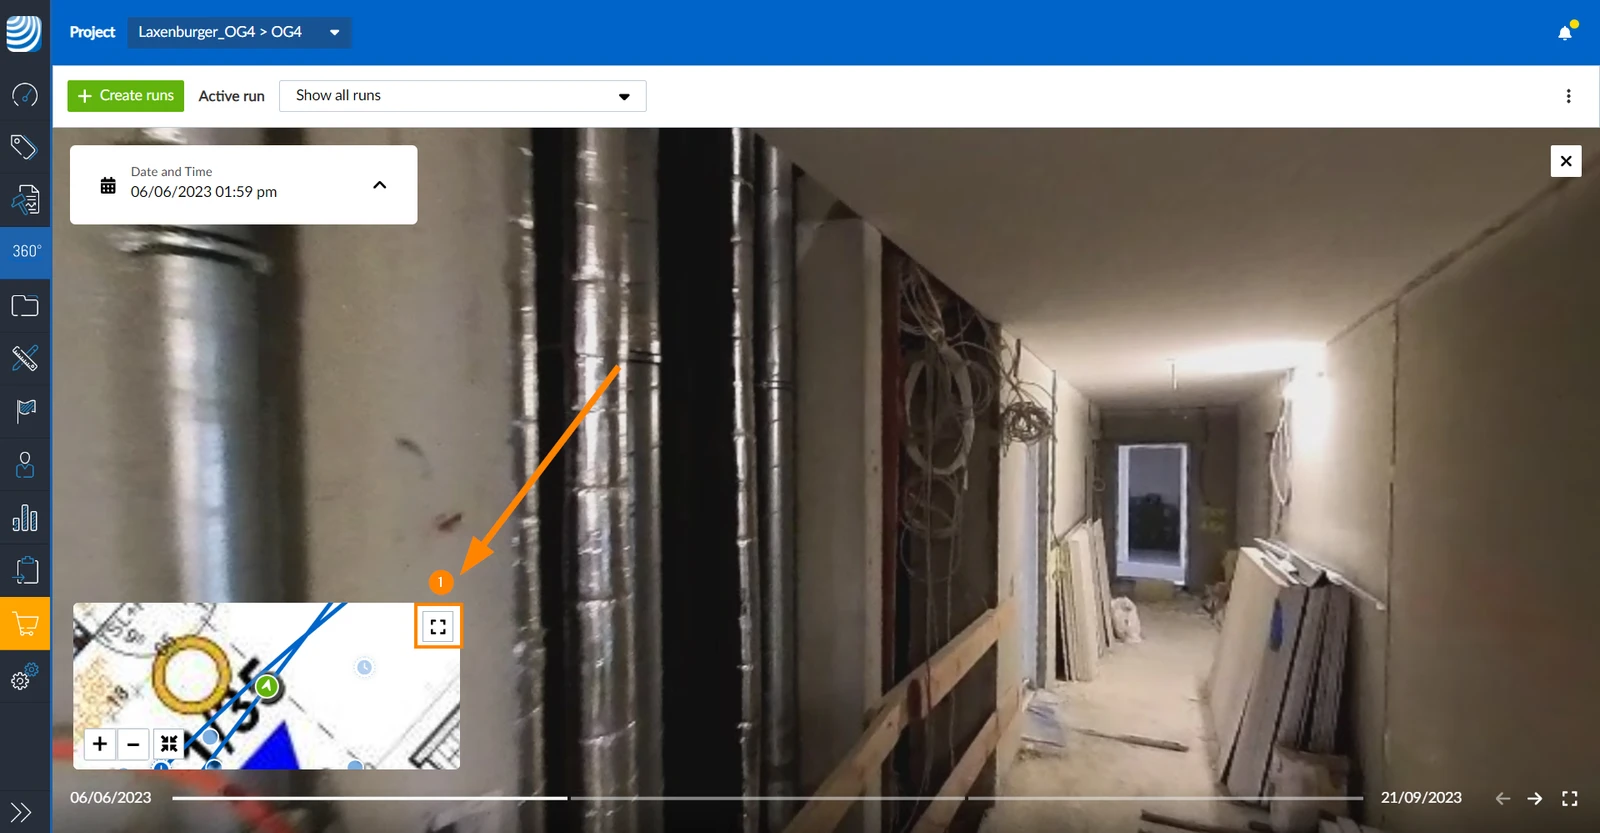
To maximise the image by minimising the plan:
- Click the minimise icon
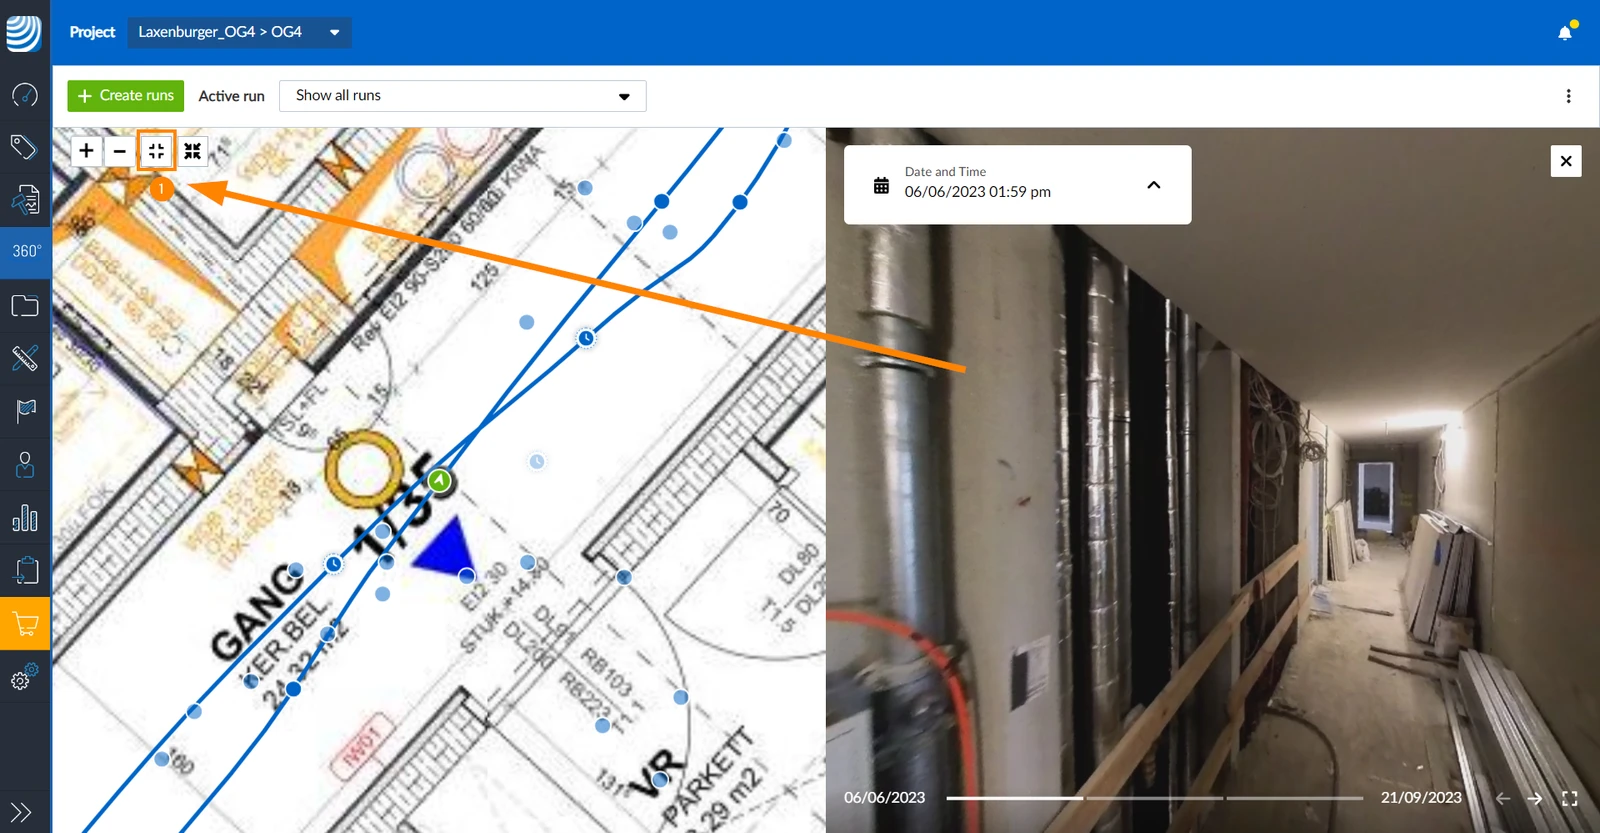
To show the plan on the left and the image on the right again:
- Click the maximise icon
View in Fullscreen
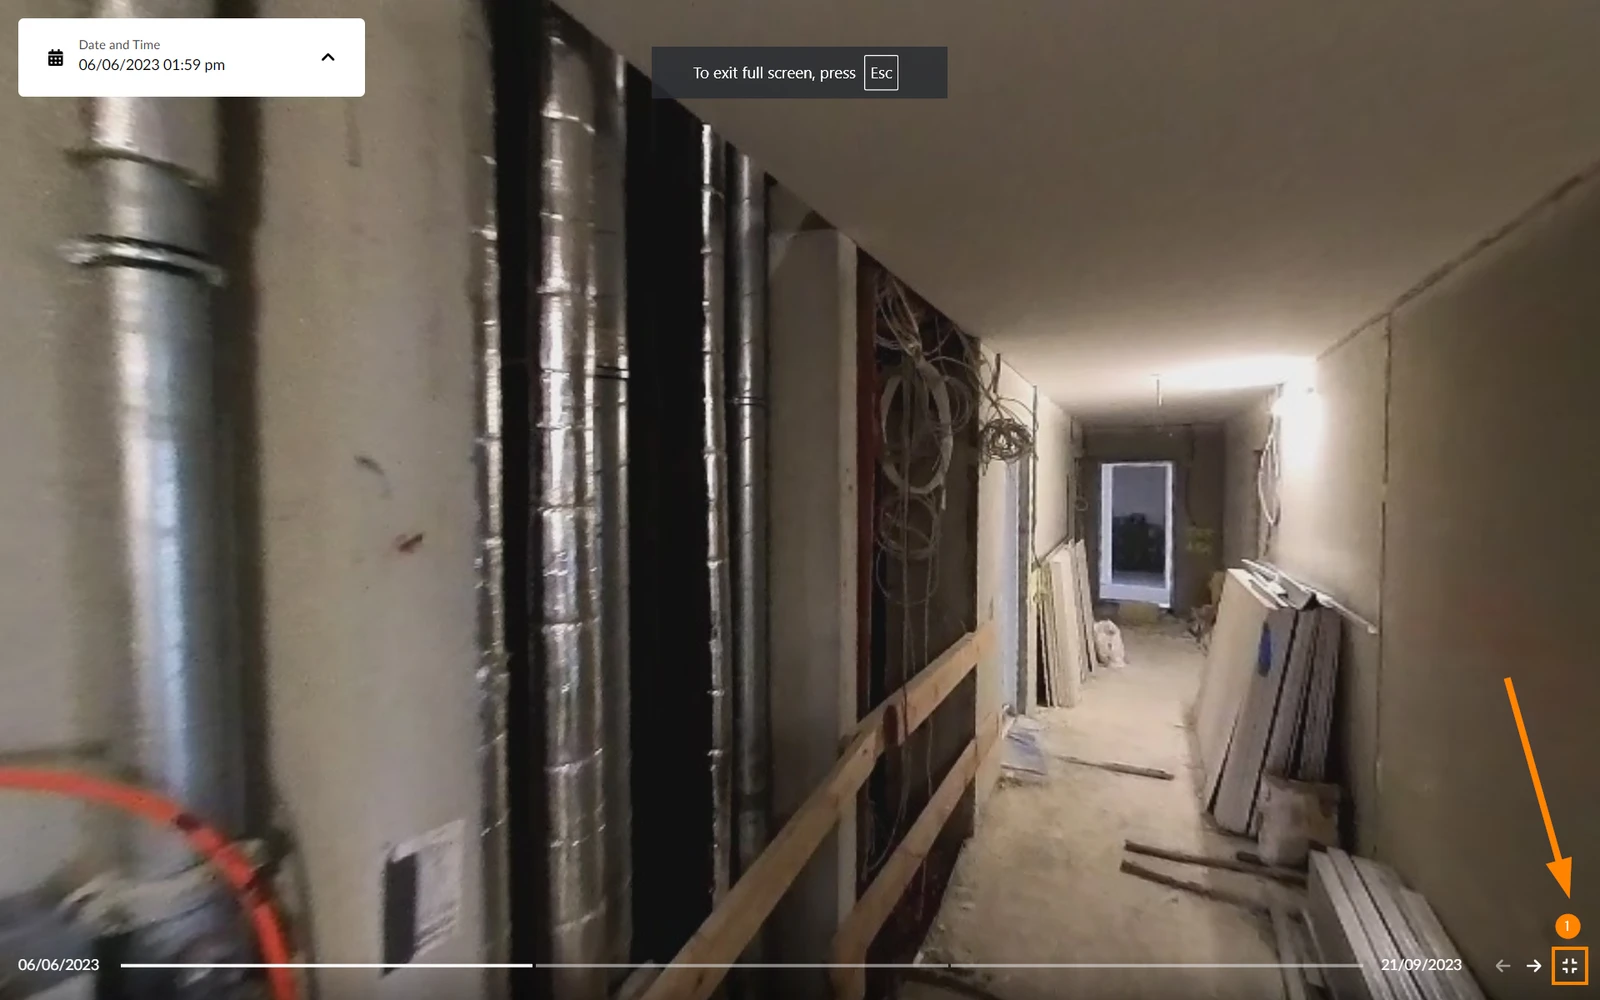
To view images in full screen:
- Click the maximise icon
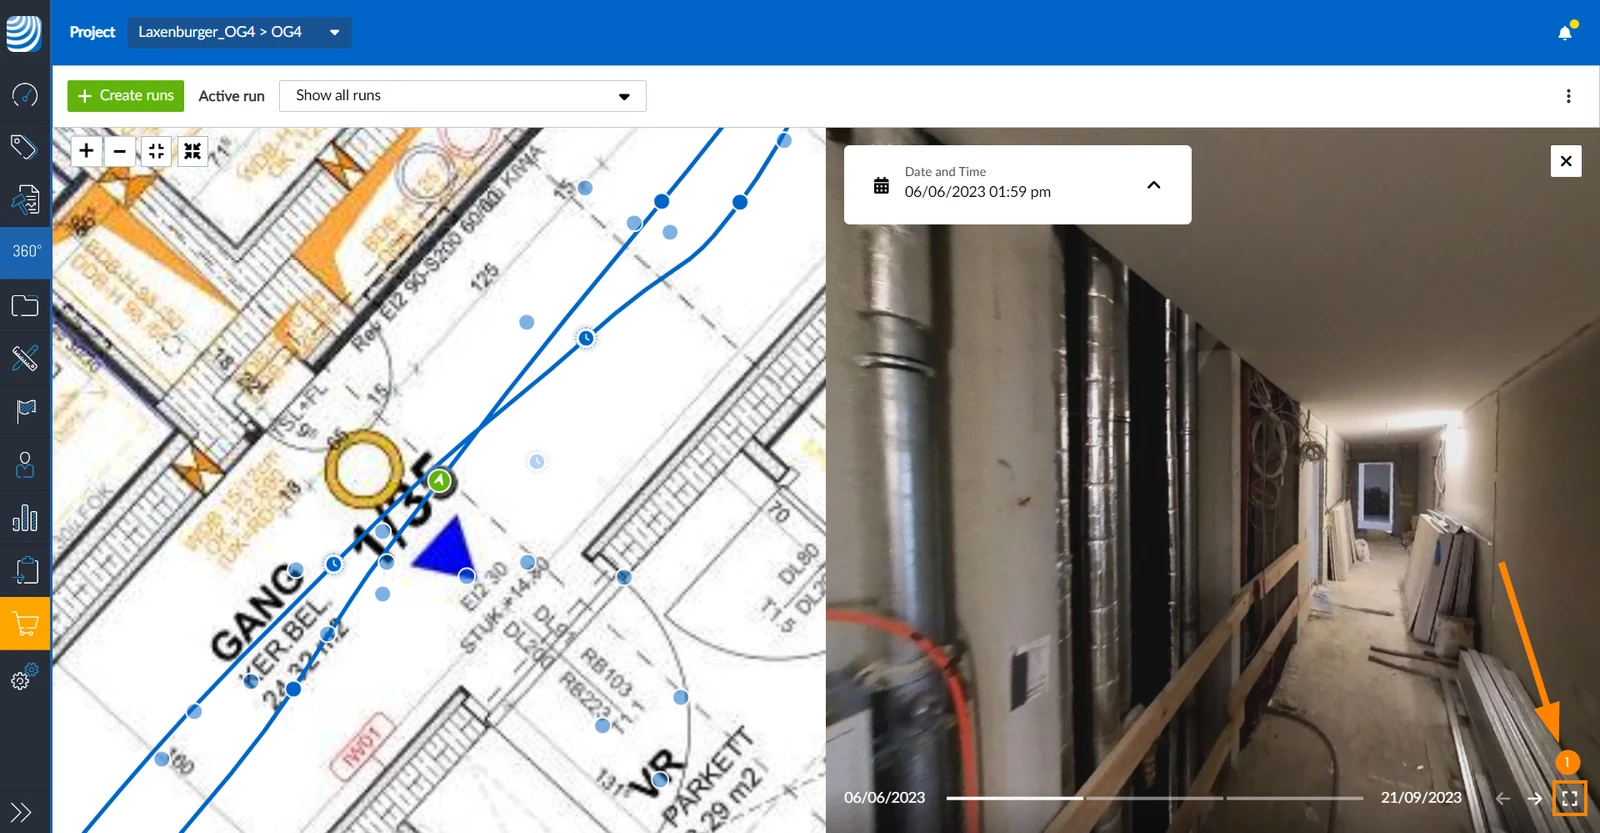
To close the full screen mode:
- Click the minimise icon
- OR press ESC on your keyboard
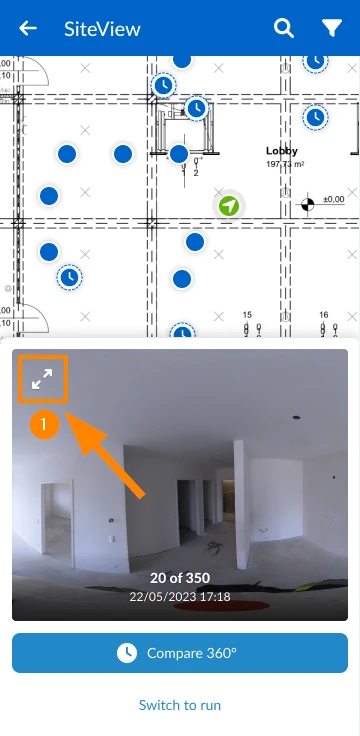
- Tap the maximise icon
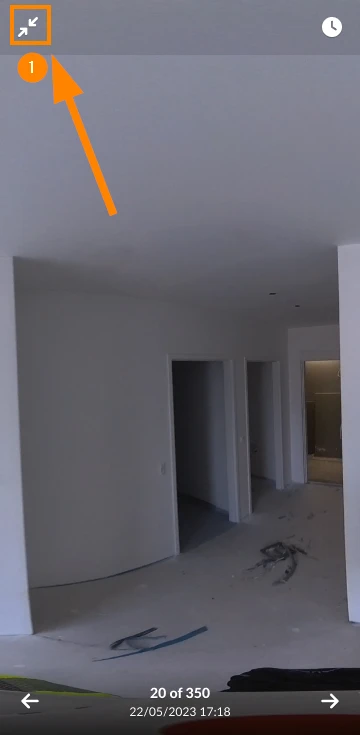
To show the plan on the top and the image on the bottom again:
- Tap the minimise icon
Switch to Run
If you selected 'Show all runs', then you can load the run of the currently viewed 360° image:
- Click the arrow icon to expand the info box.
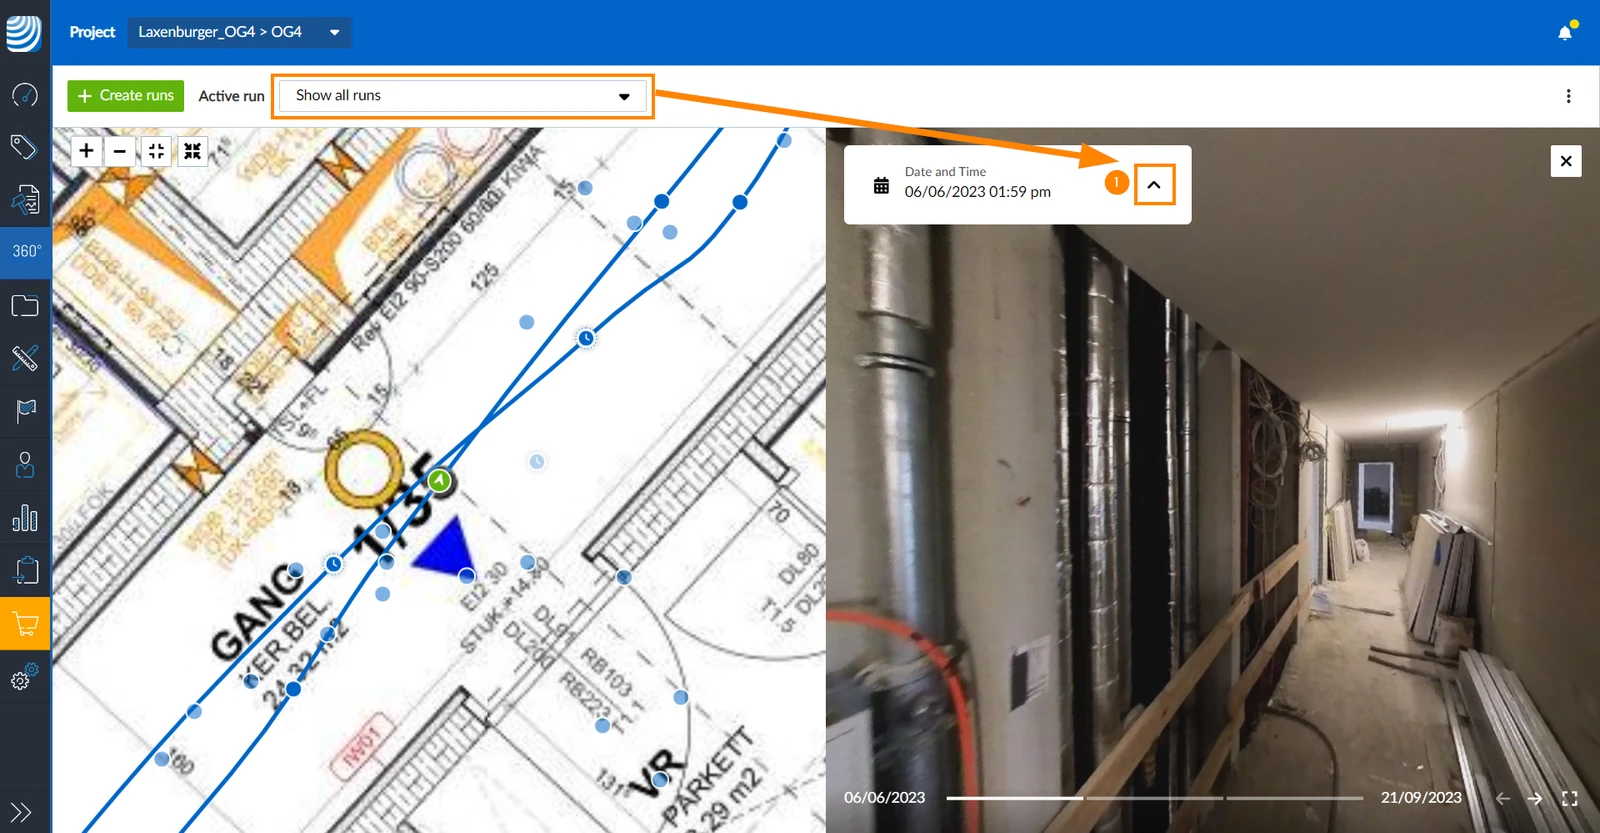
- Click Switch to run
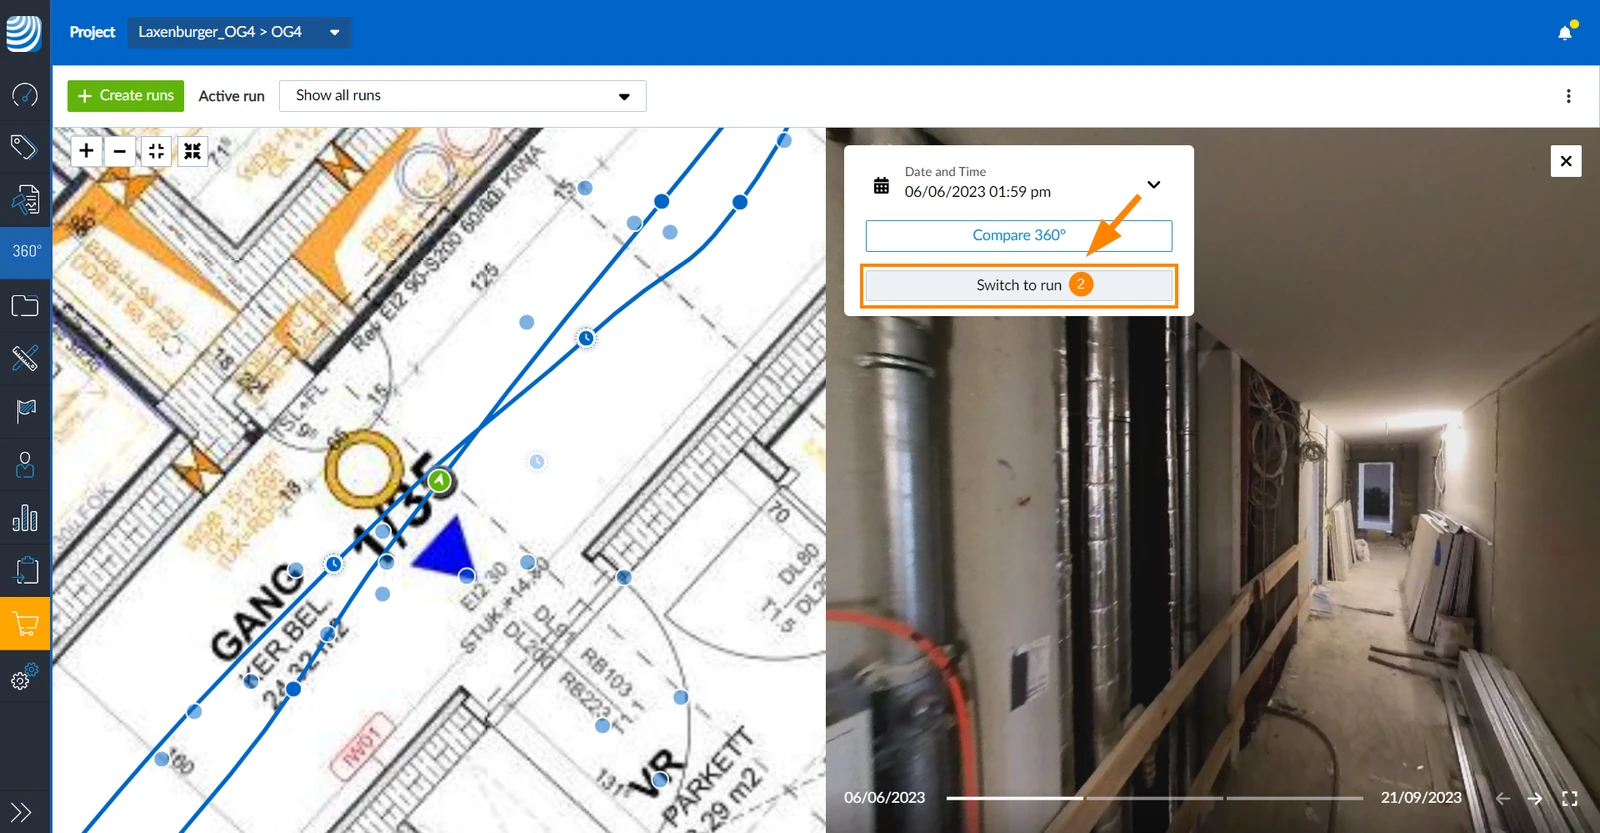
If you opened plan view without selecting a run and see all runs of the layer, then you can load the run of the currently viewed 360° image:
- Tap Switch to run
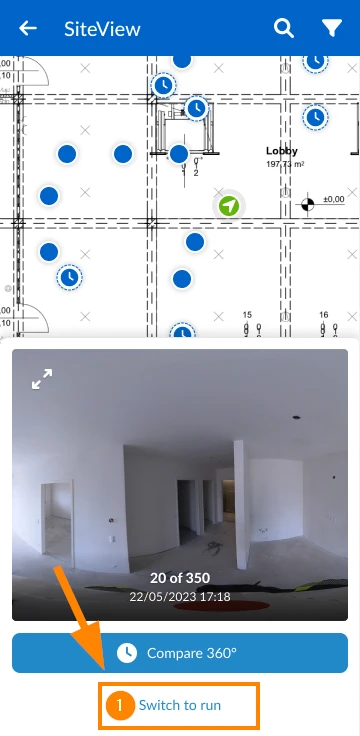
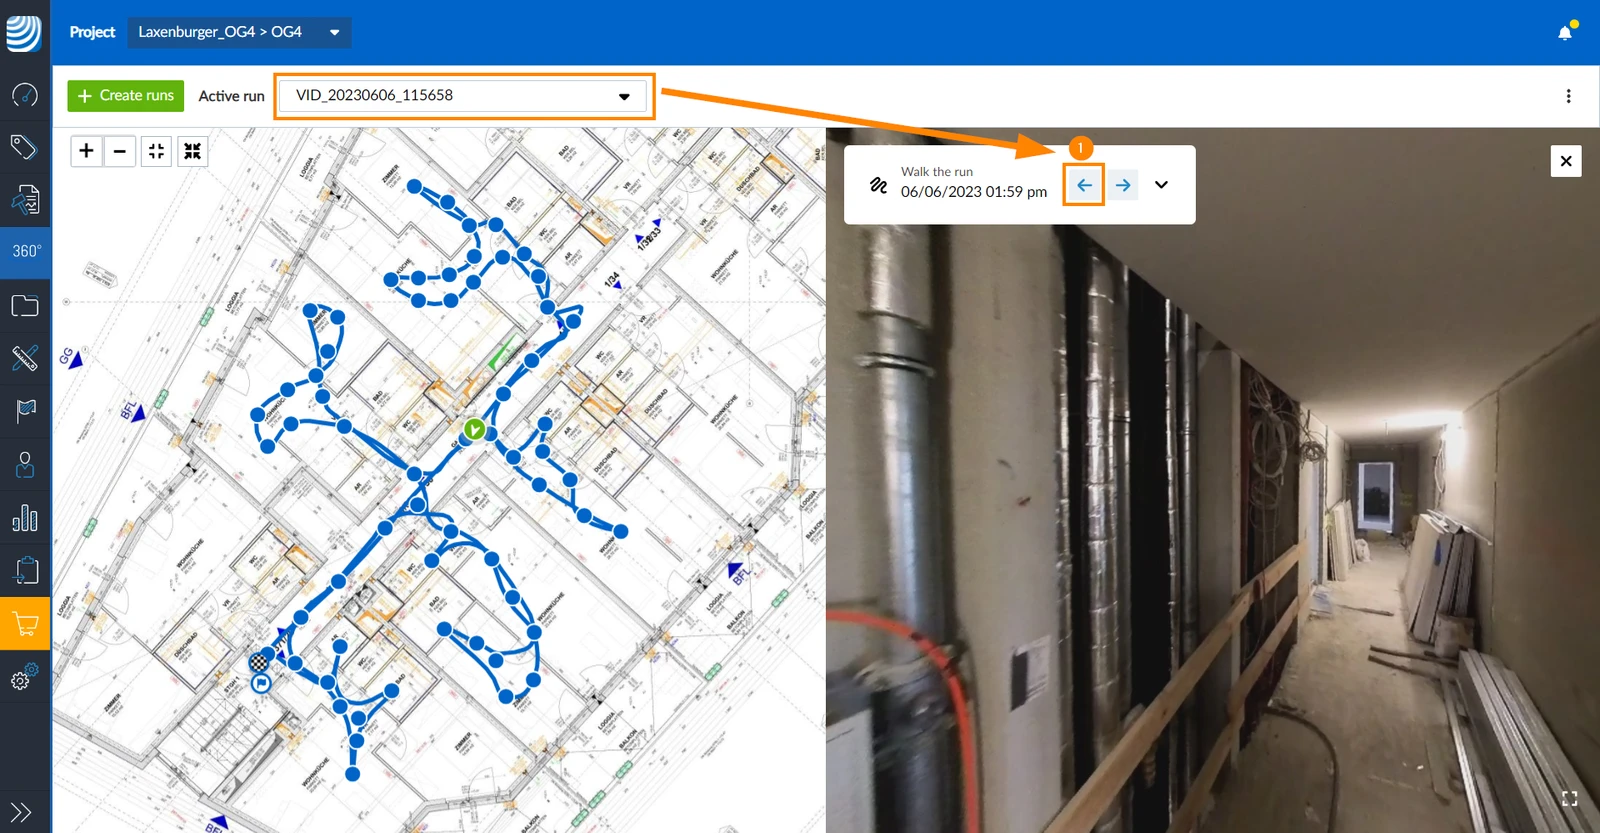
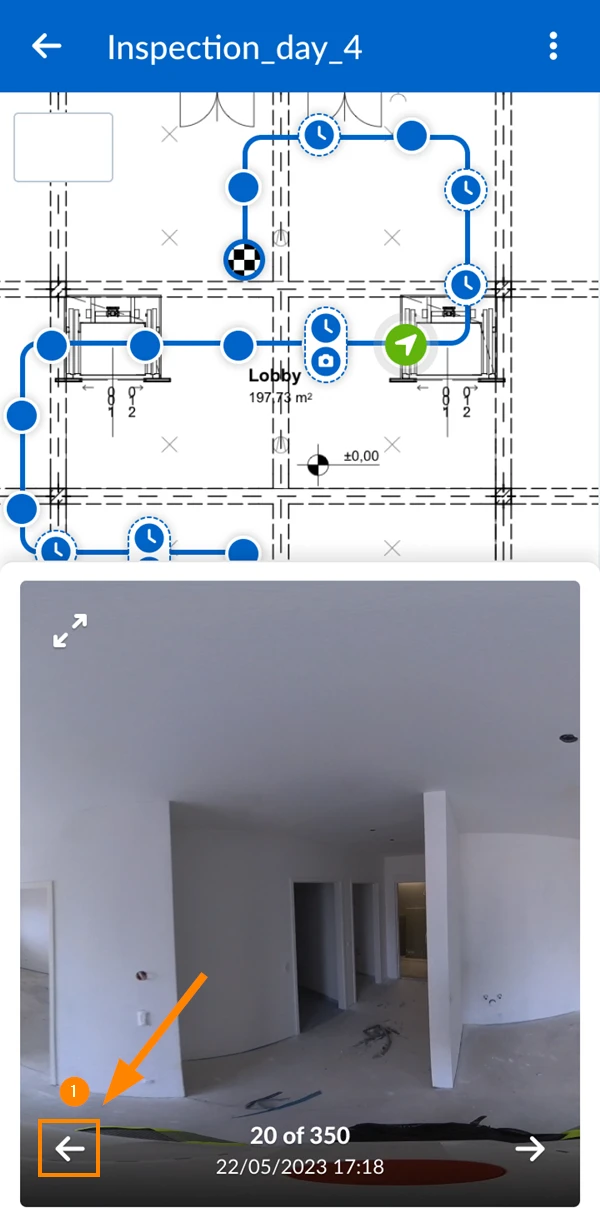
Jump to Next/Previous image point of a Run
If you selected a specific run you can quickly jump to the next or previous image point to view it's 360° image.
To jump to the next image point:
- Click the right arrow
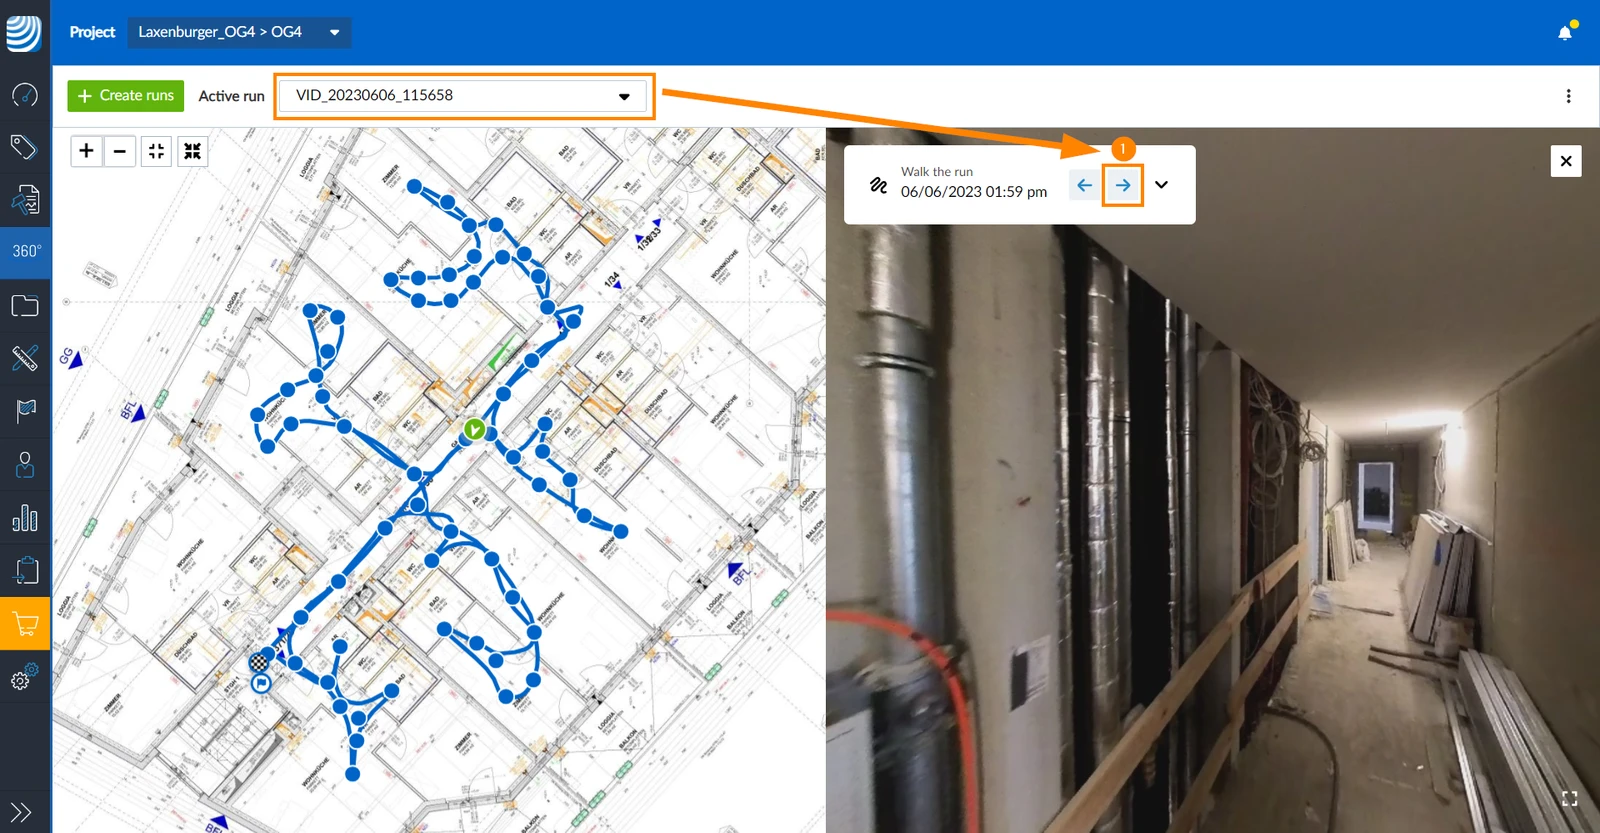
- Tap the right arrow
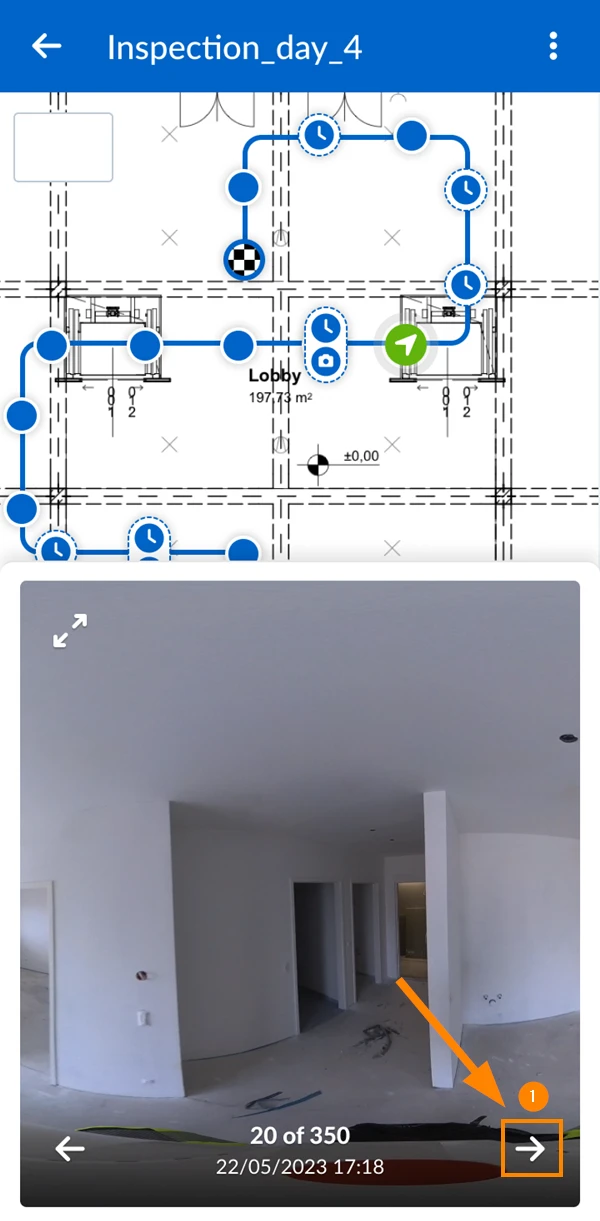
To jump to the previous image point:
- Click the left arrow
- Tap the left arrow
Close the Image Viewer
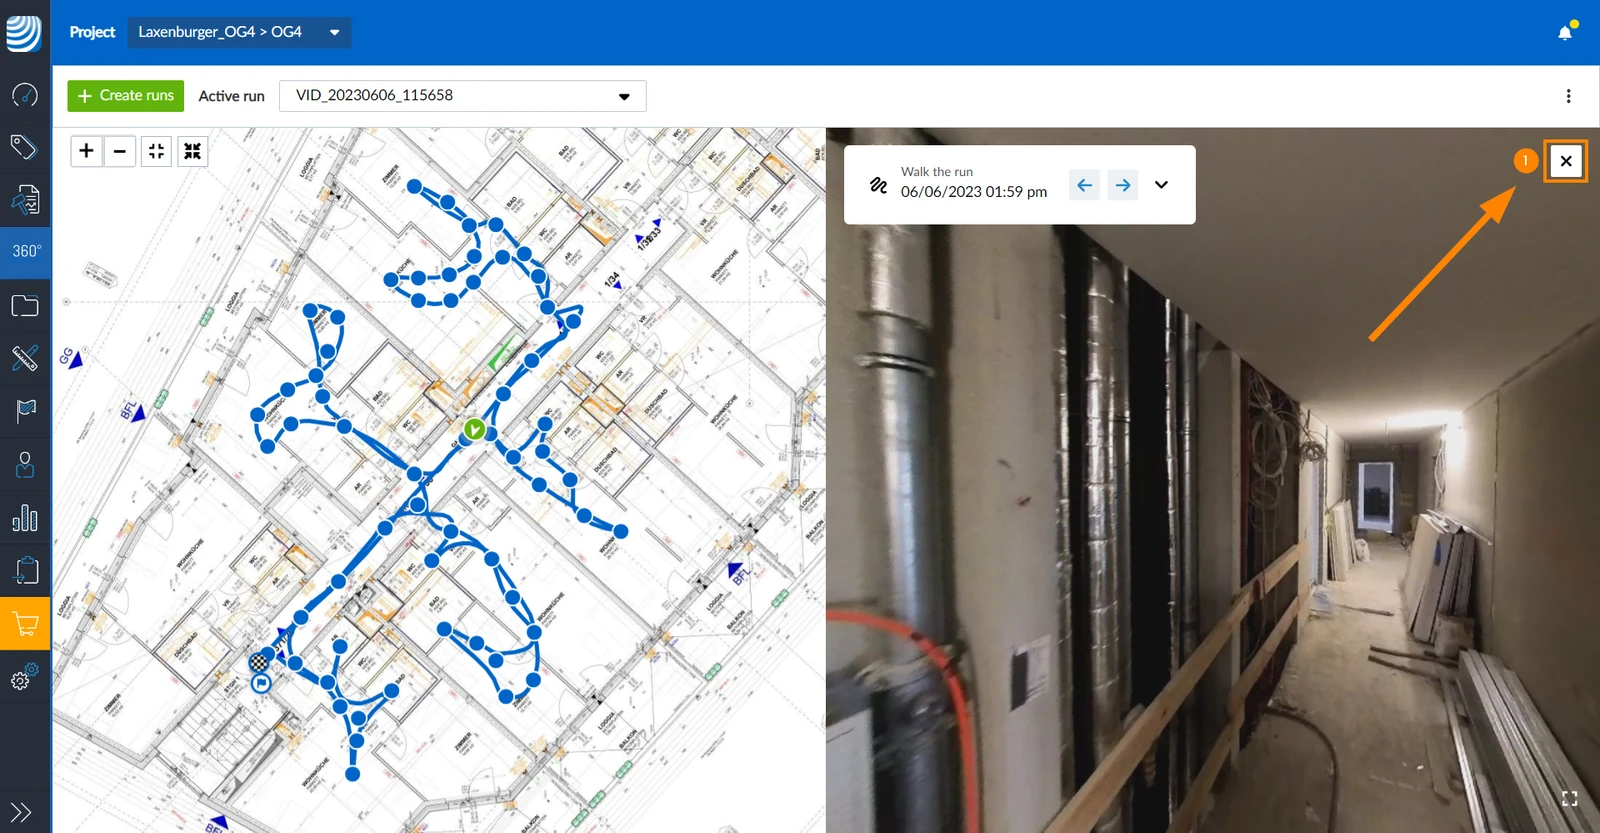
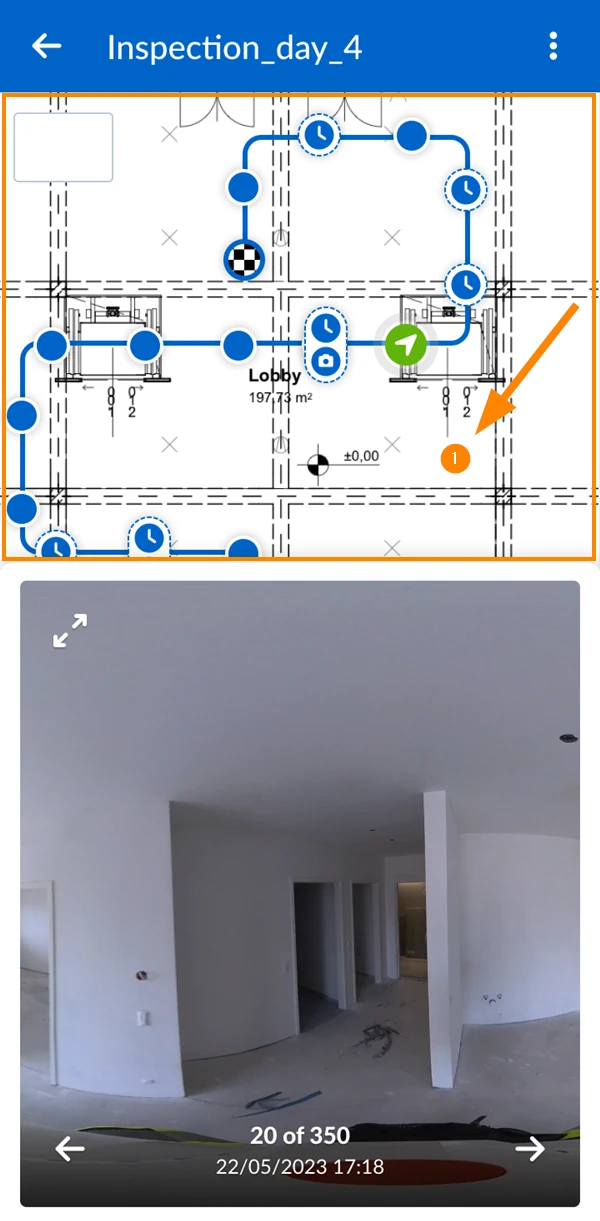
To close the image viewer and view the maximised plan:
- Click the X button
- Tap on the plan (but not on an image point)
Compare Mode
Compare mode enables side-by-side display of two 360° images from different runs, making it easy to see differences between two points in time. Runs must be at least one hour apart.
To switch to compare mode:
- Select a time machine image point
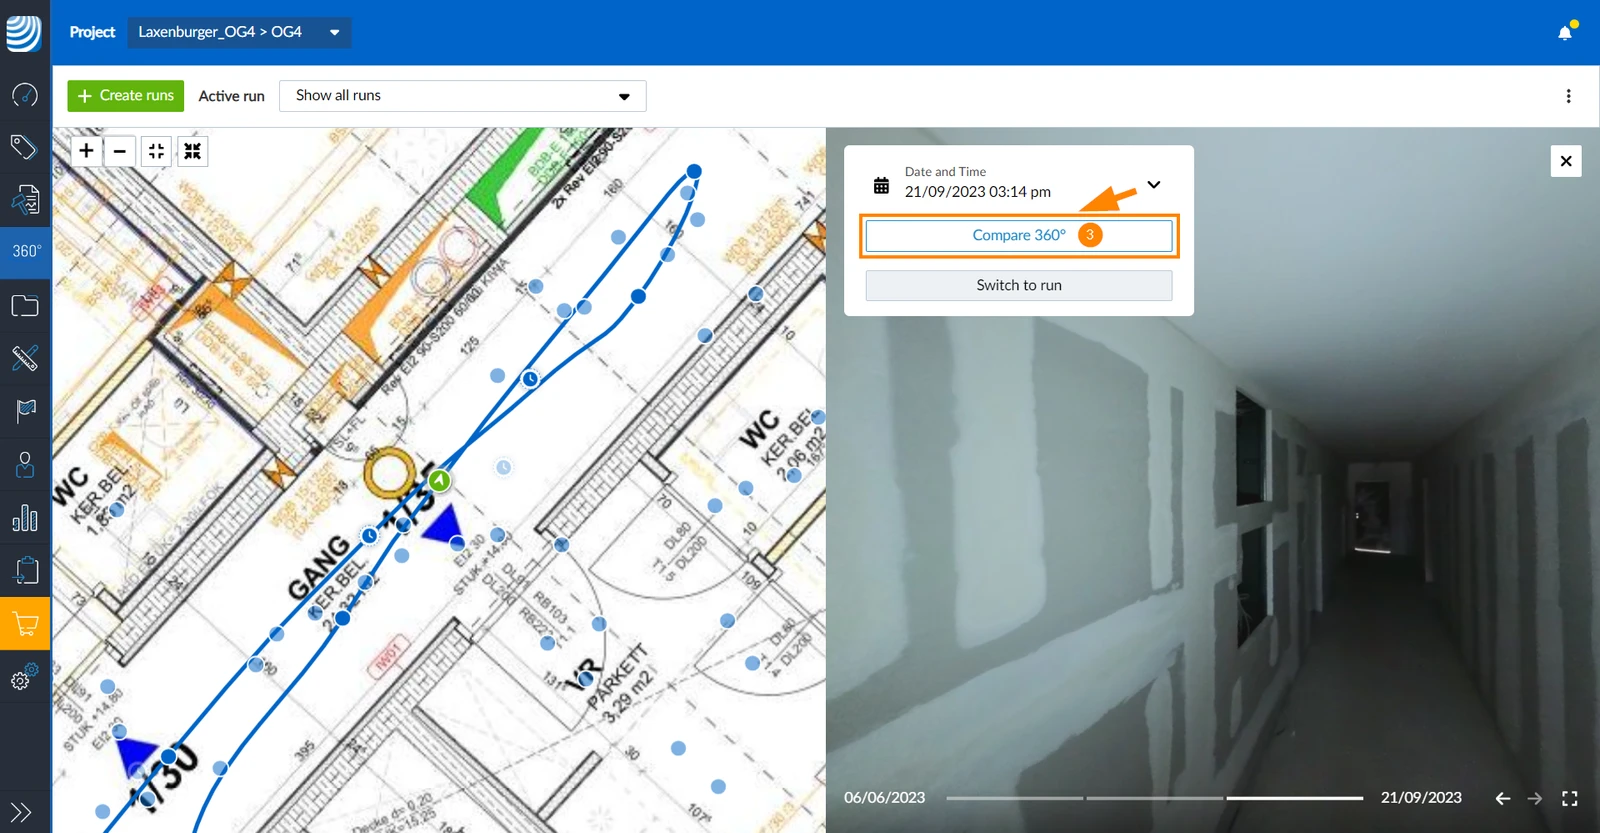
- Click the arrow icon to expand the info box.
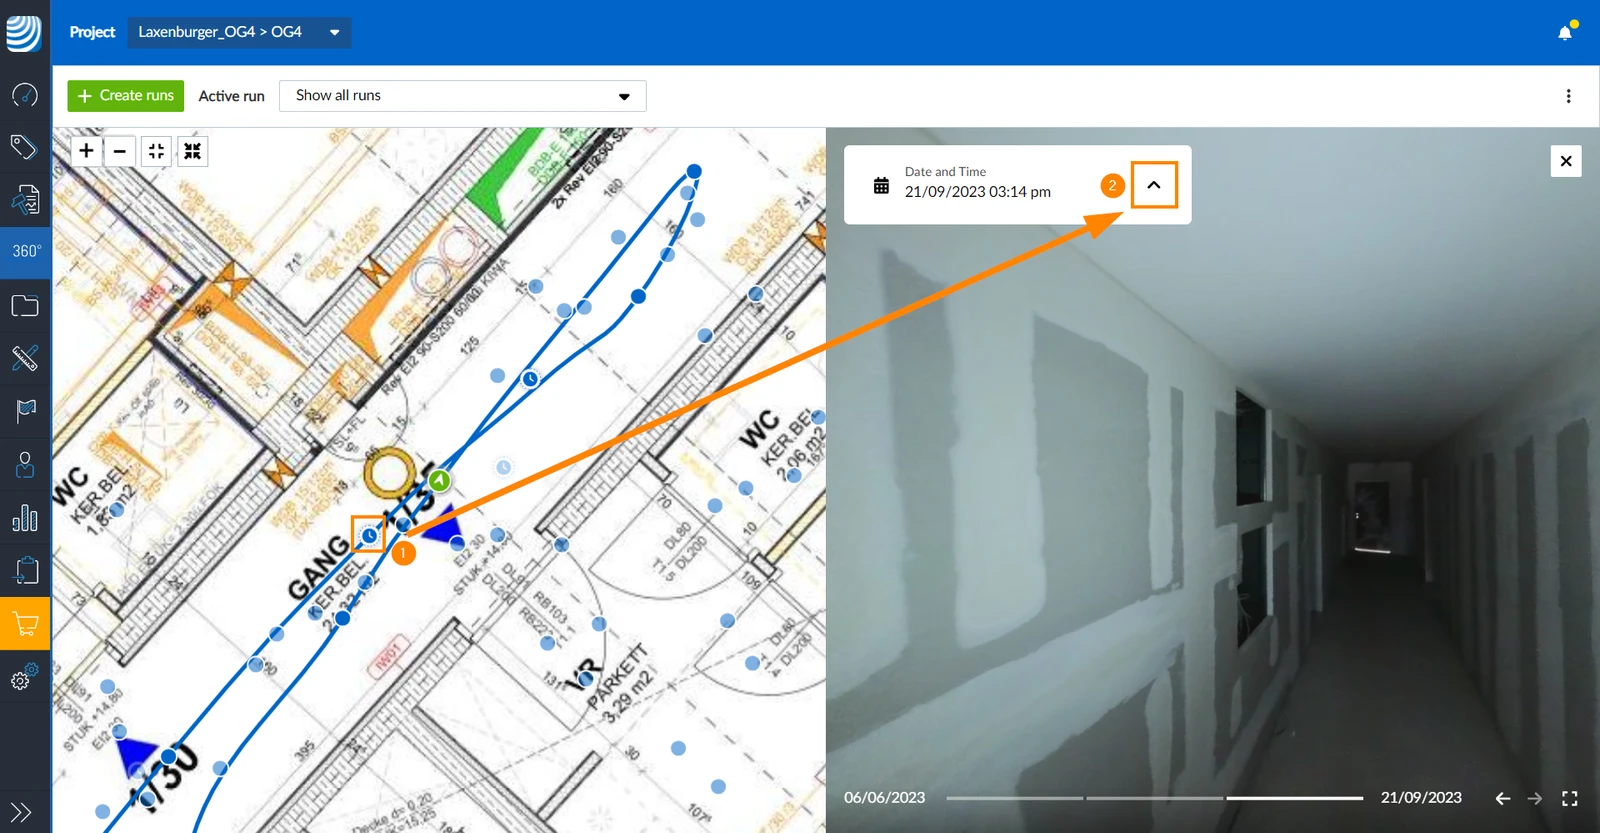
- Click Compare 360°
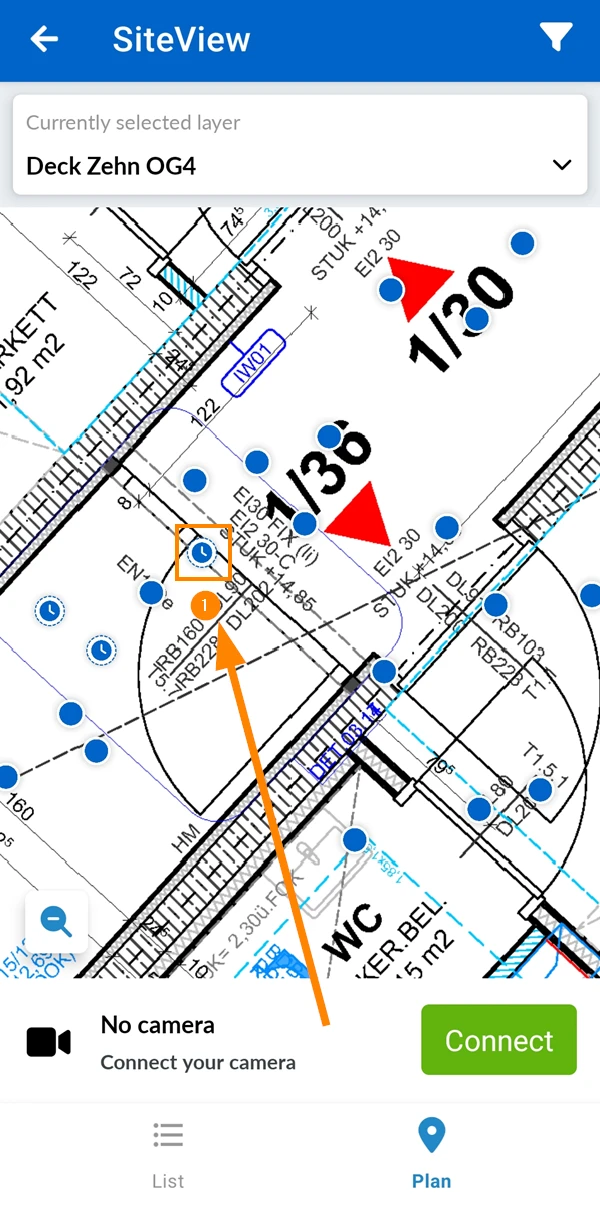
- Select a time machine image point
- Tap Compare 360°
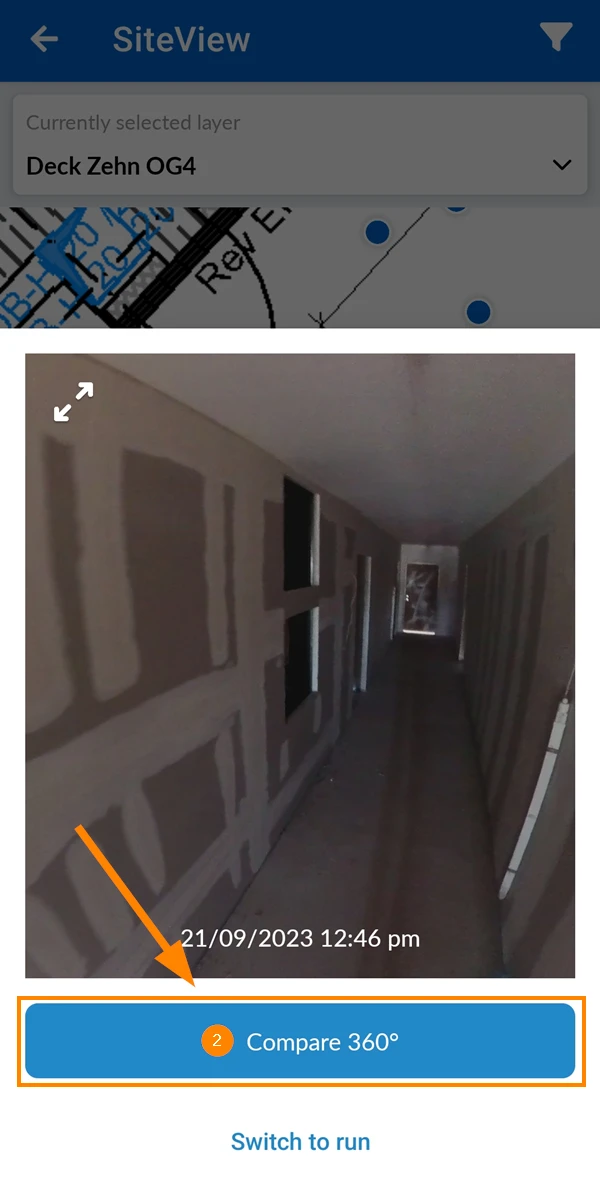
- Tap Select 360°
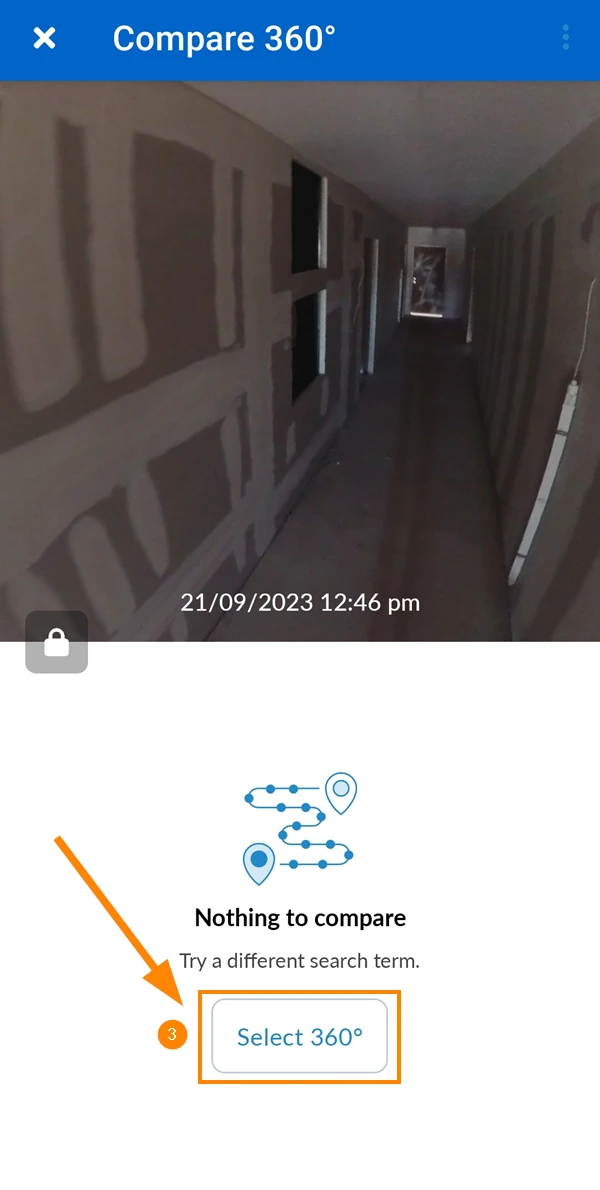
- Select a run
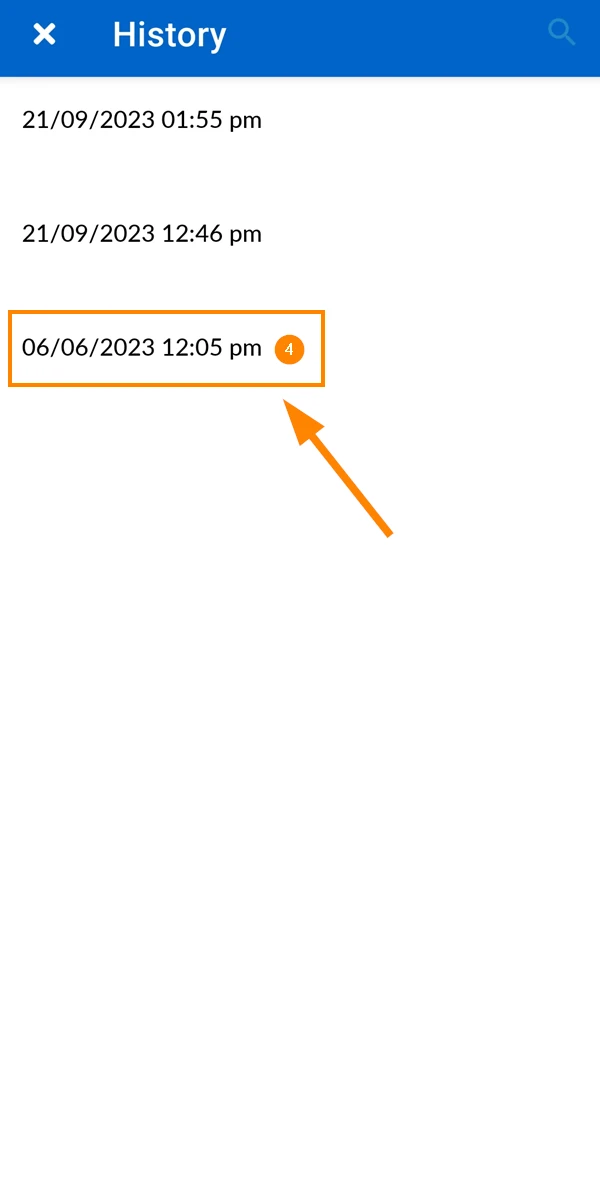
- See both 360° images next to each other
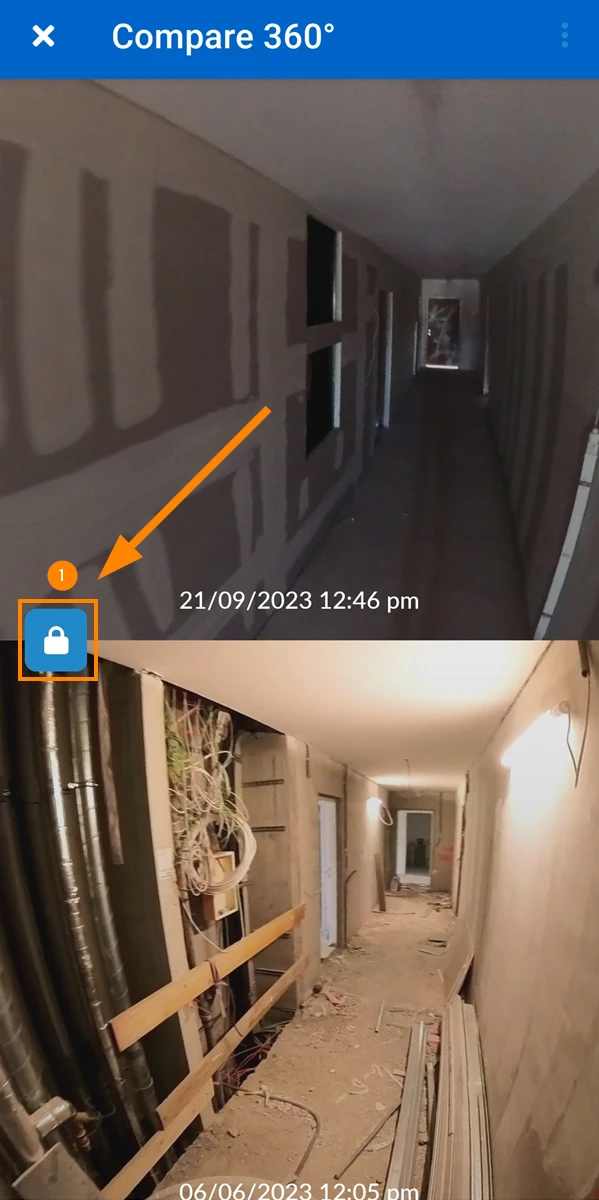
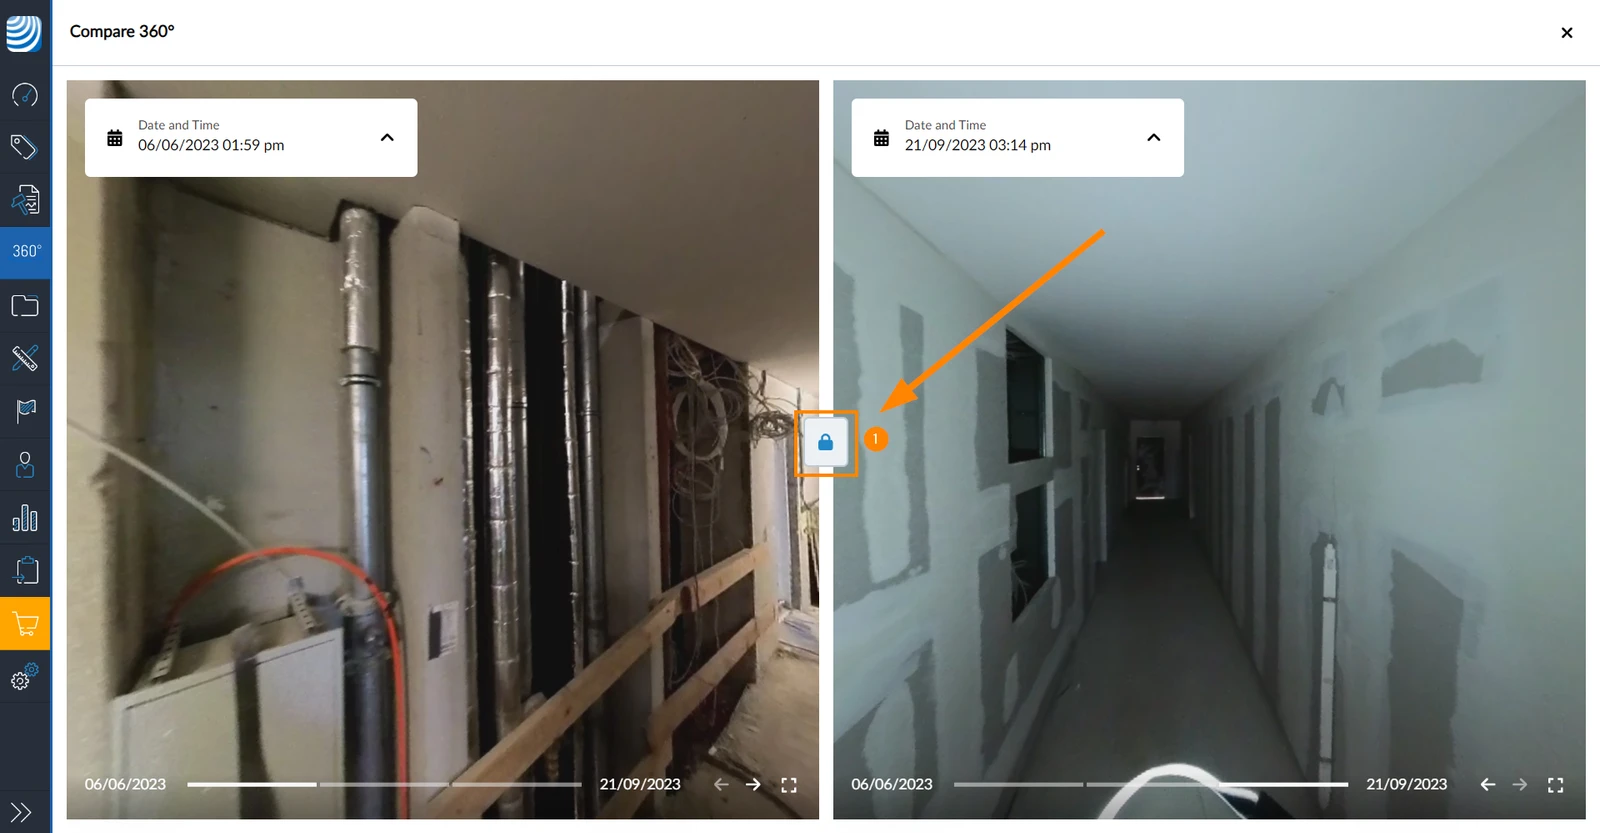
Lock/Unlock Viewing Angles
The viewing angles of both 360° images are synchronized by default. That means if you change the viewing angle of one image, the other image will simultaneously do the same rotation.
Unlock the viewing angles to allow separate rotation:
- Click the lock button
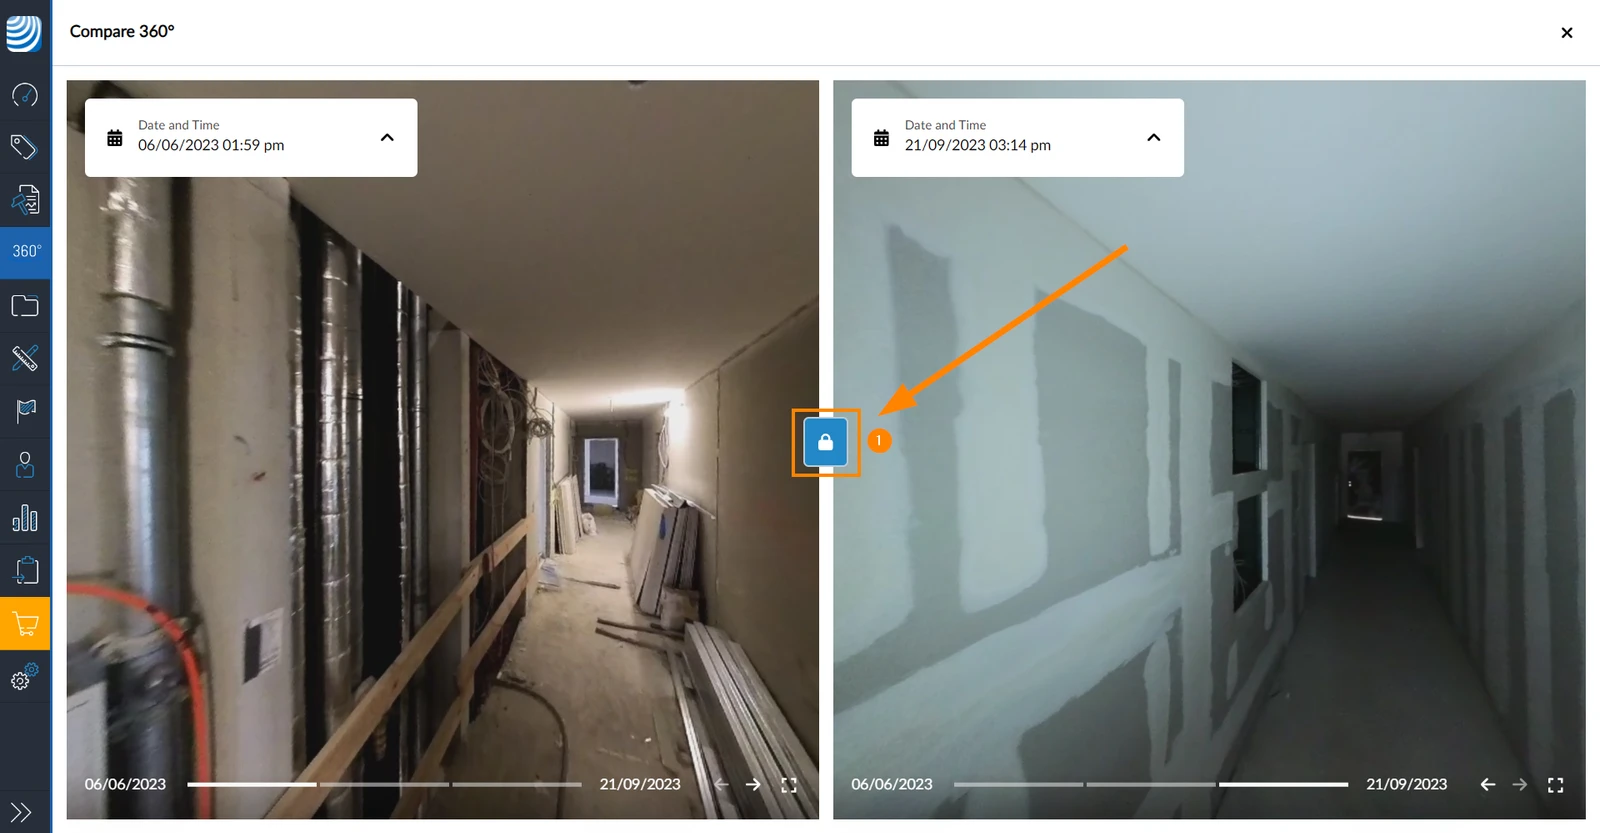
- Tap the lock button
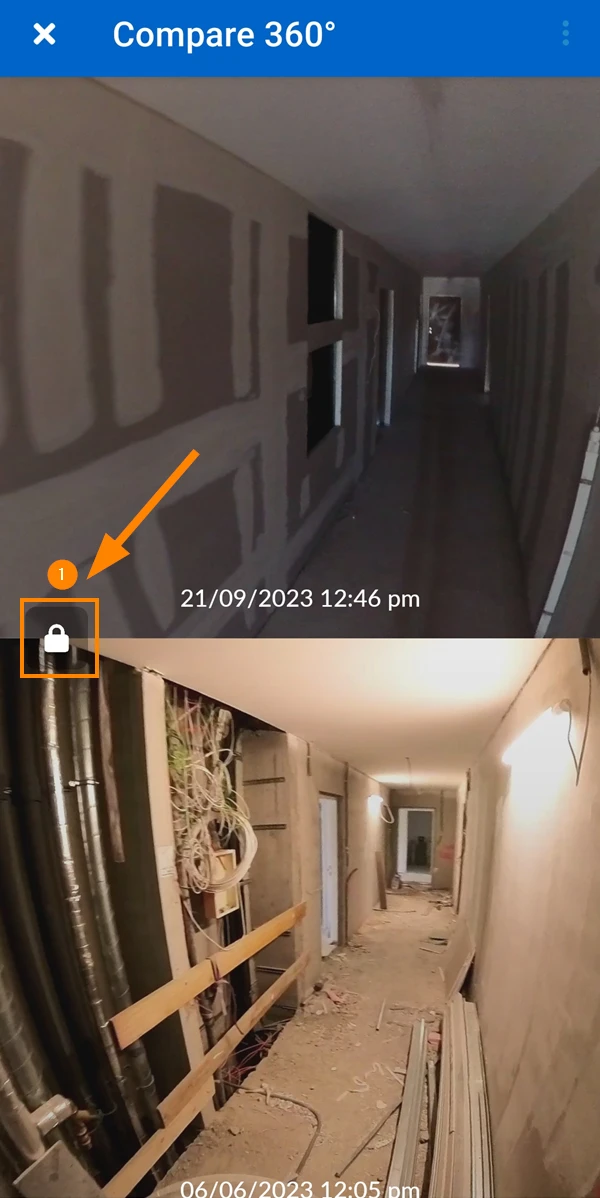
To lock the viewing angles, to synchronise the viewing angles automatically:
- Click the lock button again
- Tap the lock button again
Updated May 16, 2026