

 Deutsch
 Español
 Français
 Hrvatski
 Italiano
 Polski
 Português (BR)
Create a Run with the PlanRadar Mobile App
Overview
Record and upload a run for SiteView with the PlanRadar mobile app. Follow the checklists and instructions below to meet all the requirements for optimal results when processing the recording.
This article explains how to do this with a smartphone connected to an Insta360 X4 or X5 camera (the process is the same for tablets).
4K vs. 8K resolution

We recommend recording videos in 4K resolution for the best balance between quality and performance. If higher image quality is required in specific situations, you can change the camera setting to 8K resolution. Keep in mind that 8K videos have approximately four times the file size of 4K videos, which significantly increases upload and processing times.
To change the video resolution swipe up on the camera's touchscreen. Read more in onlinemanual.insta360.com/usingthescreen.
Also see Hardware Requirements and Plan Requirements. :::
Processing a Run
Once the run has been uploaded, it is processed by the PlanRadar servers. Note that this process can be time consuming, typically taking about 2 hours for every 5 minutes of video. You will receive an email notification when processing is complete.
Access & Permissions
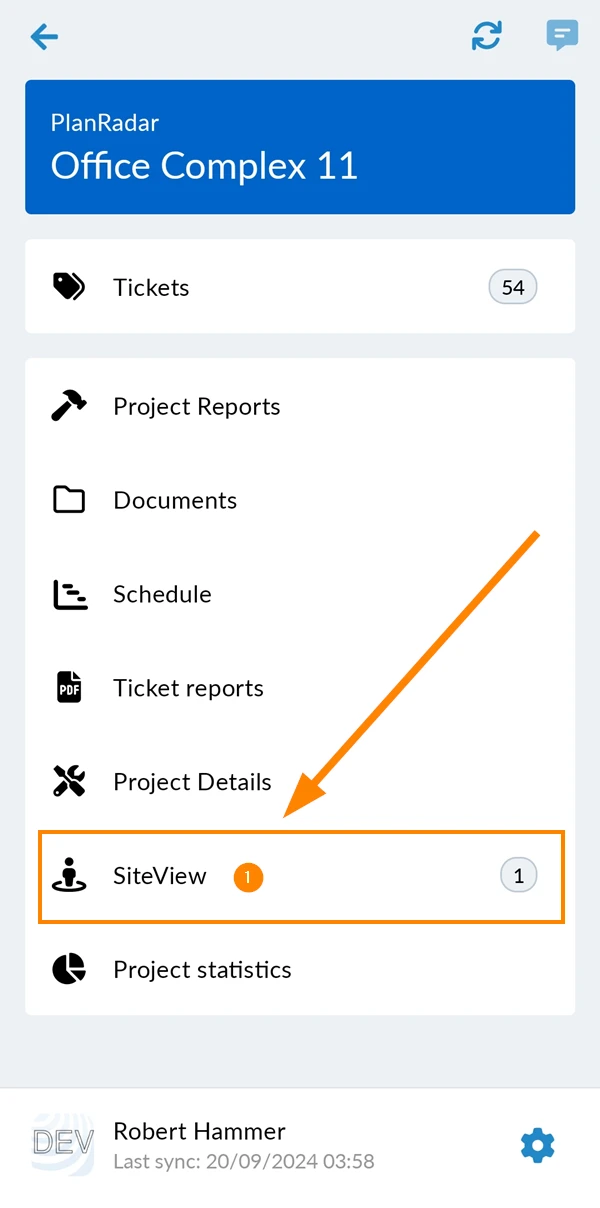
How to Access SiteView
- Tap SiteView
Checklist: Before the Recording
Choose a Good Starting Position
A good starting position has a huge impact on the quality of the algorithm's run positioning.
Prepare the Location
- Ensure good lighting conditions. Bring a portable lamp if necessary.
- Open all doors to avoid interruptions during the run.
Prepare the Equipment
- Camera is mounted on the helmet.
- SD card has sufficient free space.
- Battery has sufficient charge.
- Lamps on the helmet (necessary for bad lighting conditions)
See SiteView Hardware Requirements.
Checklist: During the Recording
Recording Duration
- Try to keep each recording at least 1 minute long, with 5 minutes being a good target.
Walking
-
Keep a moderate and steady pace.
- Do not run.
- Do not stand still.
-
Do not shake your head more than necessary.
- The camera and software can only handle a certain amount of vibration and movement.
-
Do not turn your head or look up and down more than necessary.
- You are using a 360° camera, so there is no need to point the camera in any direction.
-
Your path should cover the entire room.
Connect your Camera
There are two ways to connect your camera to your device (smartphone or tablet) and the PlanRadar app:
- Automatically: It's easier because you stay in the PlanRadar app.
- Manually: It can be faster if you have already connected your device to the camera's Wi-Fi, but you have to leave the PlanRadar app.
With both methods your device will be connected to the camera's Wi-Fi and cannot use another Wi-Fi for internet access at the same time. When you disconnect the camera in the app your device should automatically reconnect with your previous Wi-Fi for internet access.
Connect Camera Automatically
Make sure that Bluetooth is activated on your device and camera.
To connect the camera in the app:
- Tap SiteView
- Tap Connect
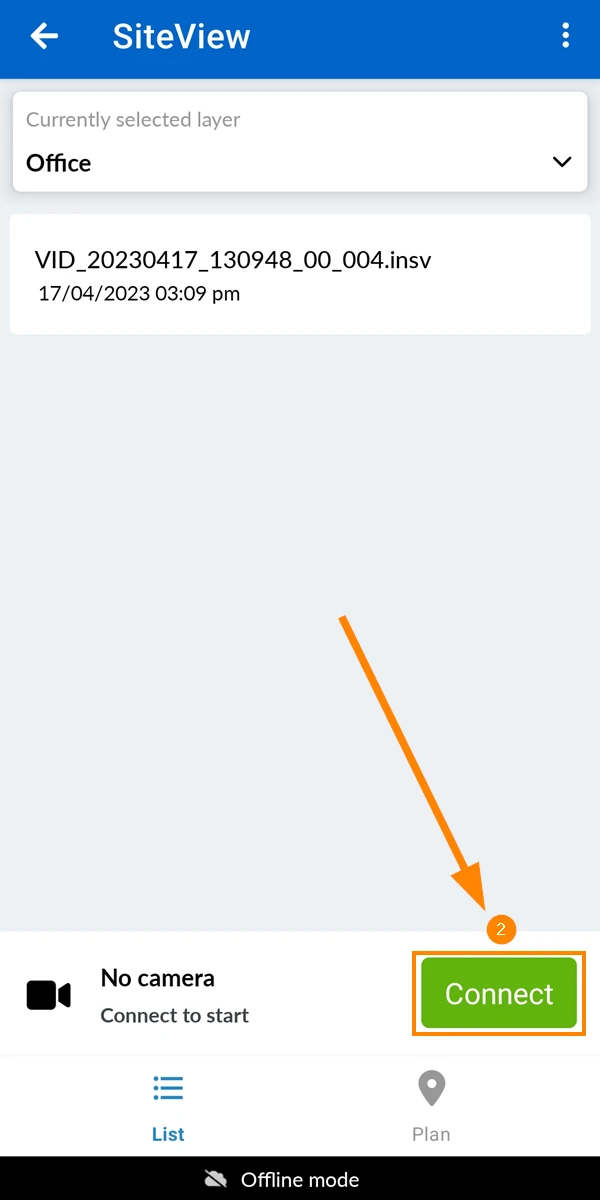
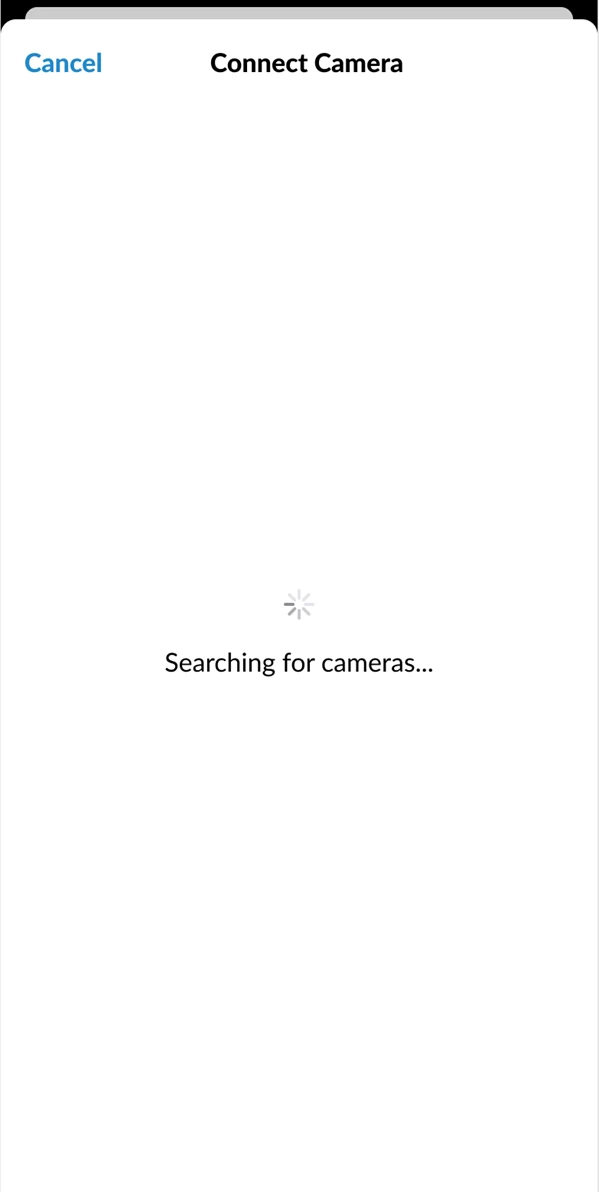
- Wait while the app is searching for cameras by connecting via Bluetooth automatically.
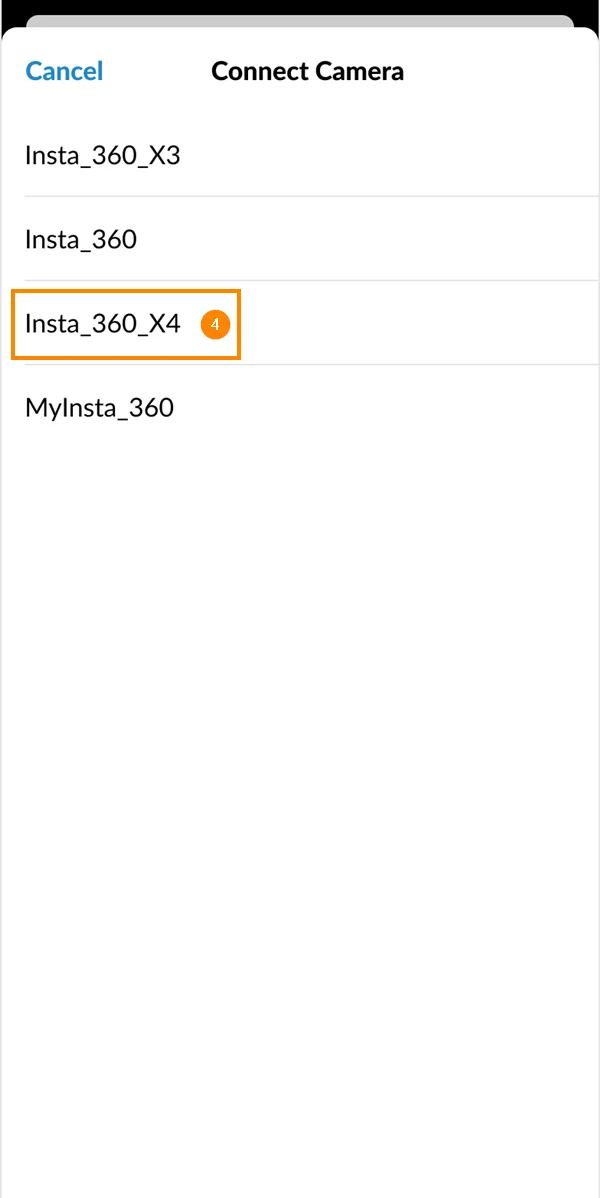
- Tap on your camera. e.g. Insta_360_X4
- Wait while the app is connecting to the camera via the camera's Wi-Fi.
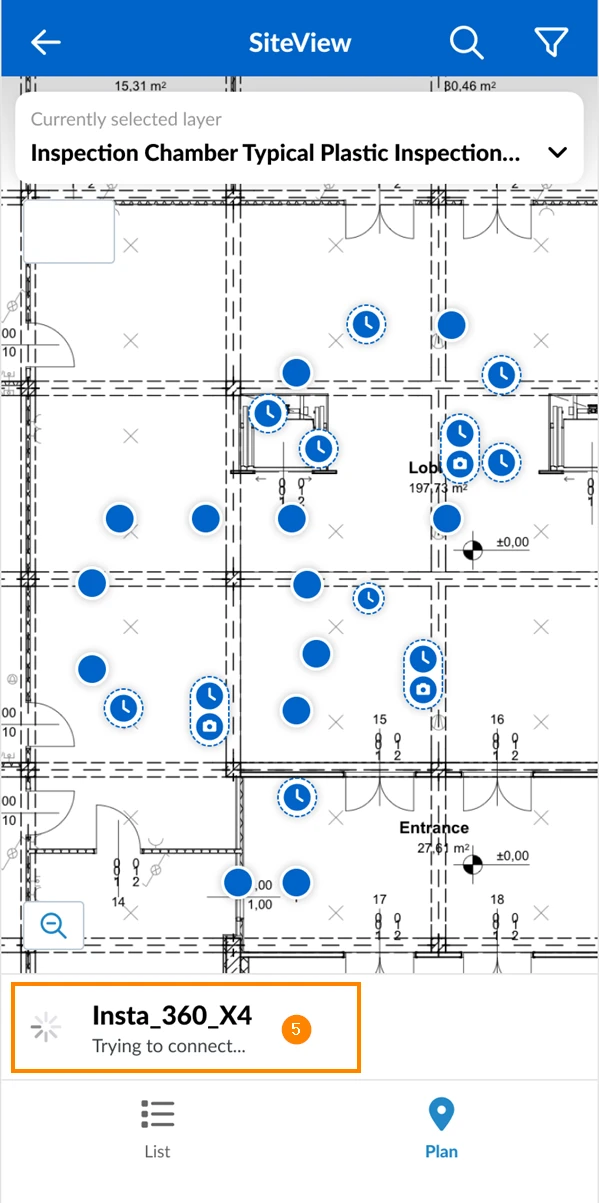
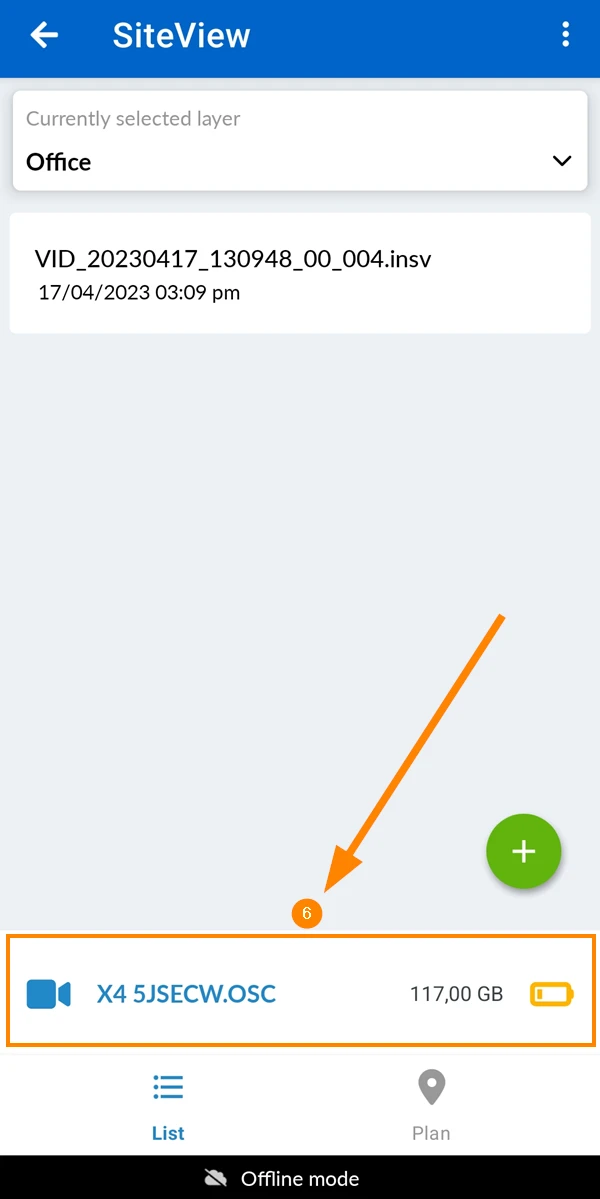
- Once connected, you will see the camera's Wi-Fi name, available storage and battery life.
Connect Camera Manually
Set Up your Camera's Wi-Fi
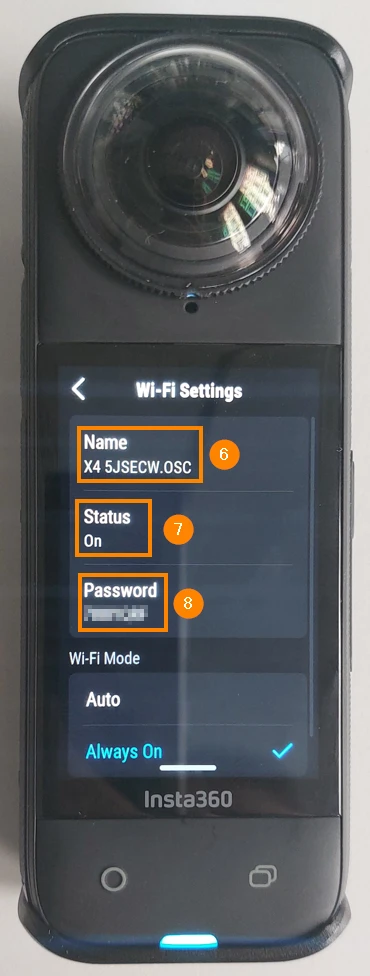
To set up or check your camera's Wi-Fi (status, name and password):
- Swipe down to show the menu
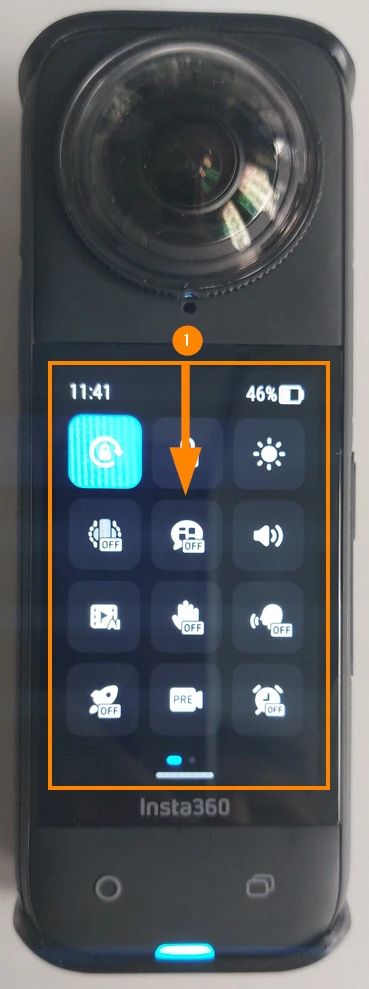
- Swipe left to view the second menu page
- Tap the Settings icon
- Swipe up to scroll down in Settings
- Tap Wi-Fi
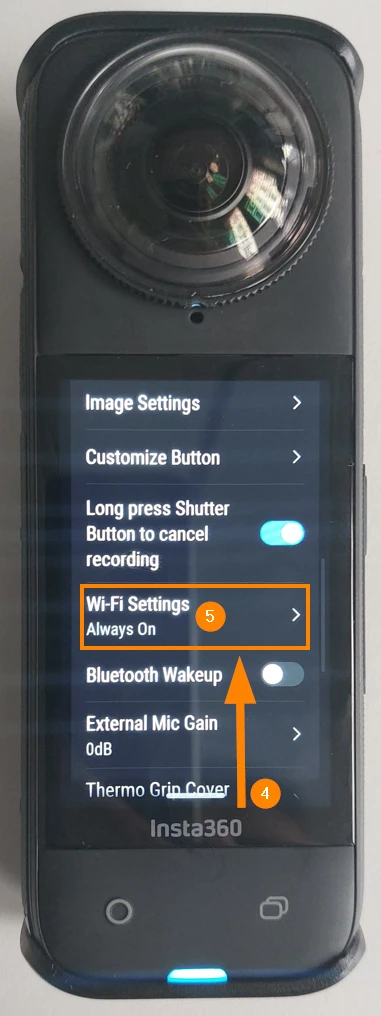
- Enter/check your Wi-Fi Name
- Make sure the Status is On
- Enter/check your Wi-Fi Password
Connect your Device to the Camera's Wi-Fi
Make sure the camera and it's Wi-Fi are turned on as described above.
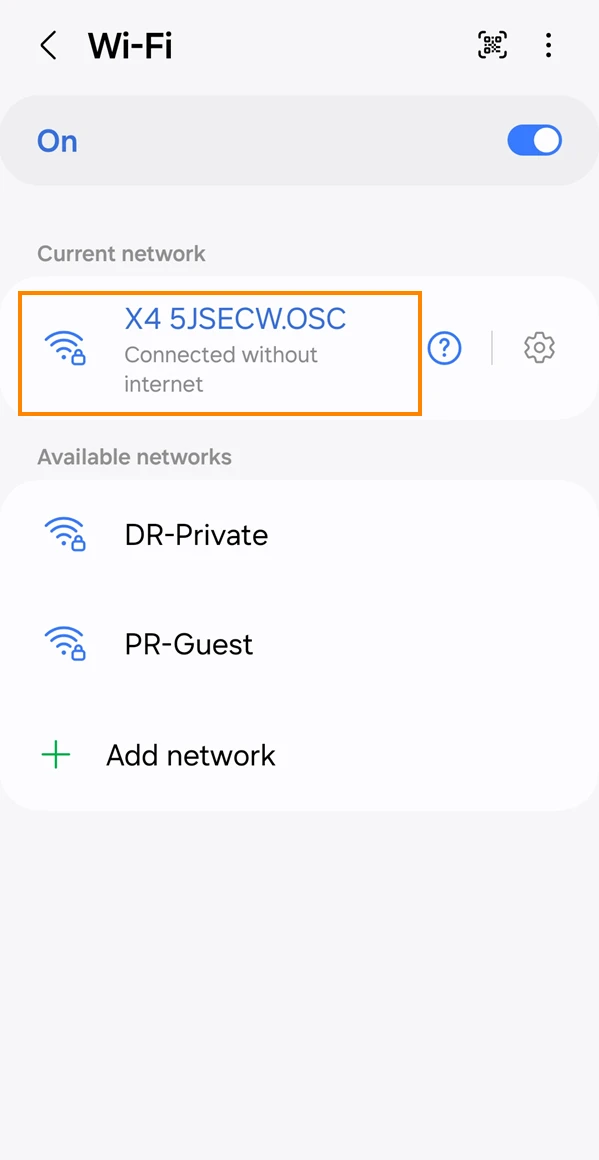
Open the Wi-Fi settings on your device (smartphone or tablet) and connect to the camera's Wi-Fi using the name and password you set up earlier.
Once connected, the Wi-Fi status will show that it is connected without Internet, as the camera doesn't have Internet access.
Connect your App to your Camera
Make sure your device is connected to the camera's Wi-Fi, as described above.
To connect the camera in the app:
- Tap SiteView
- Tap Connect
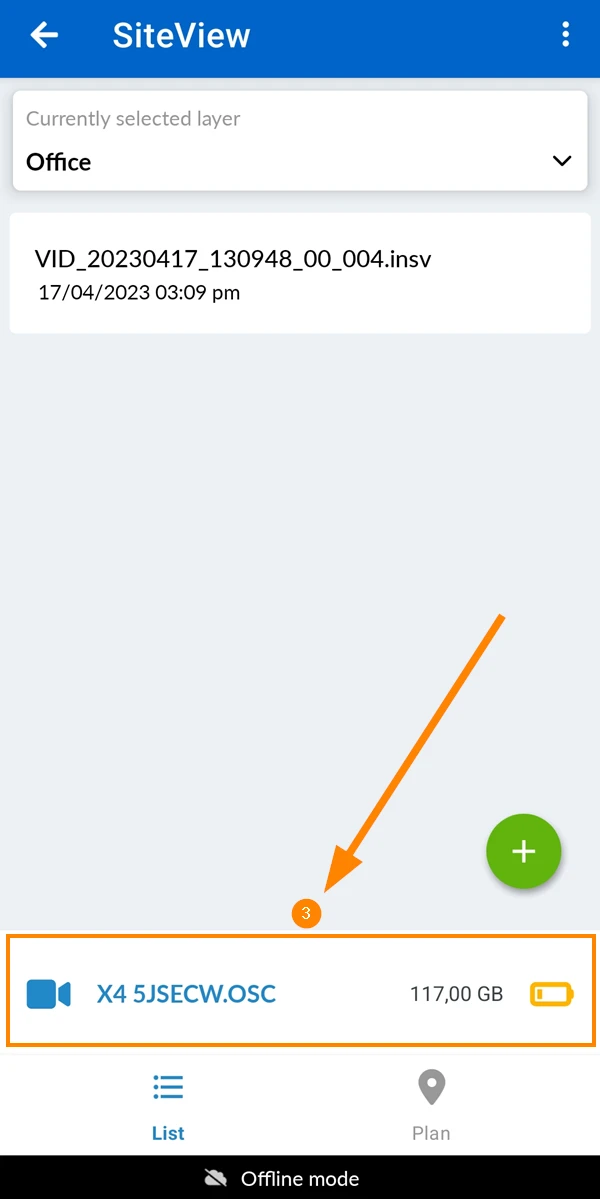
- Once connected, you will see the camera's Wi-Fi name, available storage and battery life.
Disconnect your Camera
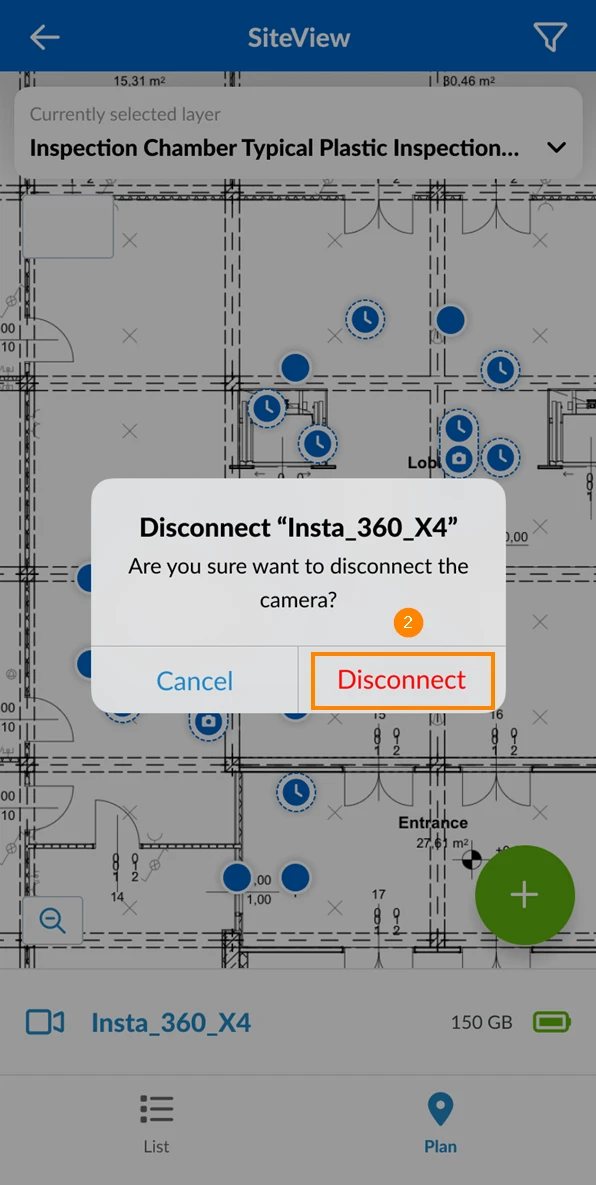
To disconnect your device from the camera's Wi-Fi:
- Tap on the camera
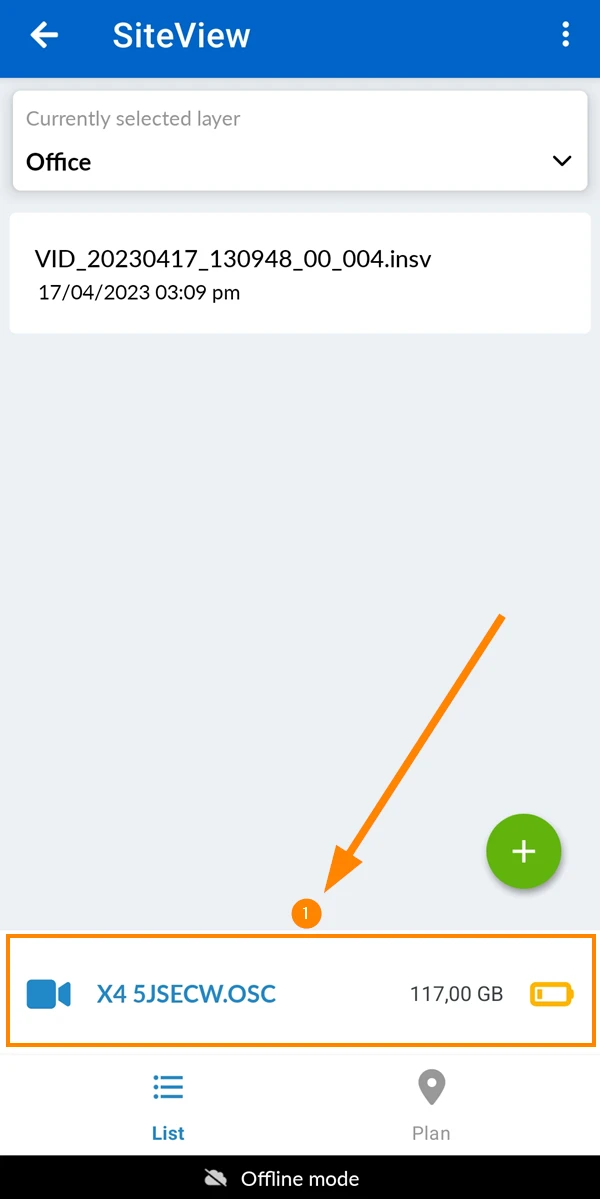
- Tap Disconnect
Create a Run
Make sure your app is connected to the camera, as described above.
To create a run follow the steps below including:
- Step 1: Select a Layer
- Step 2: Set the Starting Position
- Step 3: What are you capturing? (Indoor/Outdoor/Single image)
- Step 4: Start the Recording / Stop the Recording
- Step 5: Transfer to Device (from camera to smartphone/tablet)
- Step 6: Upload to PlanRadar Servers (from smartphone/tablet)
- Step 7: Processing (automatically once uploaded)
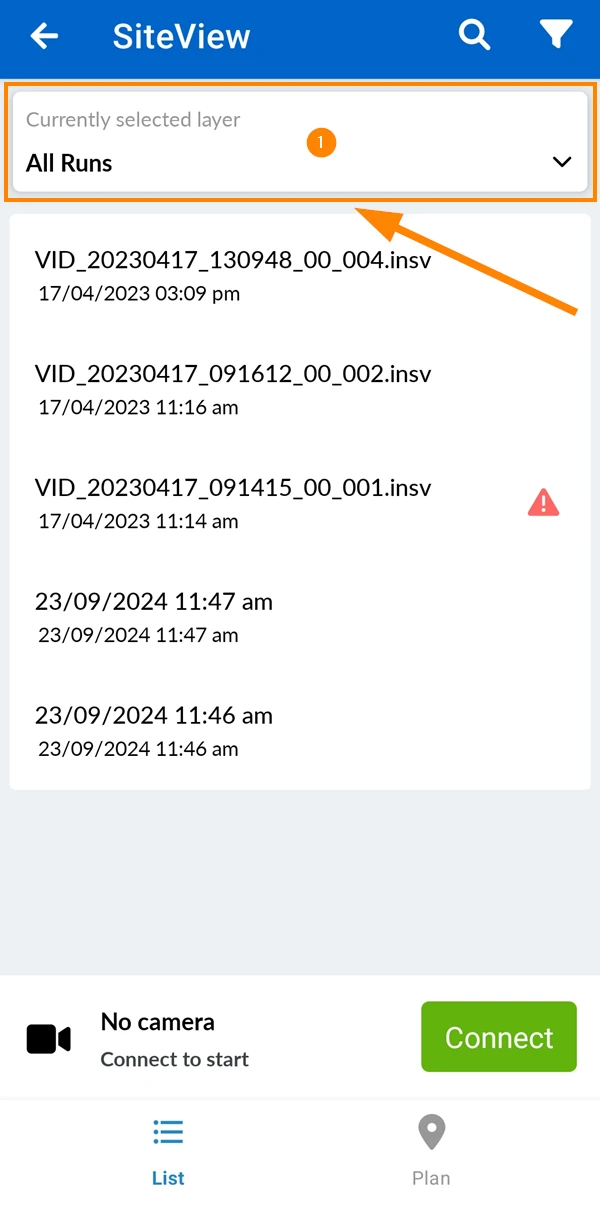
Select a Layer
Before you can create a run you must select the target layer. Only layers with calibrated plans can be selected.
To select a layer:
- Tap on the layer selector
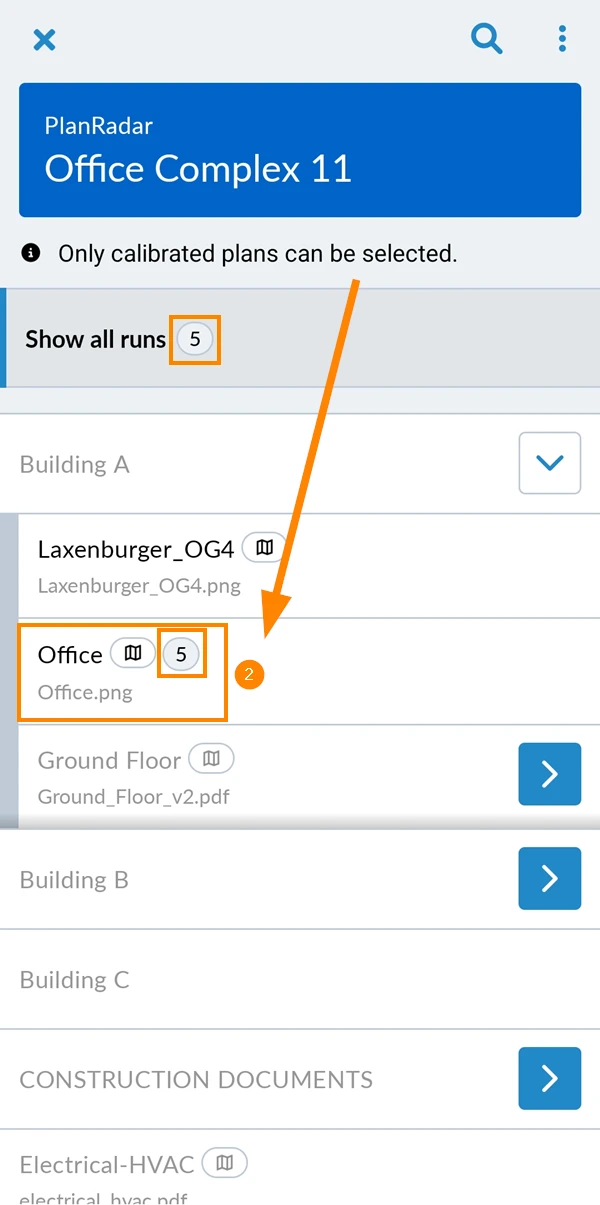
- Tap the layer e.g. Office.
See the number of runs on that layer e.g. 5.
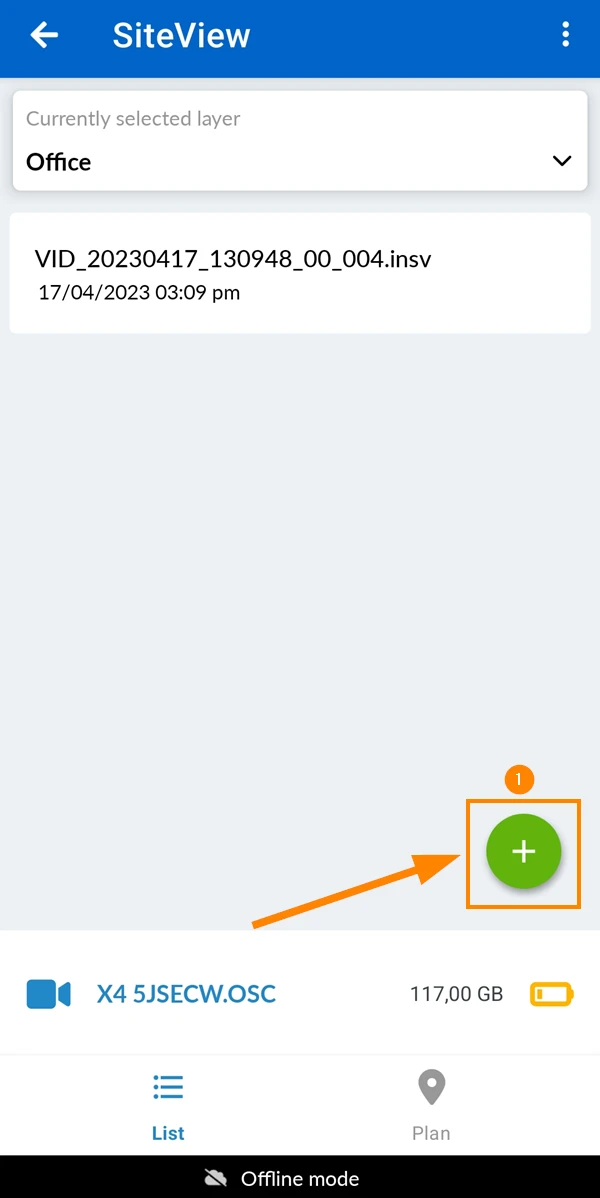
To start creating a run:
- Tap the + button
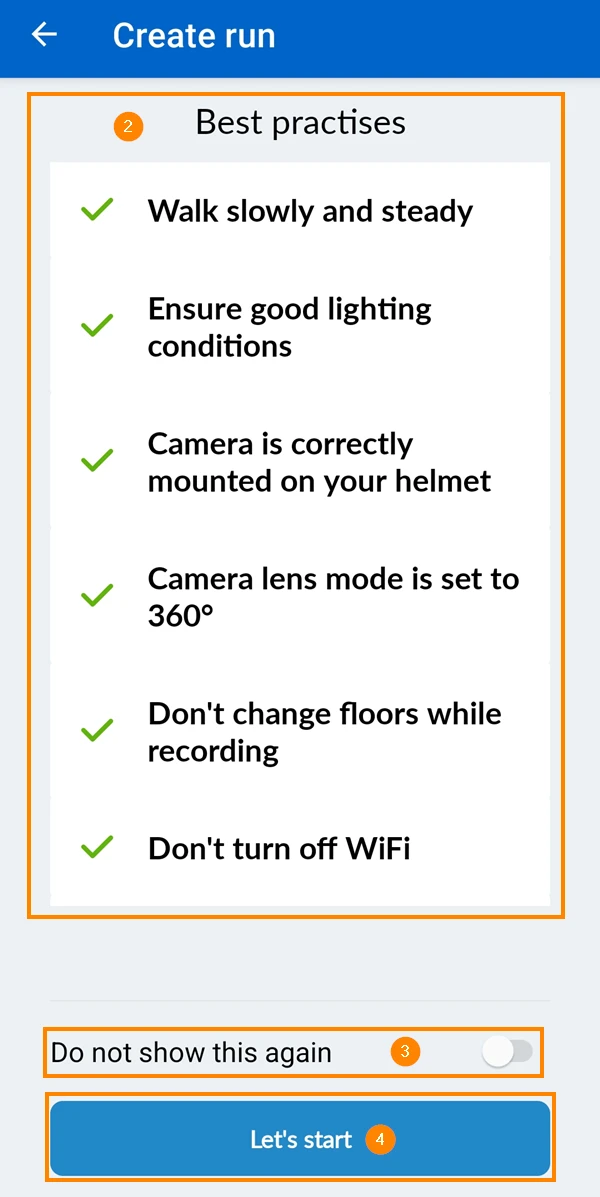
- Read the best practises and always keep them on mind.
- Optional: If you remember them you can activate the Do not show this again toggle.
- Tap Let's start
Set the Starting Position
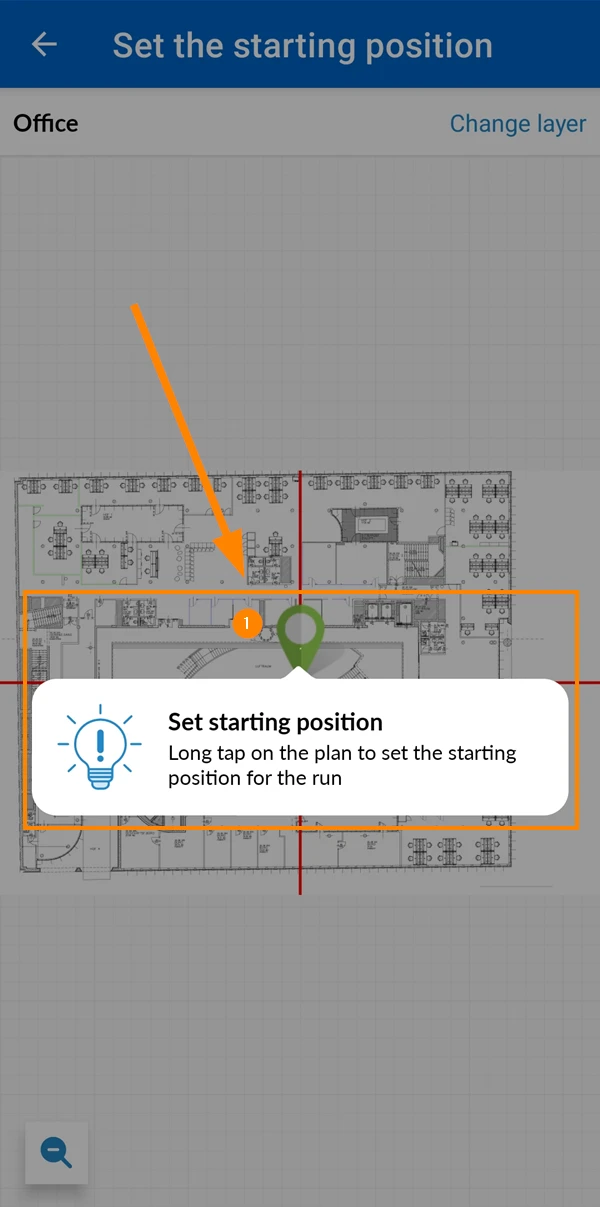
Before you can start the recording you need to set the starting position of the run on the plan. It is possible to change the position later, but then the time consuming processing has to be repeated.
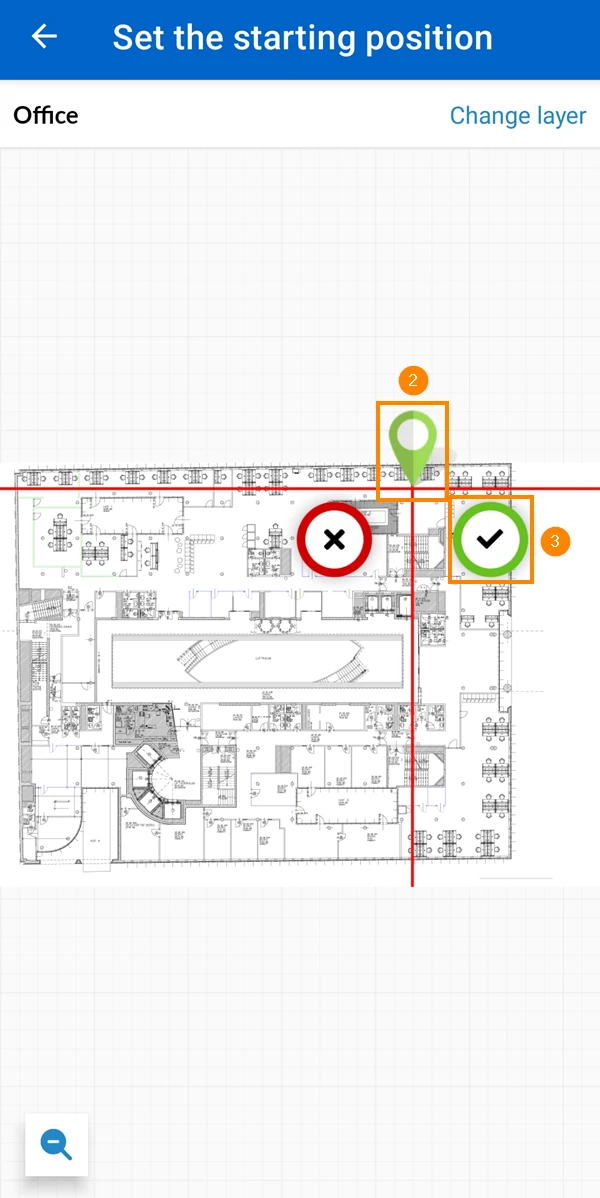
To set the starting position:
- Tap to confirm the explanation
- Drag and drop the pin for the starting position
- Tap ✔ to confirm
What are you capturing?
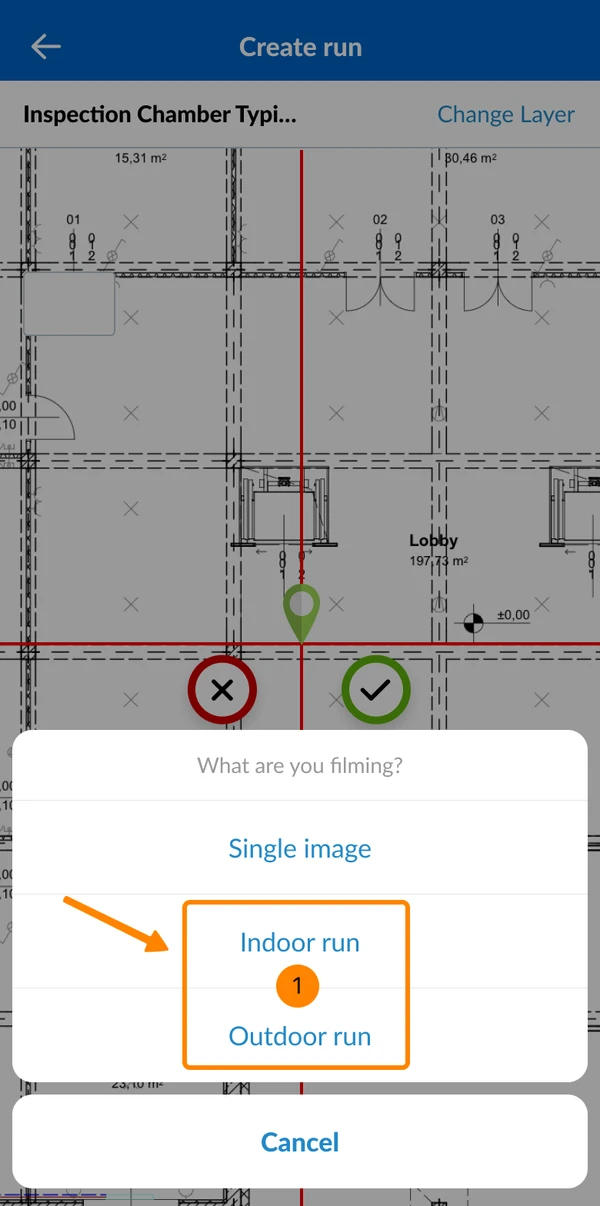
Before you can start recording you need to choose between indoor and outdoor run:
- Tap Indoor run or Outdoor run
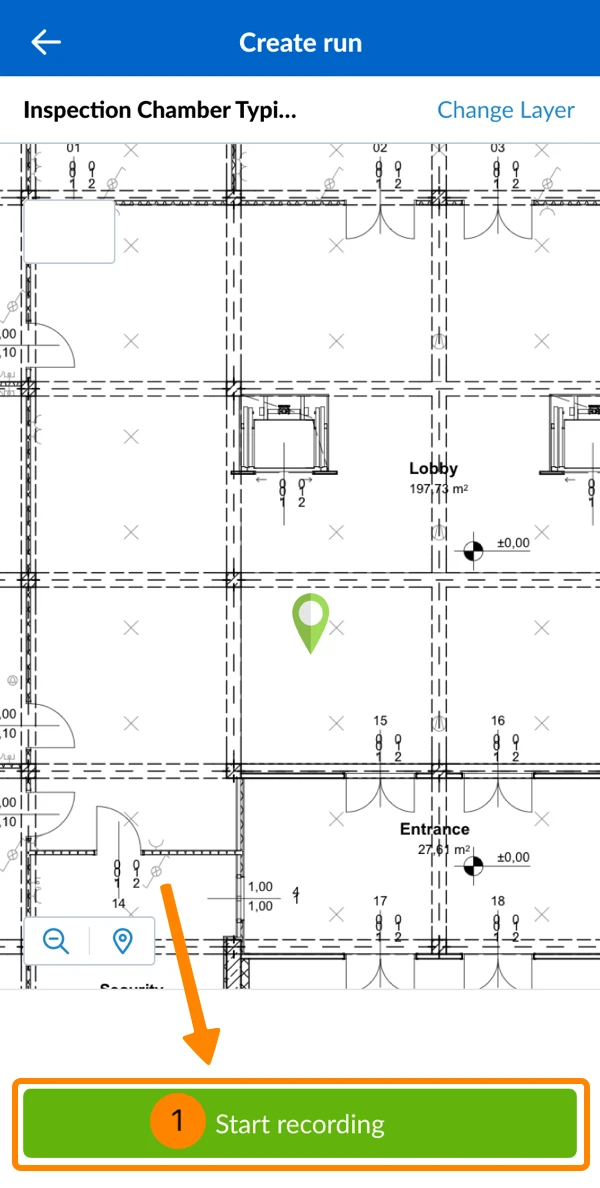
Start the Recording
To start the recording of the run:
- Tap Start recording
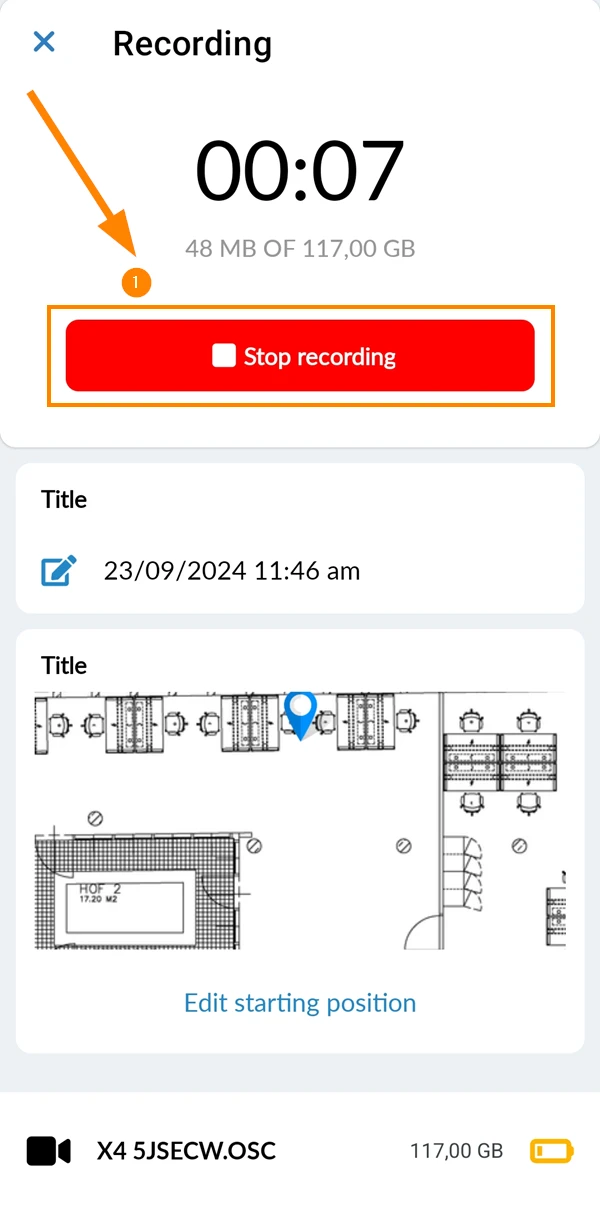
Stop the Recording
To stop the recording of the run:
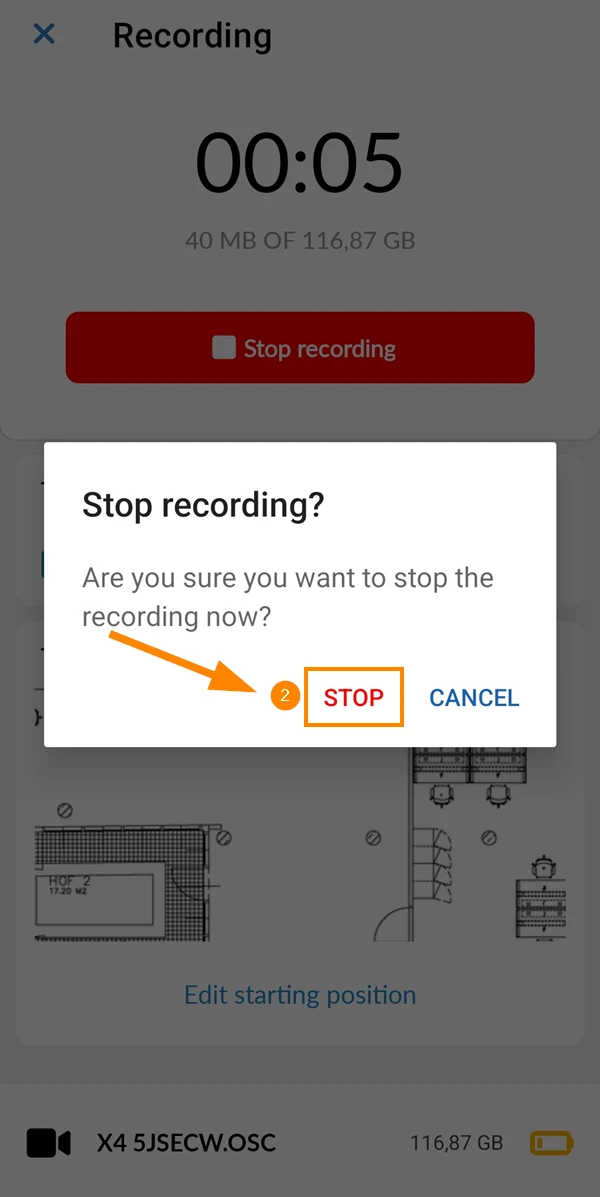
- Tap Stop recording
- Tap STOP
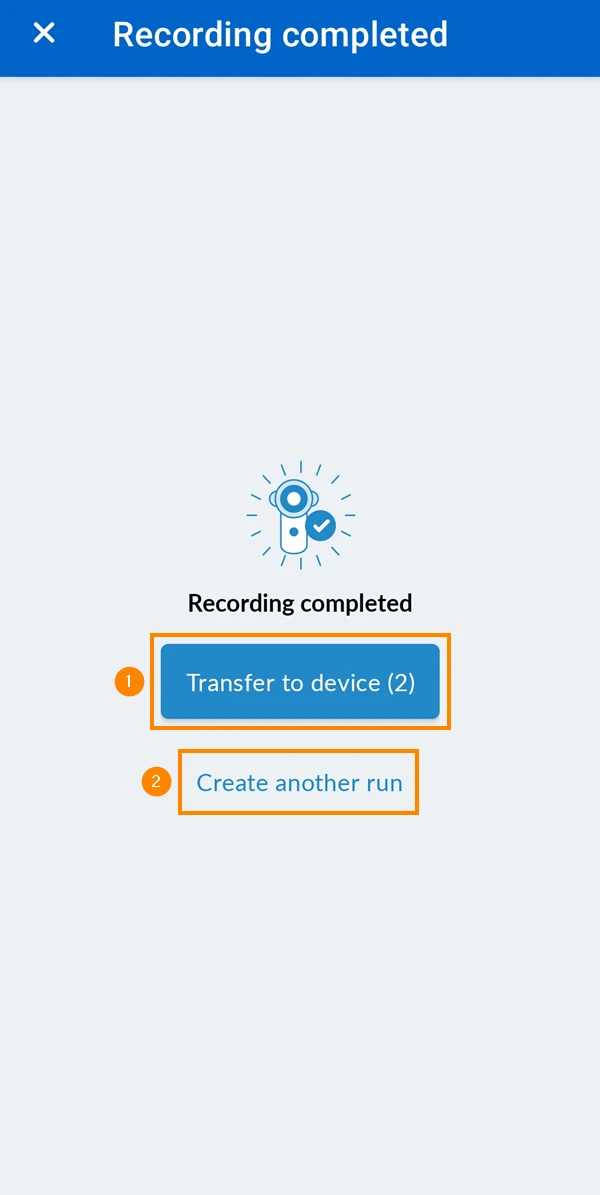
Transfer to Device
Once a recording stopped you can transfer is from the camera to your device (smartphone or tablet) or create another run.
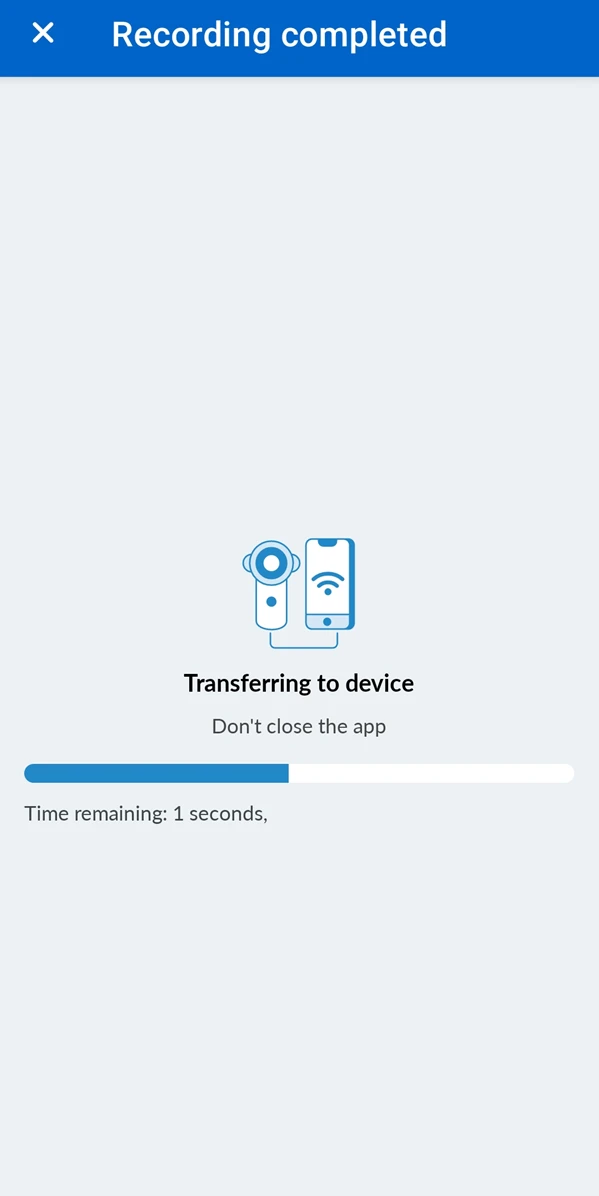
- Tap Transfer to device
The button shows the number of runs that are not yet transferred. - OR tap Create another run
- You can close the screen during the transfer to your device, but you cannot close the application.
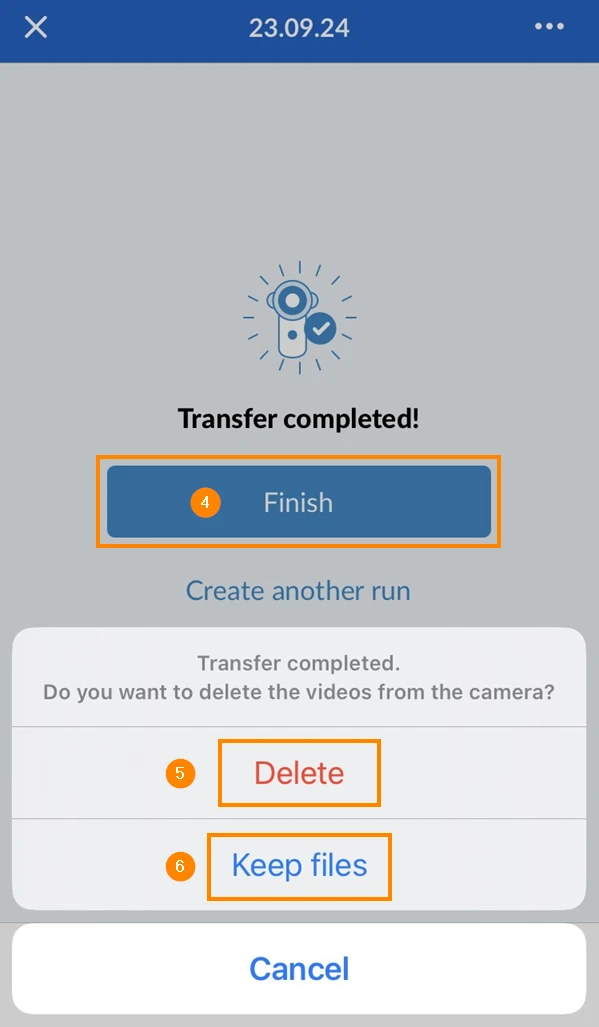
- Tap Finish when the transfer is complete if you don't want to record another run immediately.
- Tap Delete if you want to delete the videos from the camera.
- Tap Keep files if you want to keep the videos on the camera.
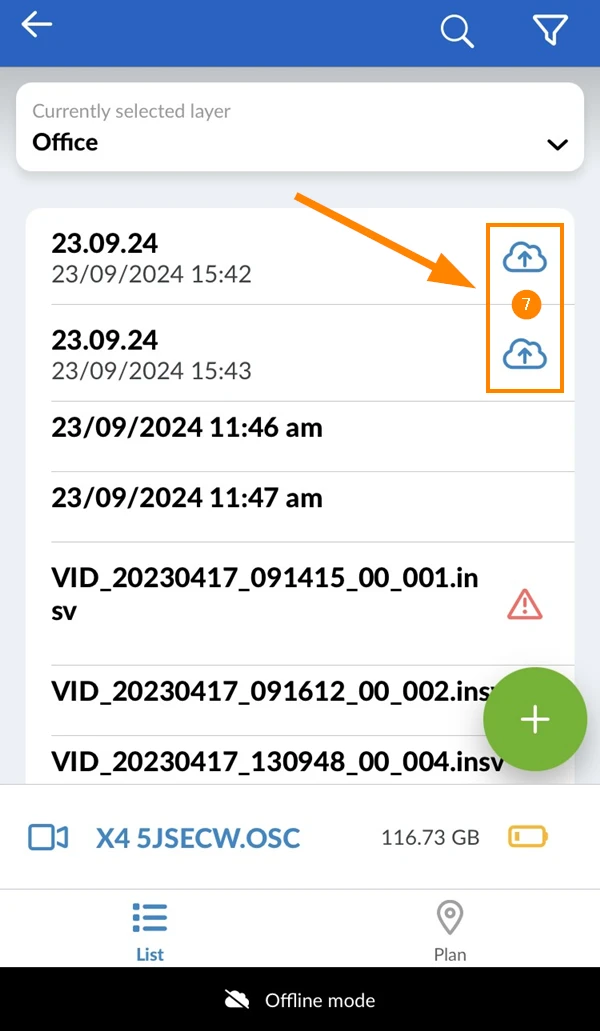
- Transferred videos that are waiting to be uploaded show the cloud icon:
Upload to PlanRadar Servers
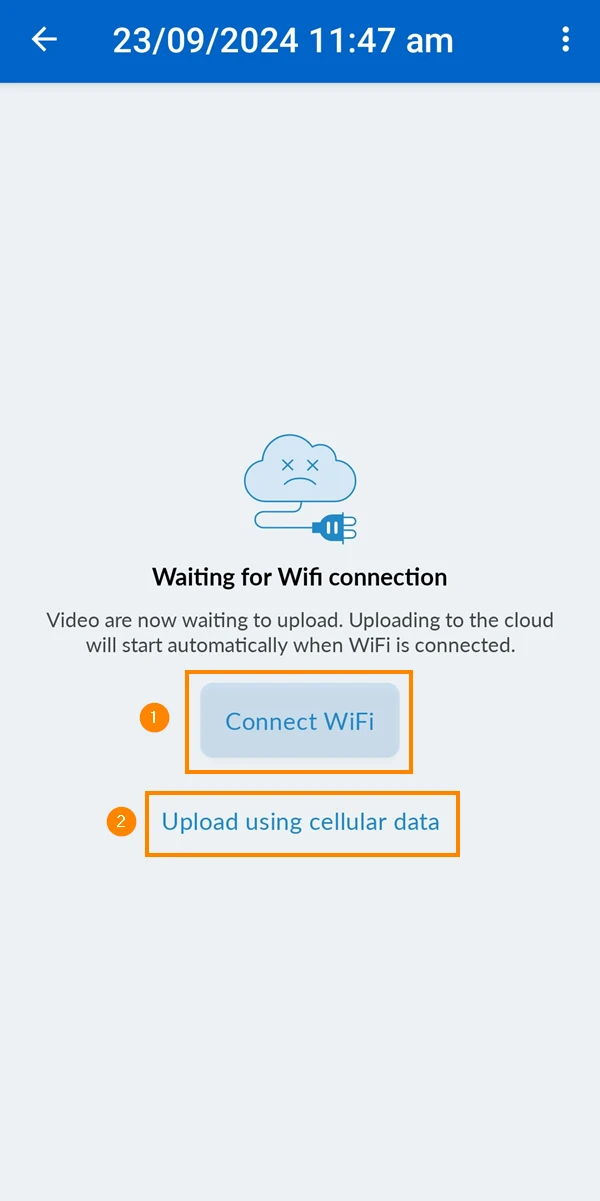
Before uploading the recorded runs to the PlanRadar servers, you will probably want to connect to a Wi-Fi with Internet rather than using your mobile data to upload the large video files.
When connected to a Wi-Fi with Internet, all transferred videos will automatically upload. Depending on your Internet connection and the size and number of videos, this may take several minutes.
Keep your app open until the upload is complete.
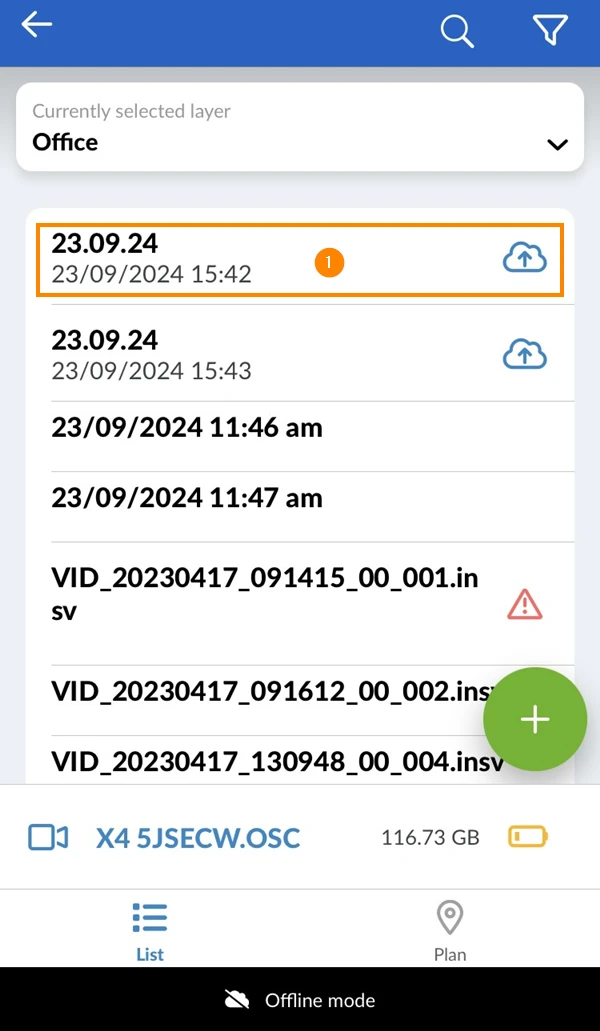
To upload the videos to the PlanRadar servers:
- Tap on the run that you want to upload
- Tap Connect WiFi to open the Wi-Fi settings where you can connect to a Wi-Fi with Internet.
- OR tap Upload using cellular data
Processing
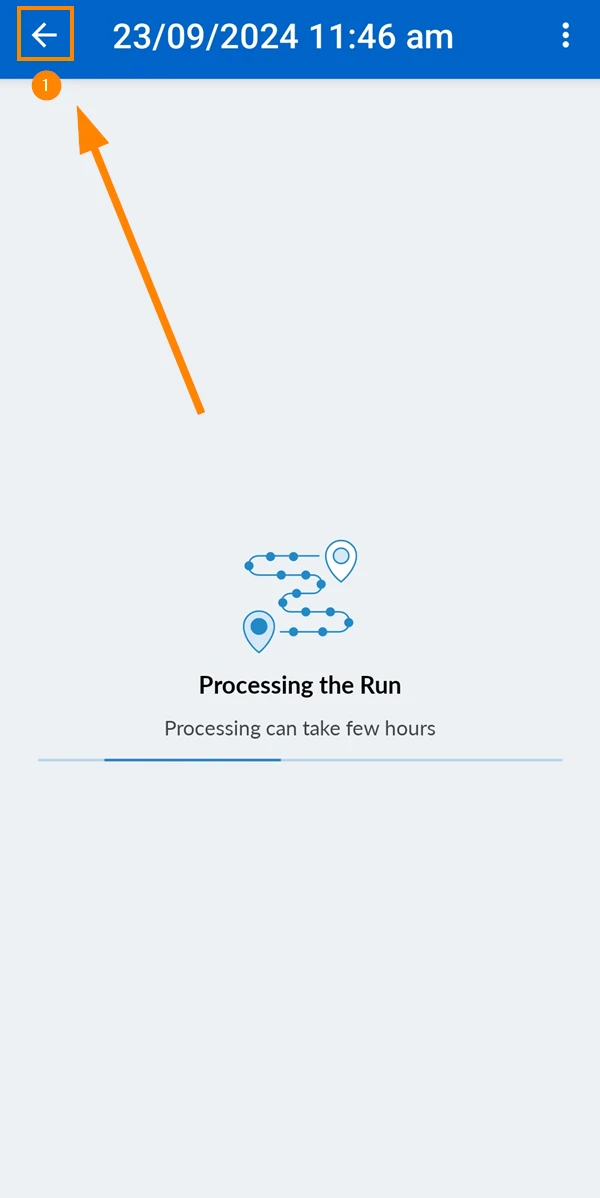
Once the upload is complete, processing will begin automatically and may take a few hours.
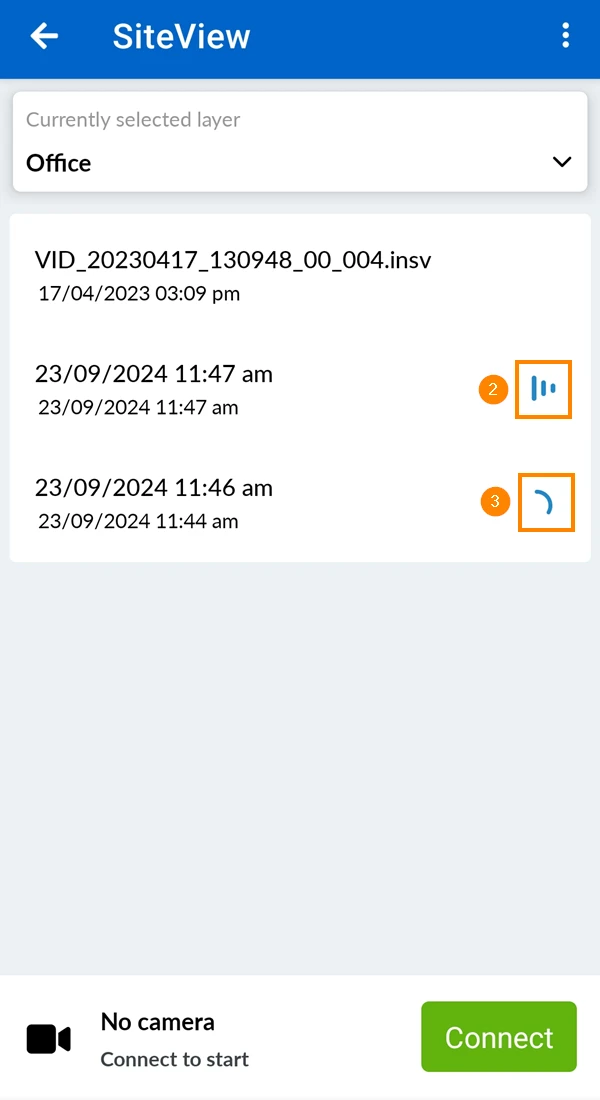
To see the status of all runs:
- Tap Back
- This icon indicates processing (on the PlanRadar servers).
- This icon shows the progress of the upload (from your device to the PlanRadar servers).
Creating a run with the PlanRadar mobile app (as described above) is the easier and recommended way. Alternatively, you can Record a Run with the Insta360 App and then Upload a Run in the Webapp.
Updated December 17, 2025