

 Deutsch
 Español
 Français
 Hrvatski
 Italiano
 Polski
 Português (BR)
Add Tickets to 360° Images in the Webapp
Overview
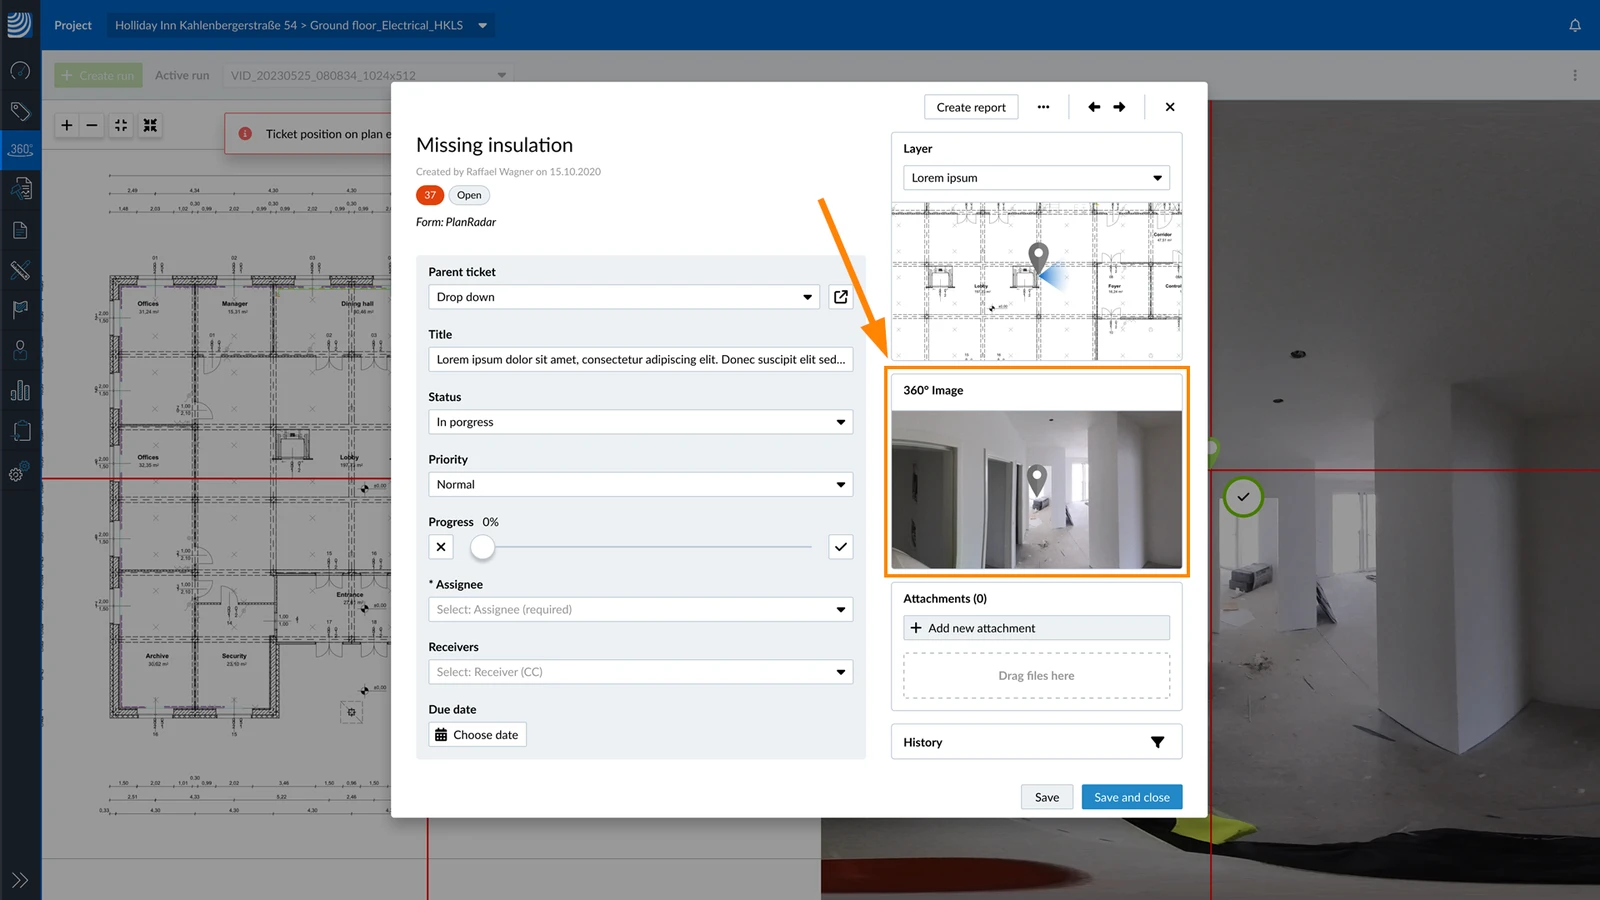
Add tickets to 360° images in PlanRadar SiteView in the Webapp. You can add existing tickets or create new ones. These tickets are just like any other tickets that are not related to SiteView, but with an additional location pin on the 360° image.
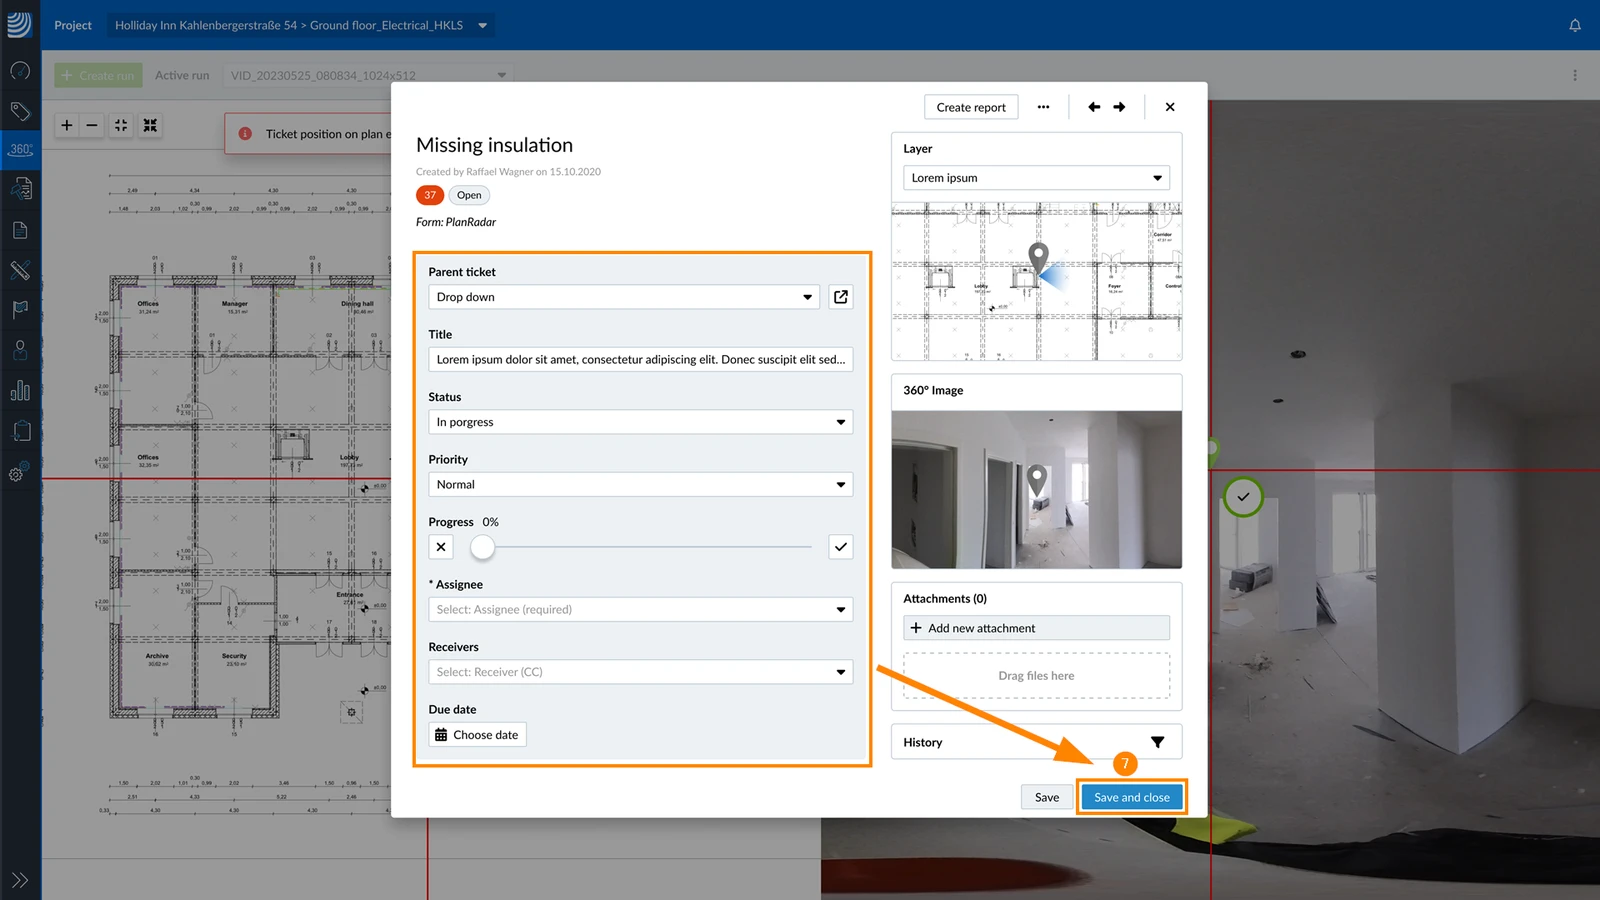
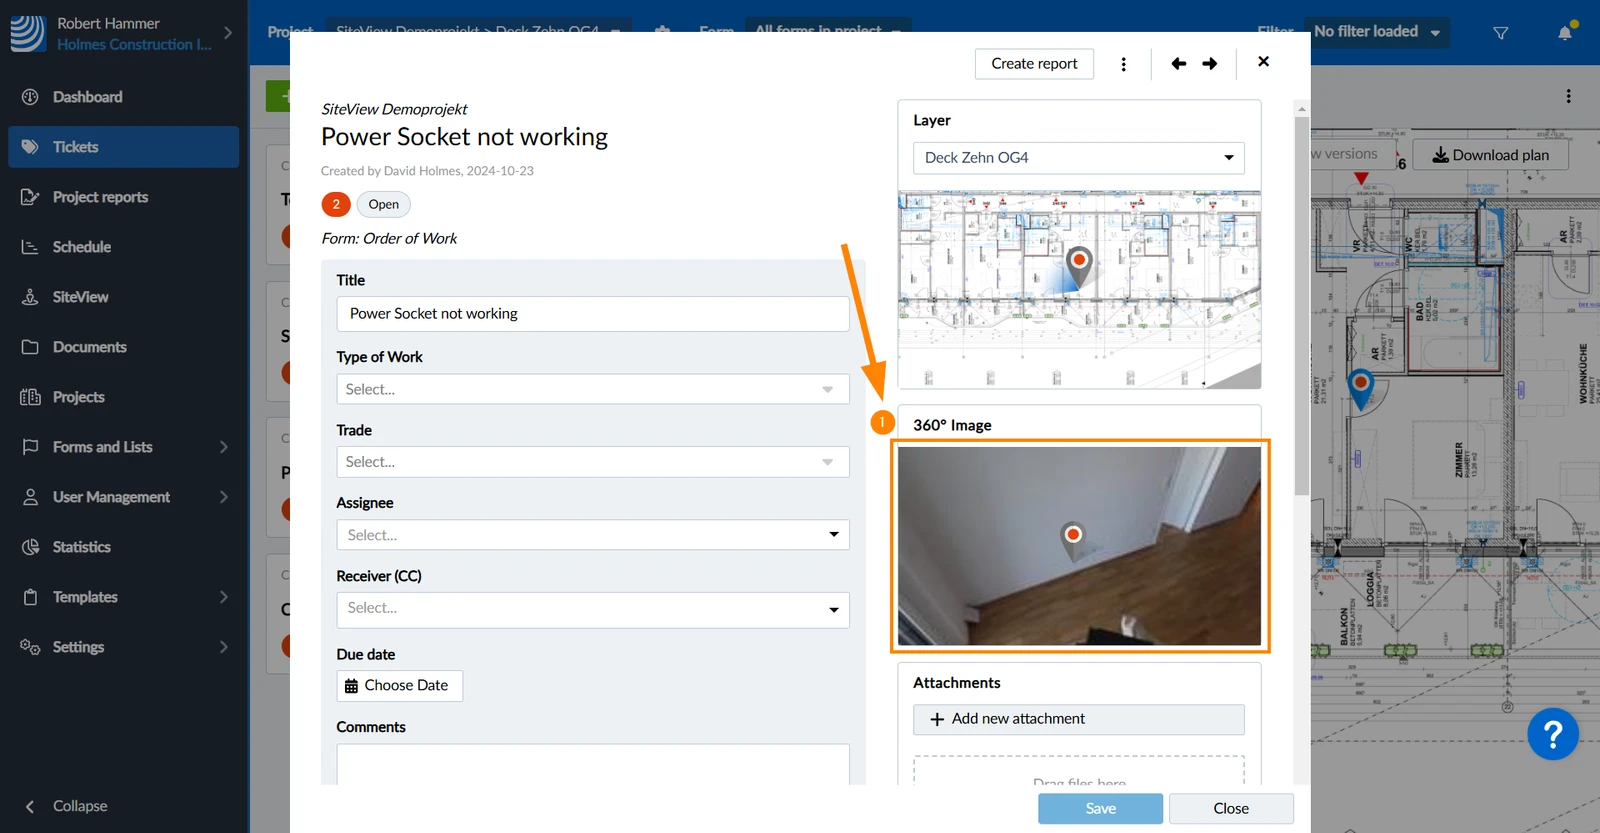
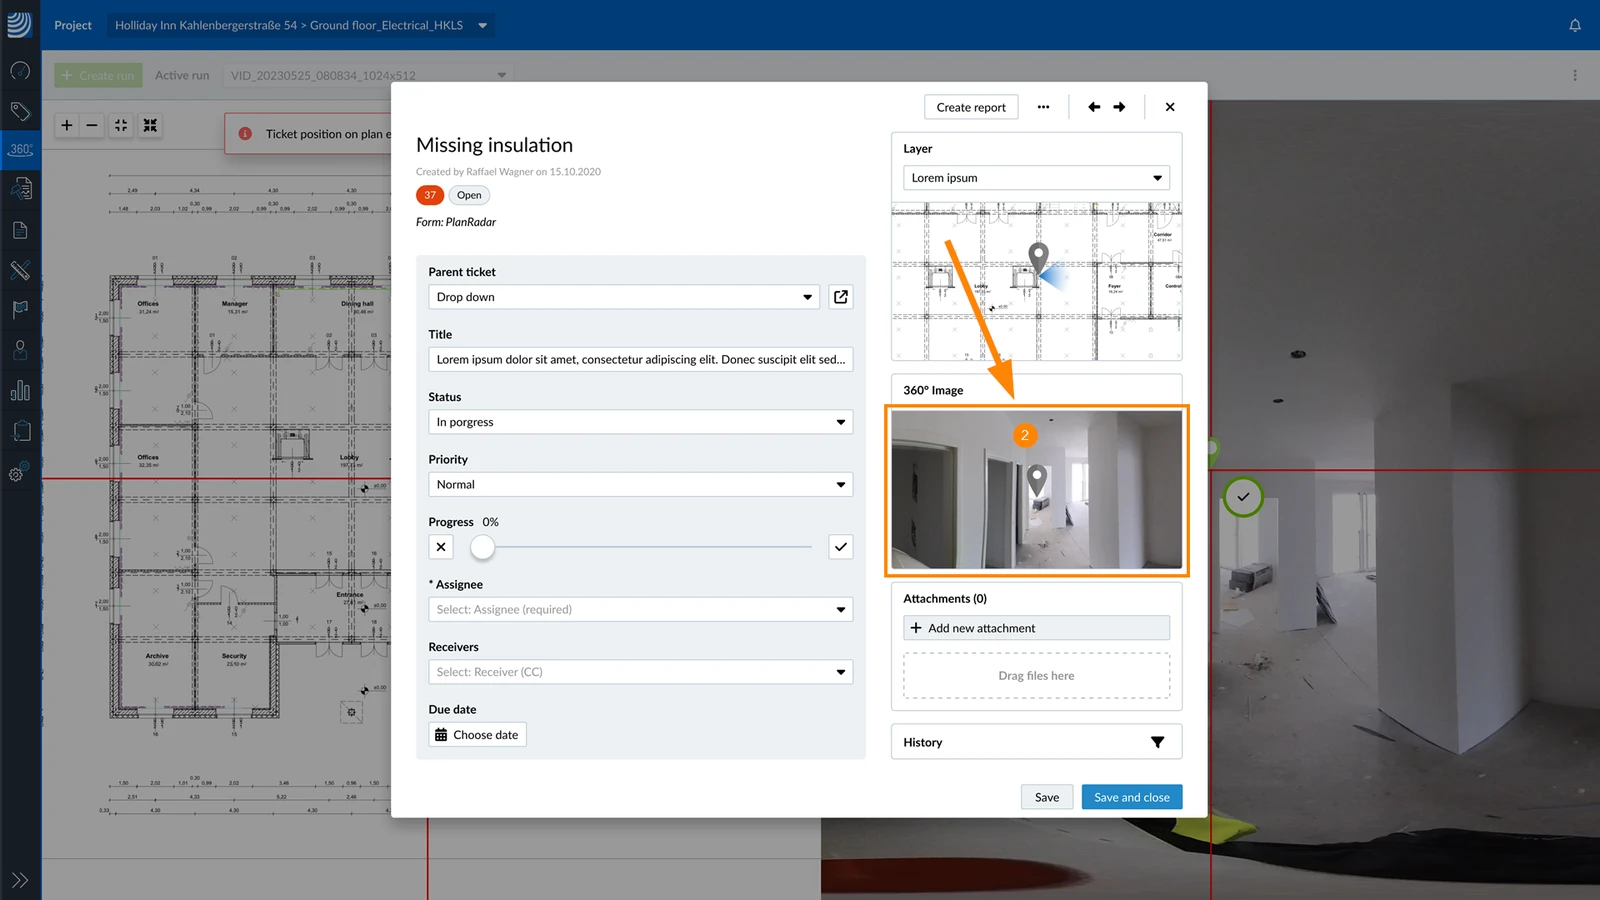
See the ticket position on the 360° image in the ticket details:
Access & Permissions
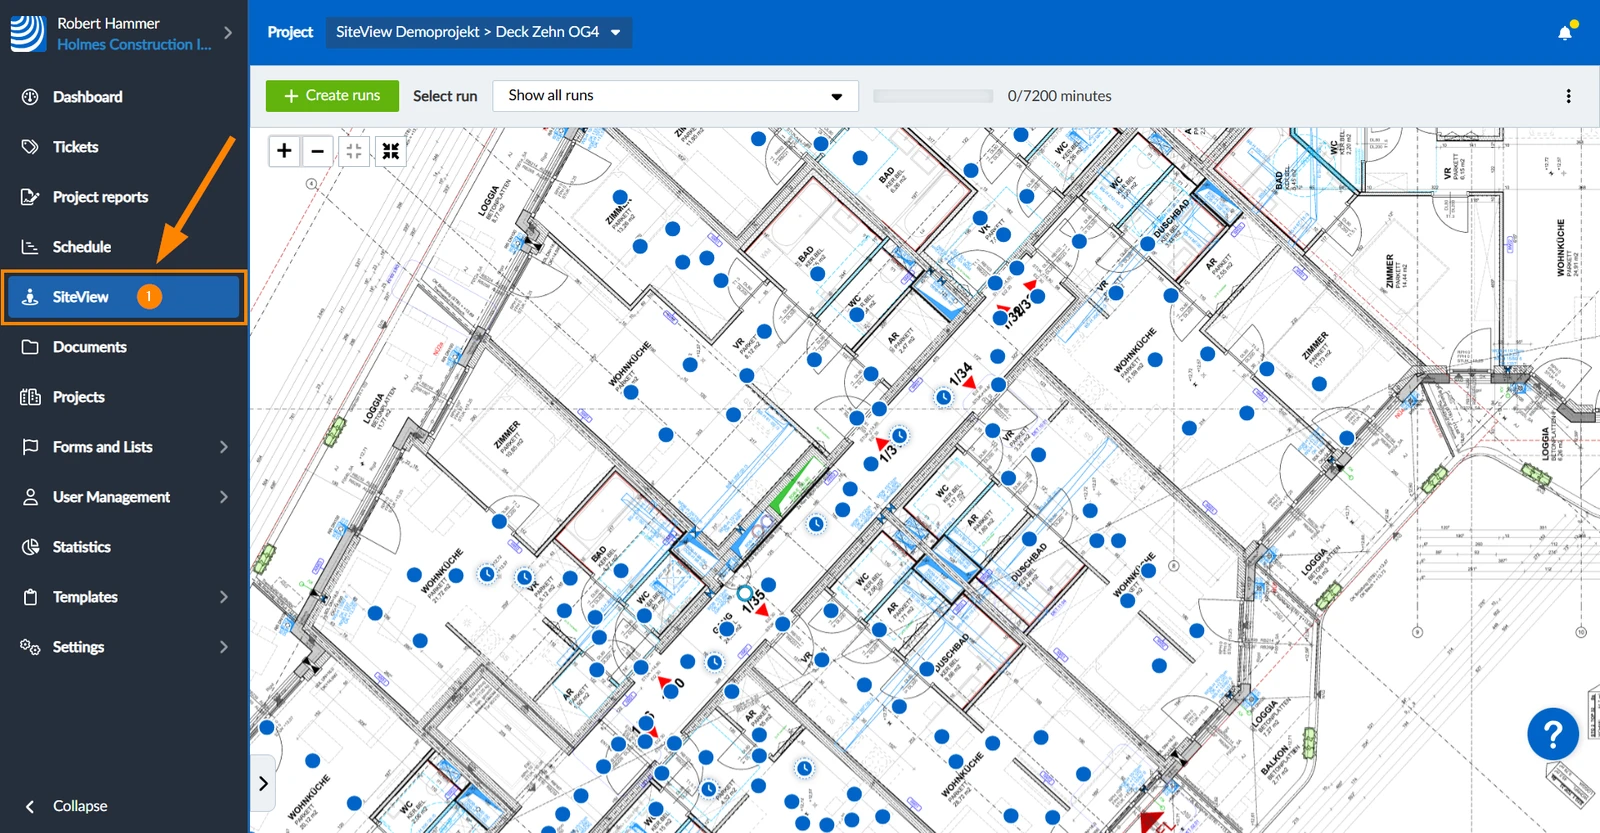
How to access SiteView
- Click SiteView
Create a Ticket
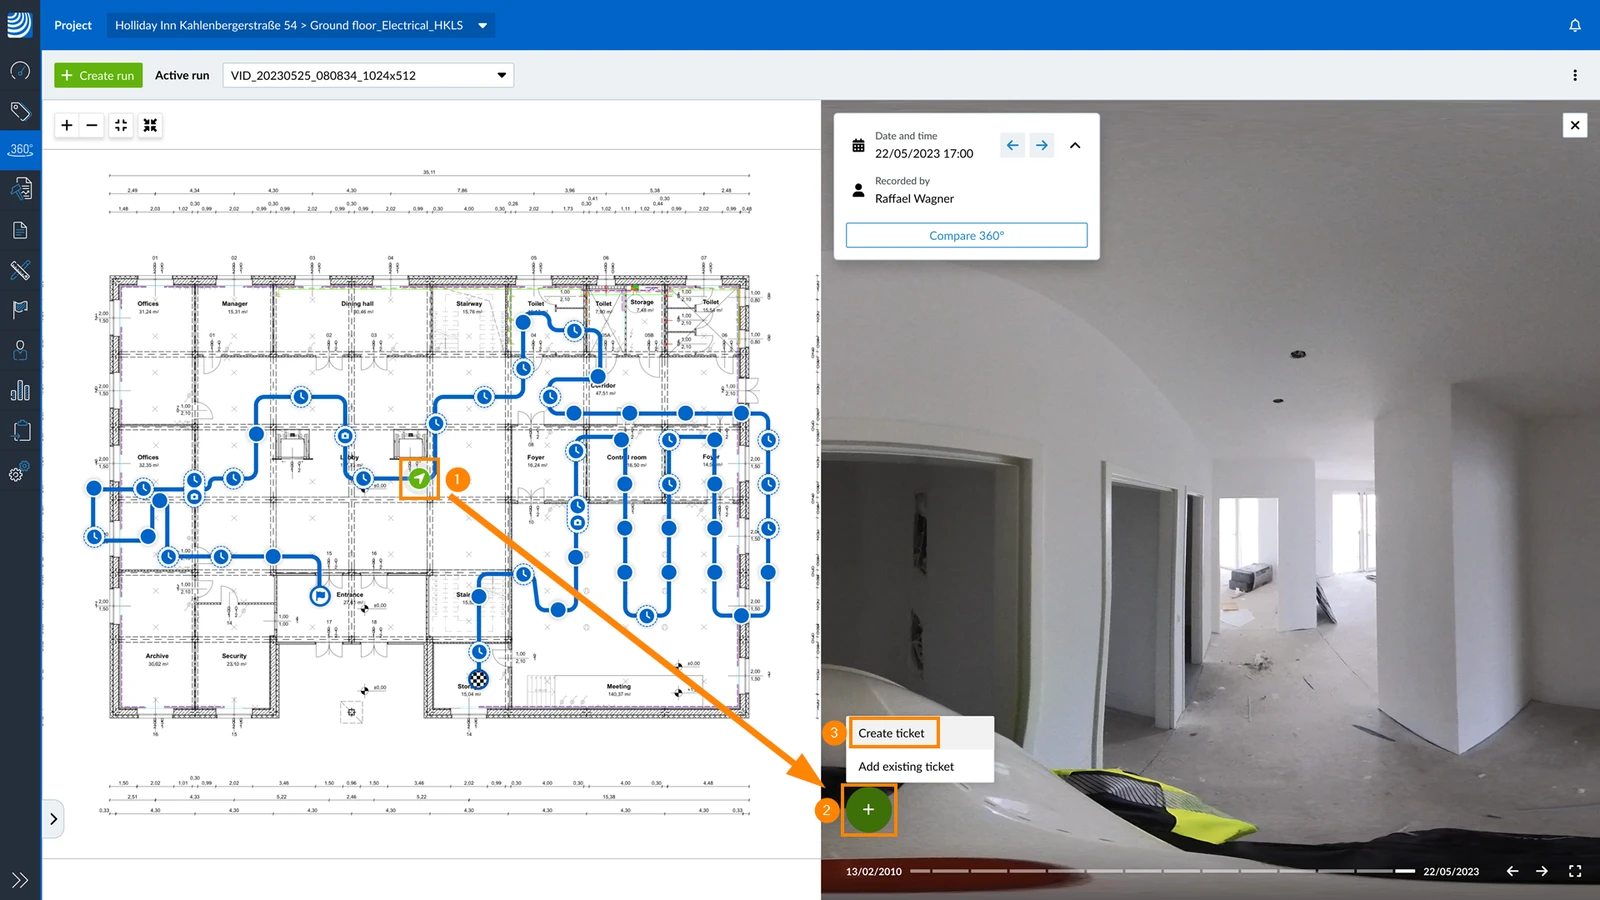
To create a new ticket on a 360° image:
- Click on the image point
- Click +
- Click Create ticket
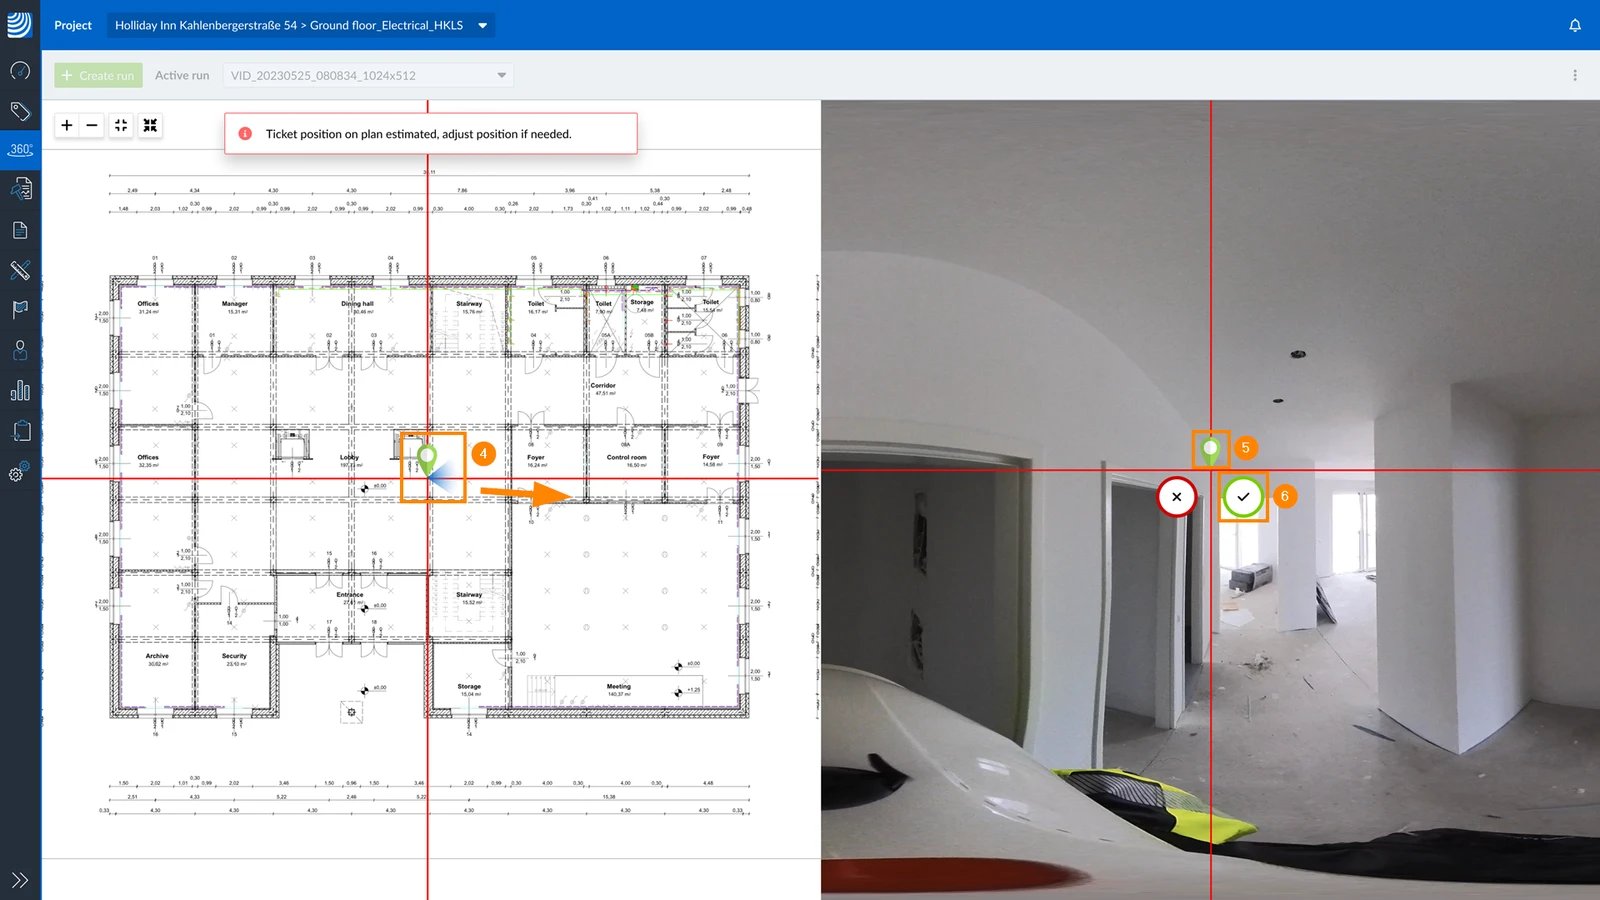
- Drag and drop the pin to adjust the estimated location on the plan.
- Drag and drop the pin on the 360° image.
- Click ✔ to confirm both positions.
- Fill in the ticket form as usually and click Save and close. Also see: Fill in the Form of a Ticket.
Add an Existing Ticket
To add an existing ticket on a 360° image:
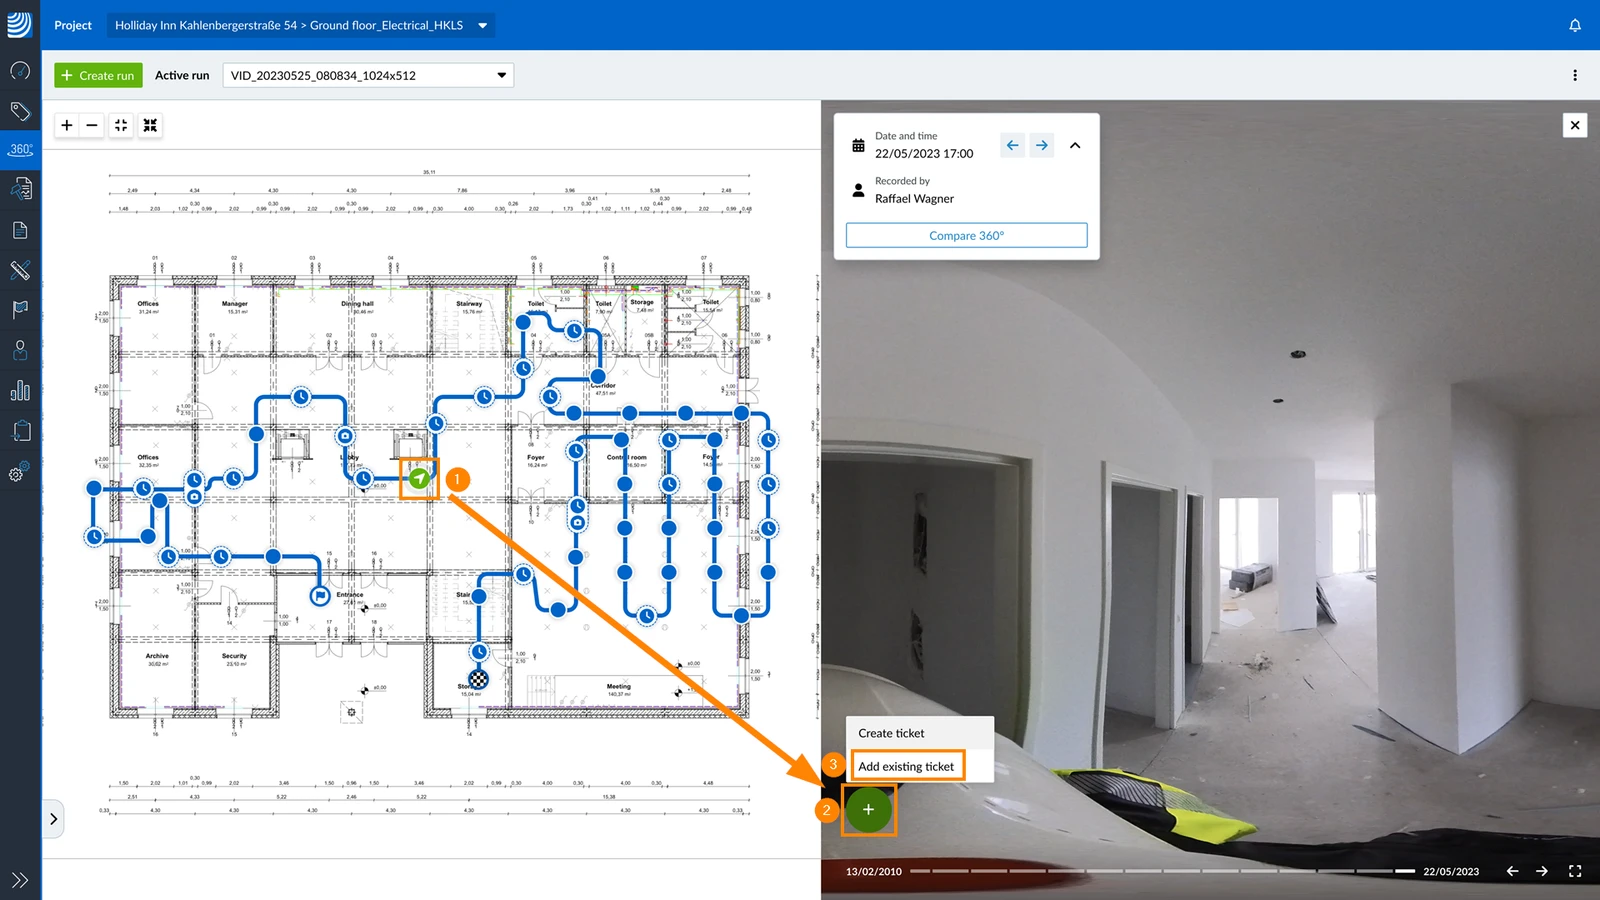
- Click on the image point
- Click +
- Click Add existing ticket
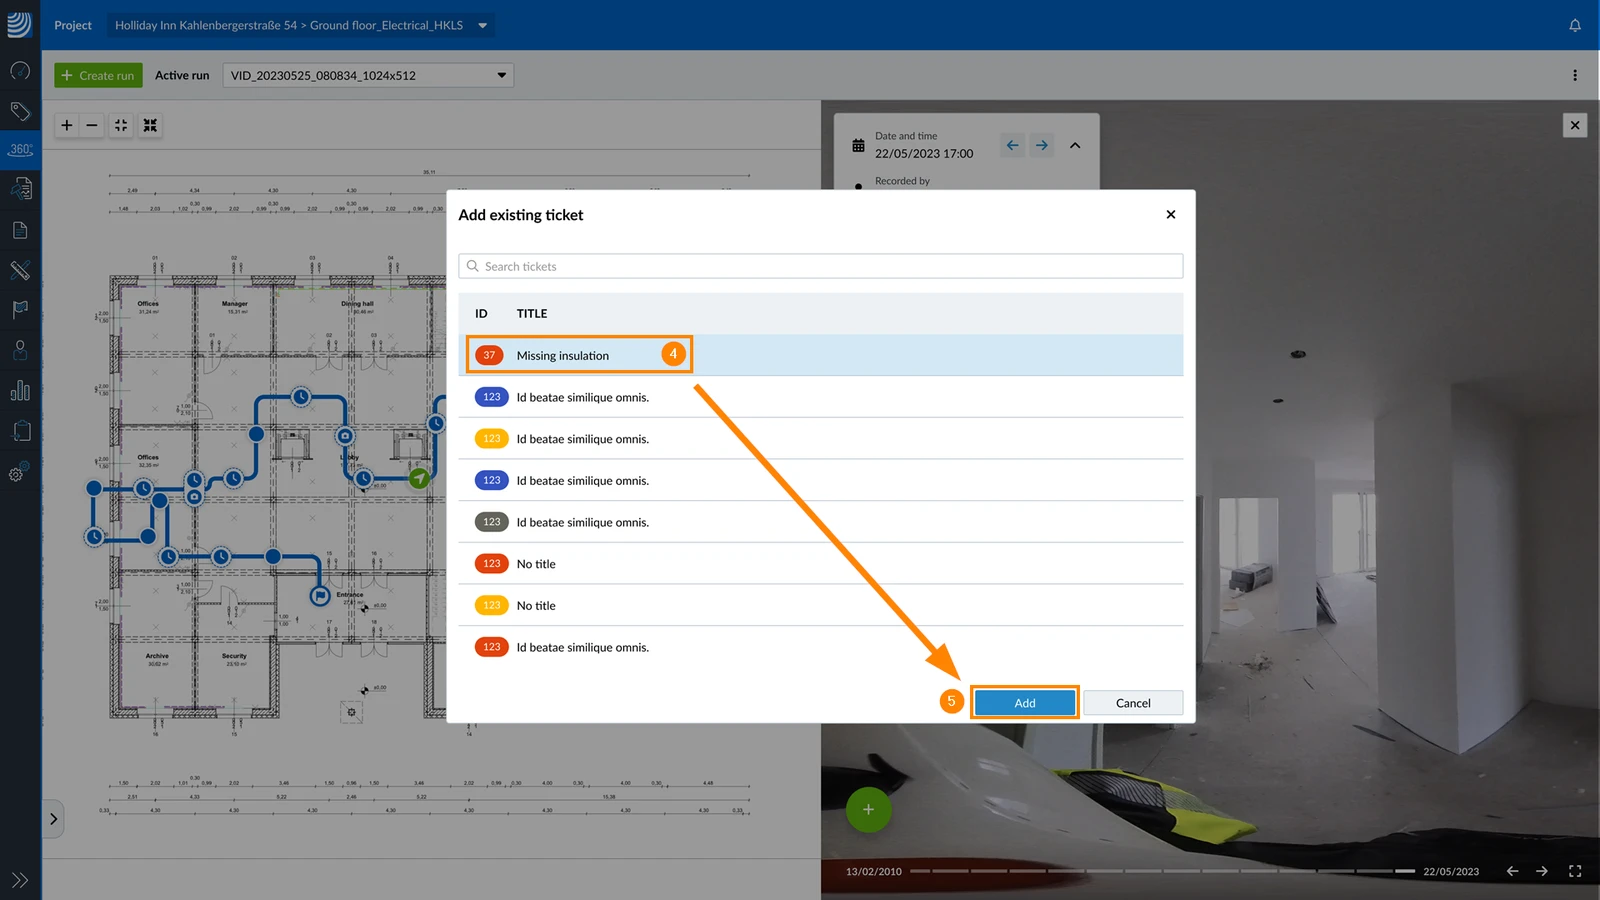
- Select the ticket
- Click Add
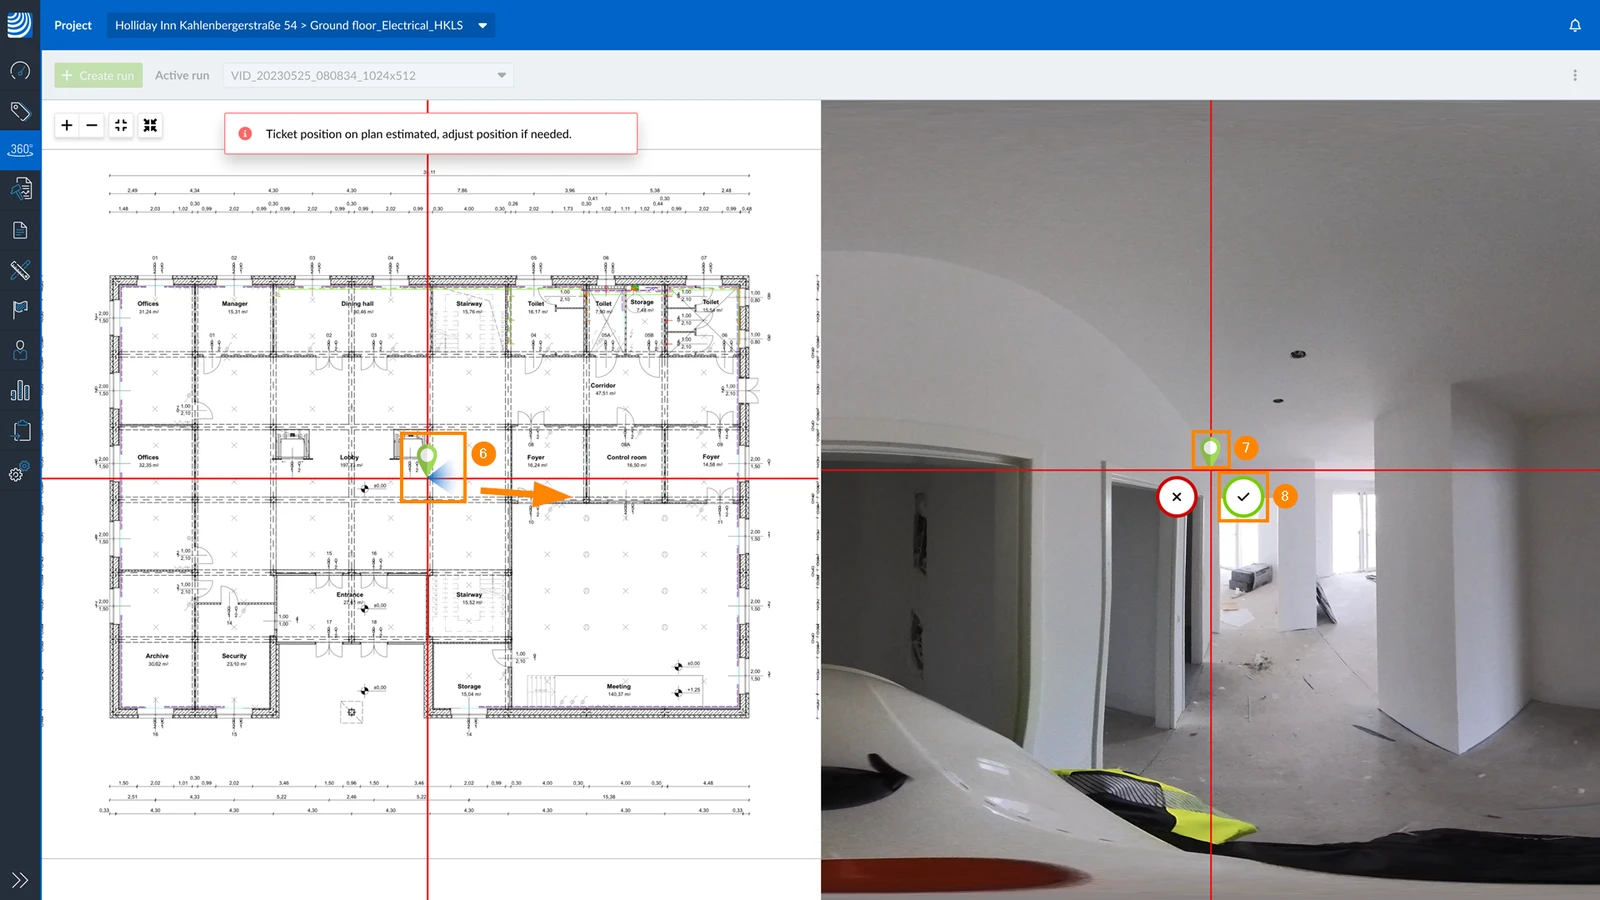
- Drag and drop the pin to adjust the estimated location on the plan.
If the ticket already had a plan position you cannot change it here. - Drag and drop the pin on the 360° image.
- Click ✔ to confirm the position(s) and add the ticket.
View Tickets in SiteView
Image Point Icons
Image point icons with a ticket are red instead of blue.
Also see View & Navigate 360° Images > Image point Icons.
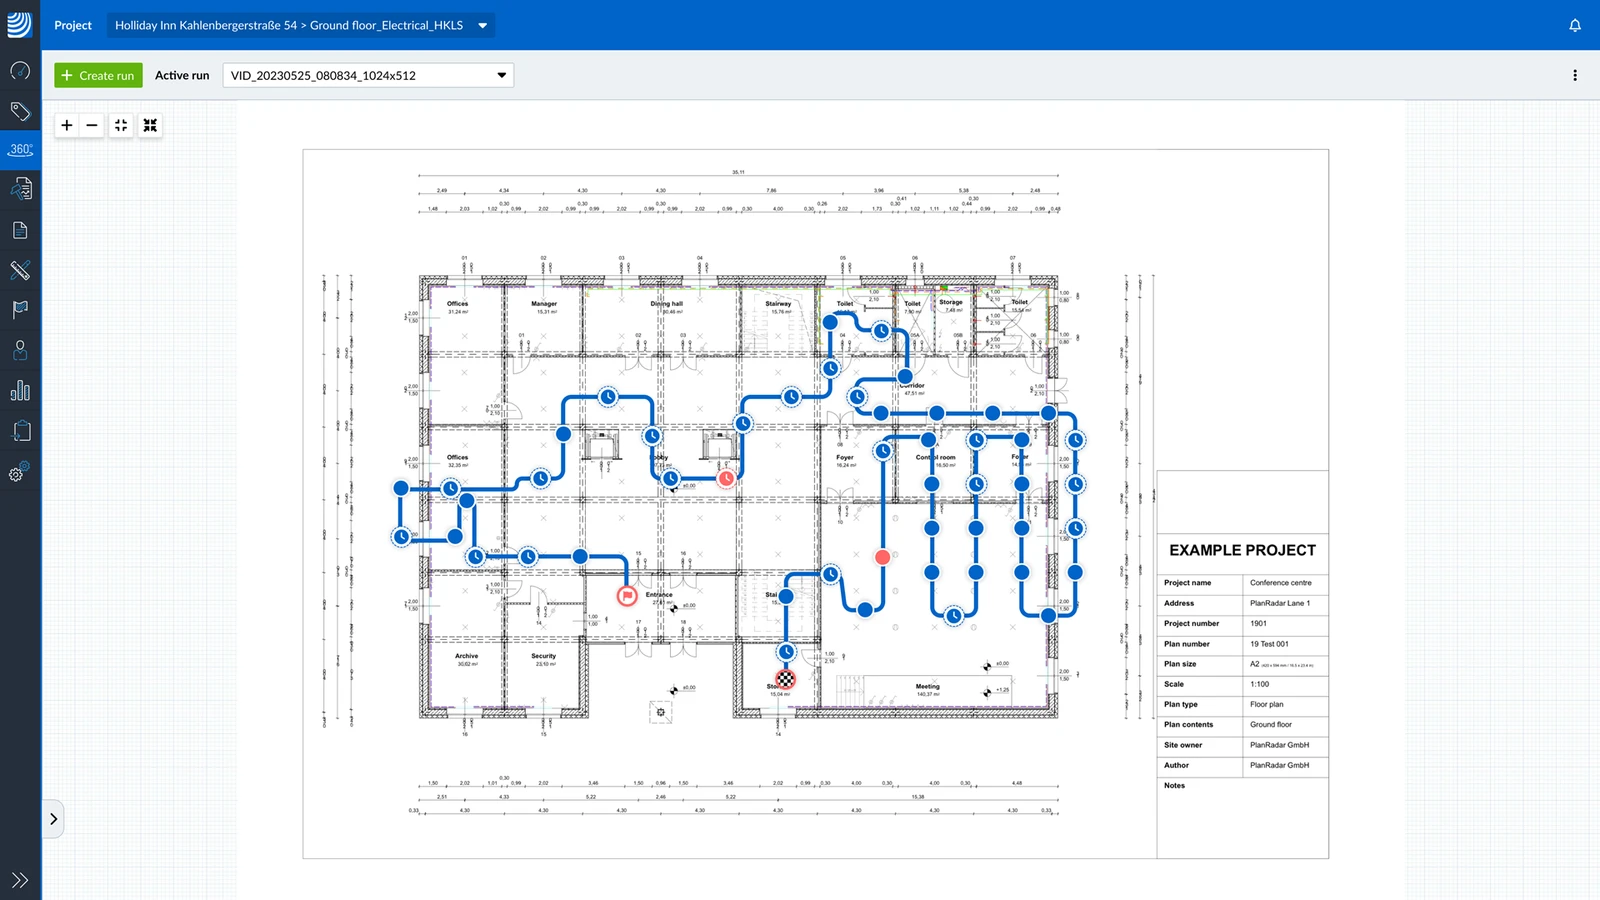
Show/Hide the Ticket List
To show the ticket list in SiteView:
- Click the expand button
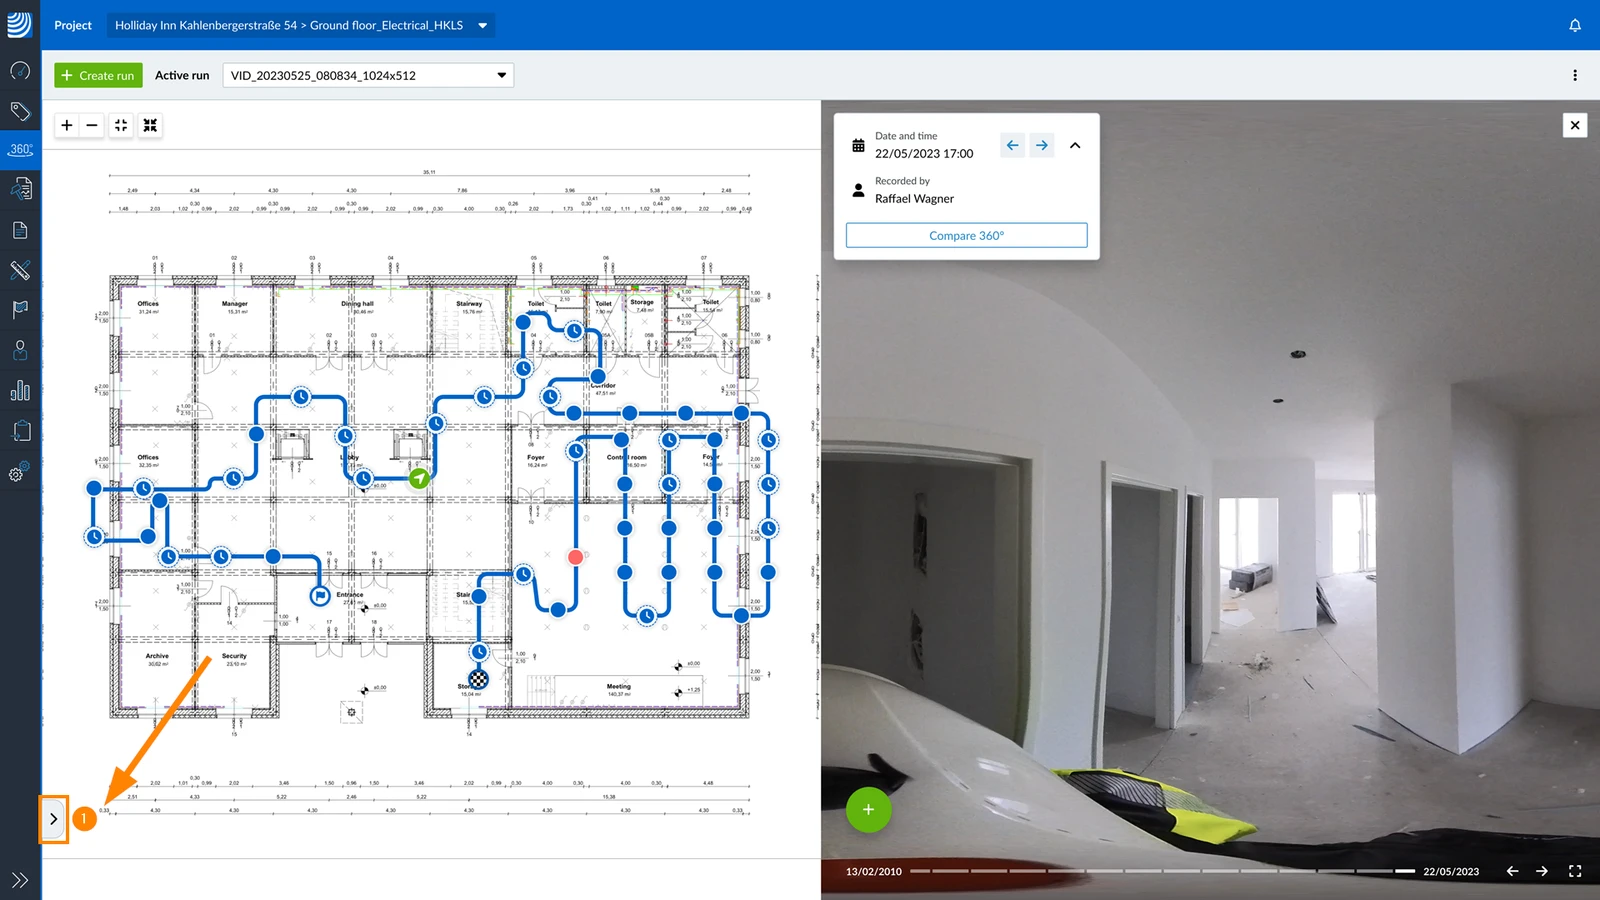
To hide the ticket list:
- Click the collapse button
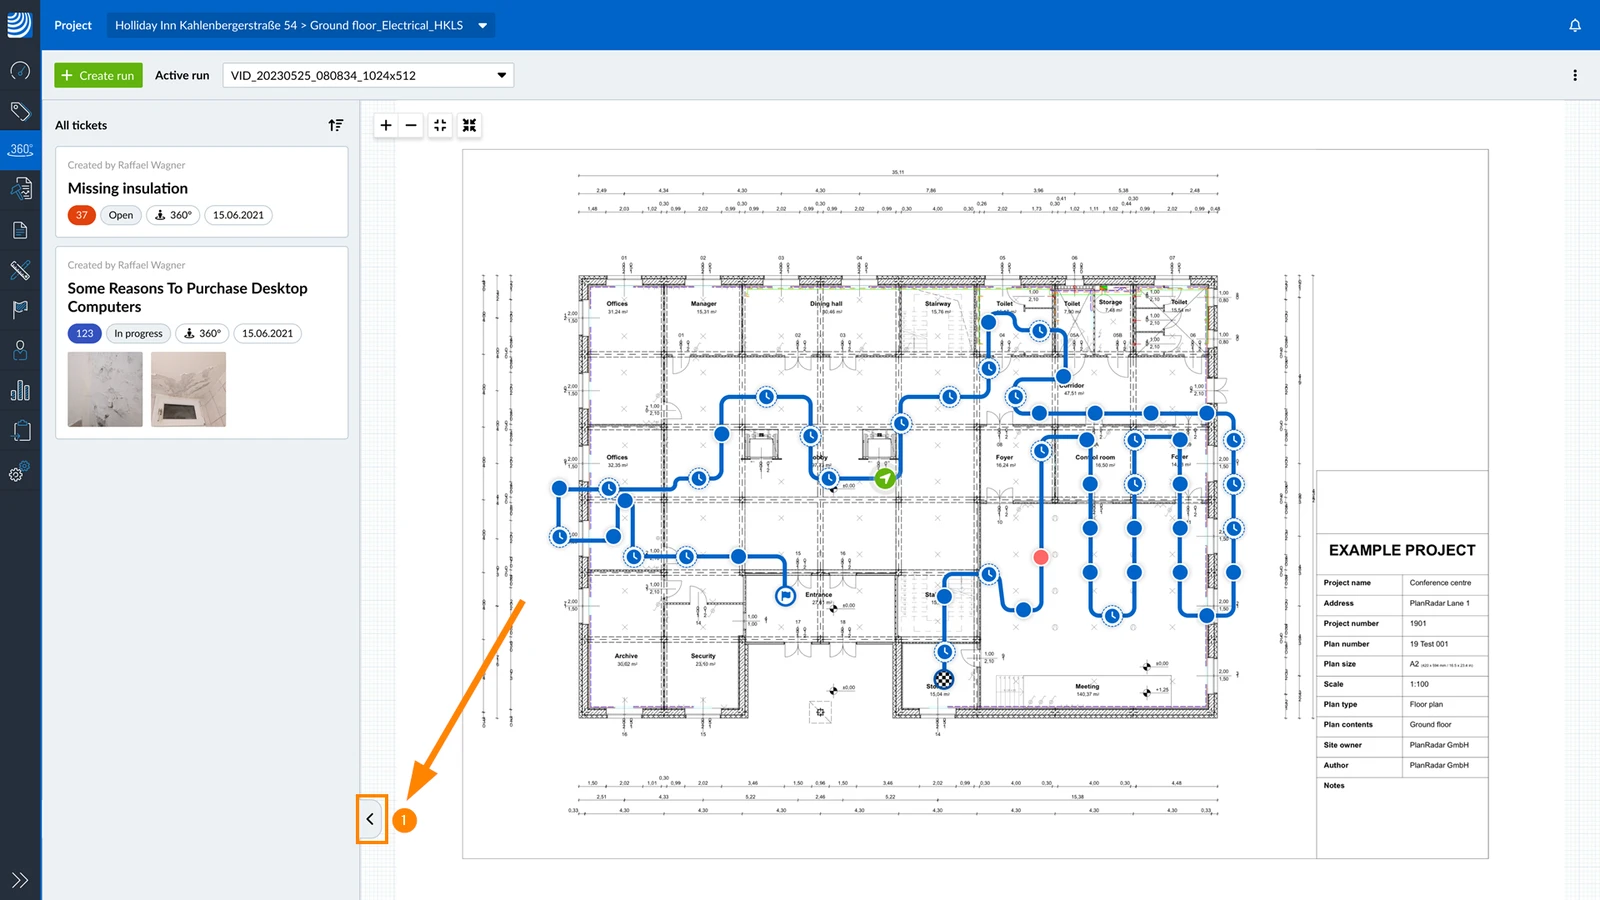
View a Ticket in SiteView
There are two ways to view a ticket in SiteView on the 360° image, by the ticket list and by the image point.
To view a ticket by the ticket list:
- Click on the ticket in the list
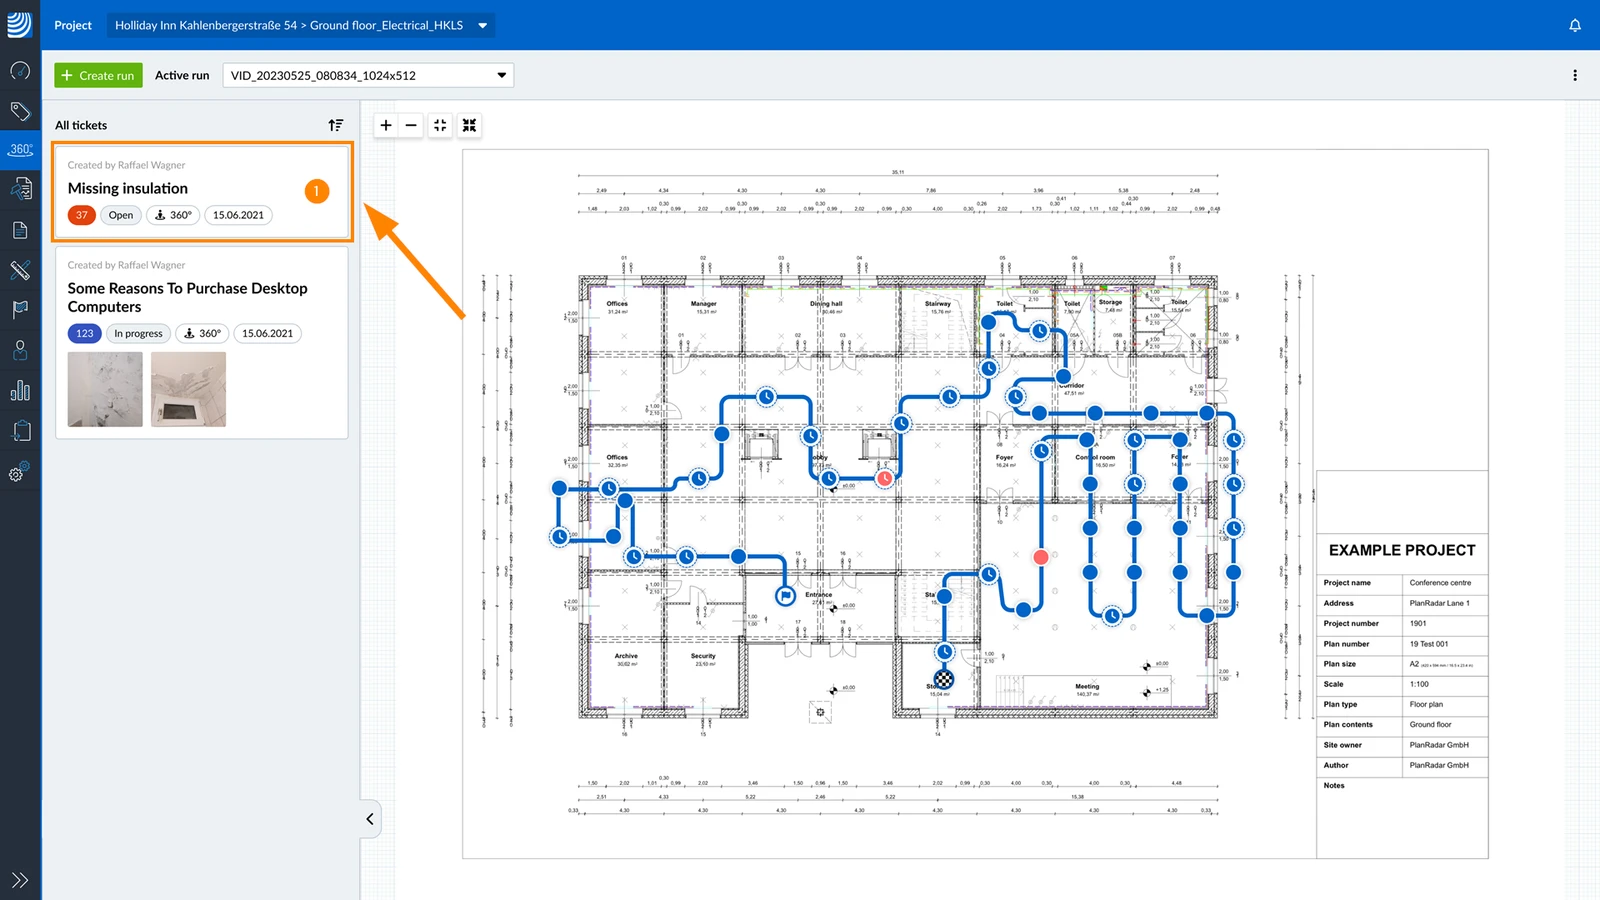
- Click Open
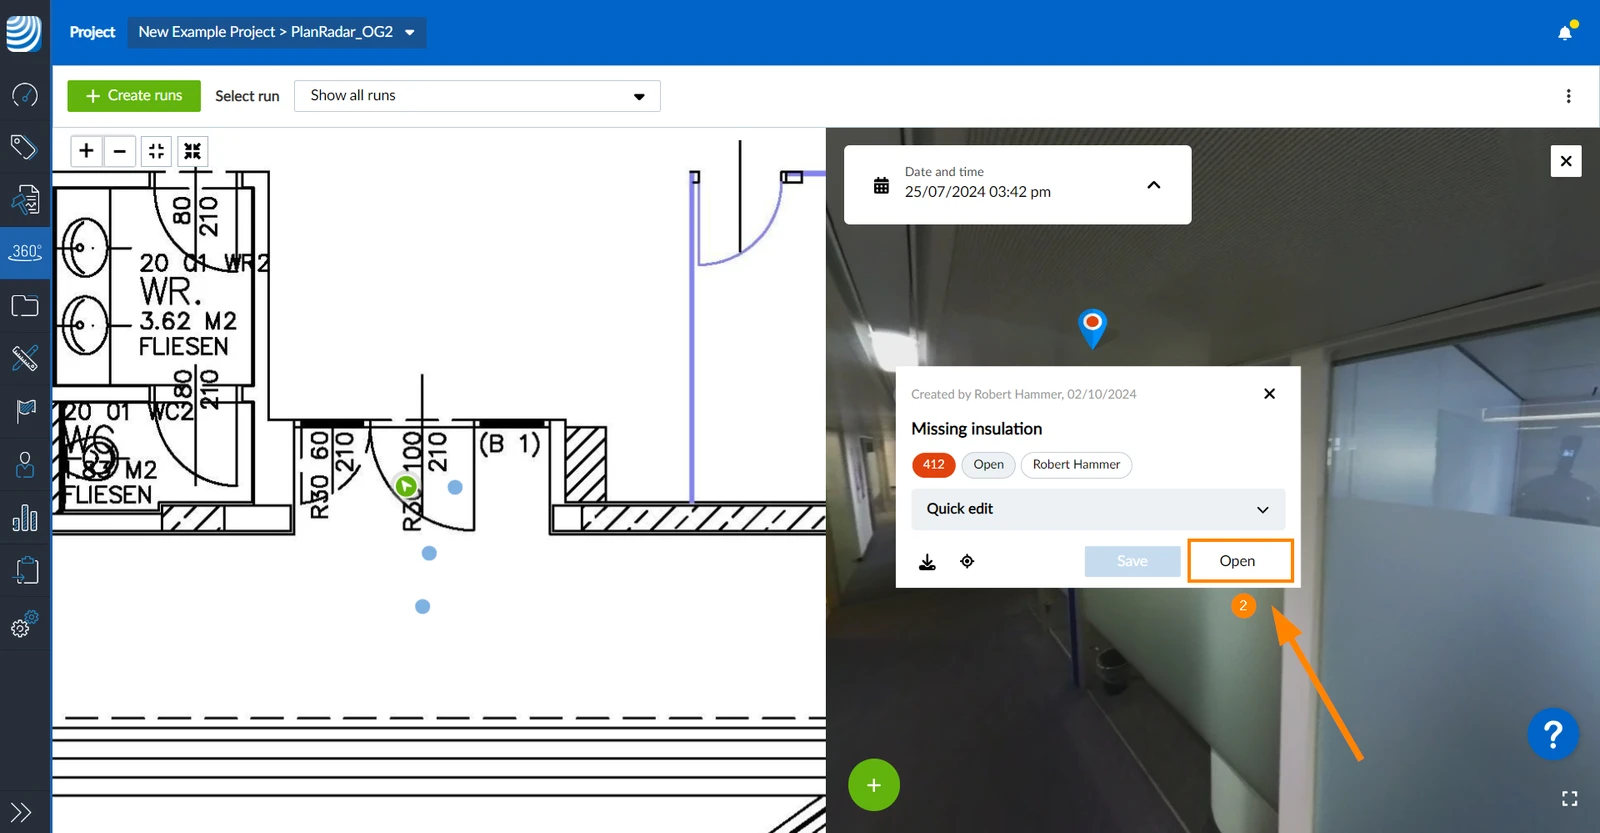
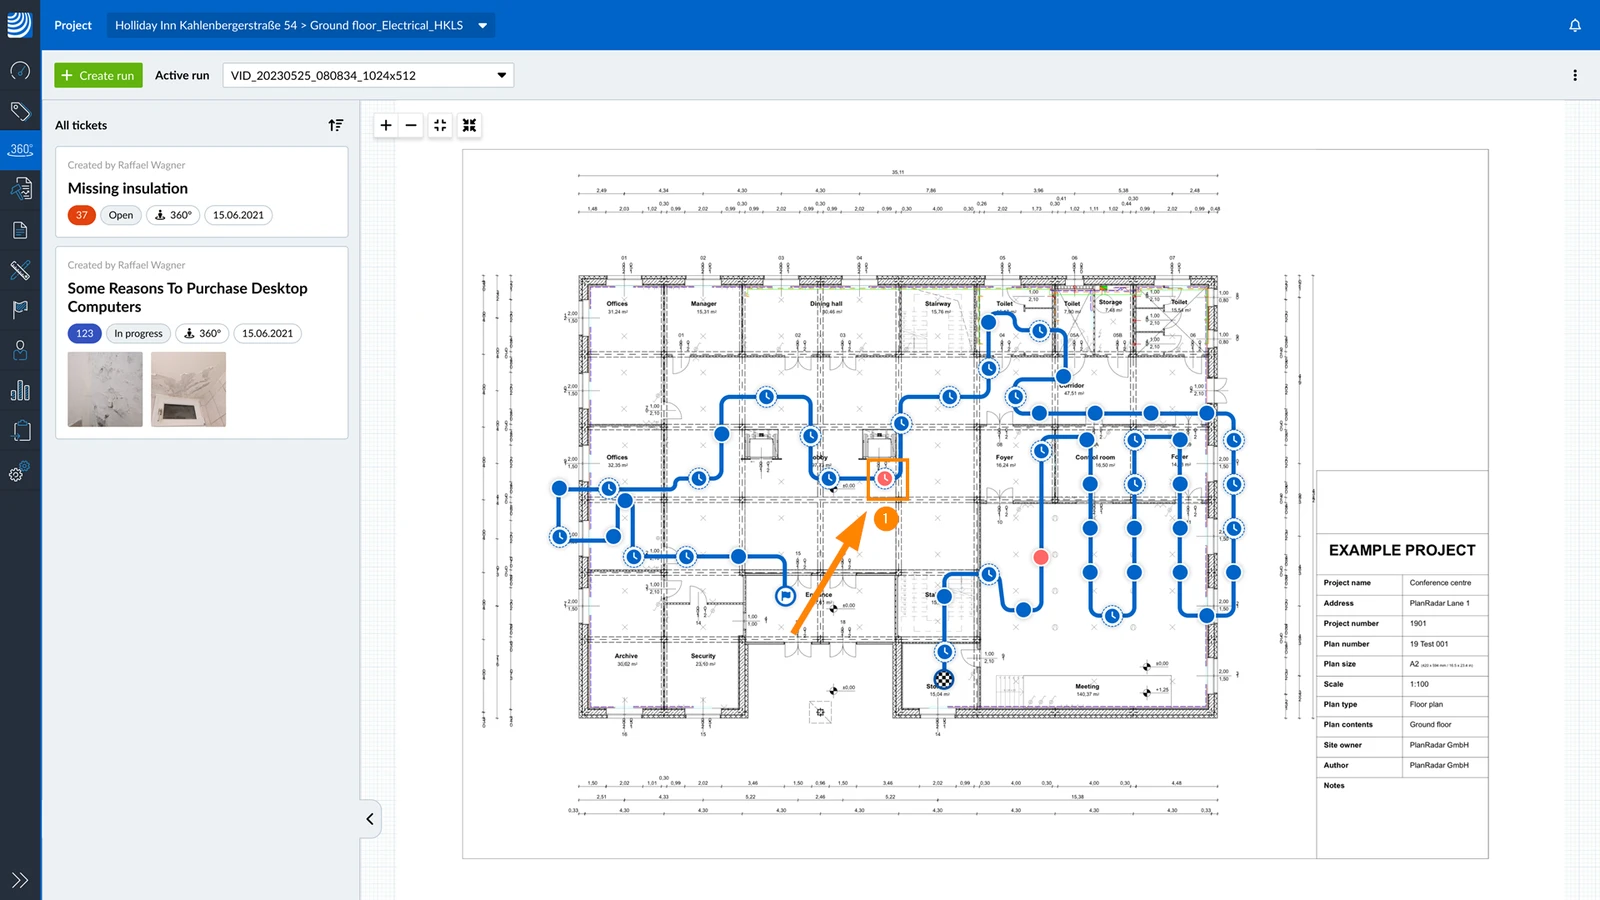
To view a ticket by the image point:
- Click on the red image point on the plan.
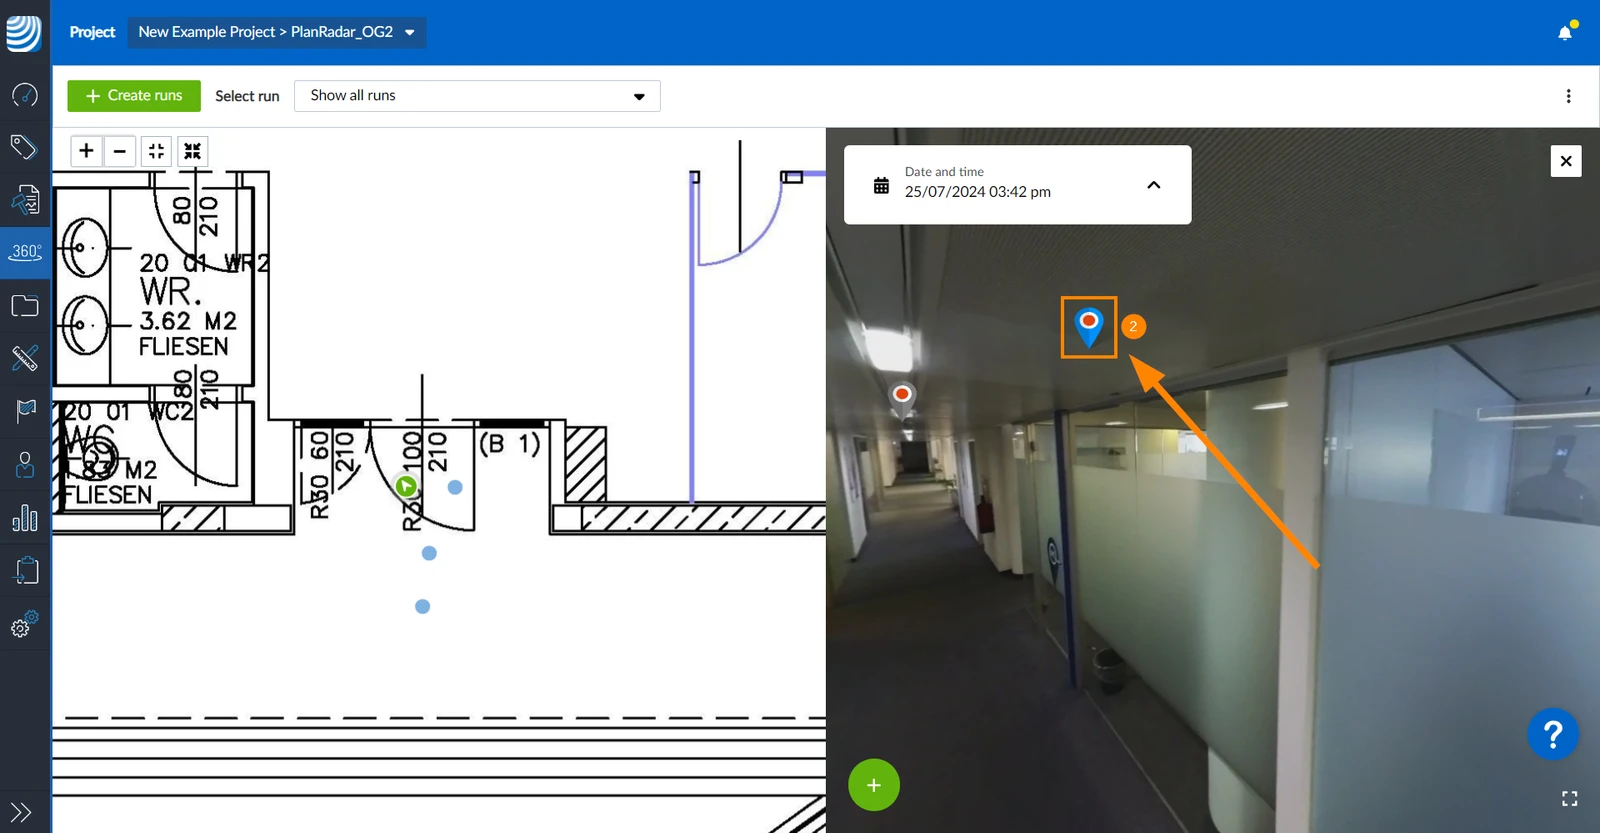
- Click on the ticket pin on the 360° image.
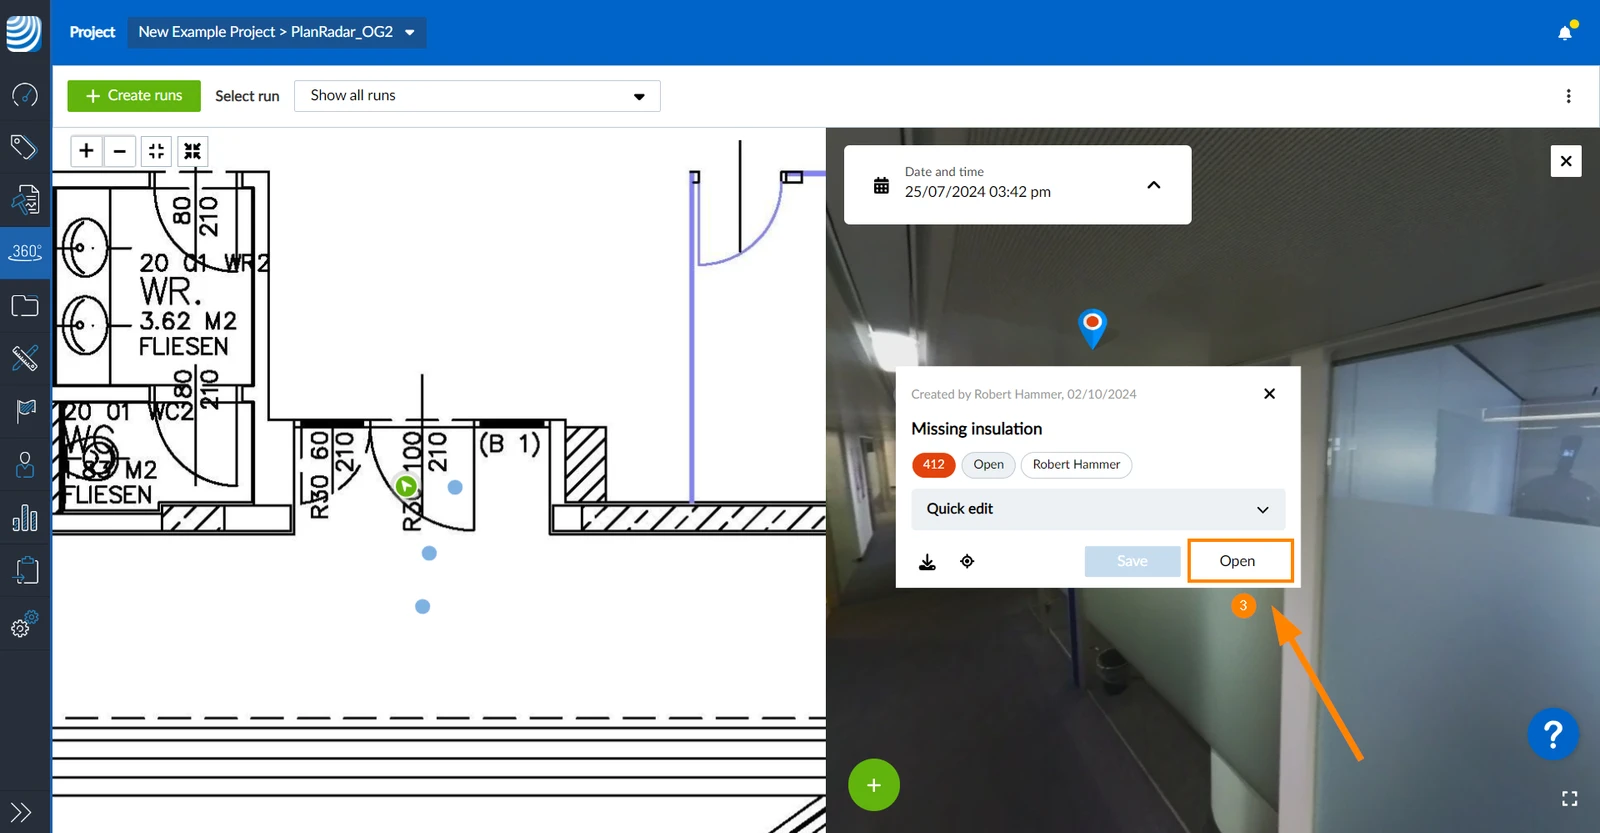
- Click Open
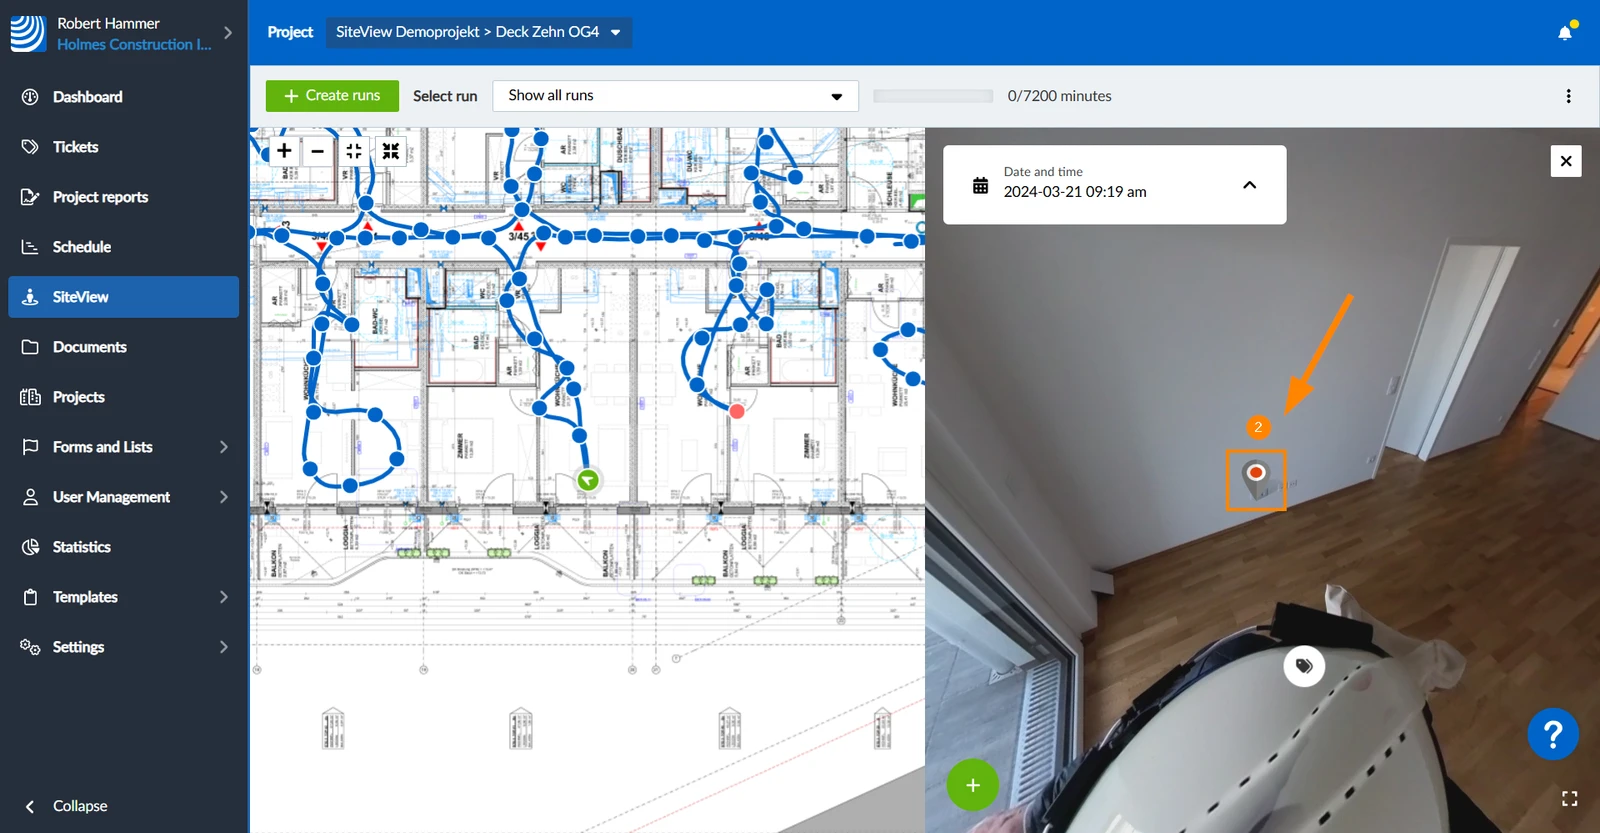
To view a pin that is located outside of the currently viewed part of the 360° image:
- Click the ticket icon
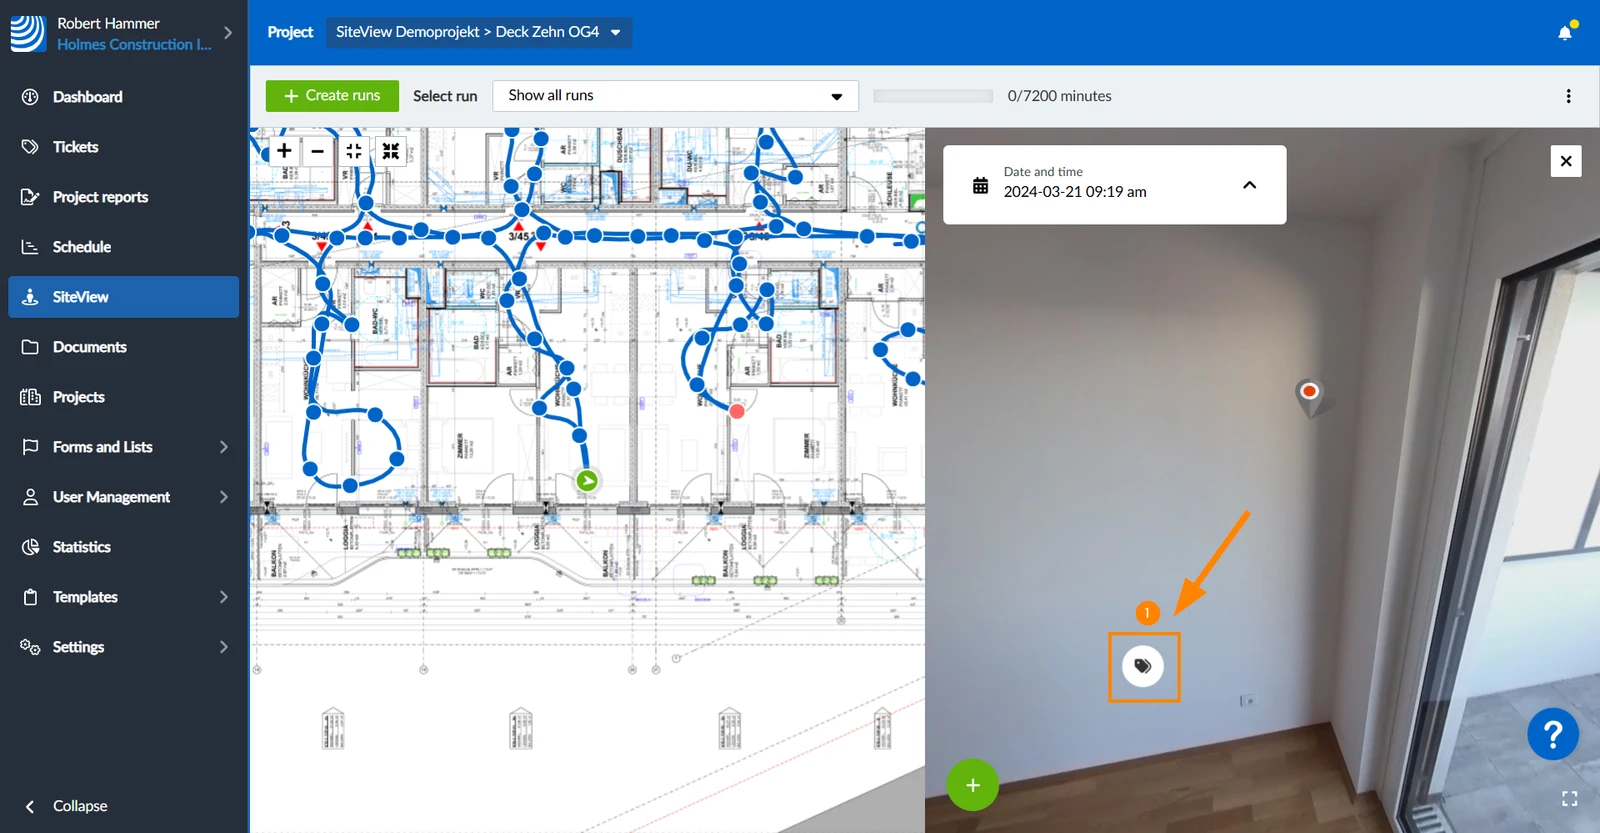
- The view is centred on the associated ticket pin.
View a Ticket in Plan/List View
It is also possible to view those tickets as describe in:
To view the single 360° image on which the ticket is located:
- Click on the preview thumbnail under 360° Image
- View the 360° image
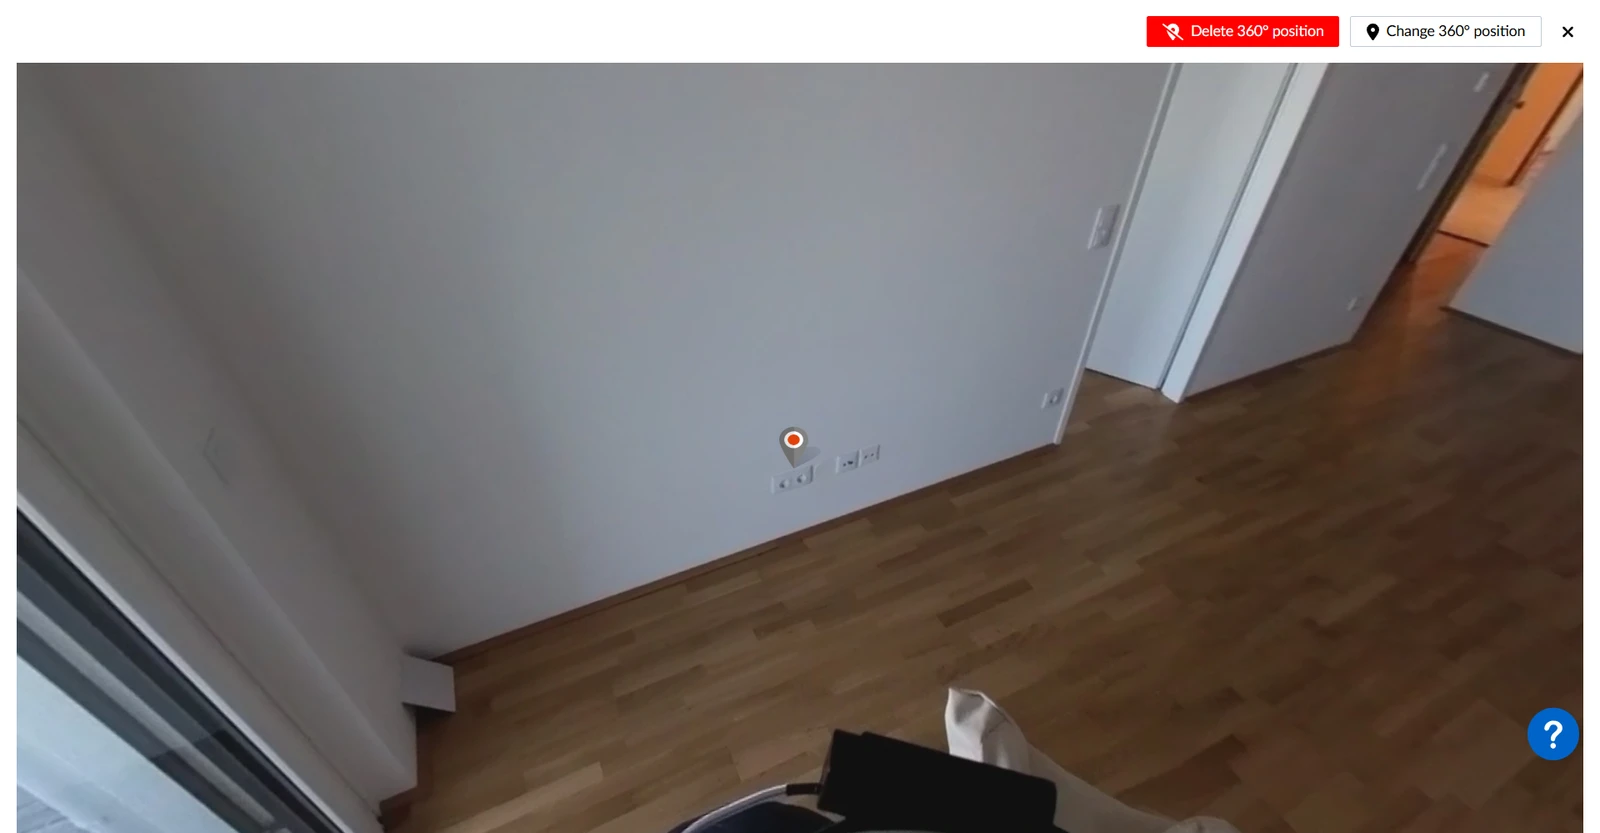
- Optional: Use drag & drop on the image to change the viewing angle.
There you can also change or delete the 360° position as described below.
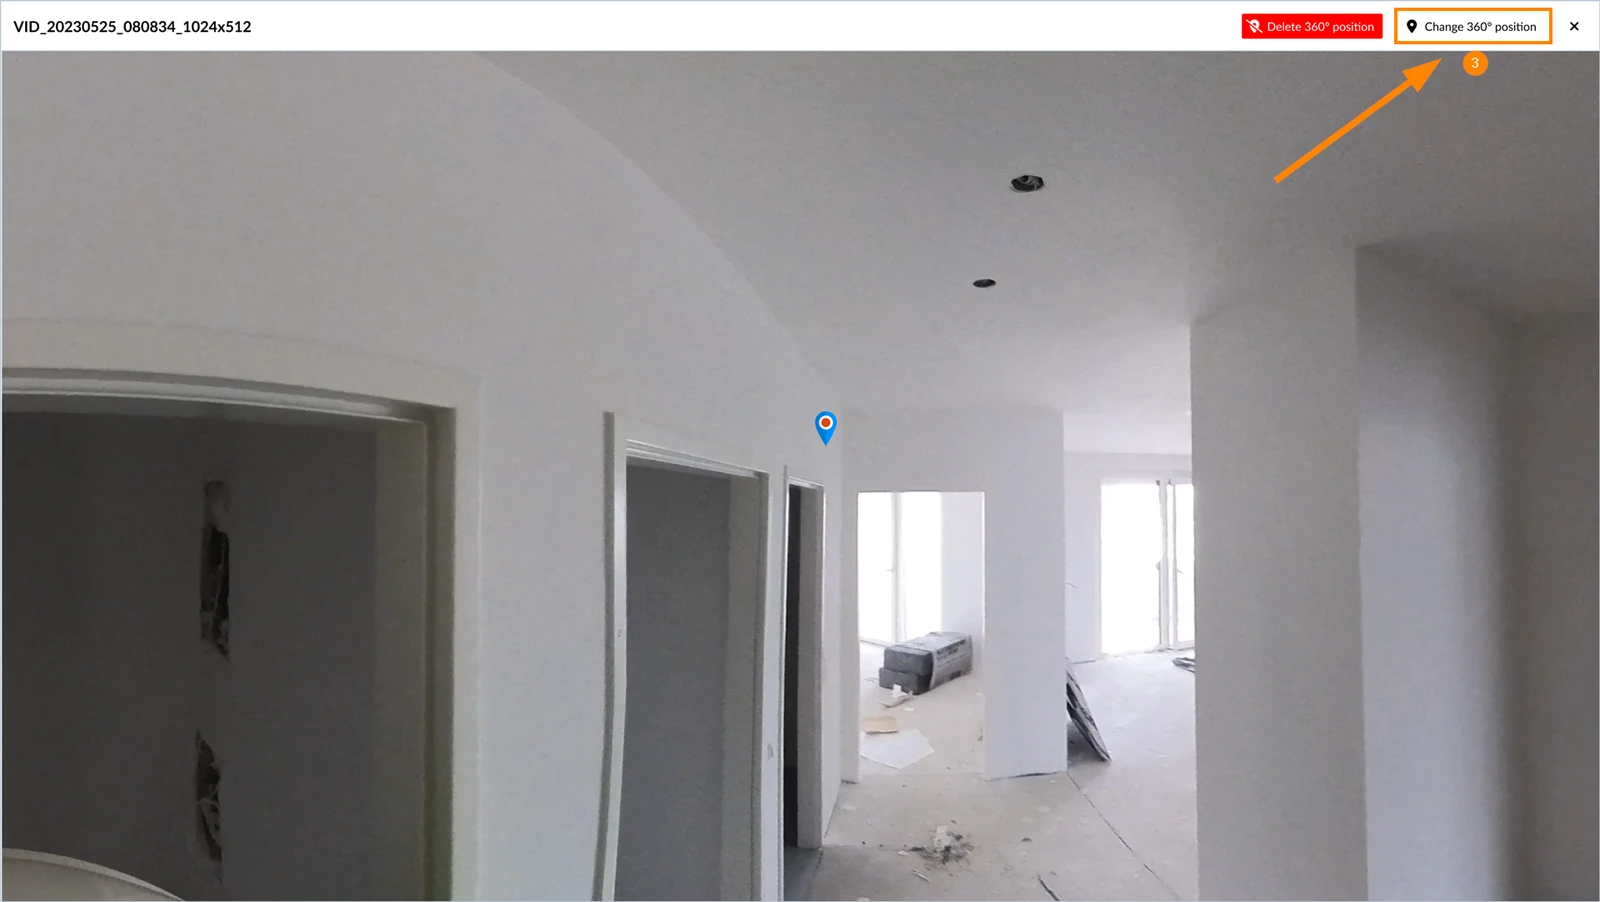
Change the Position on the 360° Image
To change a ticket's position on the 360° image:
- View a ticket as described above
- Click on the 360° image preview
- Click Change 360° position
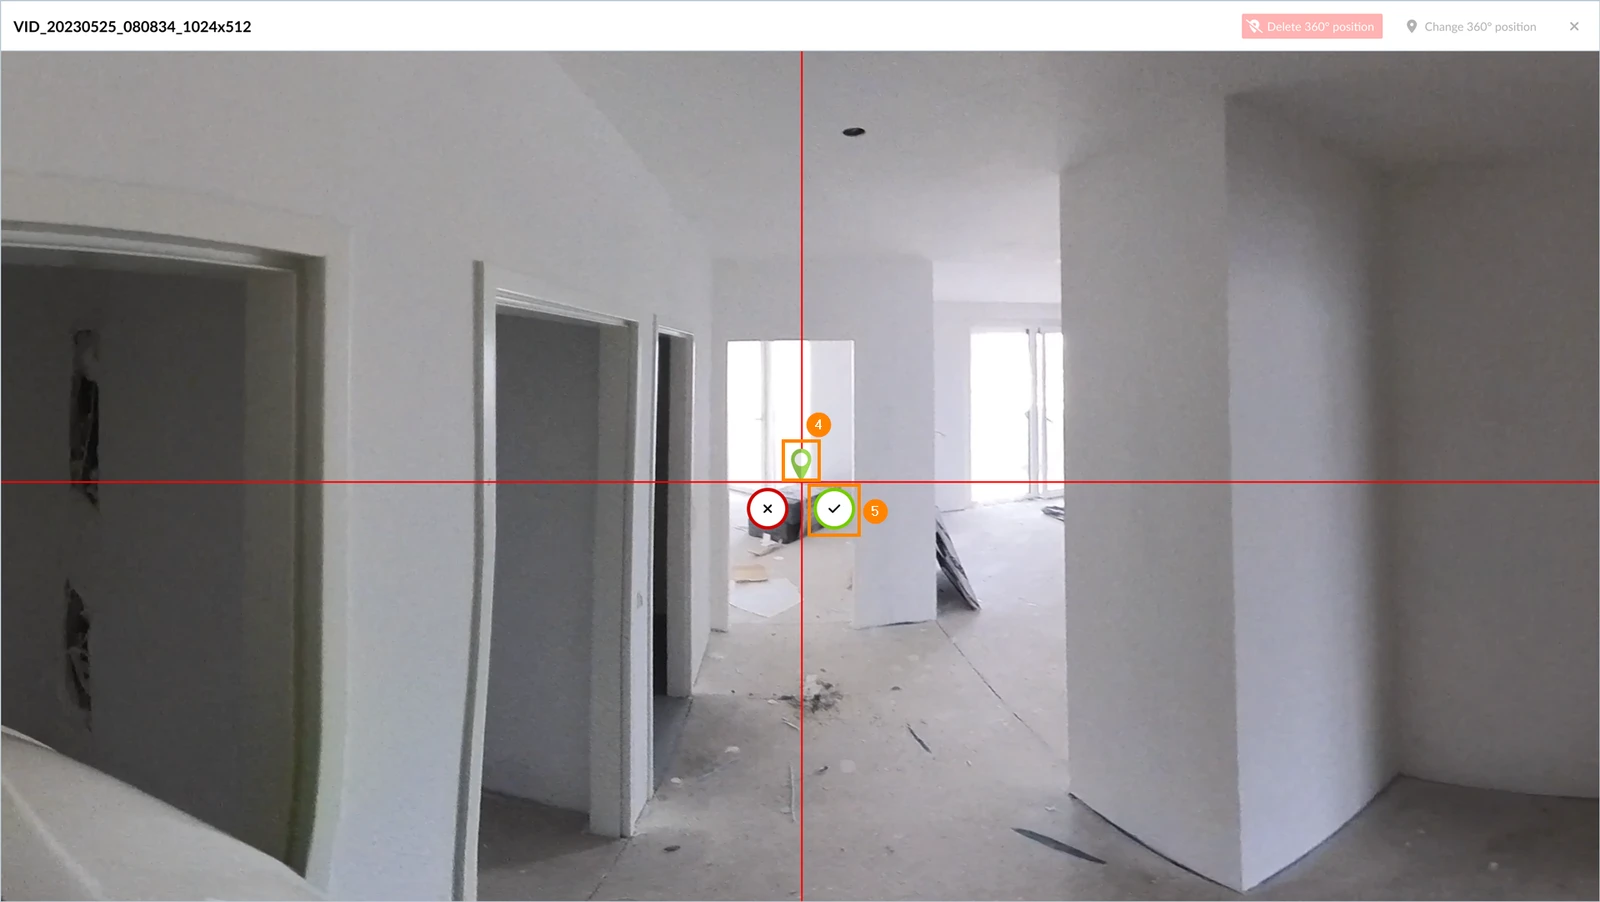
- Drag and drop the ticket pin
- Click ✔ to confirm the position
Remove the 360° Image Position
To remove a ticket's position on the 360° image, thereby removing the ticket from the SiteView feature:
- View a ticket as described above
- Click on the 360° image preview
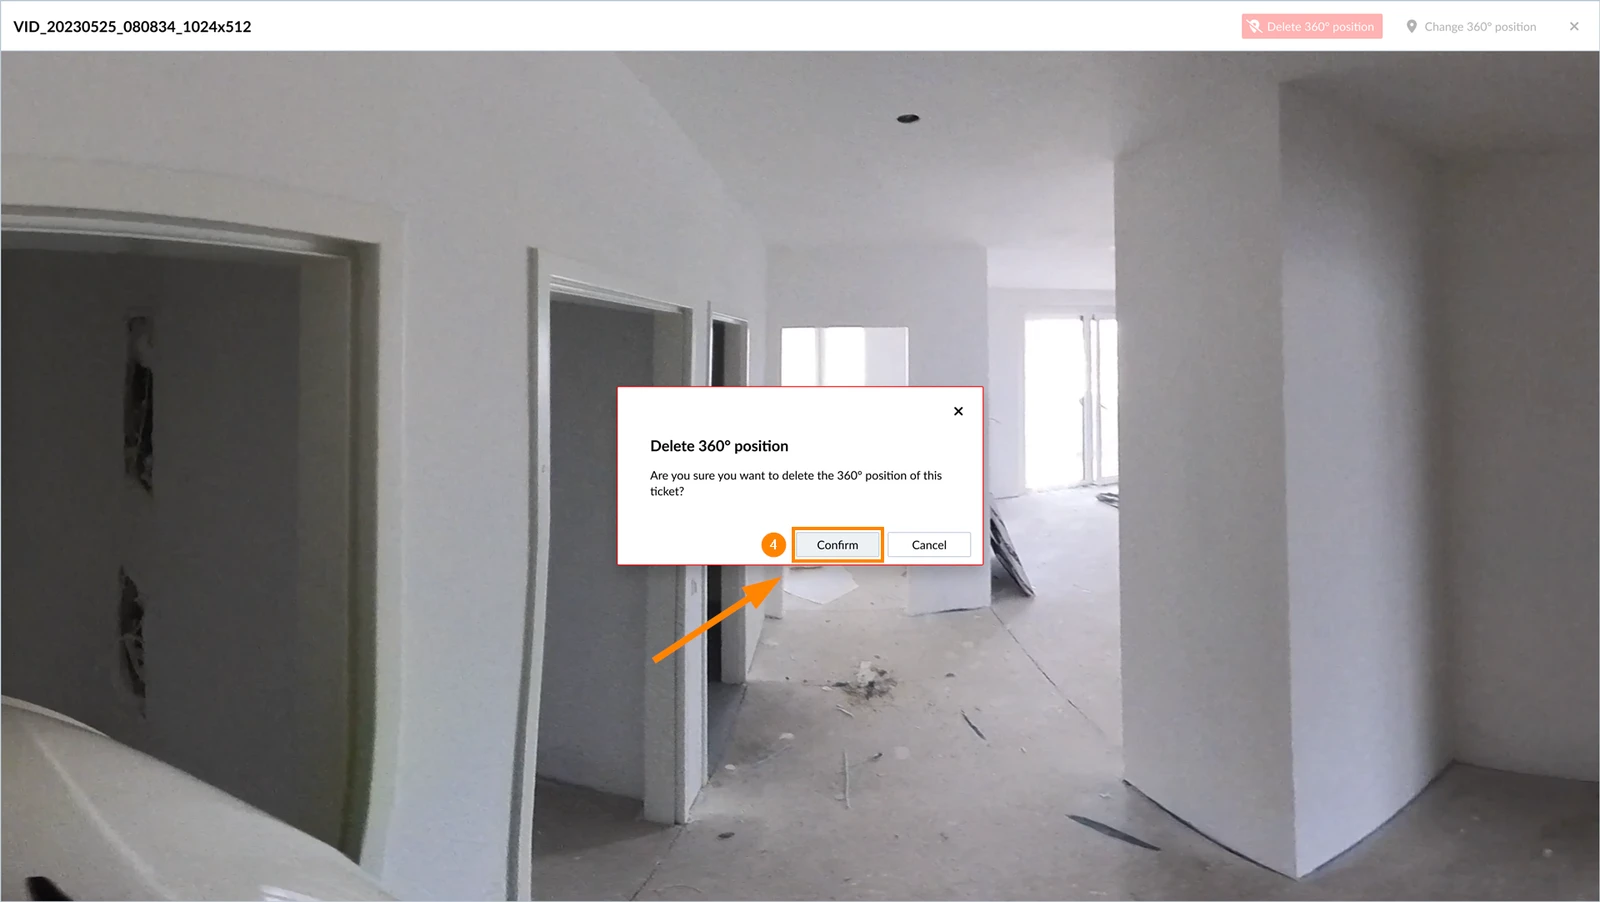
- Click Delete 360° position
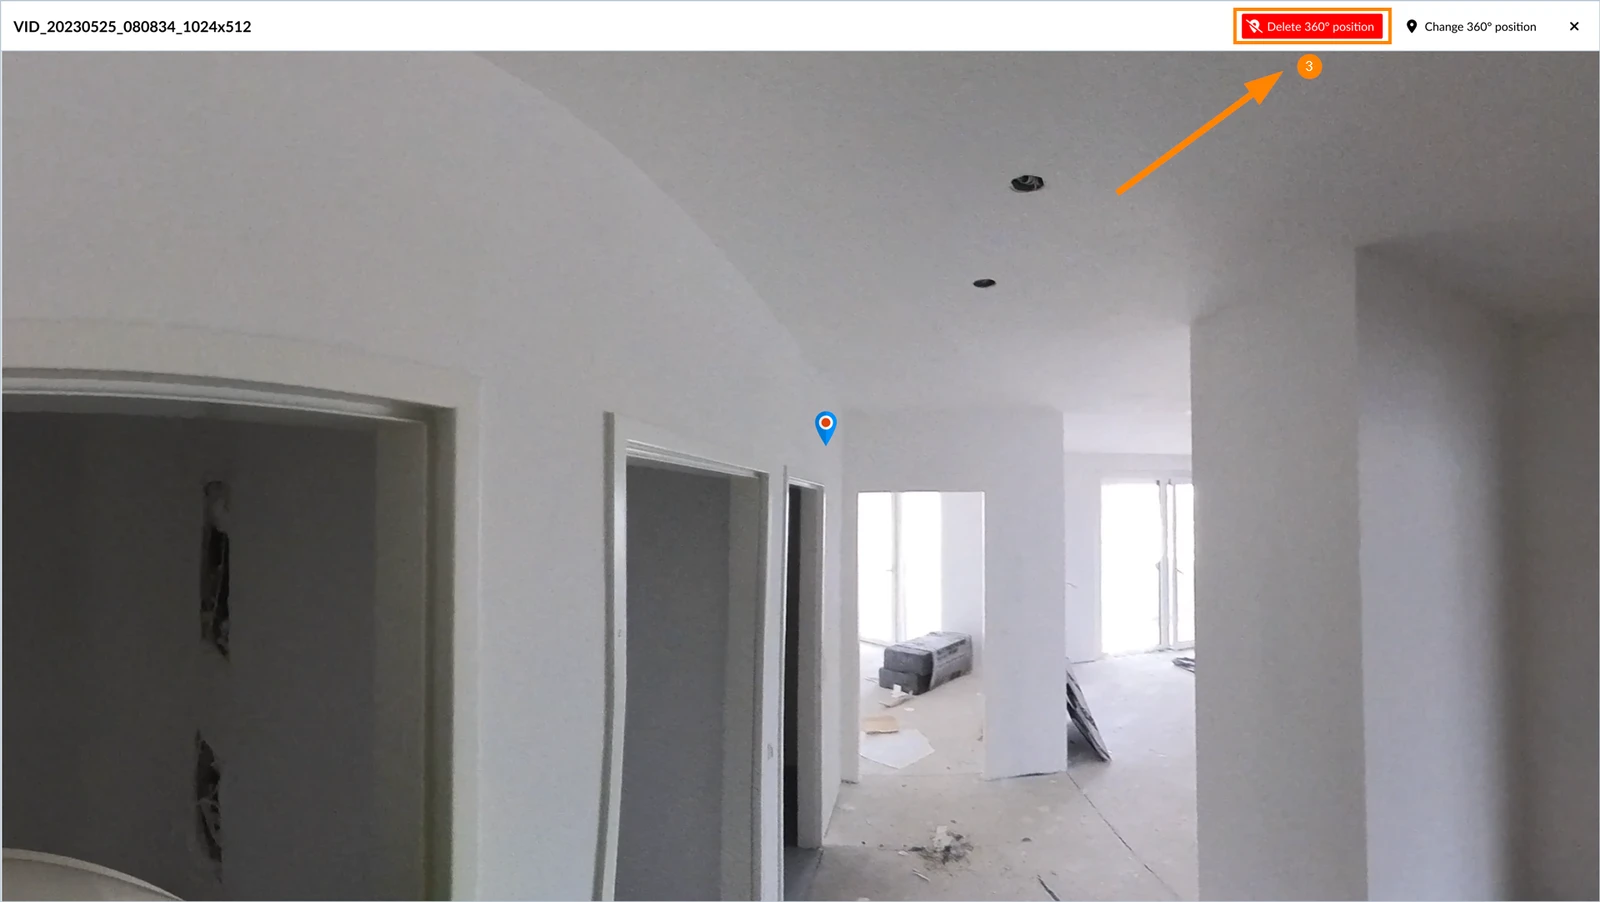
- Click Confirm
Updated August 13, 2025